> ## Documentation Index
> Fetch the complete documentation index at: https://gcore.com/docs/llms.txt
> Use this file to discover all available pages before exploring further.
# Create and set a custom domain for the content delivery via CDN
export const Caution = ({children}) => {
return ;
};
## What is a custom domain?
A custom domain is a unique, branded domain name used for content delivery through a CDN. For example, if you have a website with the domain mywebsite.com, you create a CDN resource for static content delivery and specify a custom domain for it, such as cdn.mywebsite.com. This way, your static assets will be delivered to end users with URLs like cdn.mywebsite.com/sample.jpg.
When specifying a custom domain, you can use any domain or subdomain for which you can edit the DNS records. For CNAME-based [CDN resources](/cdn/getting-started/create-a-cdn-resource/create-a-cdn-resource), a third-level domain is typical, e.g. `cdn.mywebsite.com`. For CDN resources using DNS delegation to Gcore, a second-level domain is used, e.g. `mywebsite.com`.
**Caution**
You cannot change the custom domain once the CDN resource has been created. If you need to change domains, use [additional (multiple) domains](/cdn/cdn-resource-options/general/create-and-set-a-custom-domain-for-the-content-delivery-via-cdn#specify-additional-domain). This option is only available for CDN resources for static content, not for CDN resources integrated with the entire sites.
## Set a custom domain (only for static CDN recources)
The instructions below describe how to set up a custom domain for CNAME-based CDN resources. For CDN resources using DNS delegation to Gcore, the custom domain is set via nameserver change at the domain registrar instead. See the [CDN resource guide](/cdn/getting-started/create-a-cdn-resource/create-a-cdn-resource#step-5-complete-dns-setup) for details on both options.
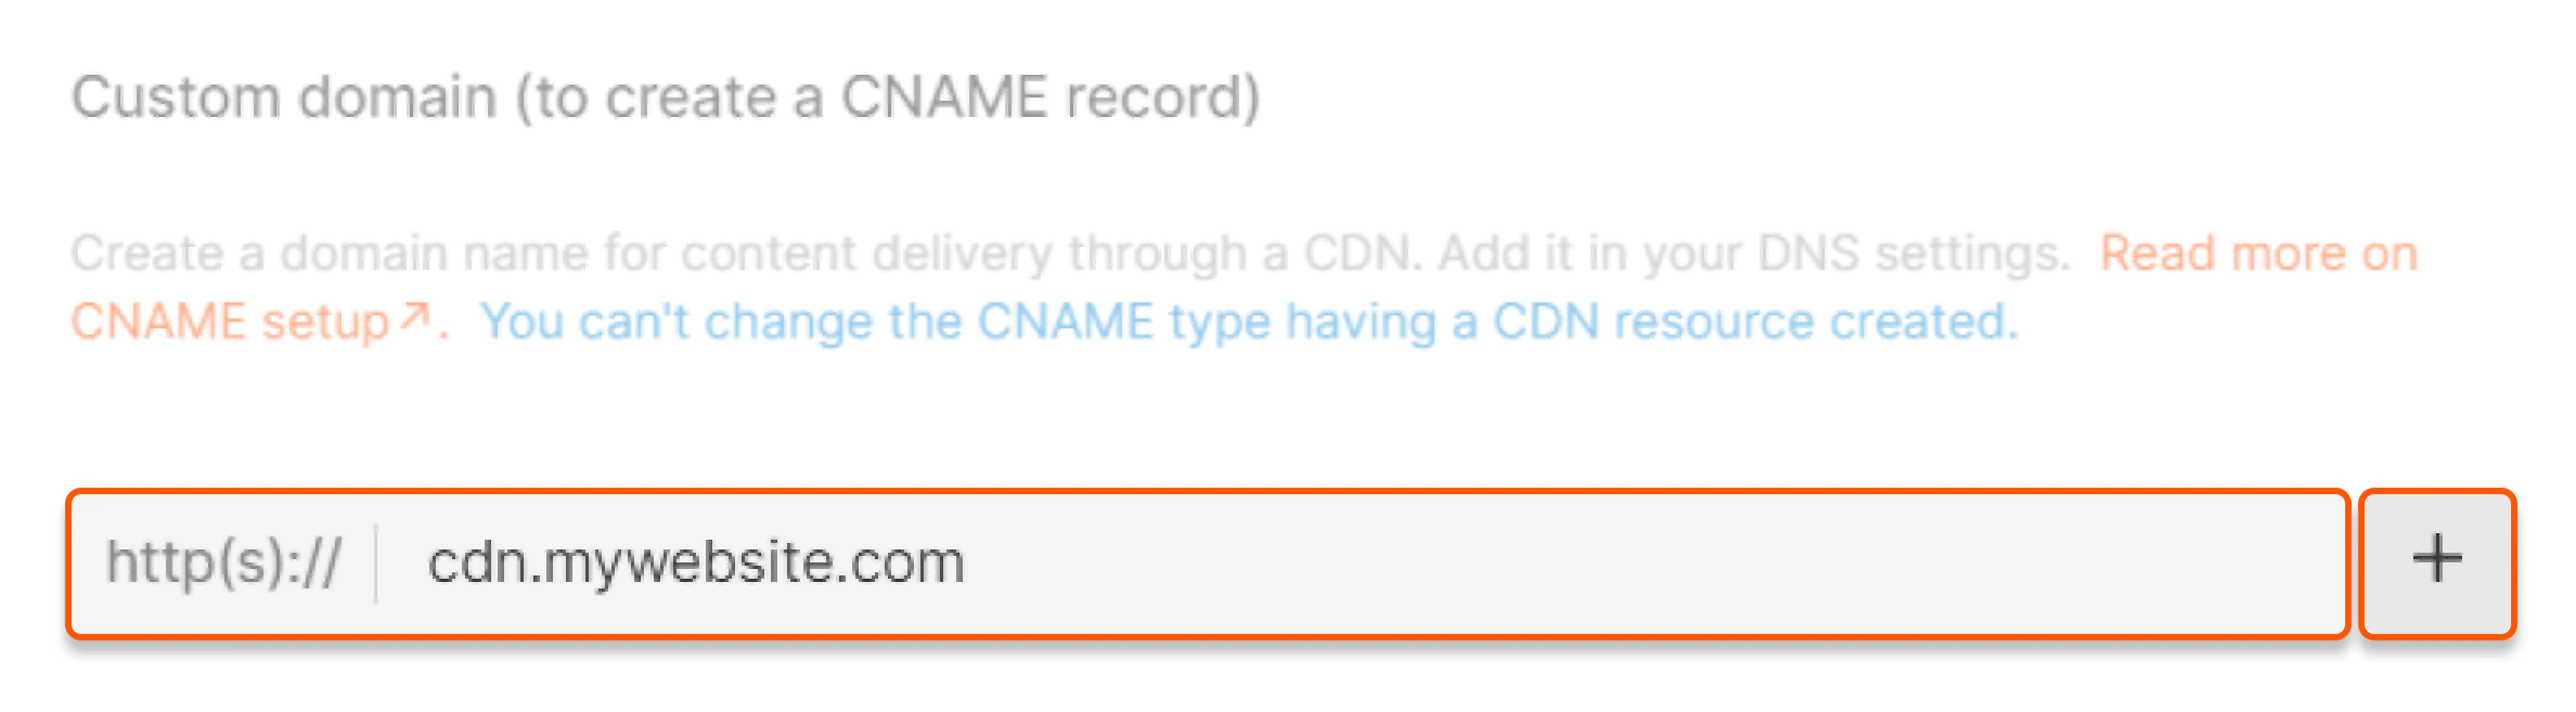
1\. When [creating a CDN resource](/cdn/getting-started/create-a-cdn-resource/create-a-cdn-resource), enter your desired domain or subdomain name in the **Custom domain** section. Specify additional domains by clicking the **+** icon.
**Warning**
You can only add additional (multiple) custom domains if you are creating a CDN resource for static assets. If you are creating a CDN resource for the entire site, adding additional custom domains is not possible.
 2\. Copy the value *cl-\*\*\*\*.gcdn.co* (which is unique for every account and the same for all custom domains of your account) from the **Set up your DNS** page. Click **Confirm**.
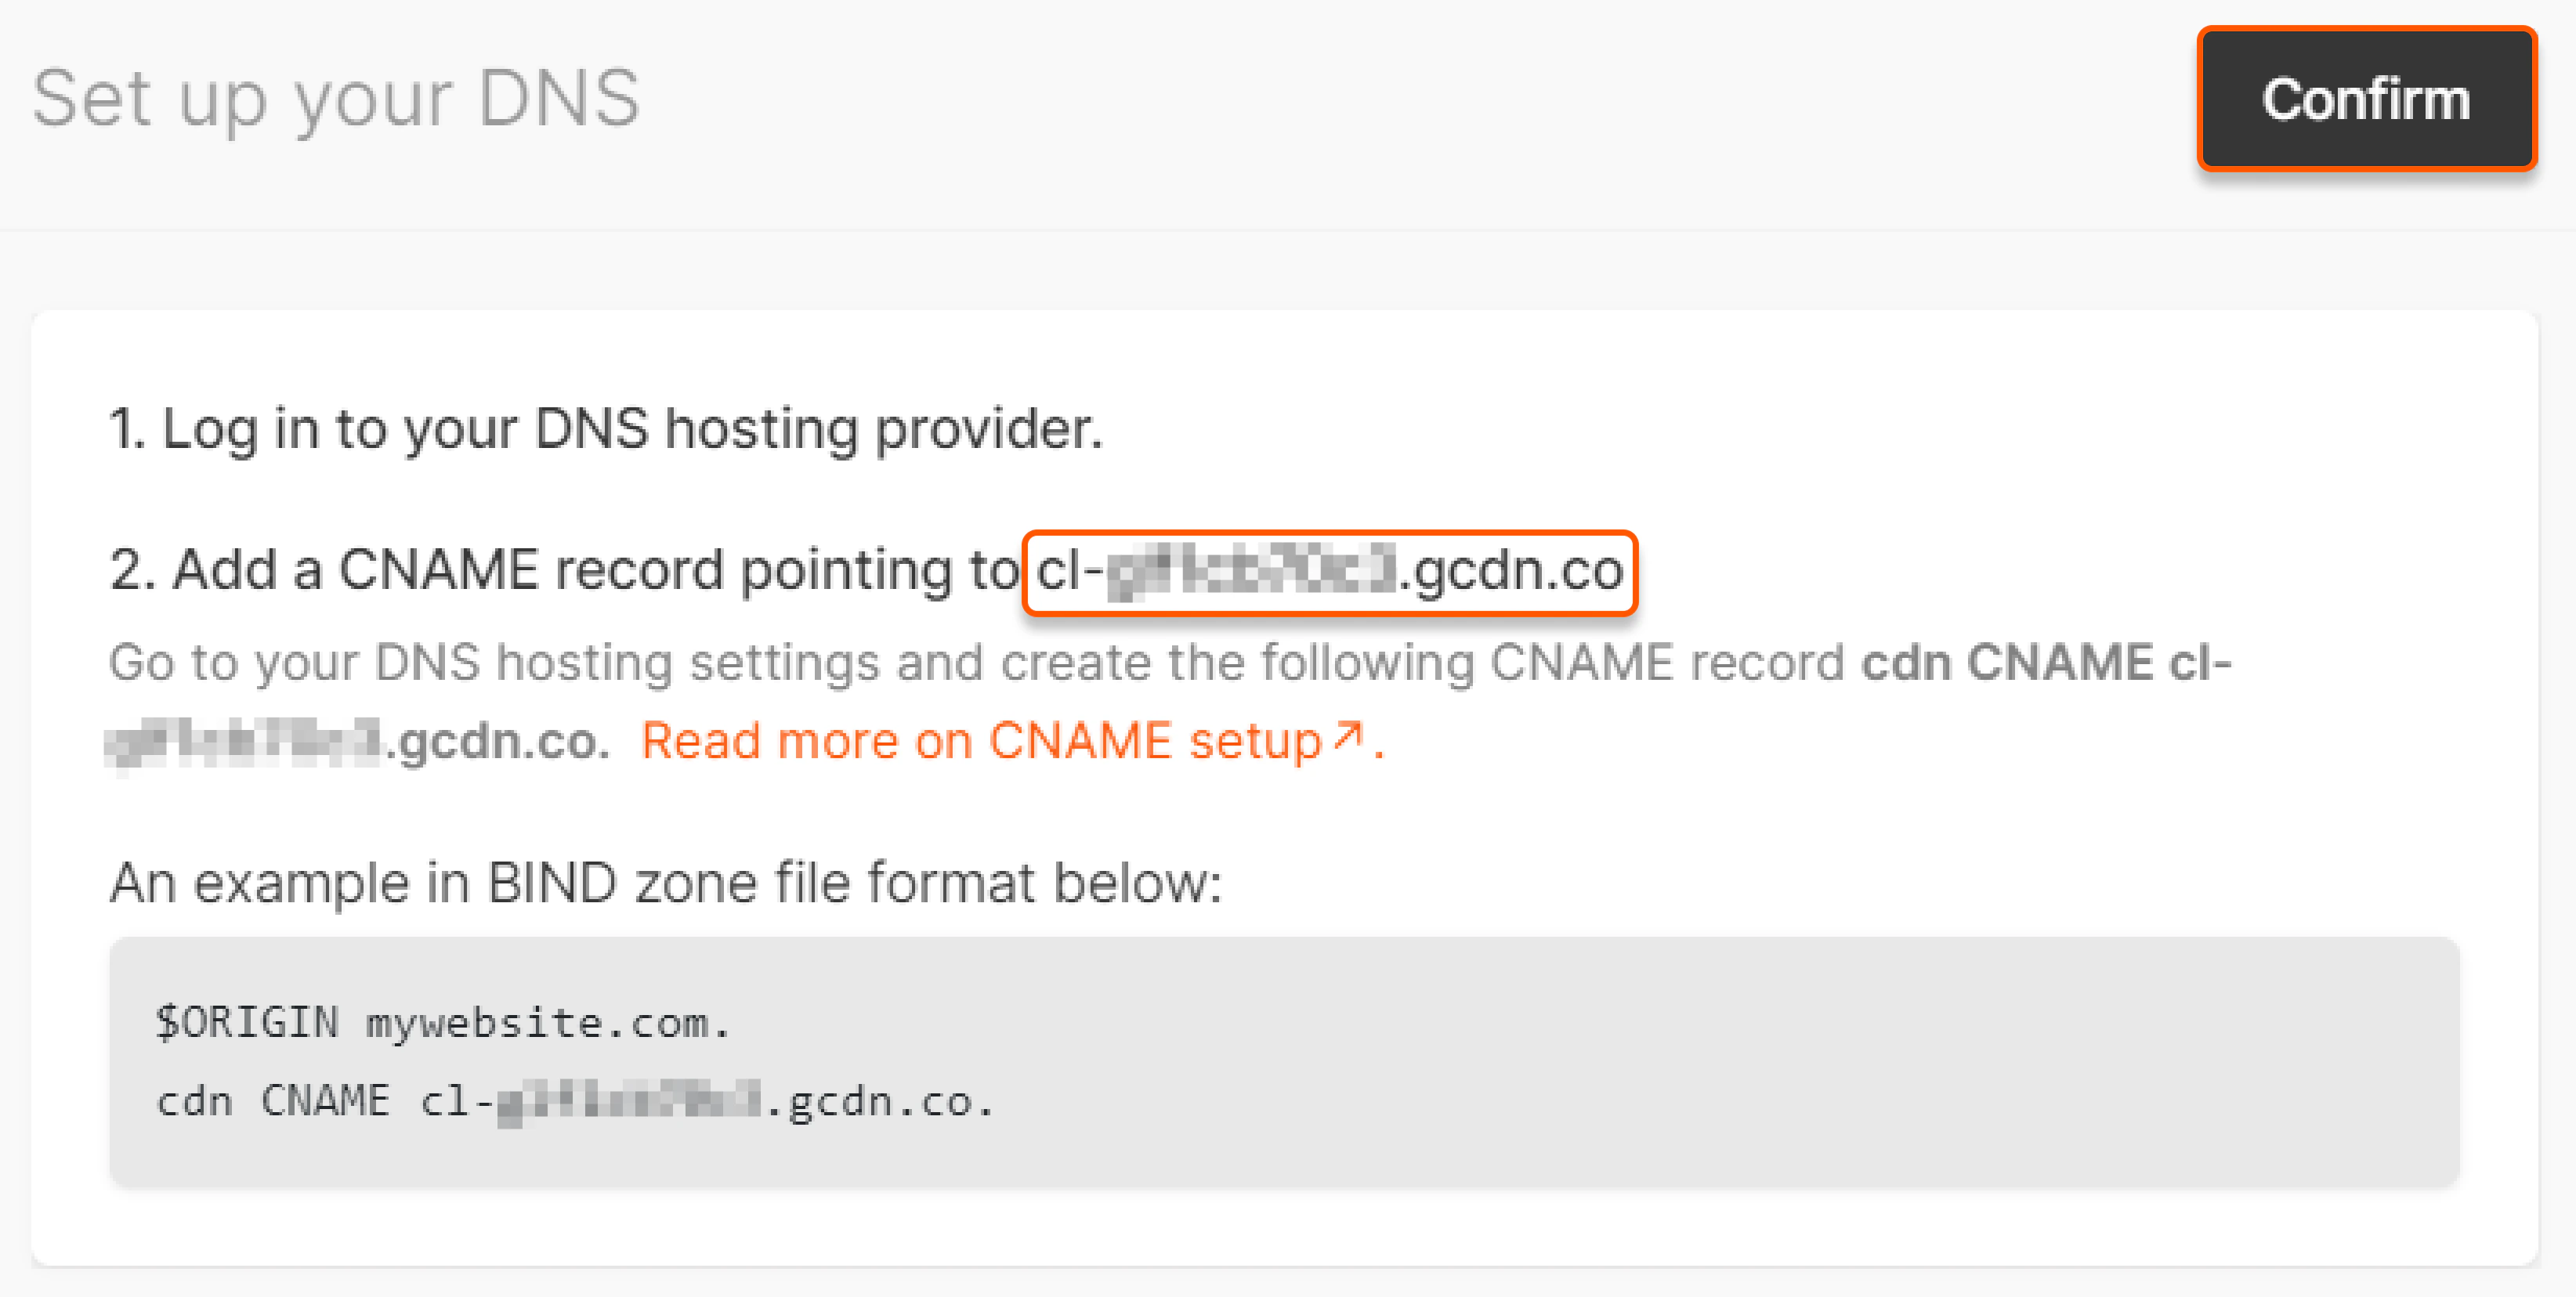 3\. Go to your DNS provider's website and create a [CNAME record](https://gcore.com/learning/dns-cname-record-explained) for the custom domain with the value in the previous step. The CNAME record should be specified as follows:
```
cdn.mywebsite.com. cl-****.gcdn.co
```
Replace *cl-\*\*\*\*.gcdn.co* with the value specific to your account.
If you specified multiple custom domains in step 1, add CNAME records for all additional custom domains.
Use the `dig` command in the terminal or an [online dig tool](https://gcore.com/dev-tools/dns-lookup) to check the record. If the record was added correctly, you will receive a response similar to the one specified above.
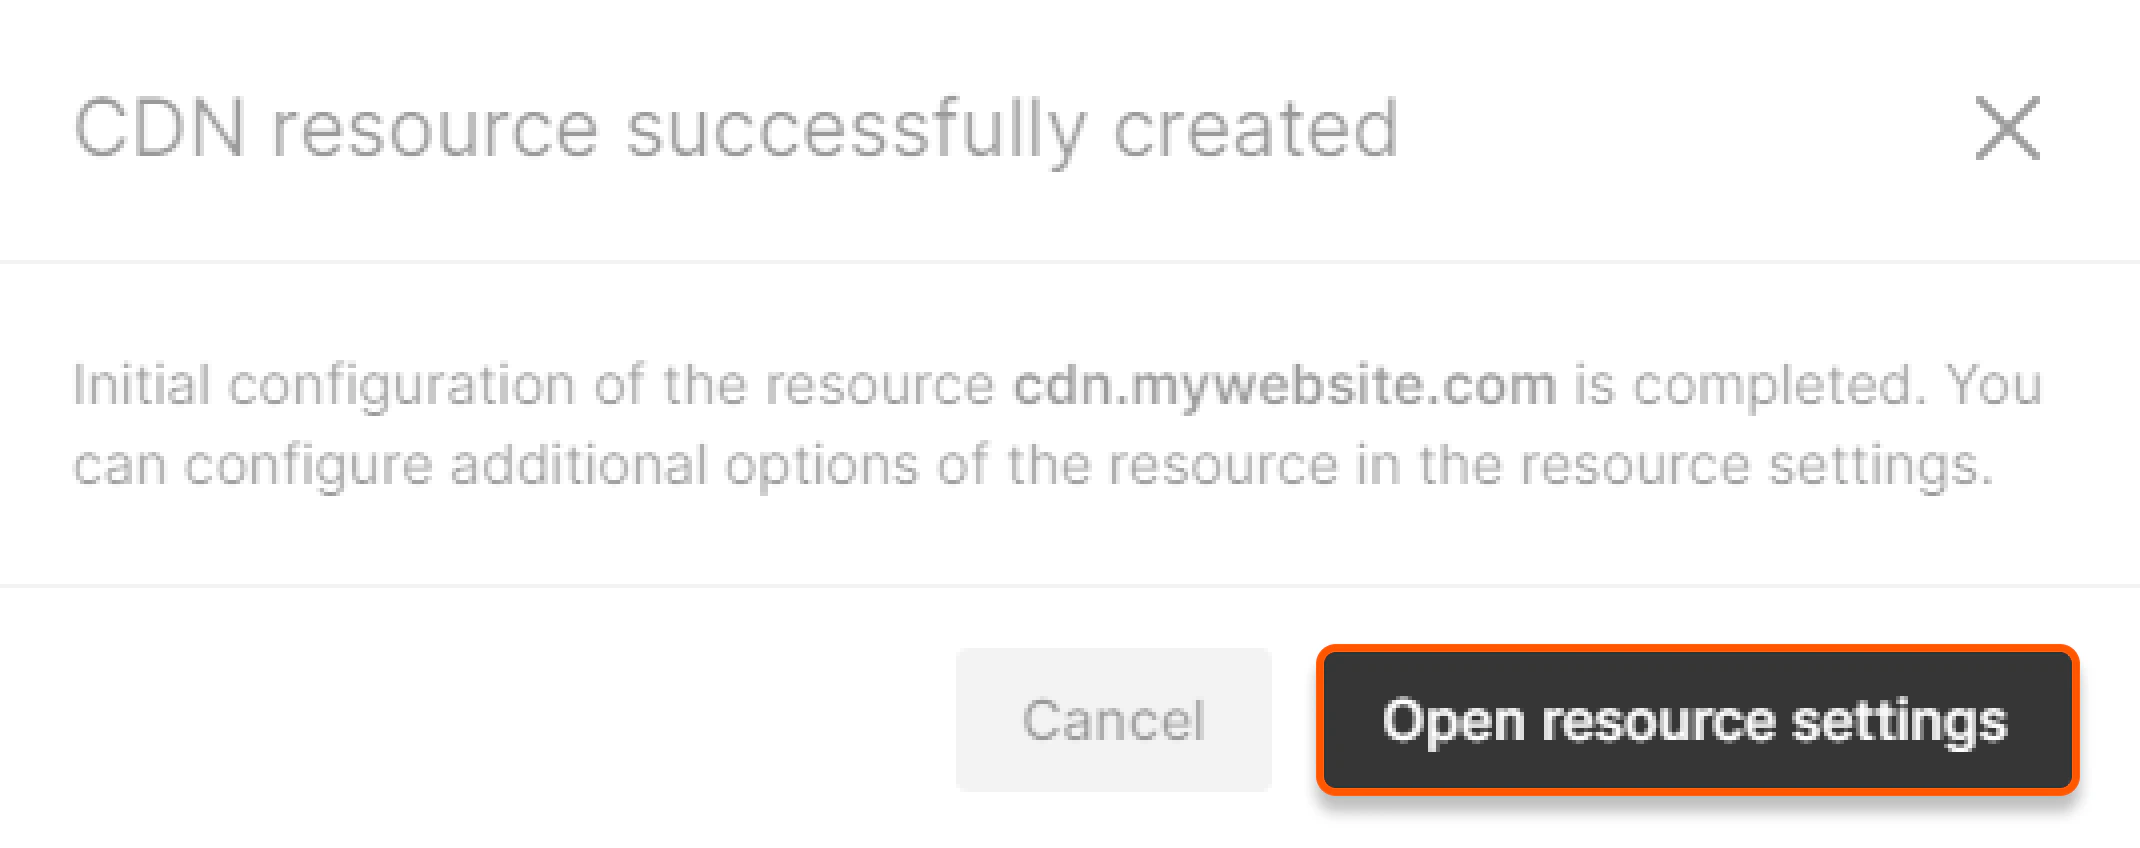
4\. Complete the CDN resource creation. You will see the following pop-up window when all configurations are completed:
3\. Go to your DNS provider's website and create a [CNAME record](https://gcore.com/learning/dns-cname-record-explained) for the custom domain with the value in the previous step. The CNAME record should be specified as follows:
```
cdn.mywebsite.com. cl-****.gcdn.co
```
Replace *cl-\*\*\*\*.gcdn.co* with the value specific to your account.
If you specified multiple custom domains in step 1, add CNAME records for all additional custom domains.
Use the `dig` command in the terminal or an [online dig tool](https://gcore.com/dev-tools/dns-lookup) to check the record. If the record was added correctly, you will receive a response similar to the one specified above.
4\. Complete the CDN resource creation. You will see the following pop-up window when all configurations are completed:
 ## Check the DNS setup status
Our setup guide will verify that the configuration was completed successfully and identify any issues requiring resolution.
1\. Open the settings of the CDN resource that you created.
2\. Click **Setup guide**.
## Check the DNS setup status
Our setup guide will verify that the configuration was completed successfully and identify any issues requiring resolution.
1\. Open the settings of the CDN resource that you created.
2\. Click **Setup guide**.
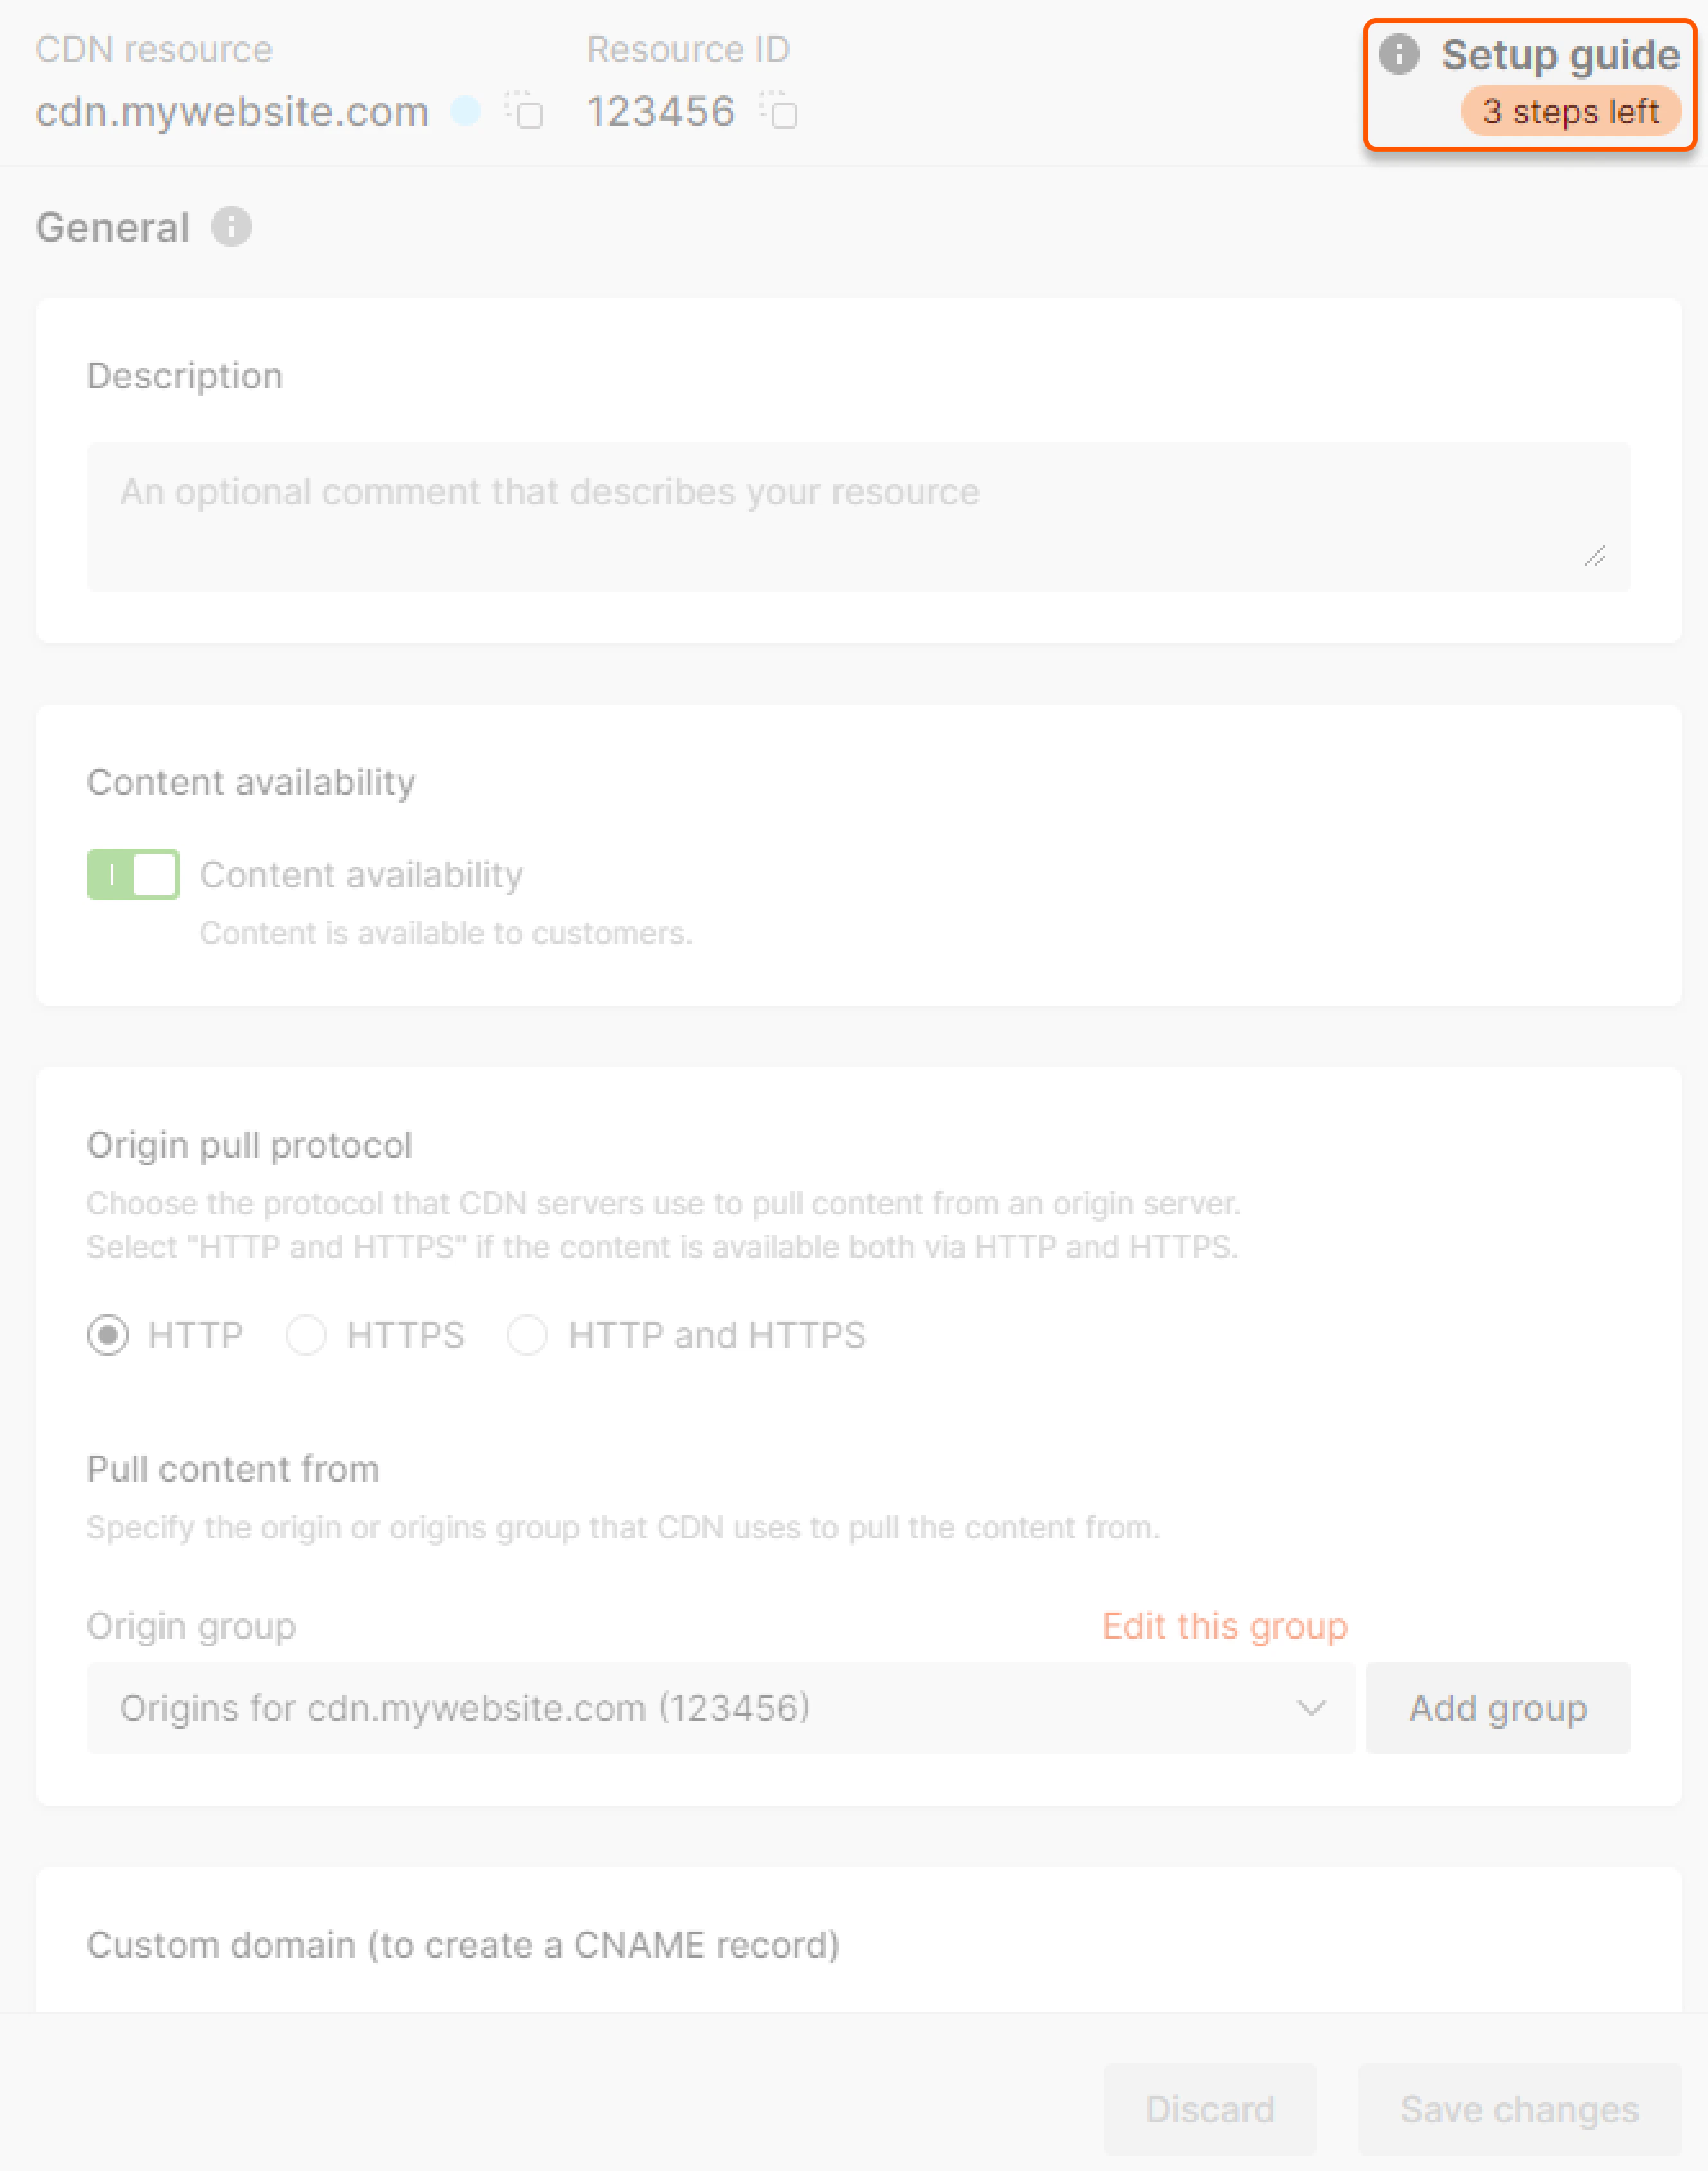 3\. A checklist will open, displaying each step of the configuration process. A check mark indicates that the step was successful. If any stage lacks a check mark, click on the step and follow the instructions to complete the configuration. When you're done, click **Check DNS setup status**.
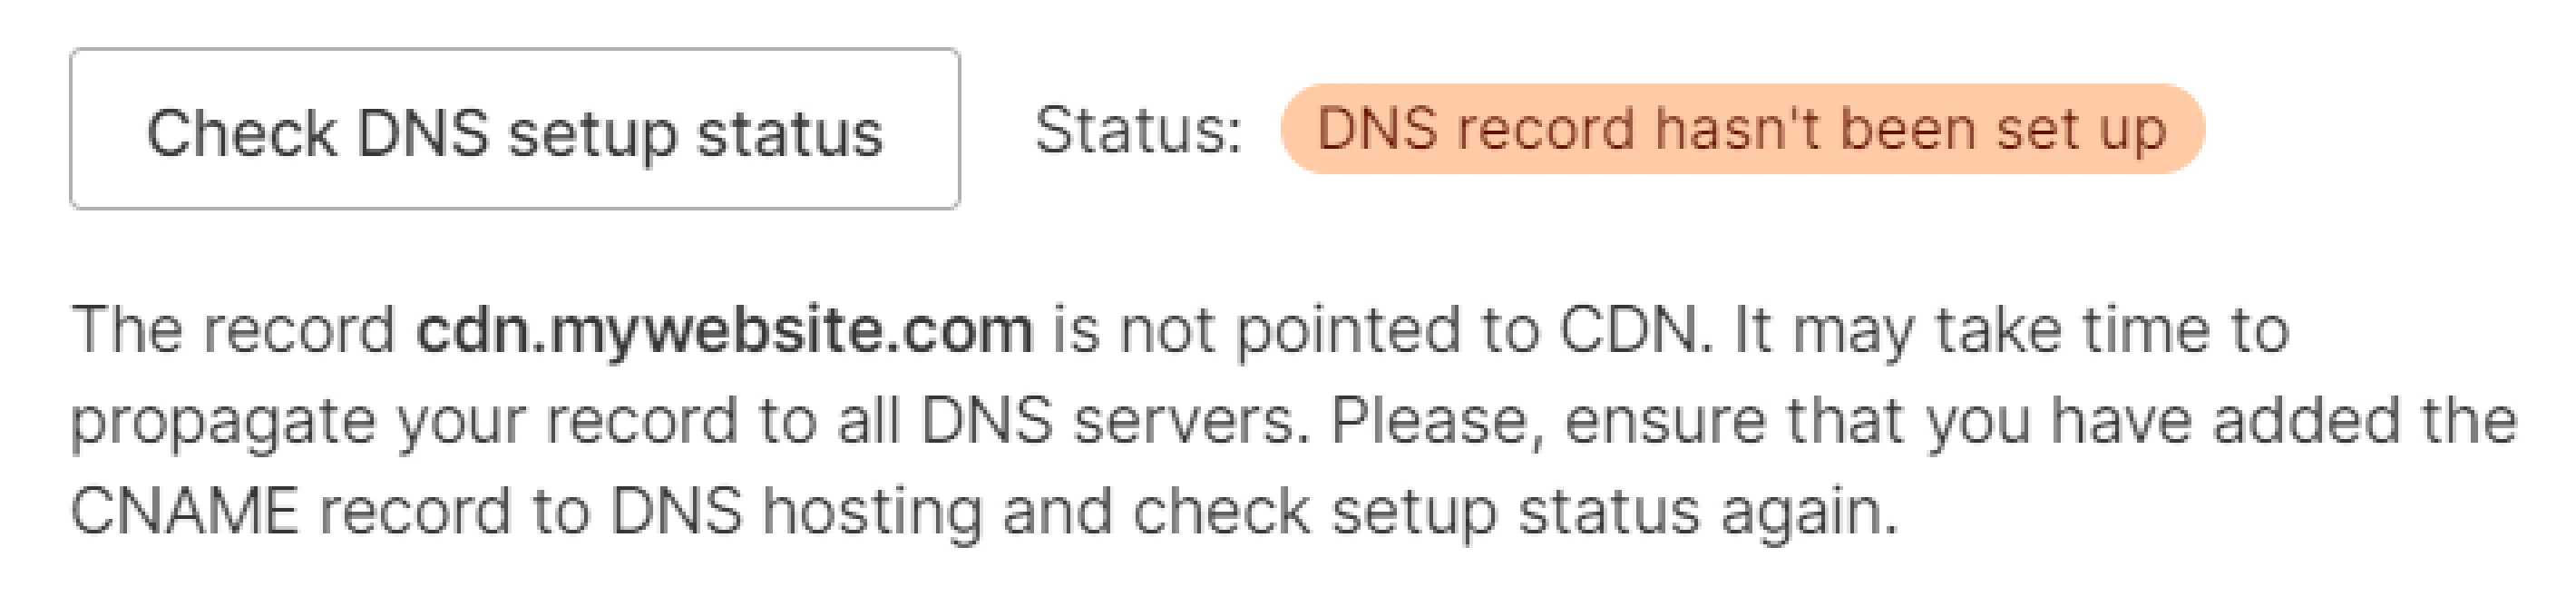
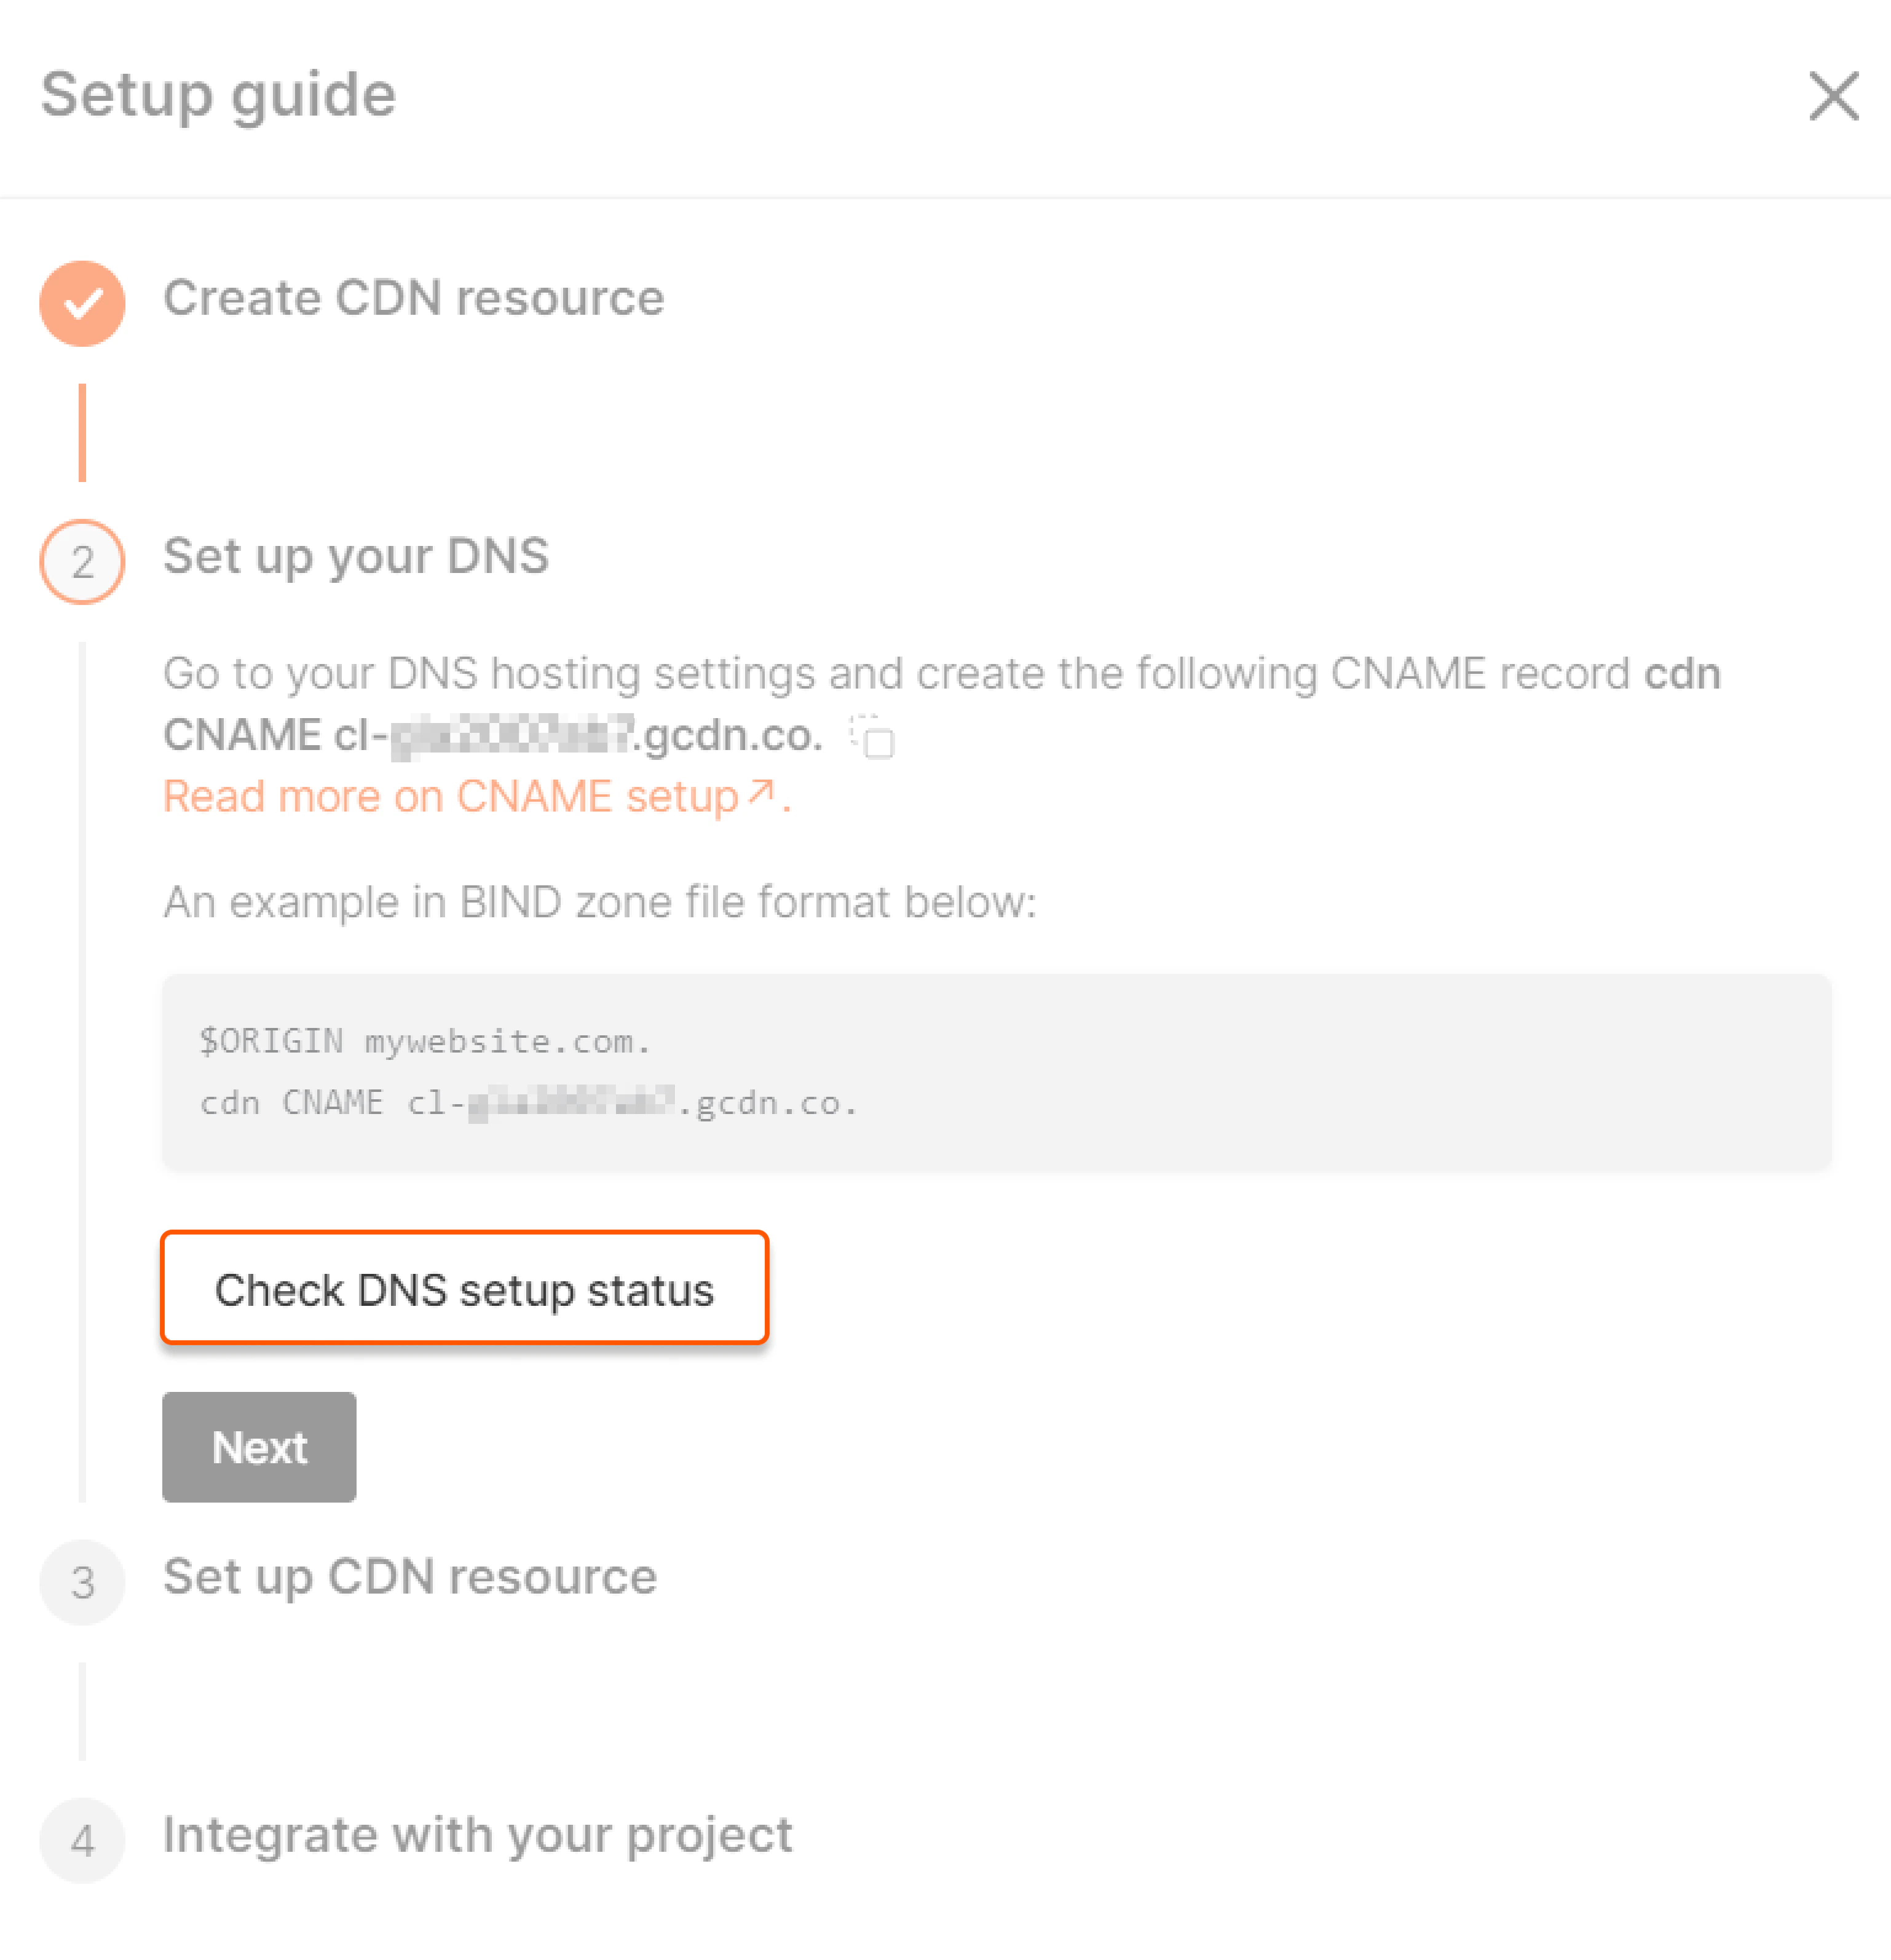 If you see the message "DNS record hasn't been set up", check your Managed DNS settings for configuration errors.
 If you see the message "DNS record has been successfully set up", the configuration has been completed correctly.
 To check the frontend of your integrated website, right-click on any static files and choose **Inspect**. This will show you the content delivery URL where your file is served.
## Specify additional domain (only for static CDN resources)
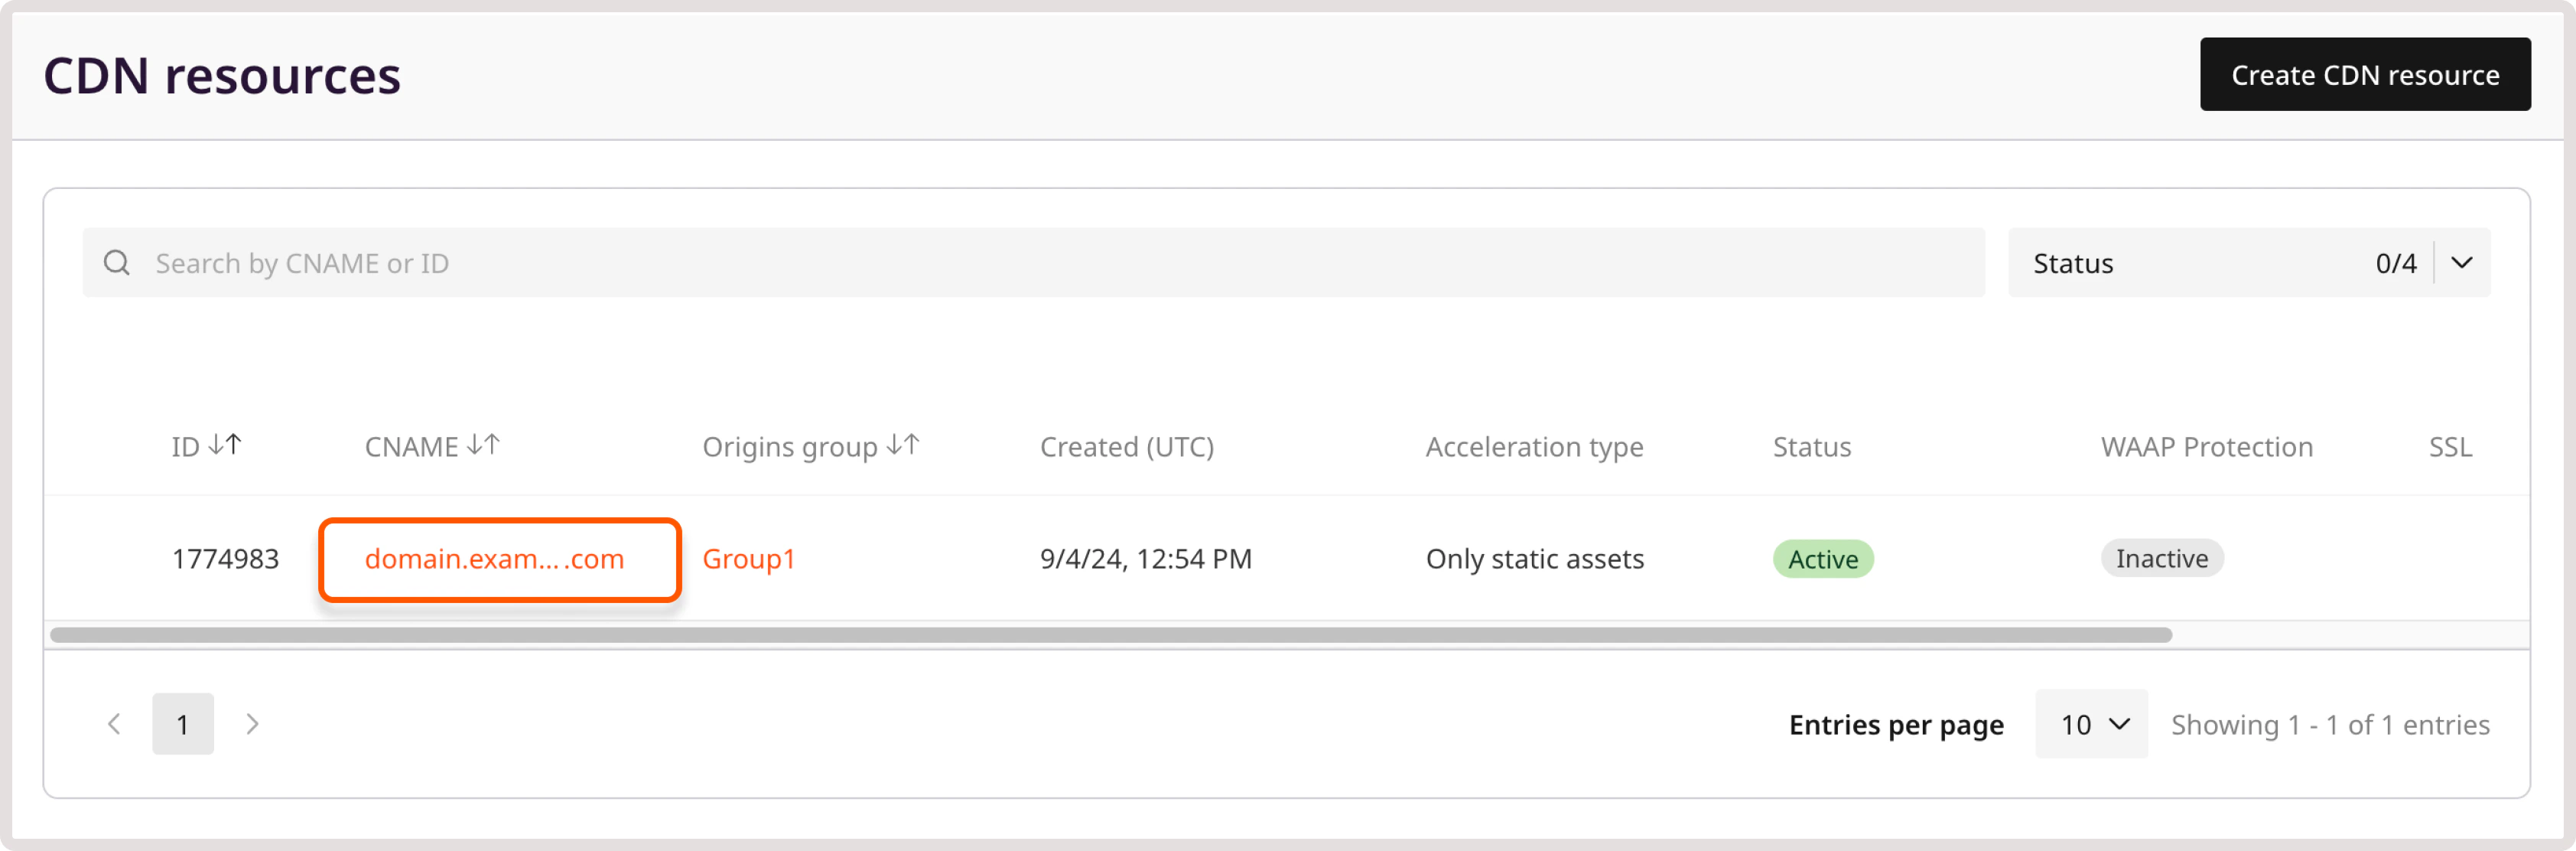
1\. Go to the [CDN resource list](https://portal.gcore.com/cdn/resources/list) and click on the custom domain of the resource you want to configure.
To check the frontend of your integrated website, right-click on any static files and choose **Inspect**. This will show you the content delivery URL where your file is served.
## Specify additional domain (only for static CDN resources)
1\. Go to the [CDN resource list](https://portal.gcore.com/cdn/resources/list) and click on the custom domain of the resource you want to configure.
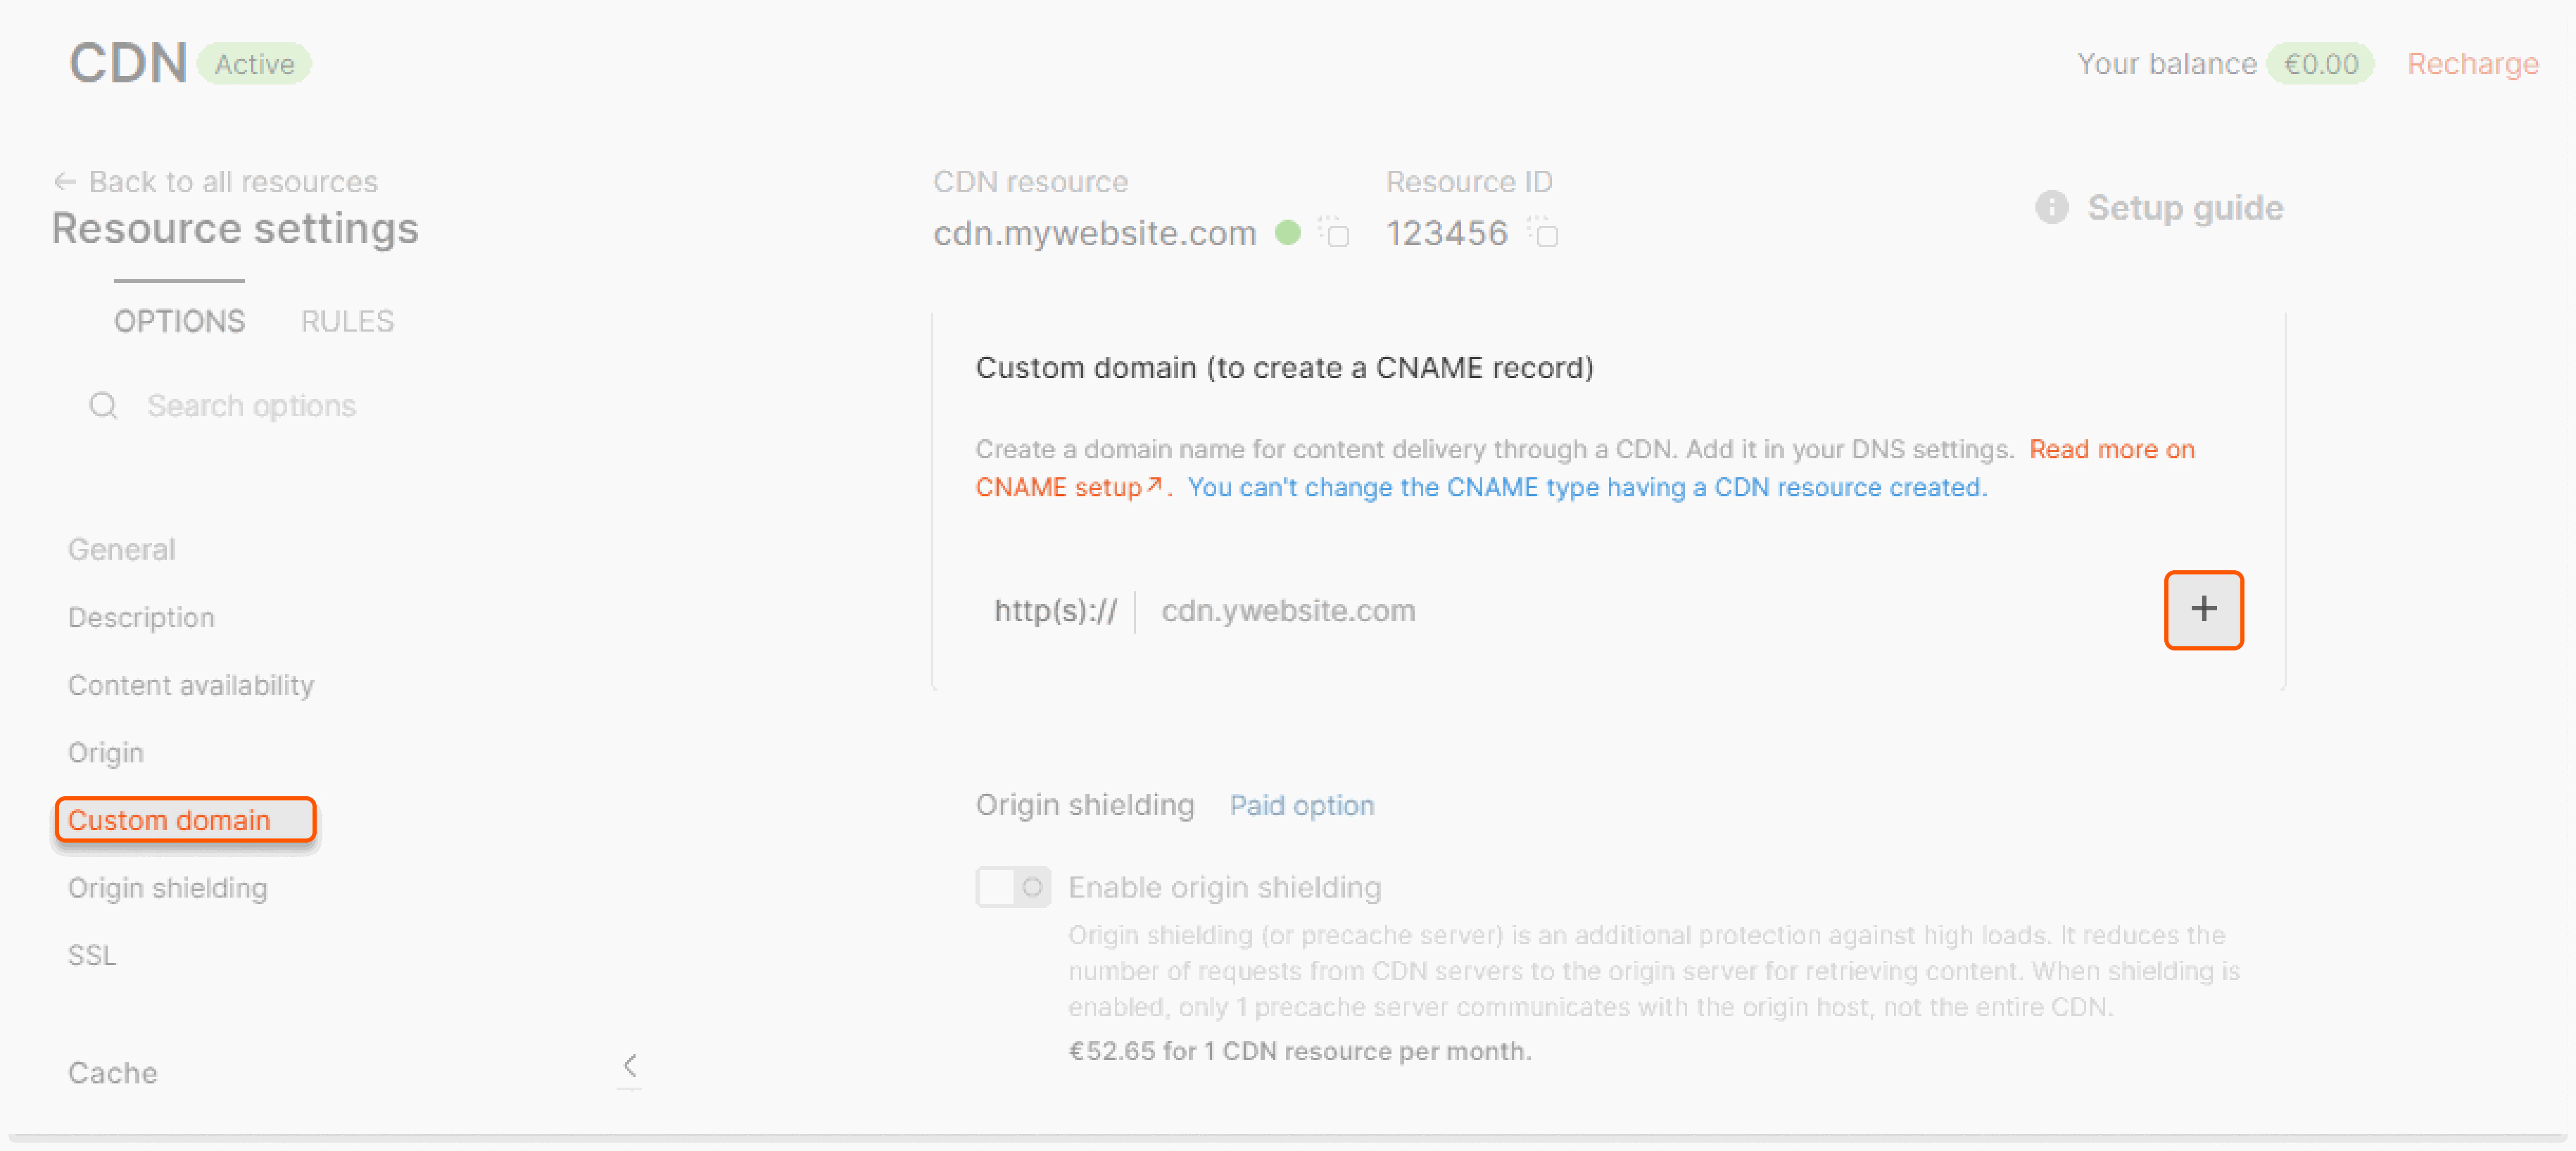
 2\. In the **Custom domain** section, click the plus sign (+) next to the **Domain** field and enter your desired domain name(s).
 3\. Click **Save changes** at the bottom of the page.
**Note**
Add a CNAME record to your DNS following the [instructions above](/cdn/cdn-resource-options/general/create-and-set-a-custom-domain-for-the-content-delivery-via-cdn#set-a-custom-domain) for each additional domain.
Once the additional domains are set up, you can configure your website to deliver different types of static files from separate domains.
3\. Click **Save changes** at the bottom of the page.
**Note**
Add a CNAME record to your DNS following the [instructions above](/cdn/cdn-resource-options/general/create-and-set-a-custom-domain-for-the-content-delivery-via-cdn#set-a-custom-domain) for each additional domain.
Once the additional domains are set up, you can configure your website to deliver different types of static files from separate domains.