Set up automatic snapshot creation
Snapshot Schedules is a feature that allows you to automate the creation of snapshots for your volumes based on your preferred day, hour, and minute, or at regular intervals. Moreover, it can automatically update your snapshots, such as creating a new one and deleting the previous one every day.
You can access this feature by logging into your personal account and navigating to the Snapshot Schedules section within your project. We'll provide you with instructions on how to use this feature.
Create a schedule
Create a schedule and give it a name
Open "Snapshot Schedules" and click "Create Snapshot Schedule" in the upper right corner. The system will ask you to enter a name. Name the schedule so that it will be easier to distinguish it from others later — for example, you can use a volume name: "Snapshot of [your volume name]".
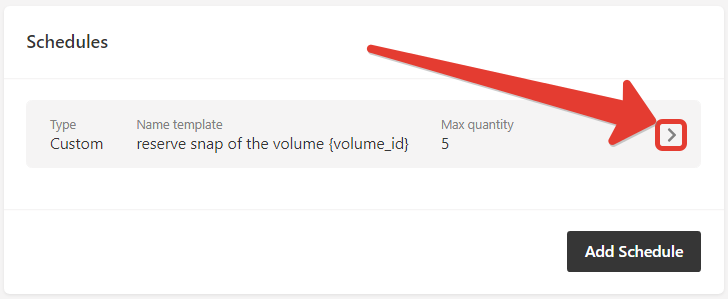
Click on the created schedule to configure it.

Select volumes
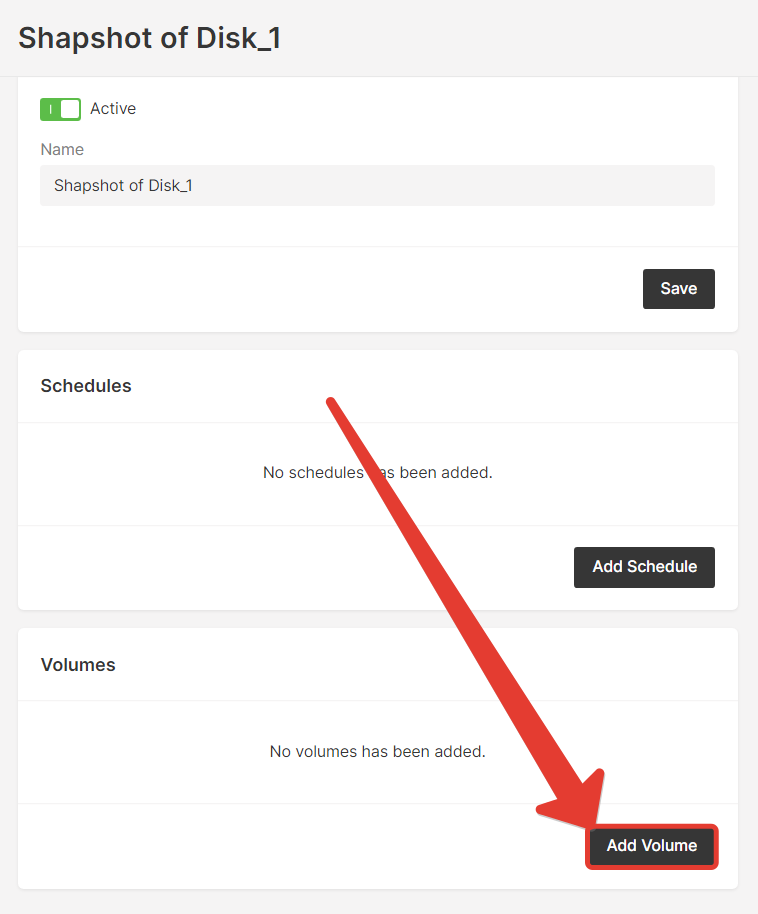
Click "Add Volume" at the bottom of the page. Select one or several volumes for which snapshots will be created; you can choose both boot and regular volumes.
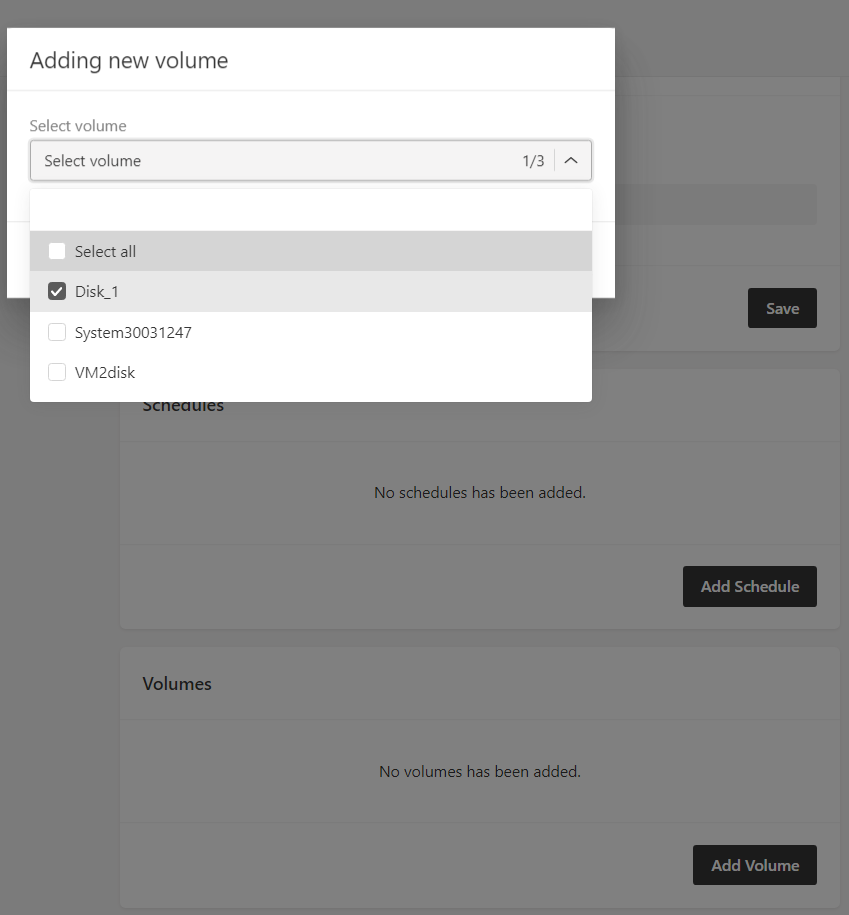
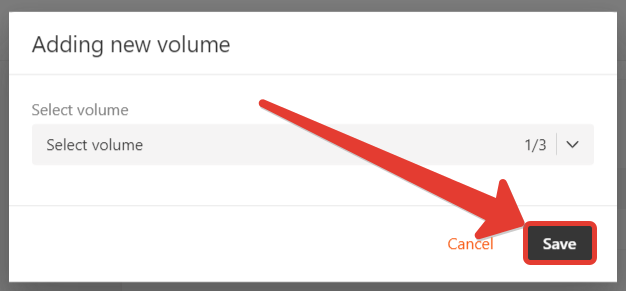
Confirm your choice by clicking "Save" in the pop-up window.
Add and configure a snapshot schedule
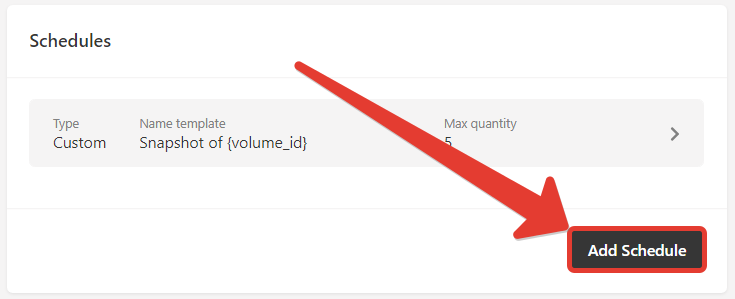
- Click "Add Schedule" and enter a name for future snapshots
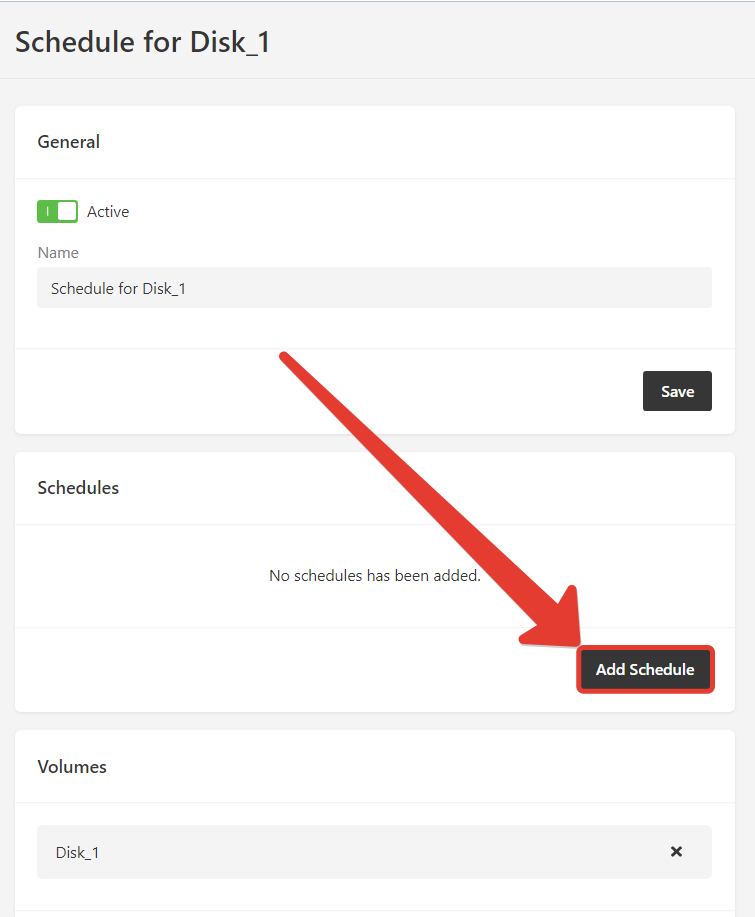
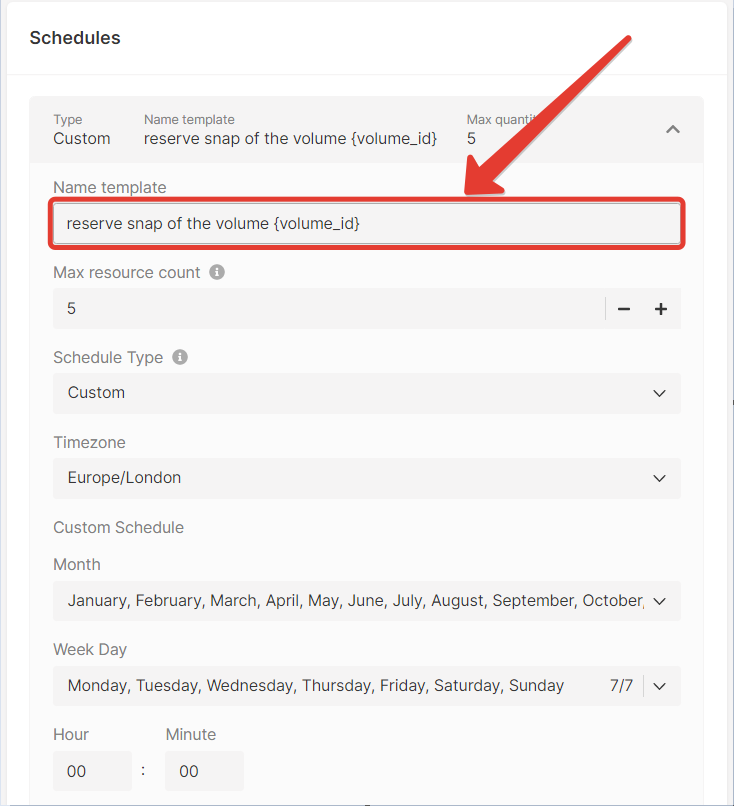
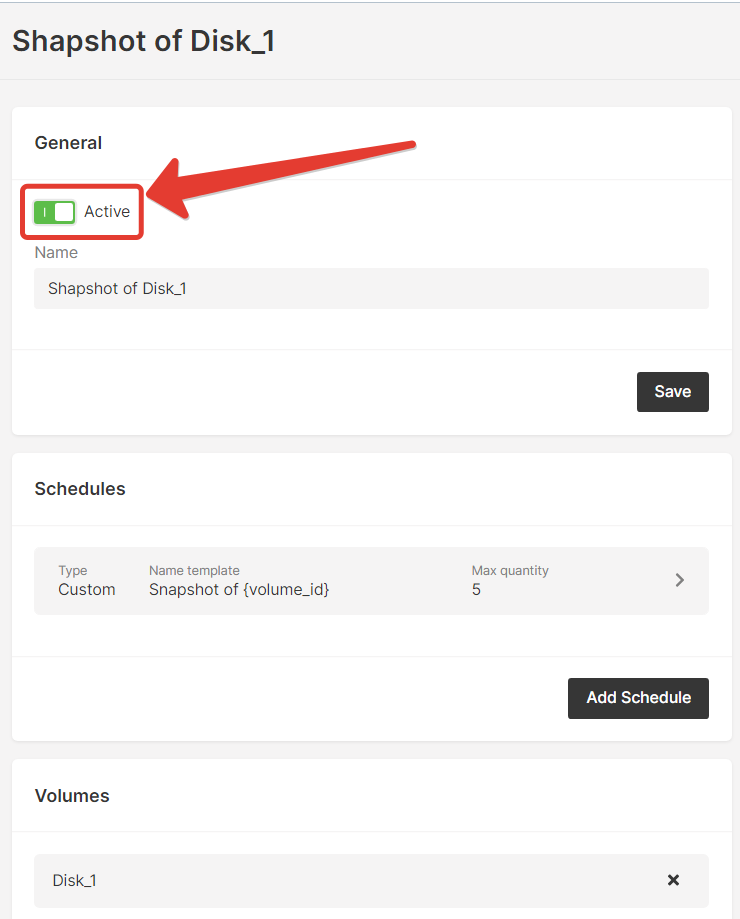
In the "Name template" field, enter a name for future snapshots. All Snapshots created within this schedule will receive it. You can use the dynamic variable "{volume_id}" in the template — it will be replaced with your volume's name automatically. For example, if the volume is named "Disk_1" and the Name template is "Snapshot of {volume_id}", then the system will create the snapshot "Snapshot of Disk_1".
- Set the maximum resource quantity
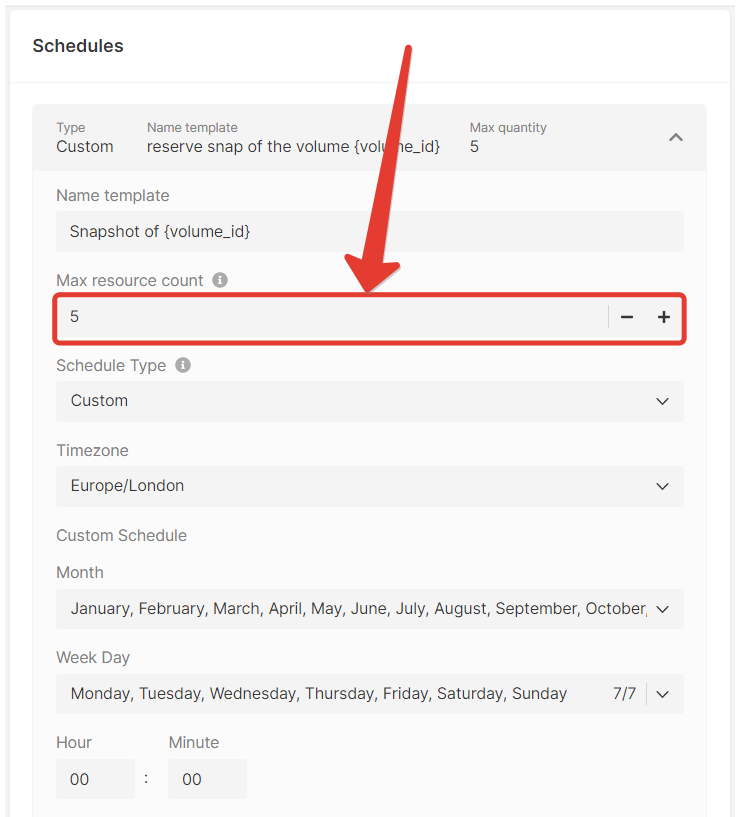
"Max resource count" limits the number of snapshots within the schedule. If the limit is reached, the system will delete the old one to free up space before creating a new Snapshot.
Example. You have configured a schedule that creates a snapshot every day and its maximum number of resources is 5. You launched it on Monday. By the end of Friday, the system has already made 5 snapshots. It will free up space on Saturday by deleting the oldest snapshot (Monday’s) and create a new one. The same will be done on Sunday and all subsequent days. Snapshots created within another schedule or manually will not be affected by the system.
- Select the schedule type — "Custom" or "Period"
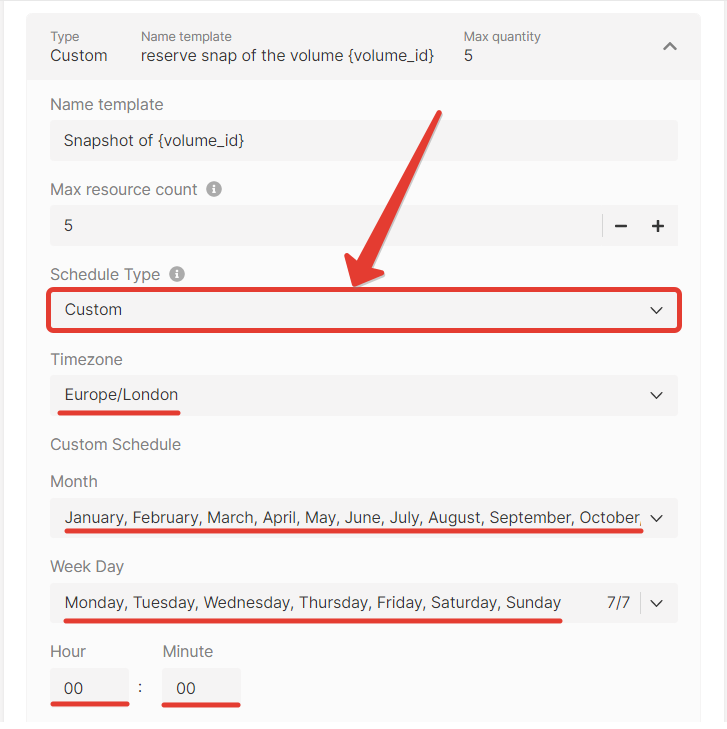
With the "Custom" schedule, you can specify months, days of week, hours and minutes for creation of snapshots. For example, if you select the months January and May, the day Monday and the time 16:00, the system will create about 8 snapshots per year — at 16:00 every Monday in January and May.
When choosing your time zone, notice that Etc/GMT and GMT are not the same things. Etc/GMT values are opposite to GMT — for example, London time can be specified as Etc/GMT-1 or GMT+1.
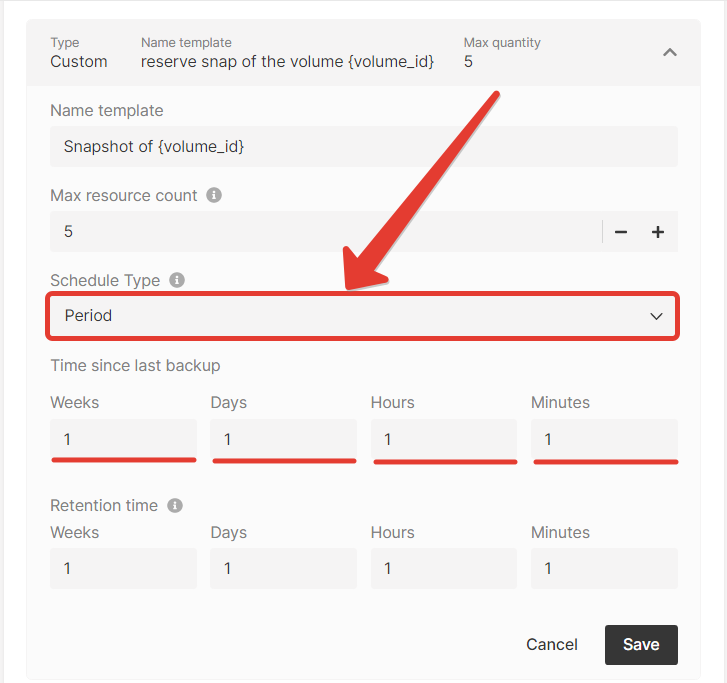
With the "Period" schedule type, you specify the regular intervals at which the system should take a snapshot. The minimum interval is 1 hour. For example, you can set up a period of 1 week and get a snapshot every seven days. After starting the schedule, the system will wait until the required period has passed and take a snapshot. When the period passes again, it will do the second one, and so on.
- Set the snapshots retention time
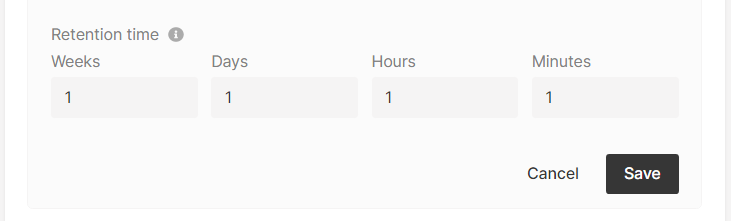
Define the retention time — the period after which the snapshot will be automatically deleted. For example, if a snapshot is created on Monday with the retention time of 2 days, the system will delete it on Wednesday.
Please note: even if the retention time has not expired, the system may delete an old snapshot if there is no space for a new one. This process depends on the maximum resource quantity. If you specified the maximum resource quantity of 5 and the system has to take the 6th Snapshot, before that it will delete the oldest one (1st), even if its retention time has not expired.
- Save the schedule.
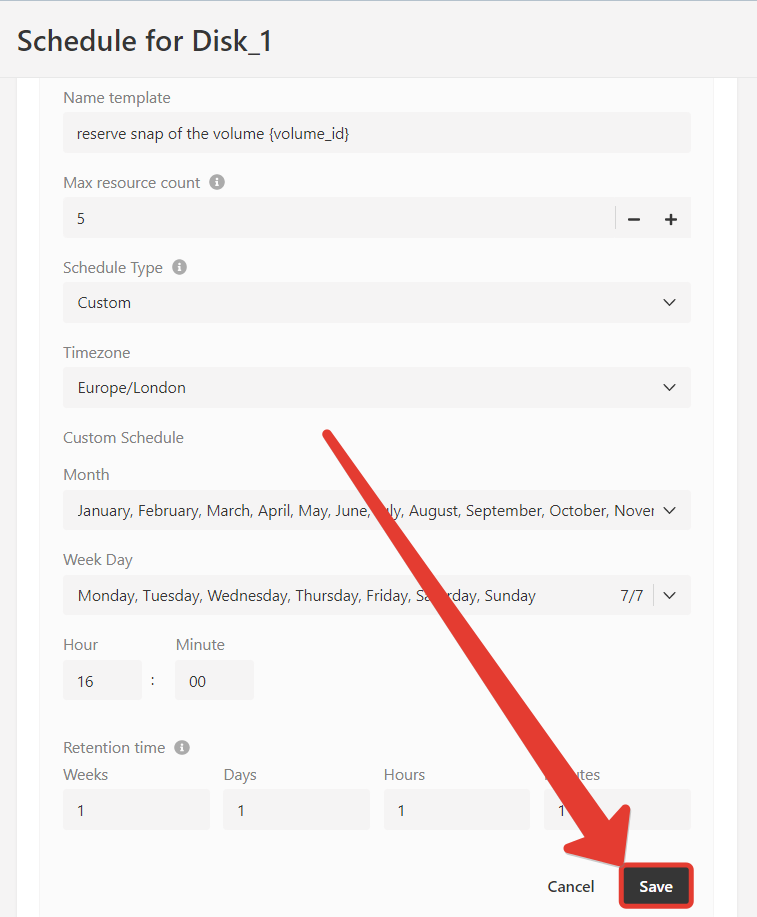
When all the settings are configured, click "Save" — the schedule will start and the system will start taking snapshots.
Add multiple snapshot schedules if needed
You can create multiple schedules for the selected volumes — for example, if you want to receive a snapshot every Monday at 15:22 and every Saturday at 19:00, add a separate Custom schedule for each of them.
Disable and enable a schedule
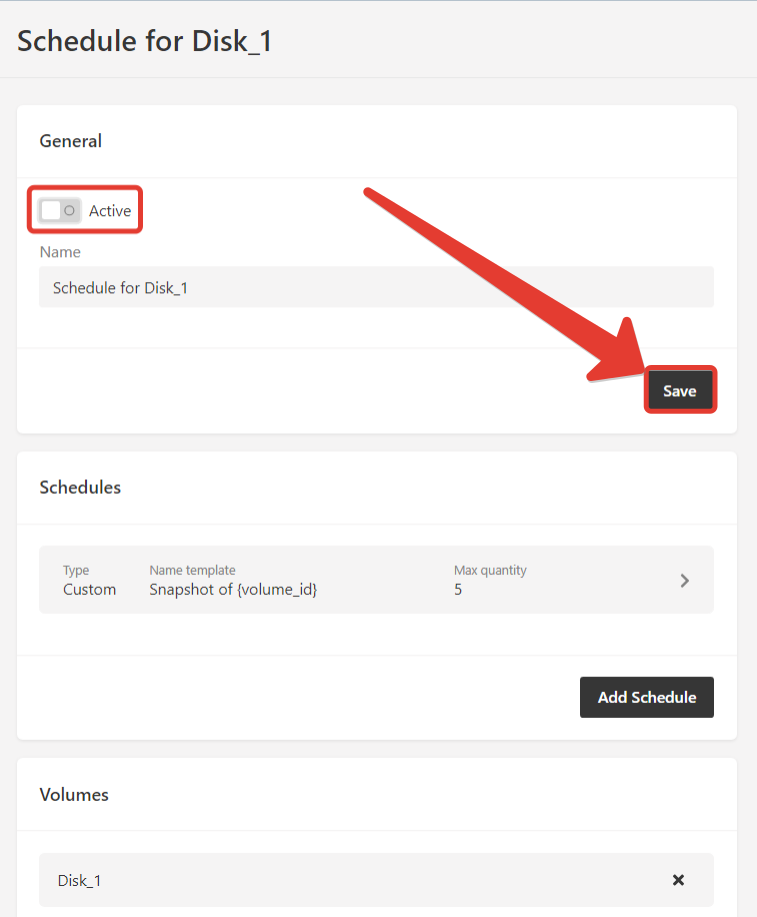
Once created, each schedule is enabled by default and starts running. It gets the status "Active".

To disable a schedule, open it and drag the slider at the top of the screen to the right. Then click "Save" You can later enable the schedule again using this slider.
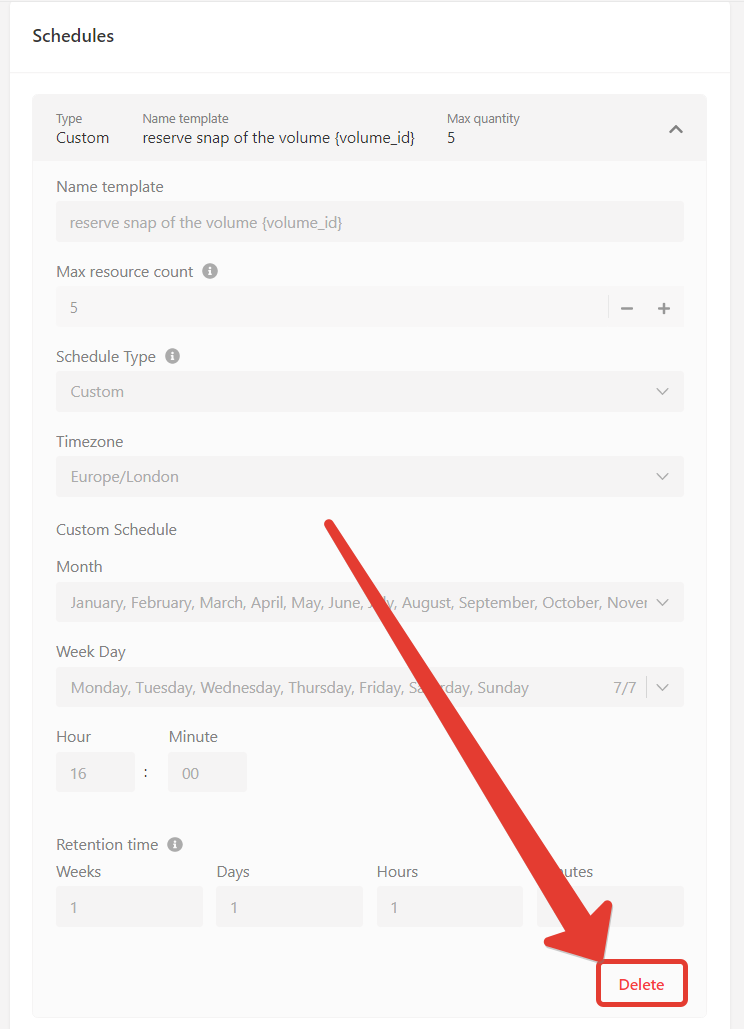
You cannot disable and edit a separate schedule of the "Custom" or "Period" type, but you can delete it. To do this, open the schedule and click "Delete".
Delete a schedule
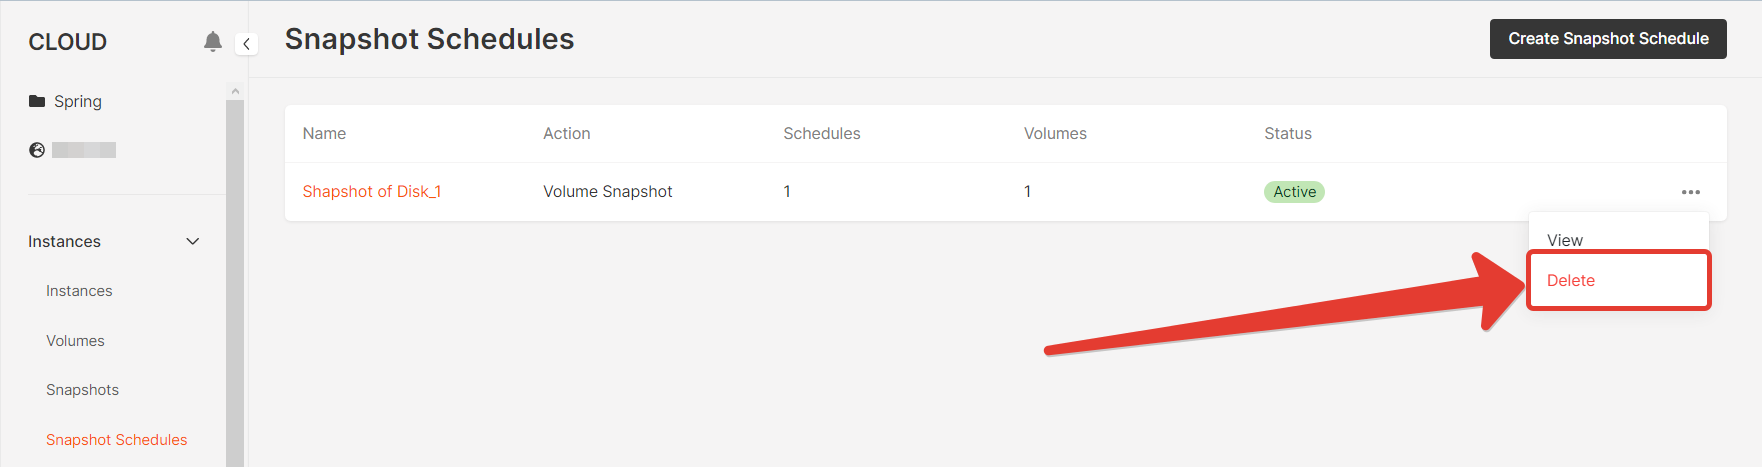
You can delete the entire schedule in the "Snapshot Schedules" section. To do this, click on the ellipsis near the required schedule and select "Delete" in the drop-down menu.
Was this article helpful?
Not a Gcore user yet?
Discover our offerings, including virtual instances starting from 3.7 euro/mo, bare metal servers, AI Infrastructure, load balancers, Managed Kubernetes, Function as a Service, and Centralized Logging solutions.