Create and manage a subnetwork
A subnetwork is a range of IP addresses in a cloud network. Addresses from this range will be assigned to machines in the cloud.
Create a subnetwork
There are two ways to create a subnework in the network: during the creation of a virtual machine or from the Networks page, which is described in the following section.
Create a subnetwork from the Networks page
1. In the Gcore Customer Portal, navigate to Cloud > Networking.
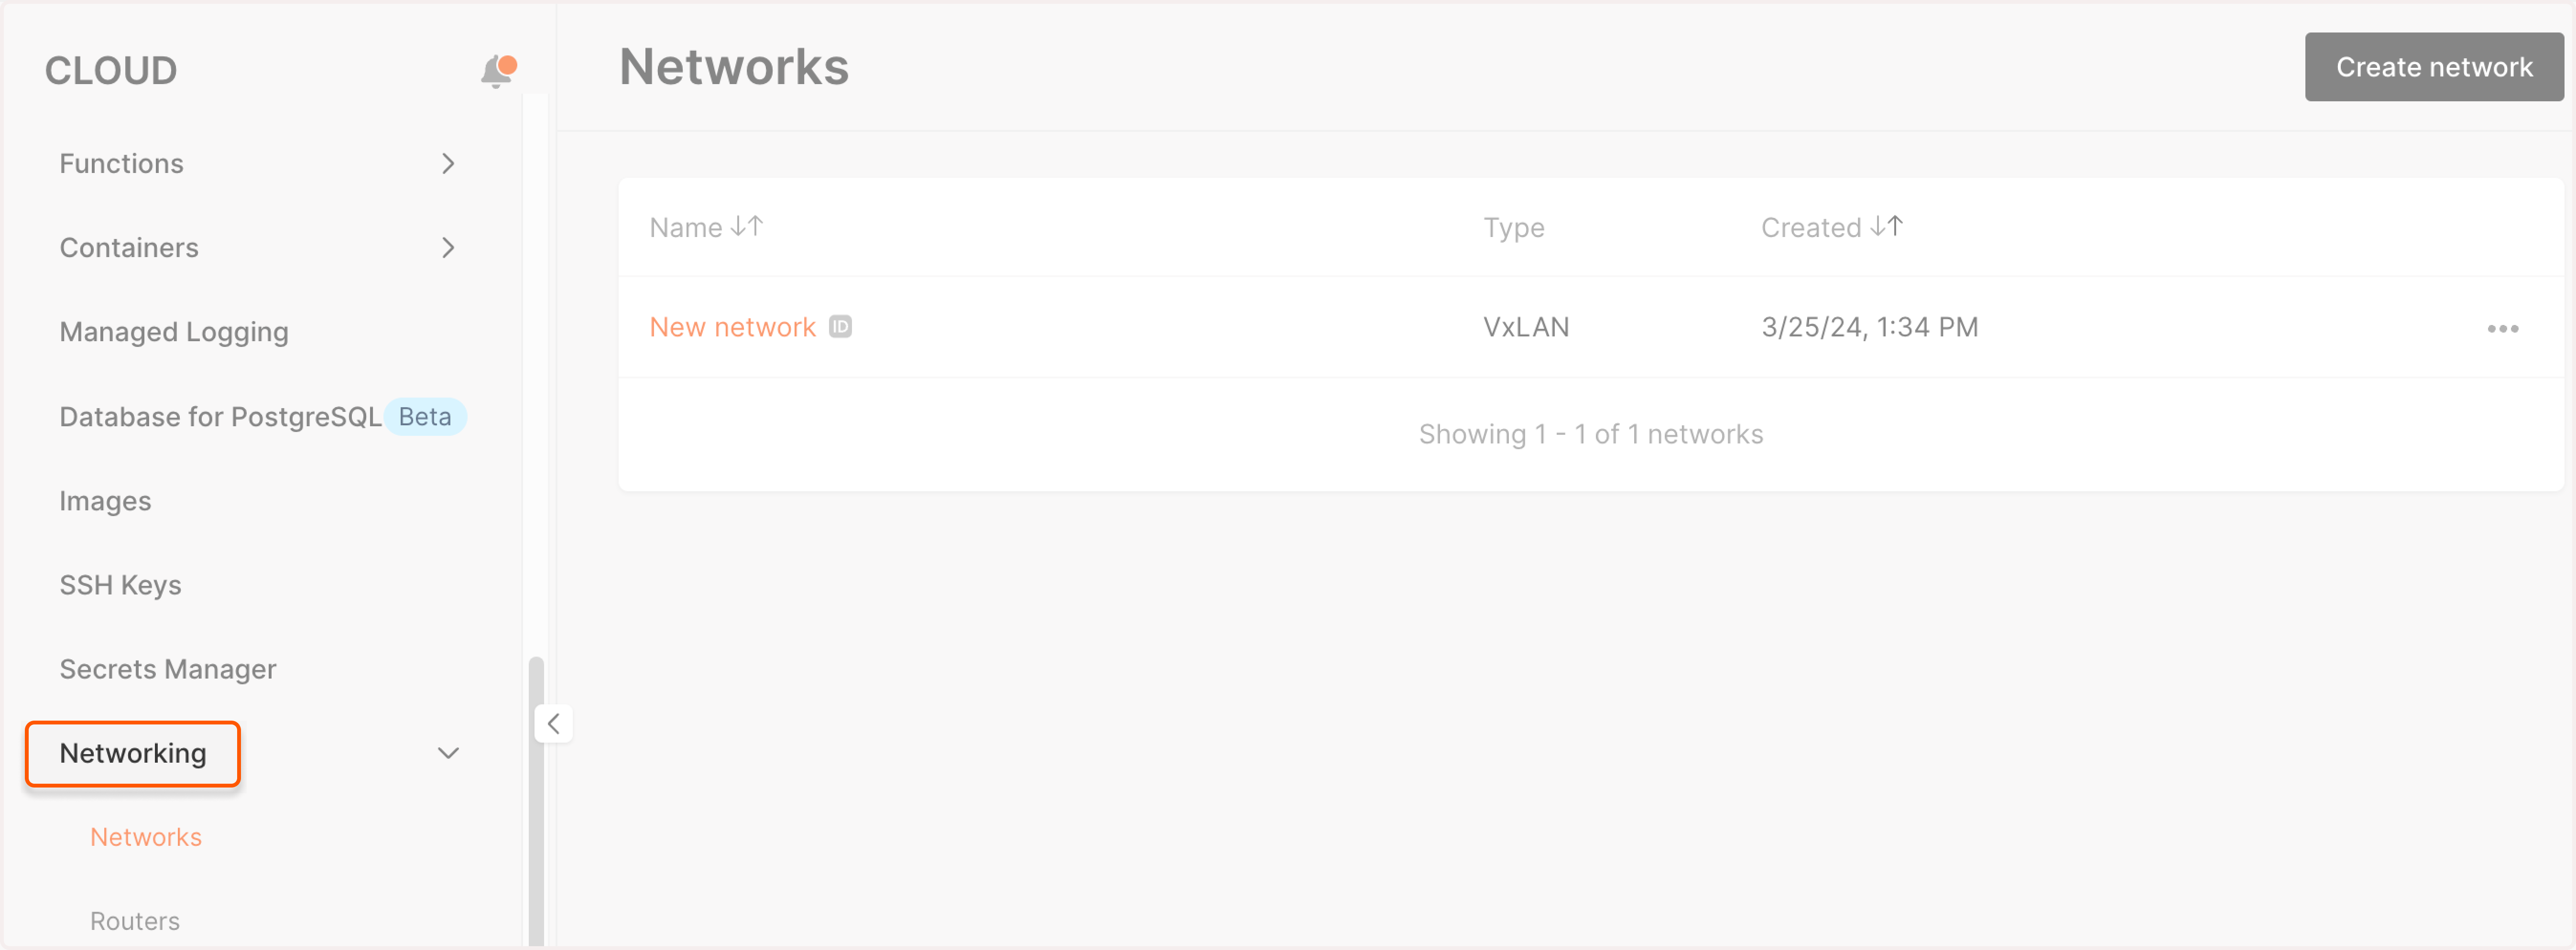
2. Find the network where you want to create a subnetwork and click its name to open it.
3. Click Create subnetwork.
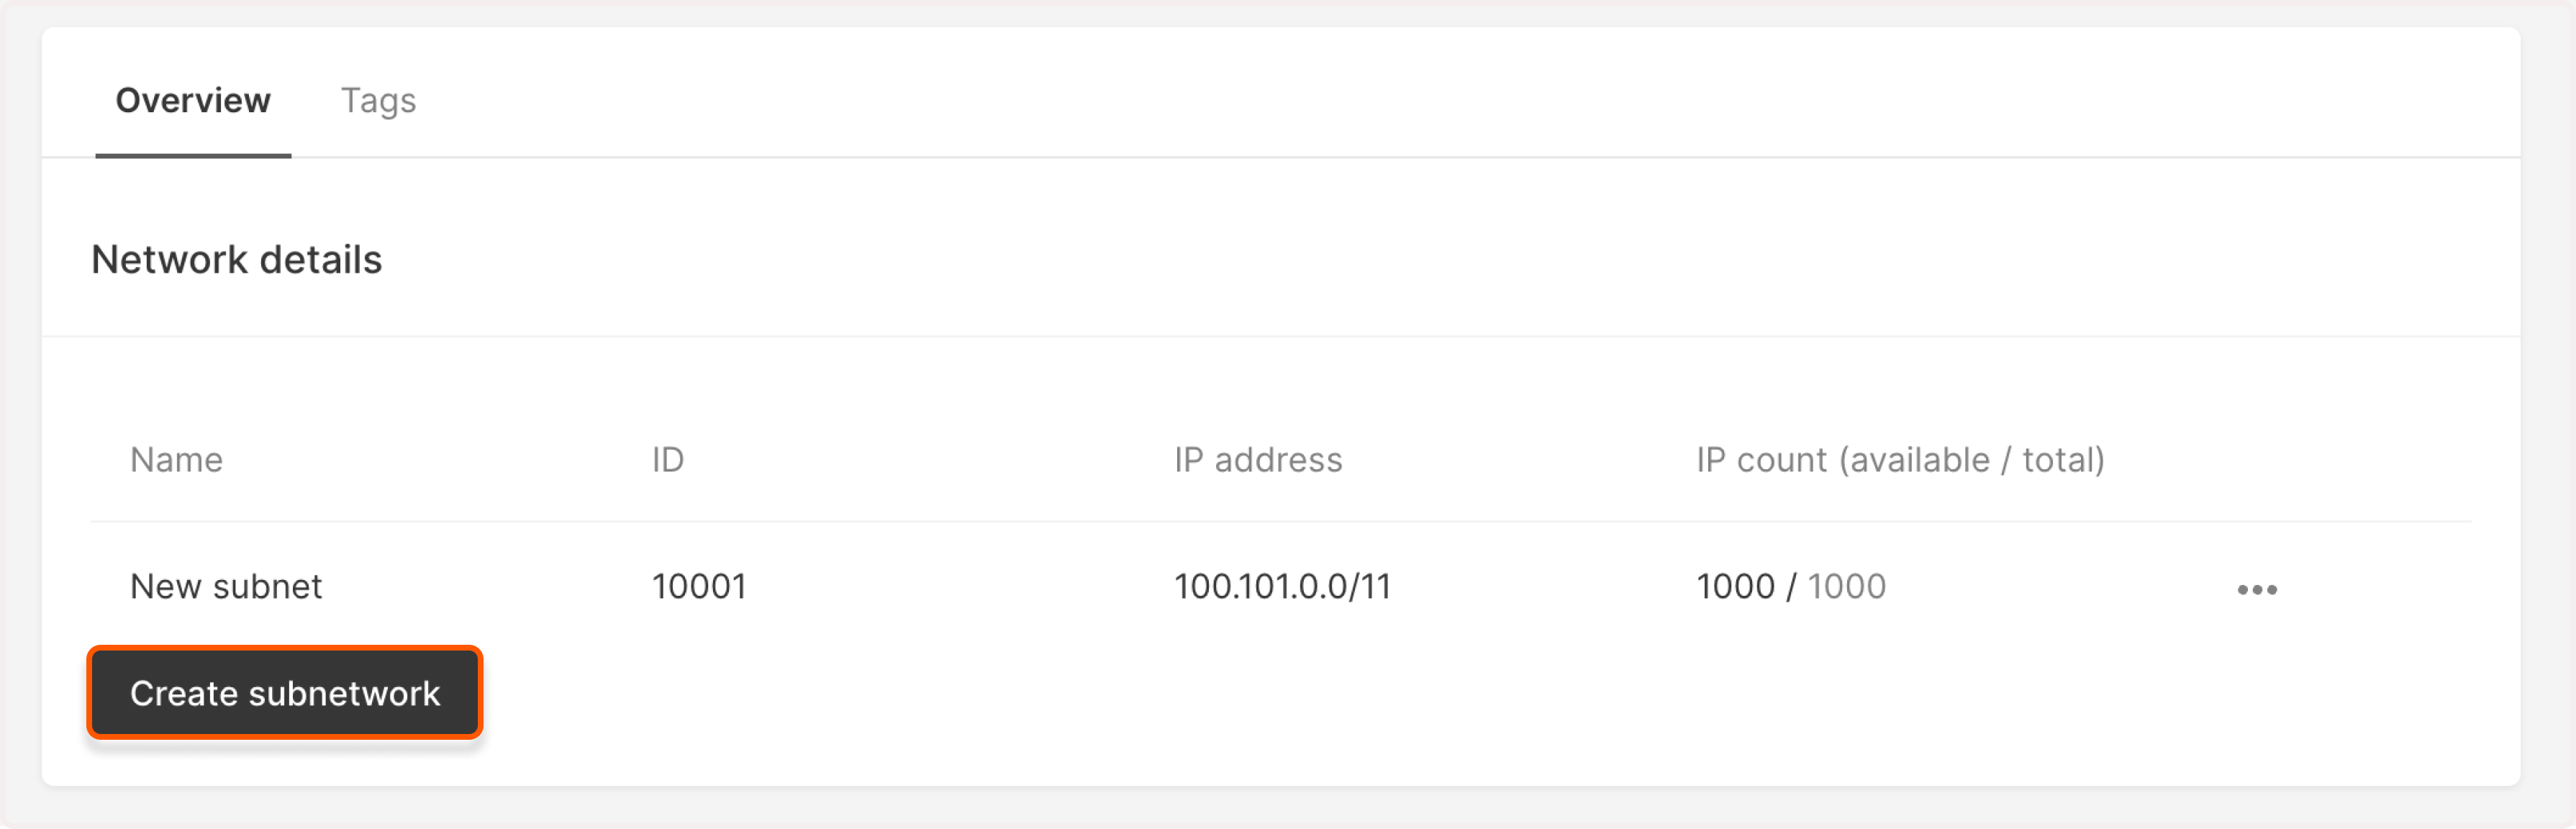
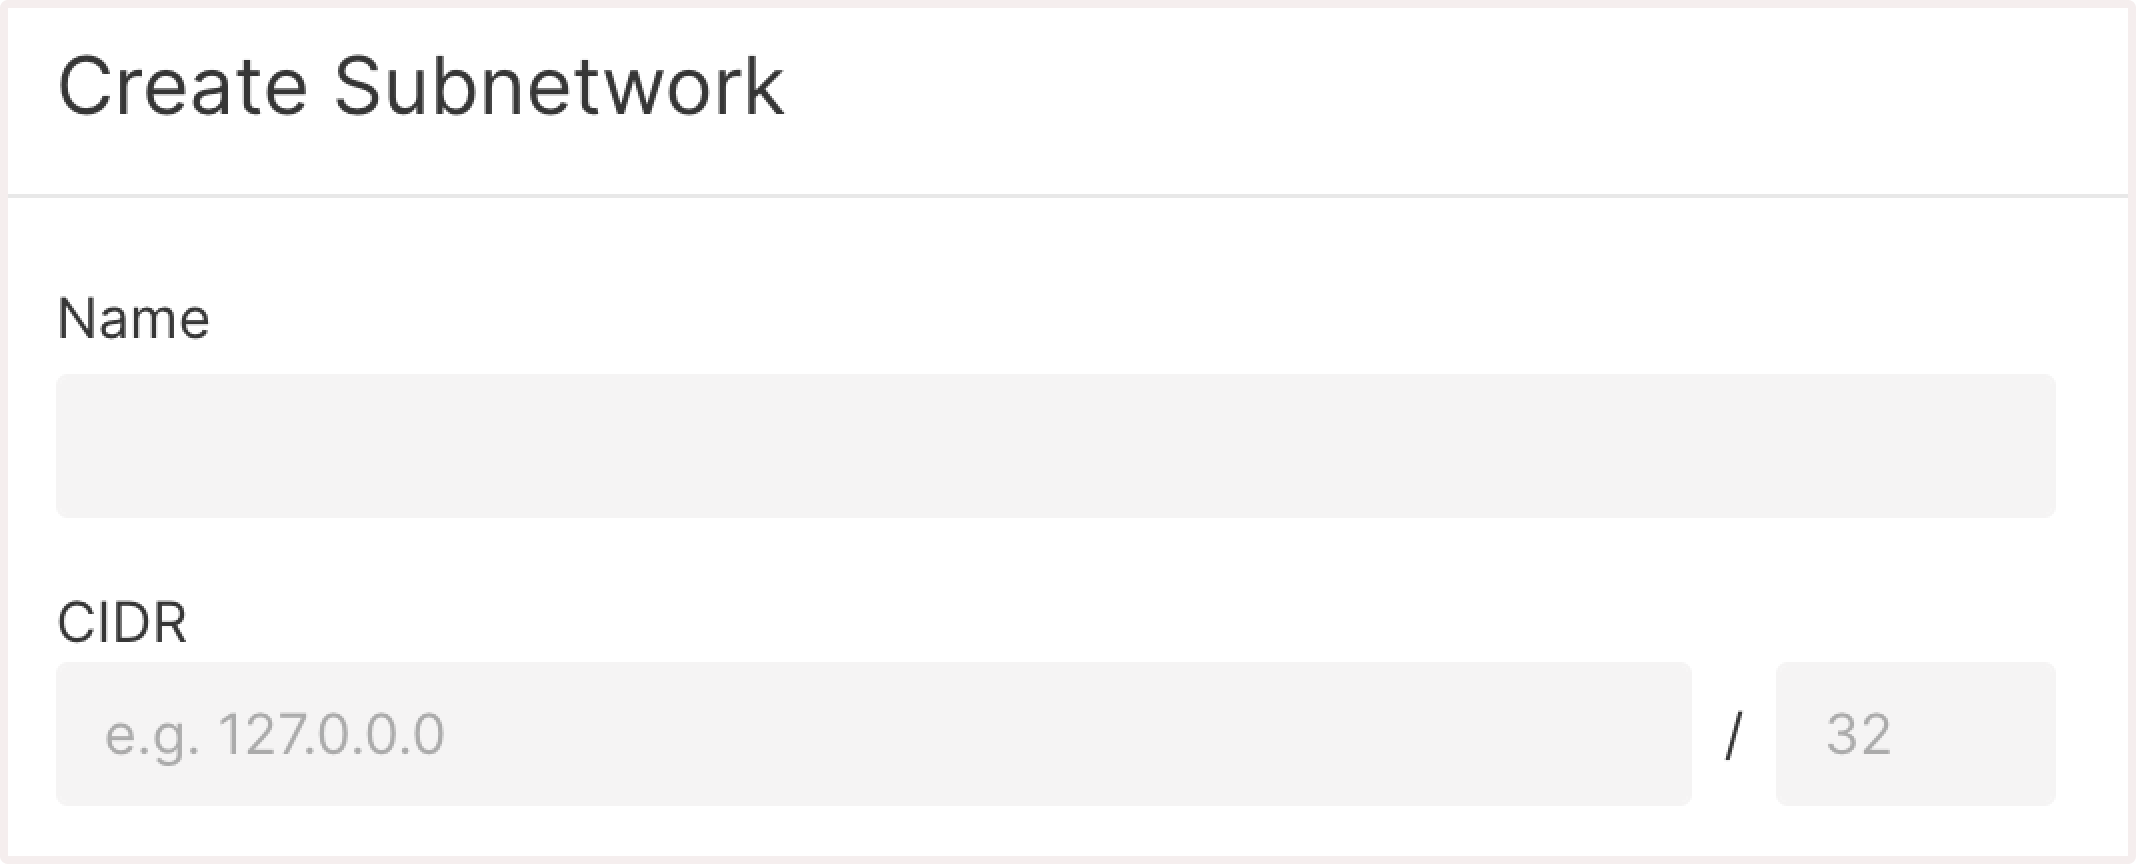
4. A new Create subnetwork page will open. Here you can customize subnetwork settings.
5. Enter the subnetwork name.
6. Set CIDR between ranges: 10.0.0.0 - 10.255.255.255, 172.16.0.0—172.31.255.255, 192.168.0.0—192.168.255.255. Set the mask between 16 and 24. You can find more information in the Set the IP range section.
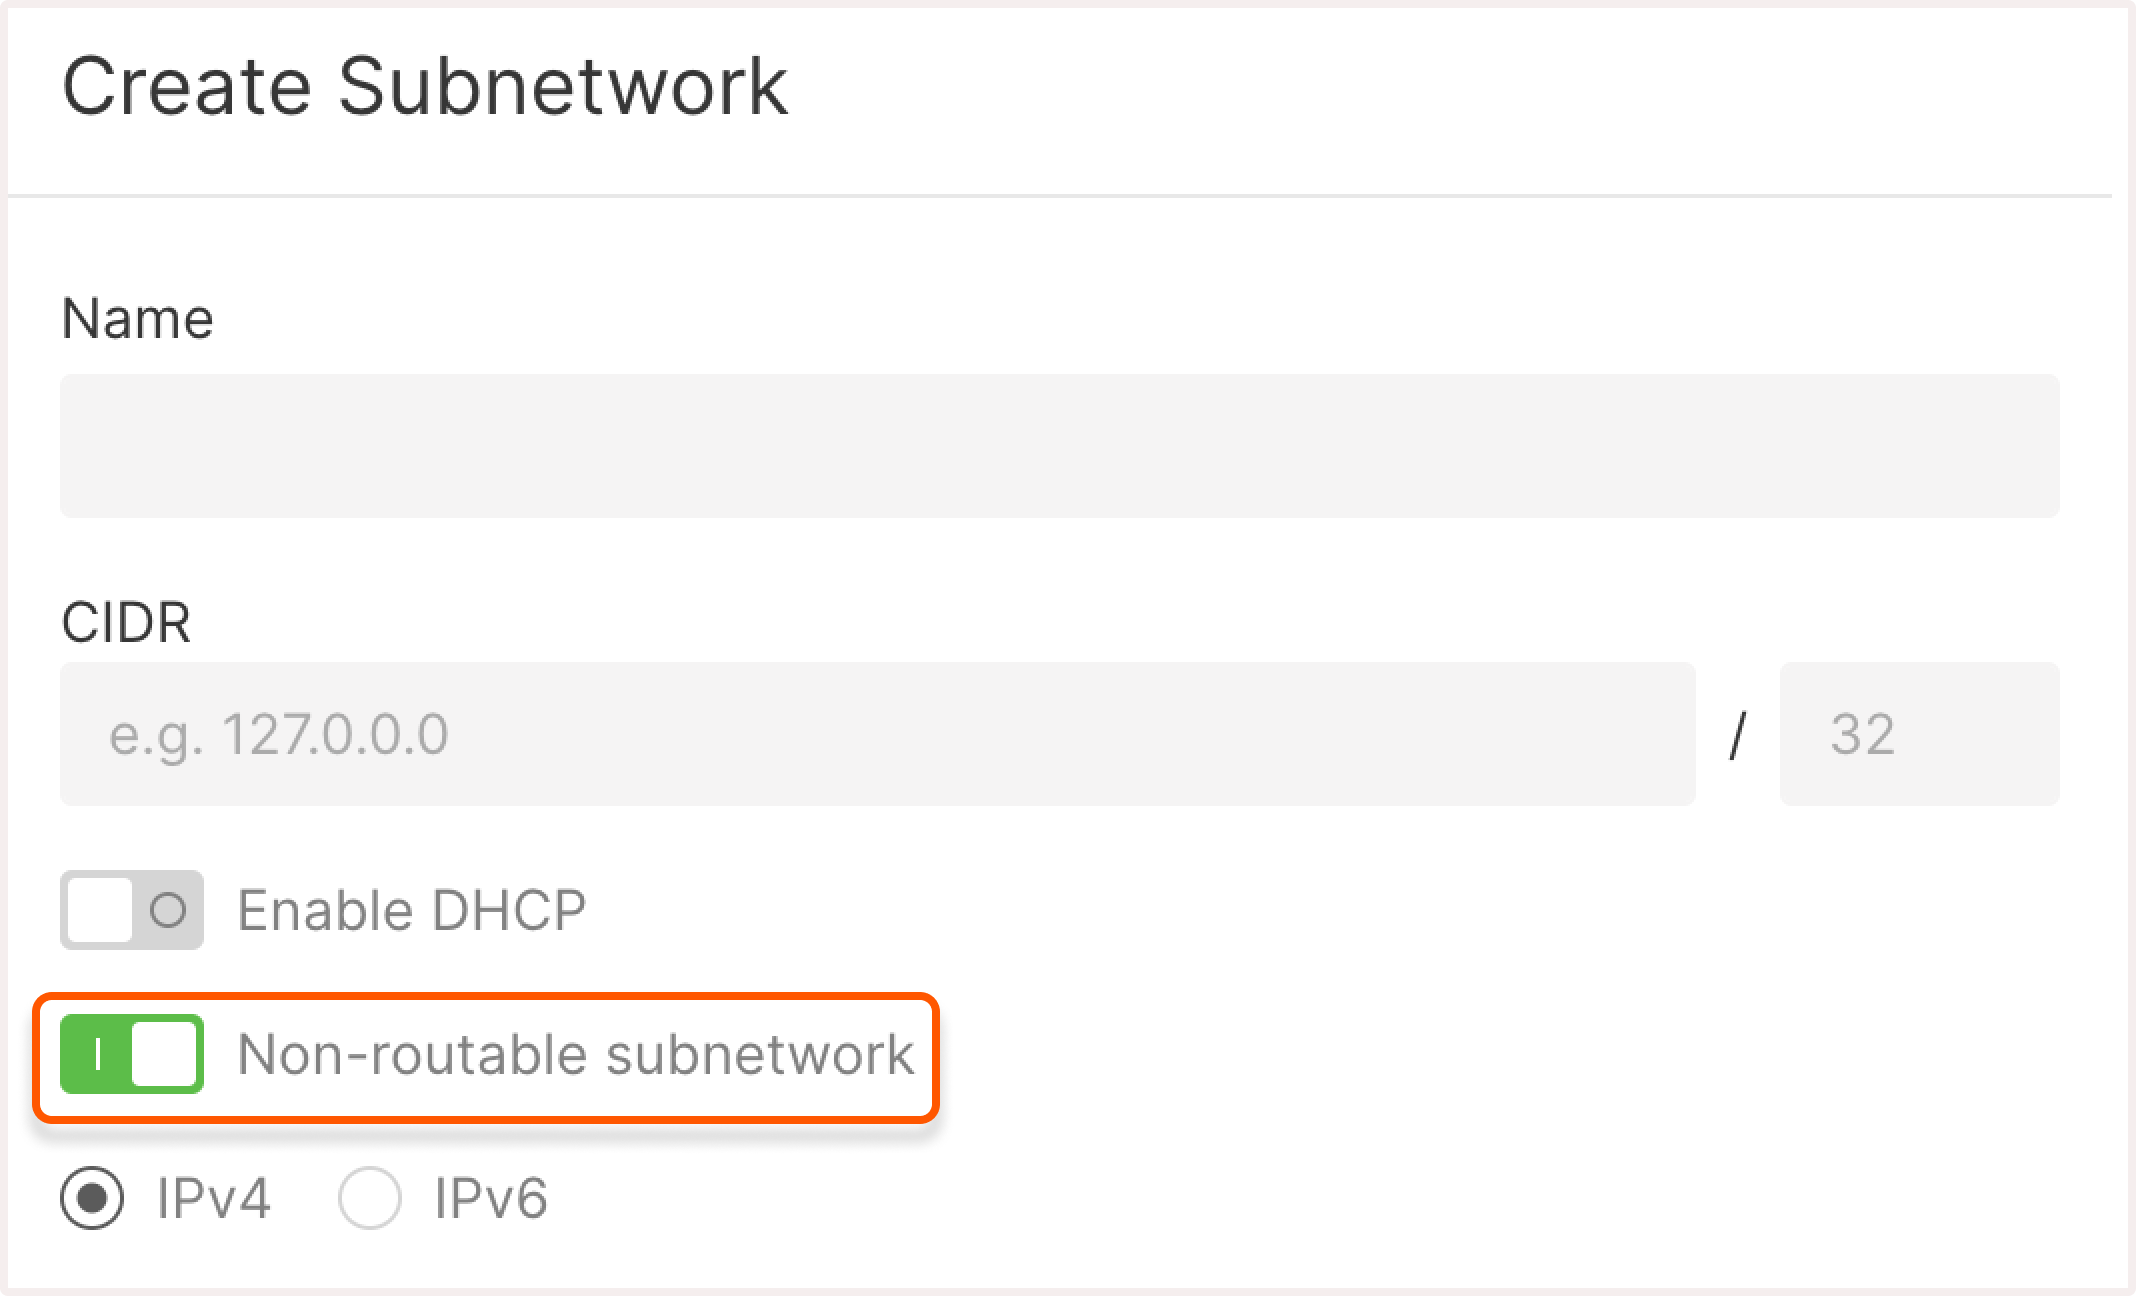
7. (optional) Turn on the Enable DHCP toggle to automatically assign IP addresses to machines in the subnet.
8. (optional) Turn on the Non-routable subnetwork toggle to block access to the subnet from external networks and other subnets. If you keep the network routable, you can specify the Gateway IP address. Otherwise, a random IP address will be assigned.
9. (optional) Enter Custom DNS servers to add specific DNS servers.
10. (optional) Turn on Add tags to add metadata to the subnetwork.
11. Click Create subnetwork.

Set the IP range
While creating a subnetwork, you need to specify the address range in the CIDR format.
The subnework size is set using the classless addressing (CIDR) method. You can use both private IPv6 and IPv4 addresses in subnetworks.
Acceptable CIDR ranges for IPv4 addresses:
- 10.0.0.0 - 10.255.255.255
- 172.16.0.0 - 172.31.255.255
- 192.168.0.0 - 192.168.255.255
The valid subnet mask range is 16-29.
Configure network routing
A routed network is a private network that's already connected to a router with a public interface. All virtual machines in such networks can access the Internet through the router and accept incoming connections.
By default, a subnetwork in the cloud is created with Internet access, which means that it’s routable. If you need to restrict machines from external connections, you need to enable the Non-routable subnetwork option while creating a subnetwork.
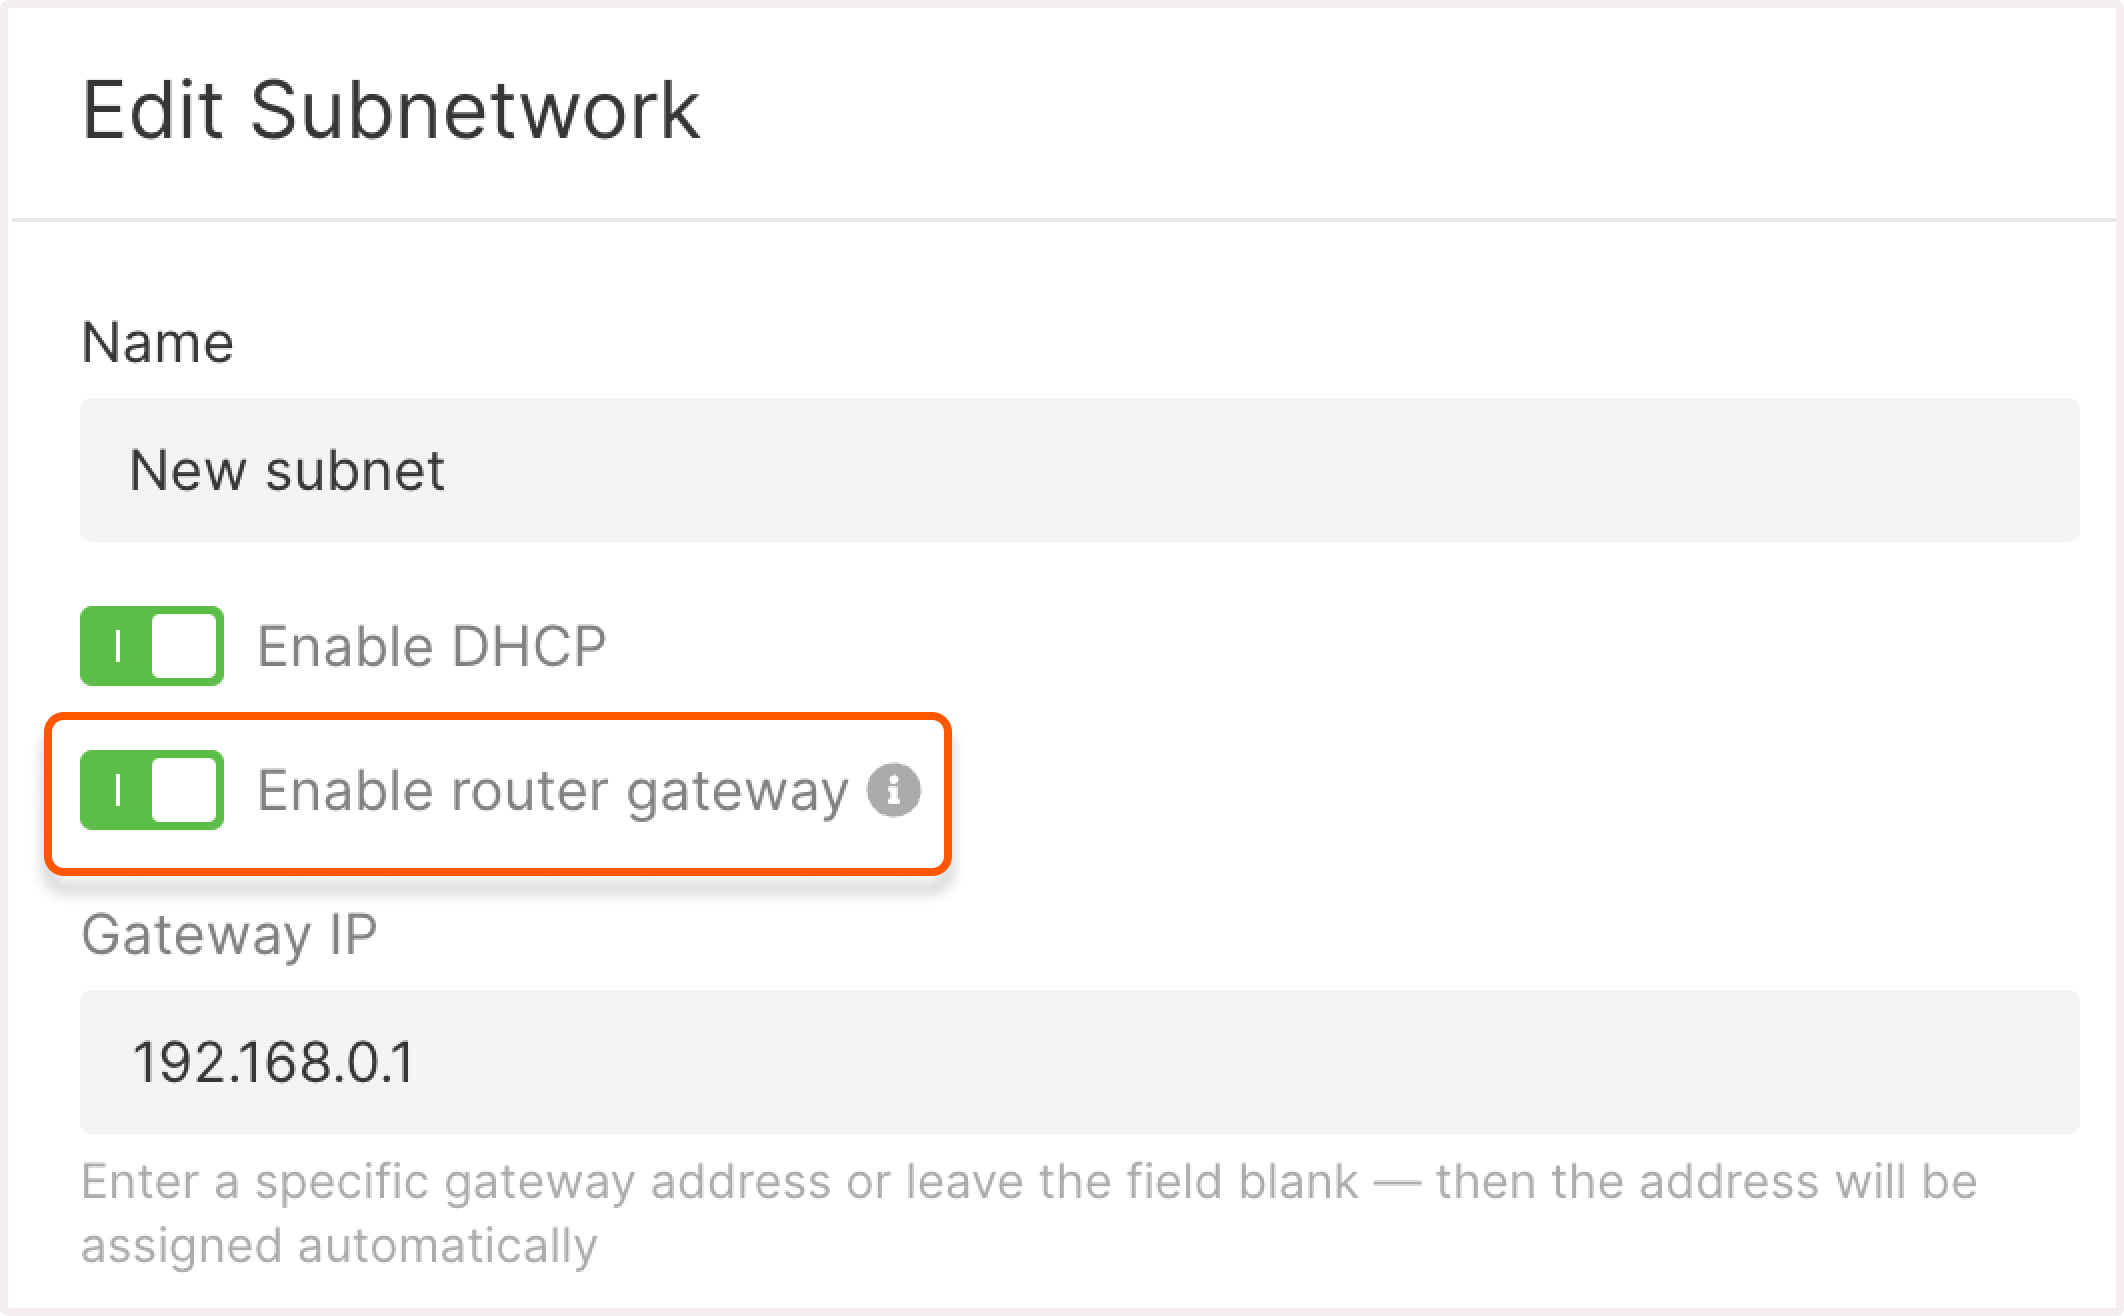
Set up the default gateway
If your virtual machine or bare metal server has both public and private interfaces, you need to disable the default gateway for all private subnetworks. Otherwise, there will be a conflict with the default gateway on the server, and you won’t be able to connect to the instance.
If you need to configure a gateway in a private subnetwork, ensure that only one of your subnetworks is routable. To do this, check out the subnetwork settings and verify that only one subnetwork has the Enable router gateway toggle active.
Manage subnetworks
You can view and manage subnetworks in the Gcore Customer Portal, on the Networking page.
Rename a subnetwork
1. In the Gcore Customer Portal, navigate to Cloud > Networking.
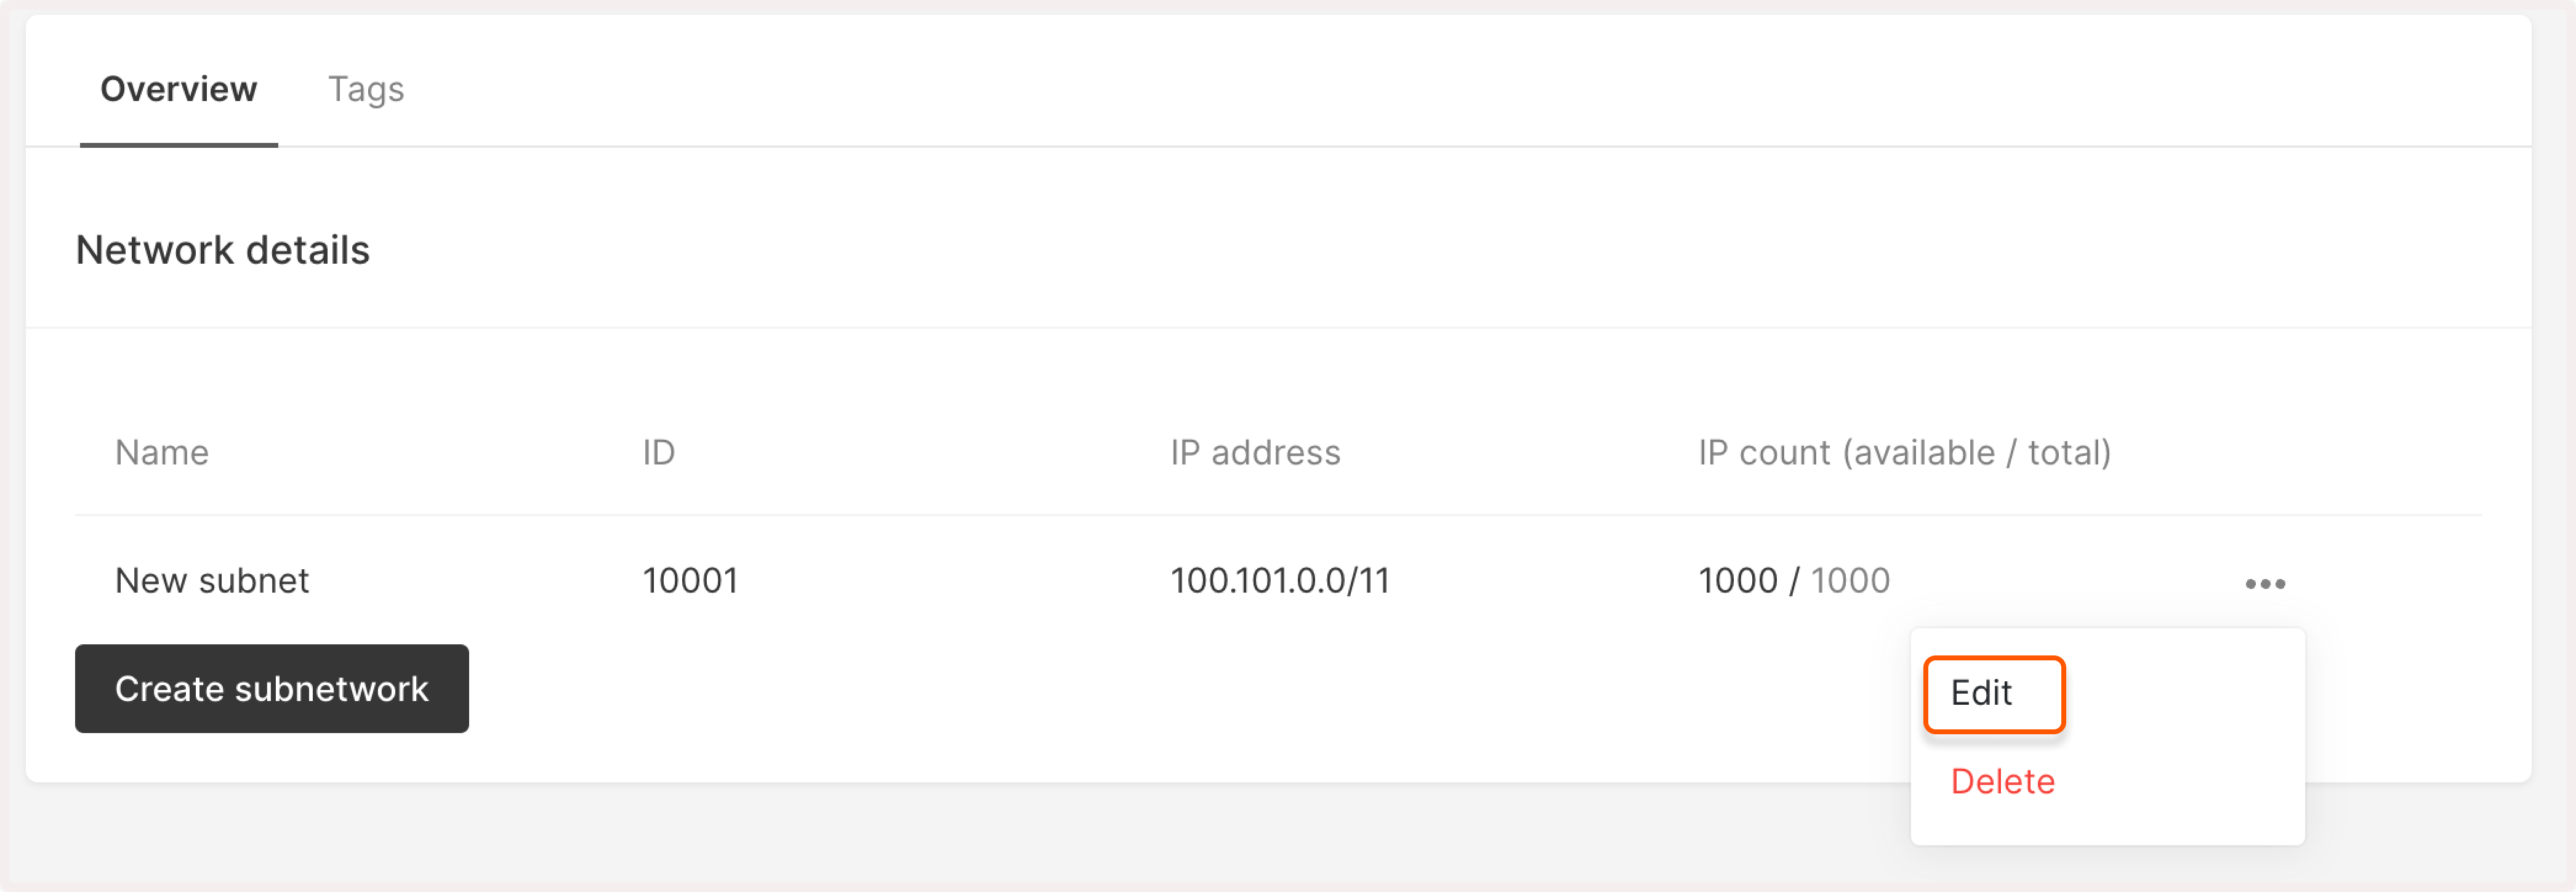
2. Find the network where you want to rename a subnetwork and click its name to open it.
3. Click the three-dot icon next to the subnetwork you want to rename and then click Edit.
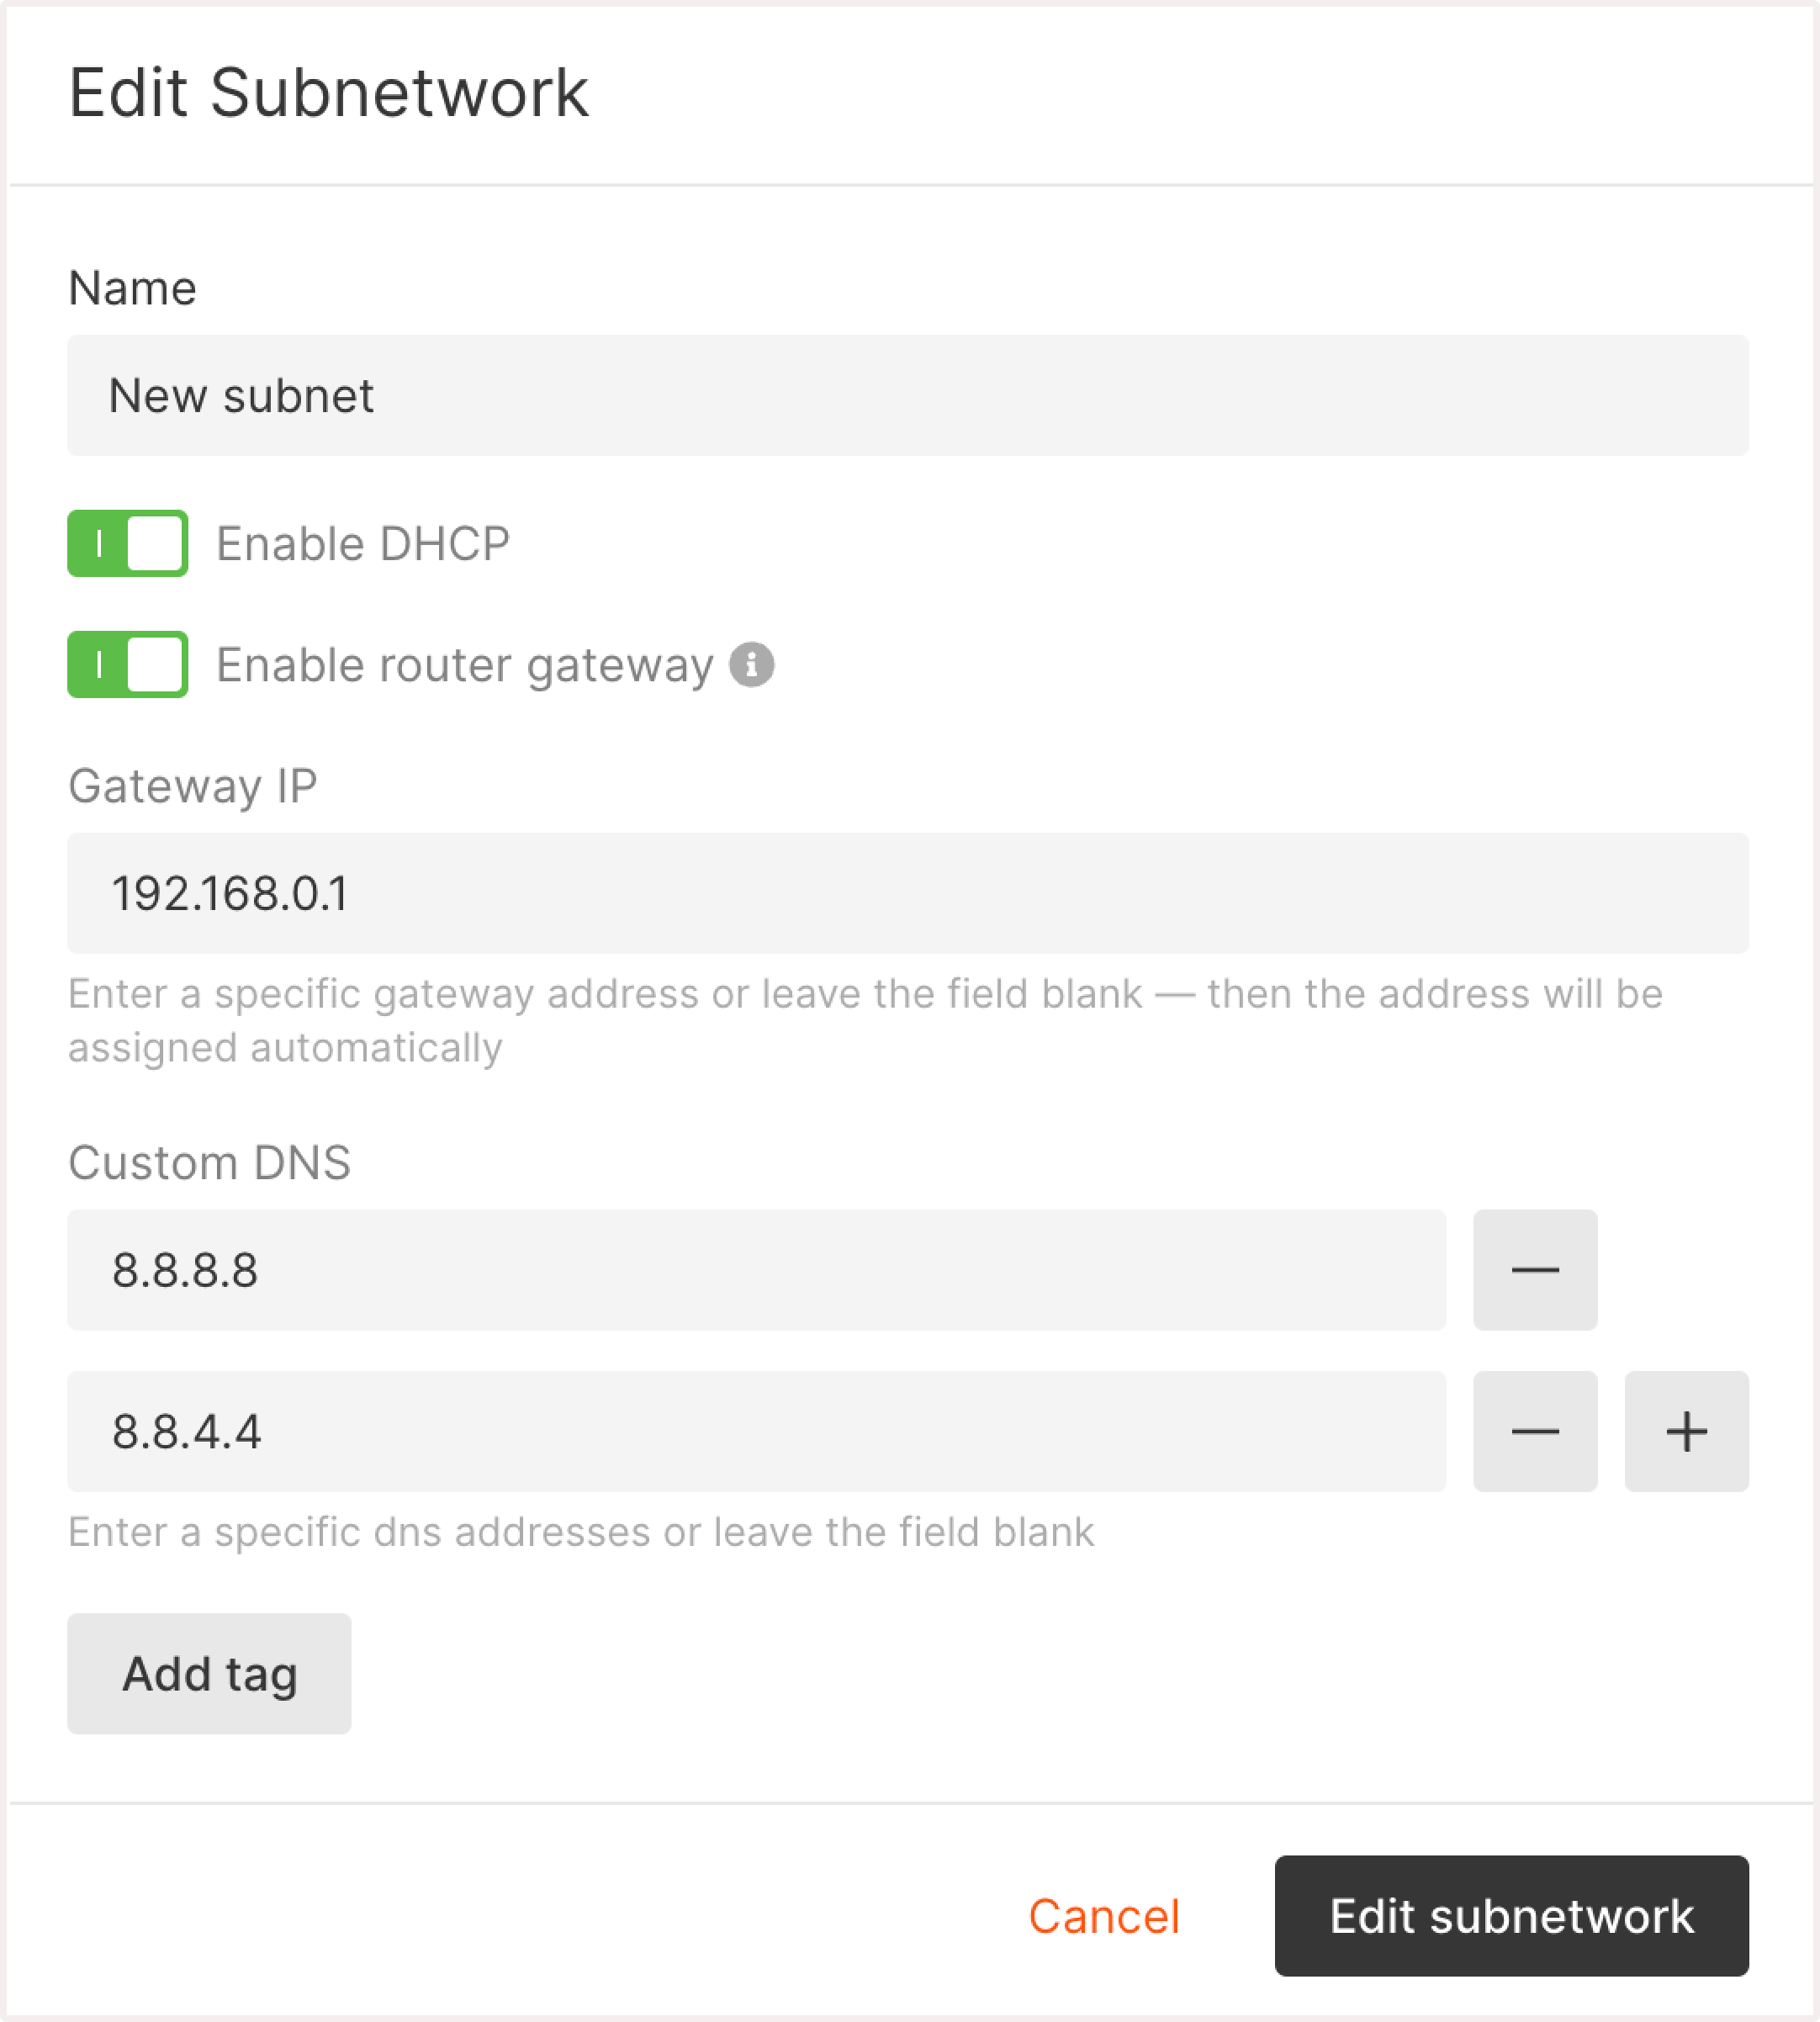
4. Update the subnetwork’s name.
5. Click Edit subnetwork to save the changes.
The subnetwork has been renamed.
Delete a subnetwork
You can delete a subnetwork that’s not attached to an instance.
To delete a subnetwork:
1. In the Gcore Customer Portal, navigate to Cloud > Networking.
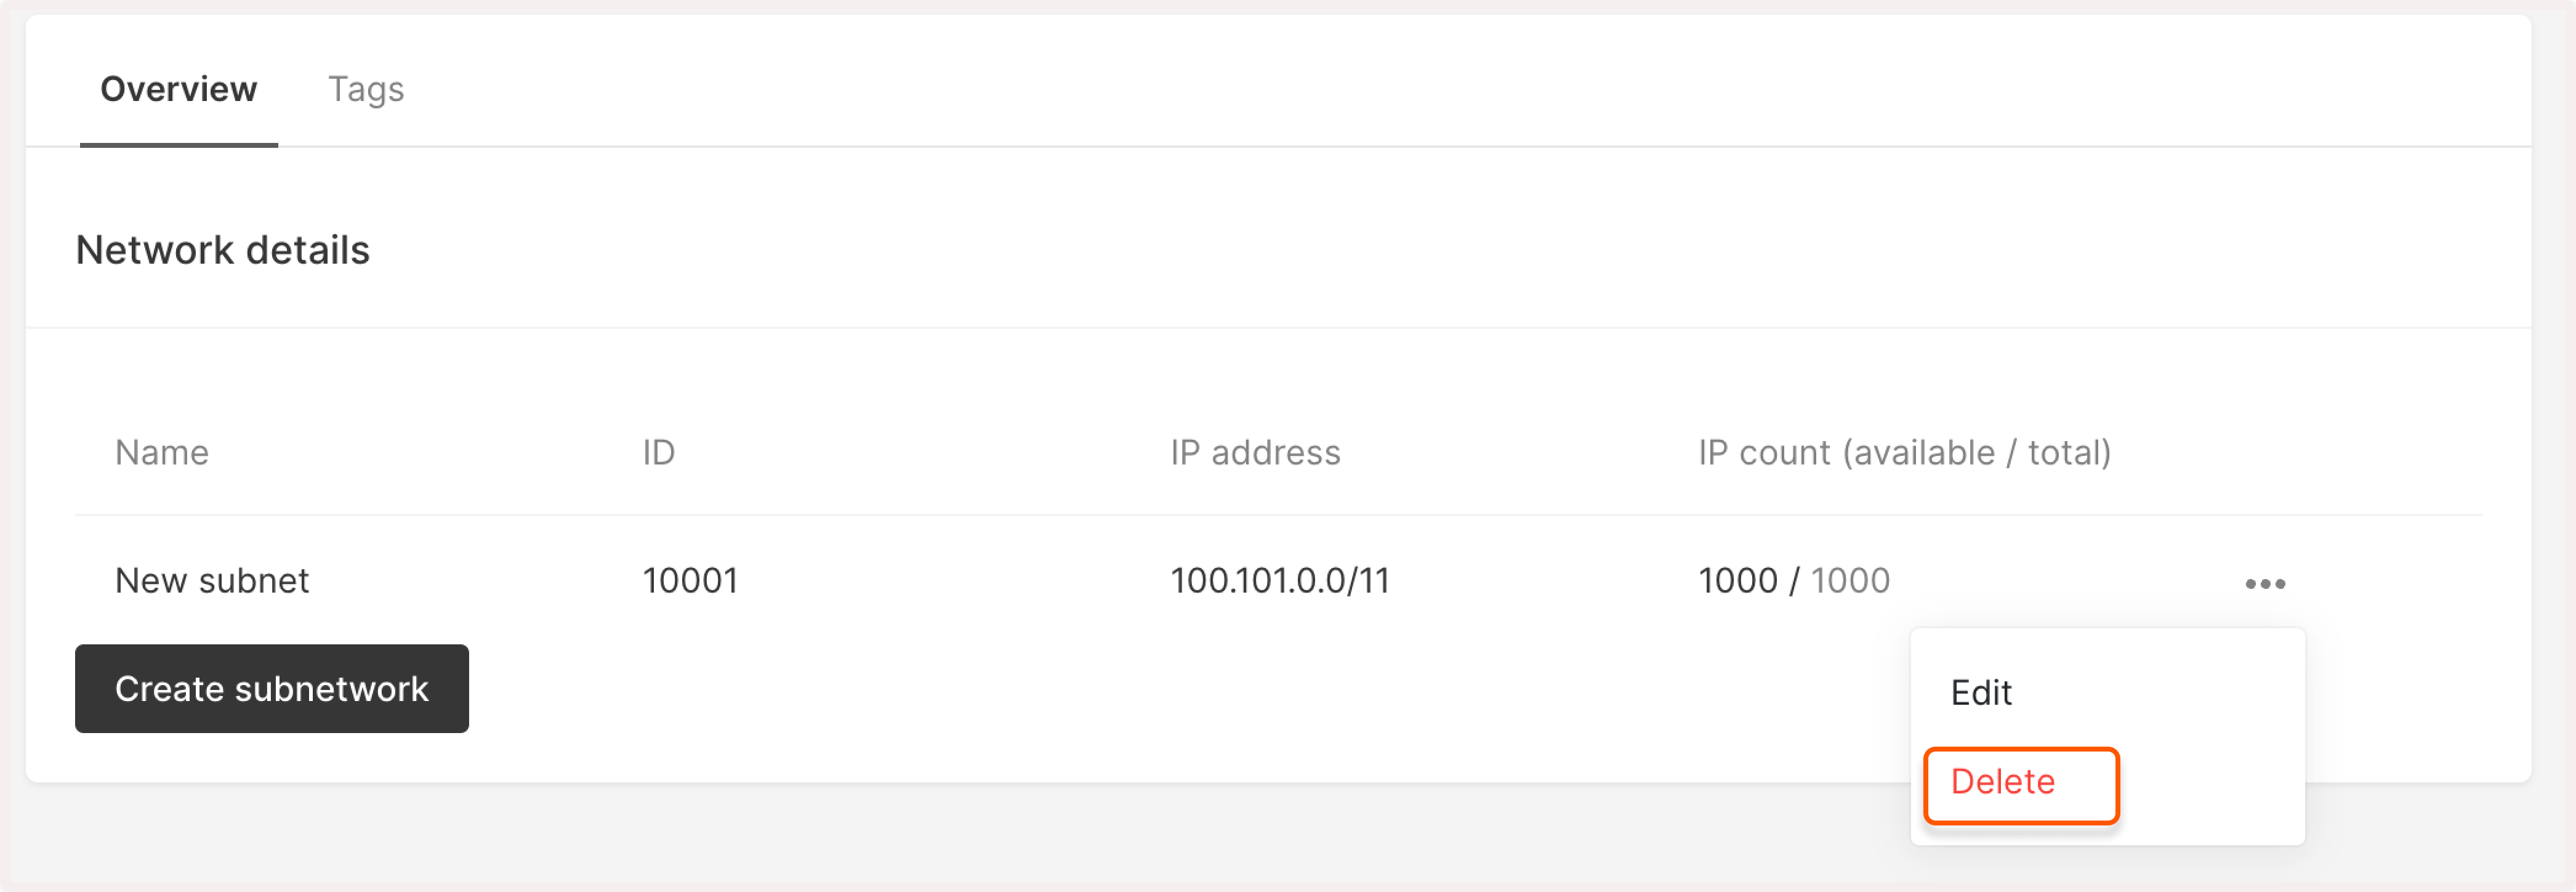
2. Find the network where you want to delete a subnetwork and click its name to open it.
3. Click the three-dot icon next to the subnetwork you want to remove and click Delete.
4. Confirm your action by clicking Delete again.
The subnetwork has been successfully removed.
Was this article helpful?
Not a Gcore user yet?
Discover our offerings, including virtual instances starting from 3.7 euro/mo, bare metal servers, AI Infrastructure, load balancers, Managed Kubernetes, Function as a Service, and Centralized Logging solutions.