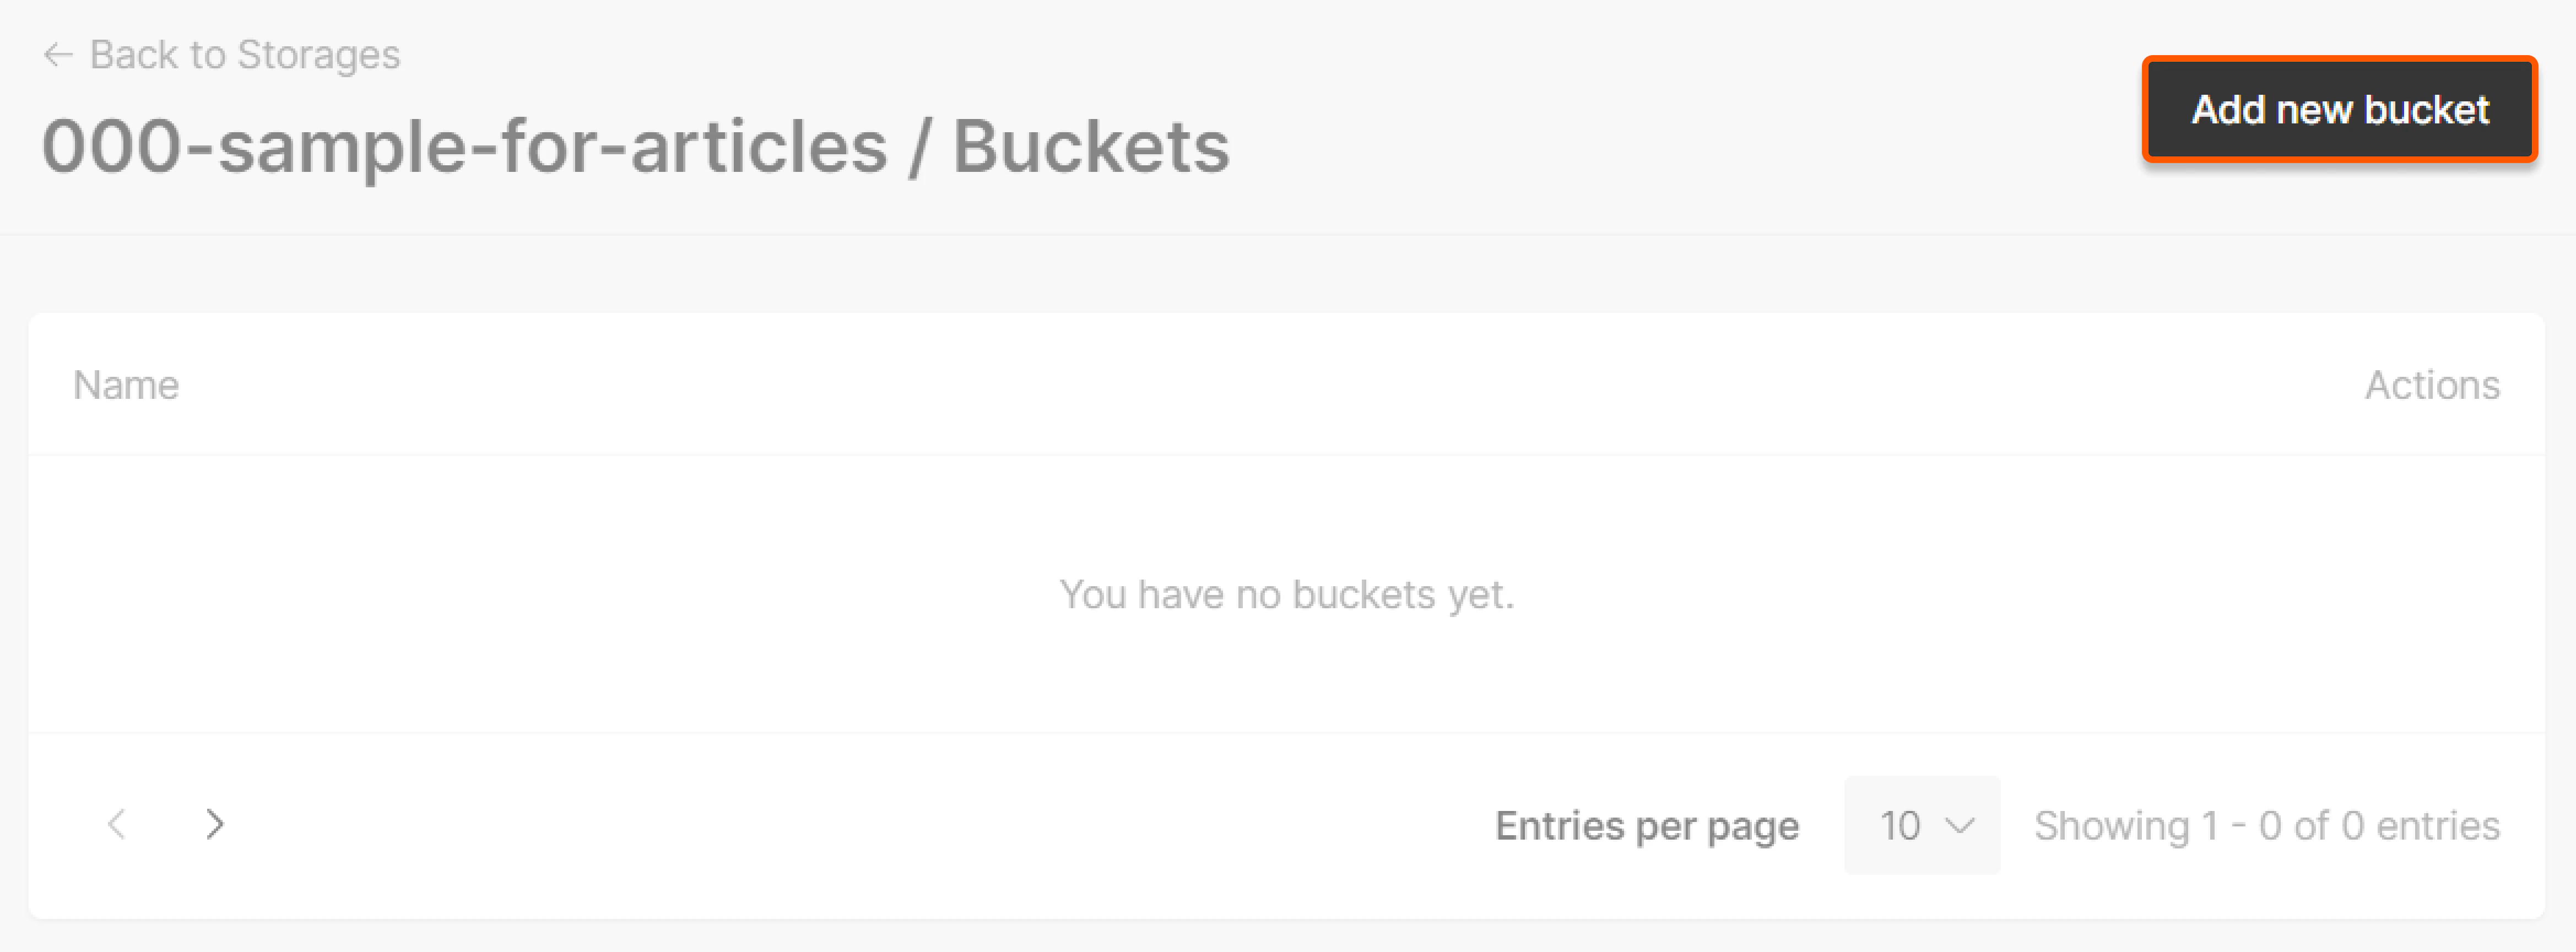
Create a bucket
1. Navigate to the Object Storage section. Click the relevant storage name.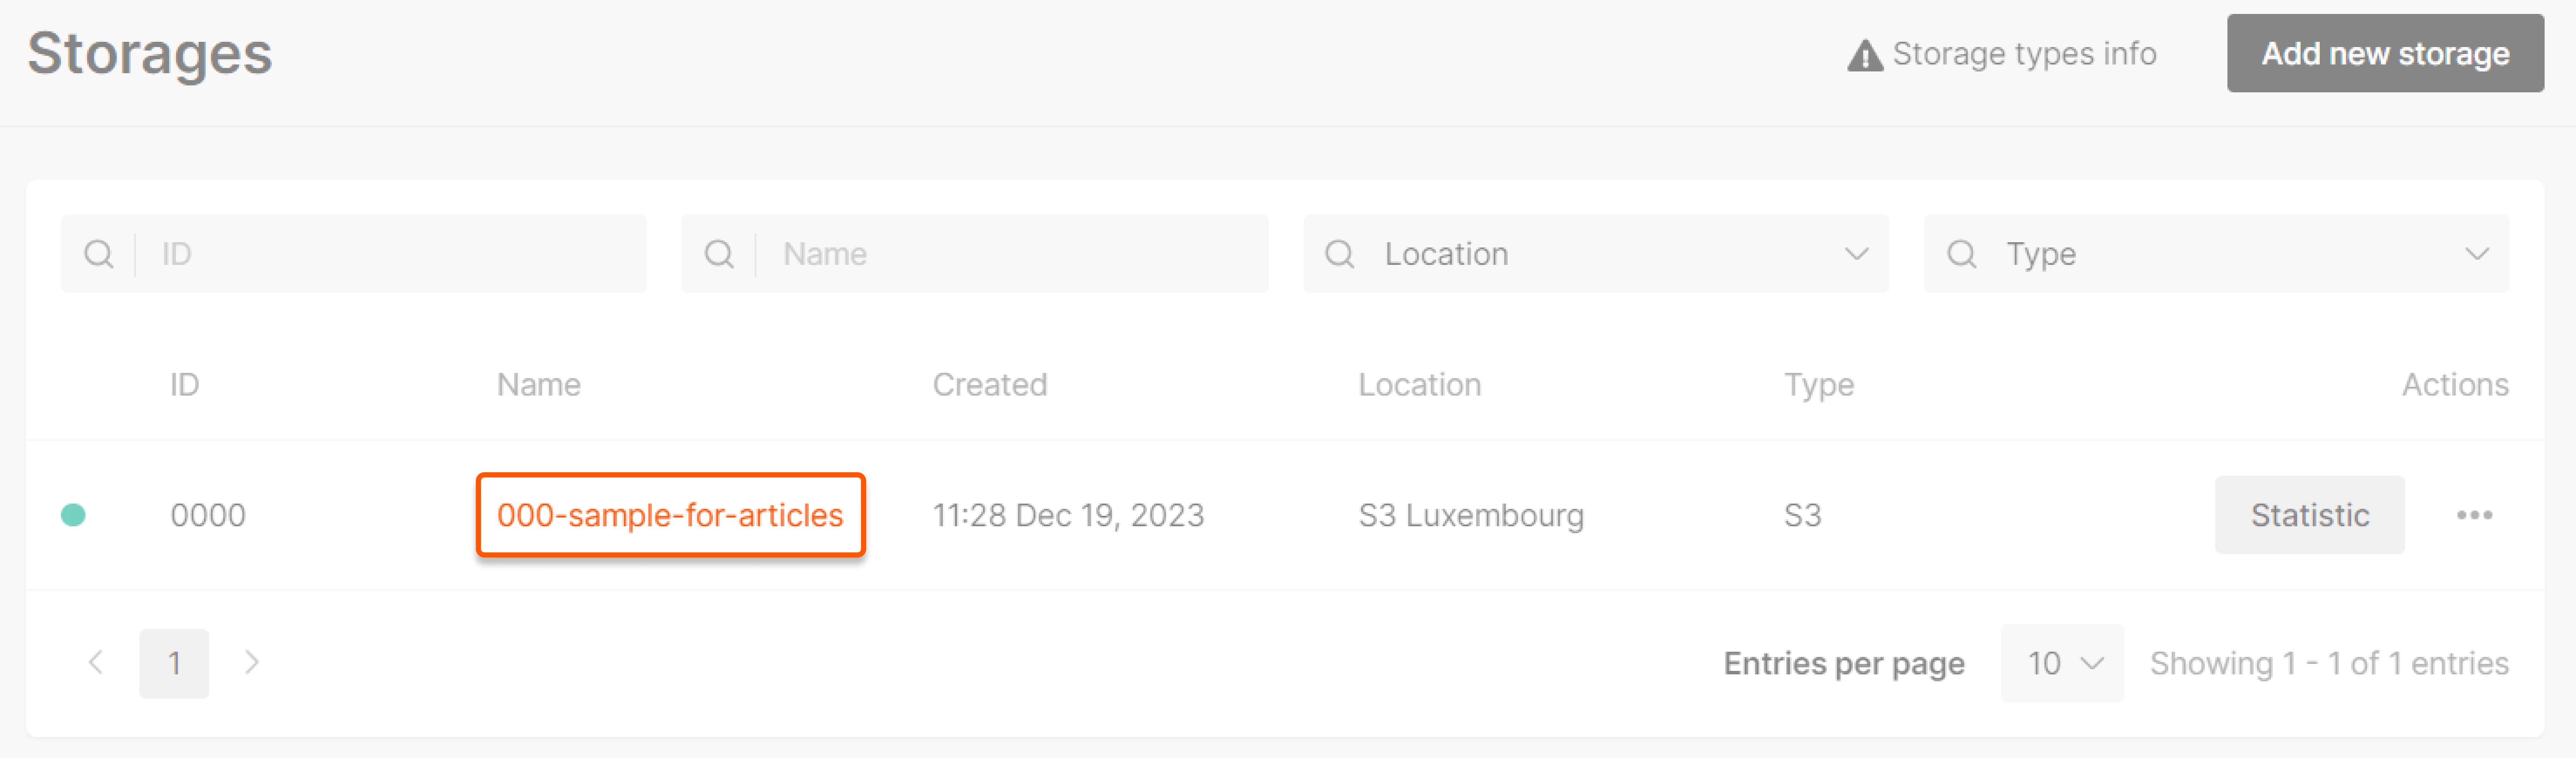
- Between 3 to 63 characters in length.
- Lowercase only.
- No underscores, trailing dashes, consecutive dots, or a mix of dots and dashes; they conflict with DNS notation rules.
- The bucket name must be unique within the entire Gcore Object Storage system, not just your account. If a name is already used, you’ll receive a
This bucket name already exists. Please use a different nameerror message.
- File management (includes uploading and other related tasks)
- Providing HTTP access to all files within the bucket
- Setting a lifecycle policy (available only for the S3 Luxembourg location)
File manager
Access (Override CORS)
To access the file manager (Override CORS), you must addhttps://storage.gcore.com to your list of approved origins. This is a one-time action.
To access the file manager, click the bucket name you created. A pop-up will appear where you can select Override CORS.
Note : CORS must be set up individually for each bucket.
https://storage.gcore.com but also for other domains.
Authorization
To authorize, click on the bucket name, enter the Access key and Secret key, then click Auth.
Access key and Secret key features
Access key and Secret key features
Note : If you have entered keys, they will be saved and will not need to be re-entered within the session. Keys will be requested for each new session.To avoid the need for manual input, save the Access key and Secret key with the browser functionality.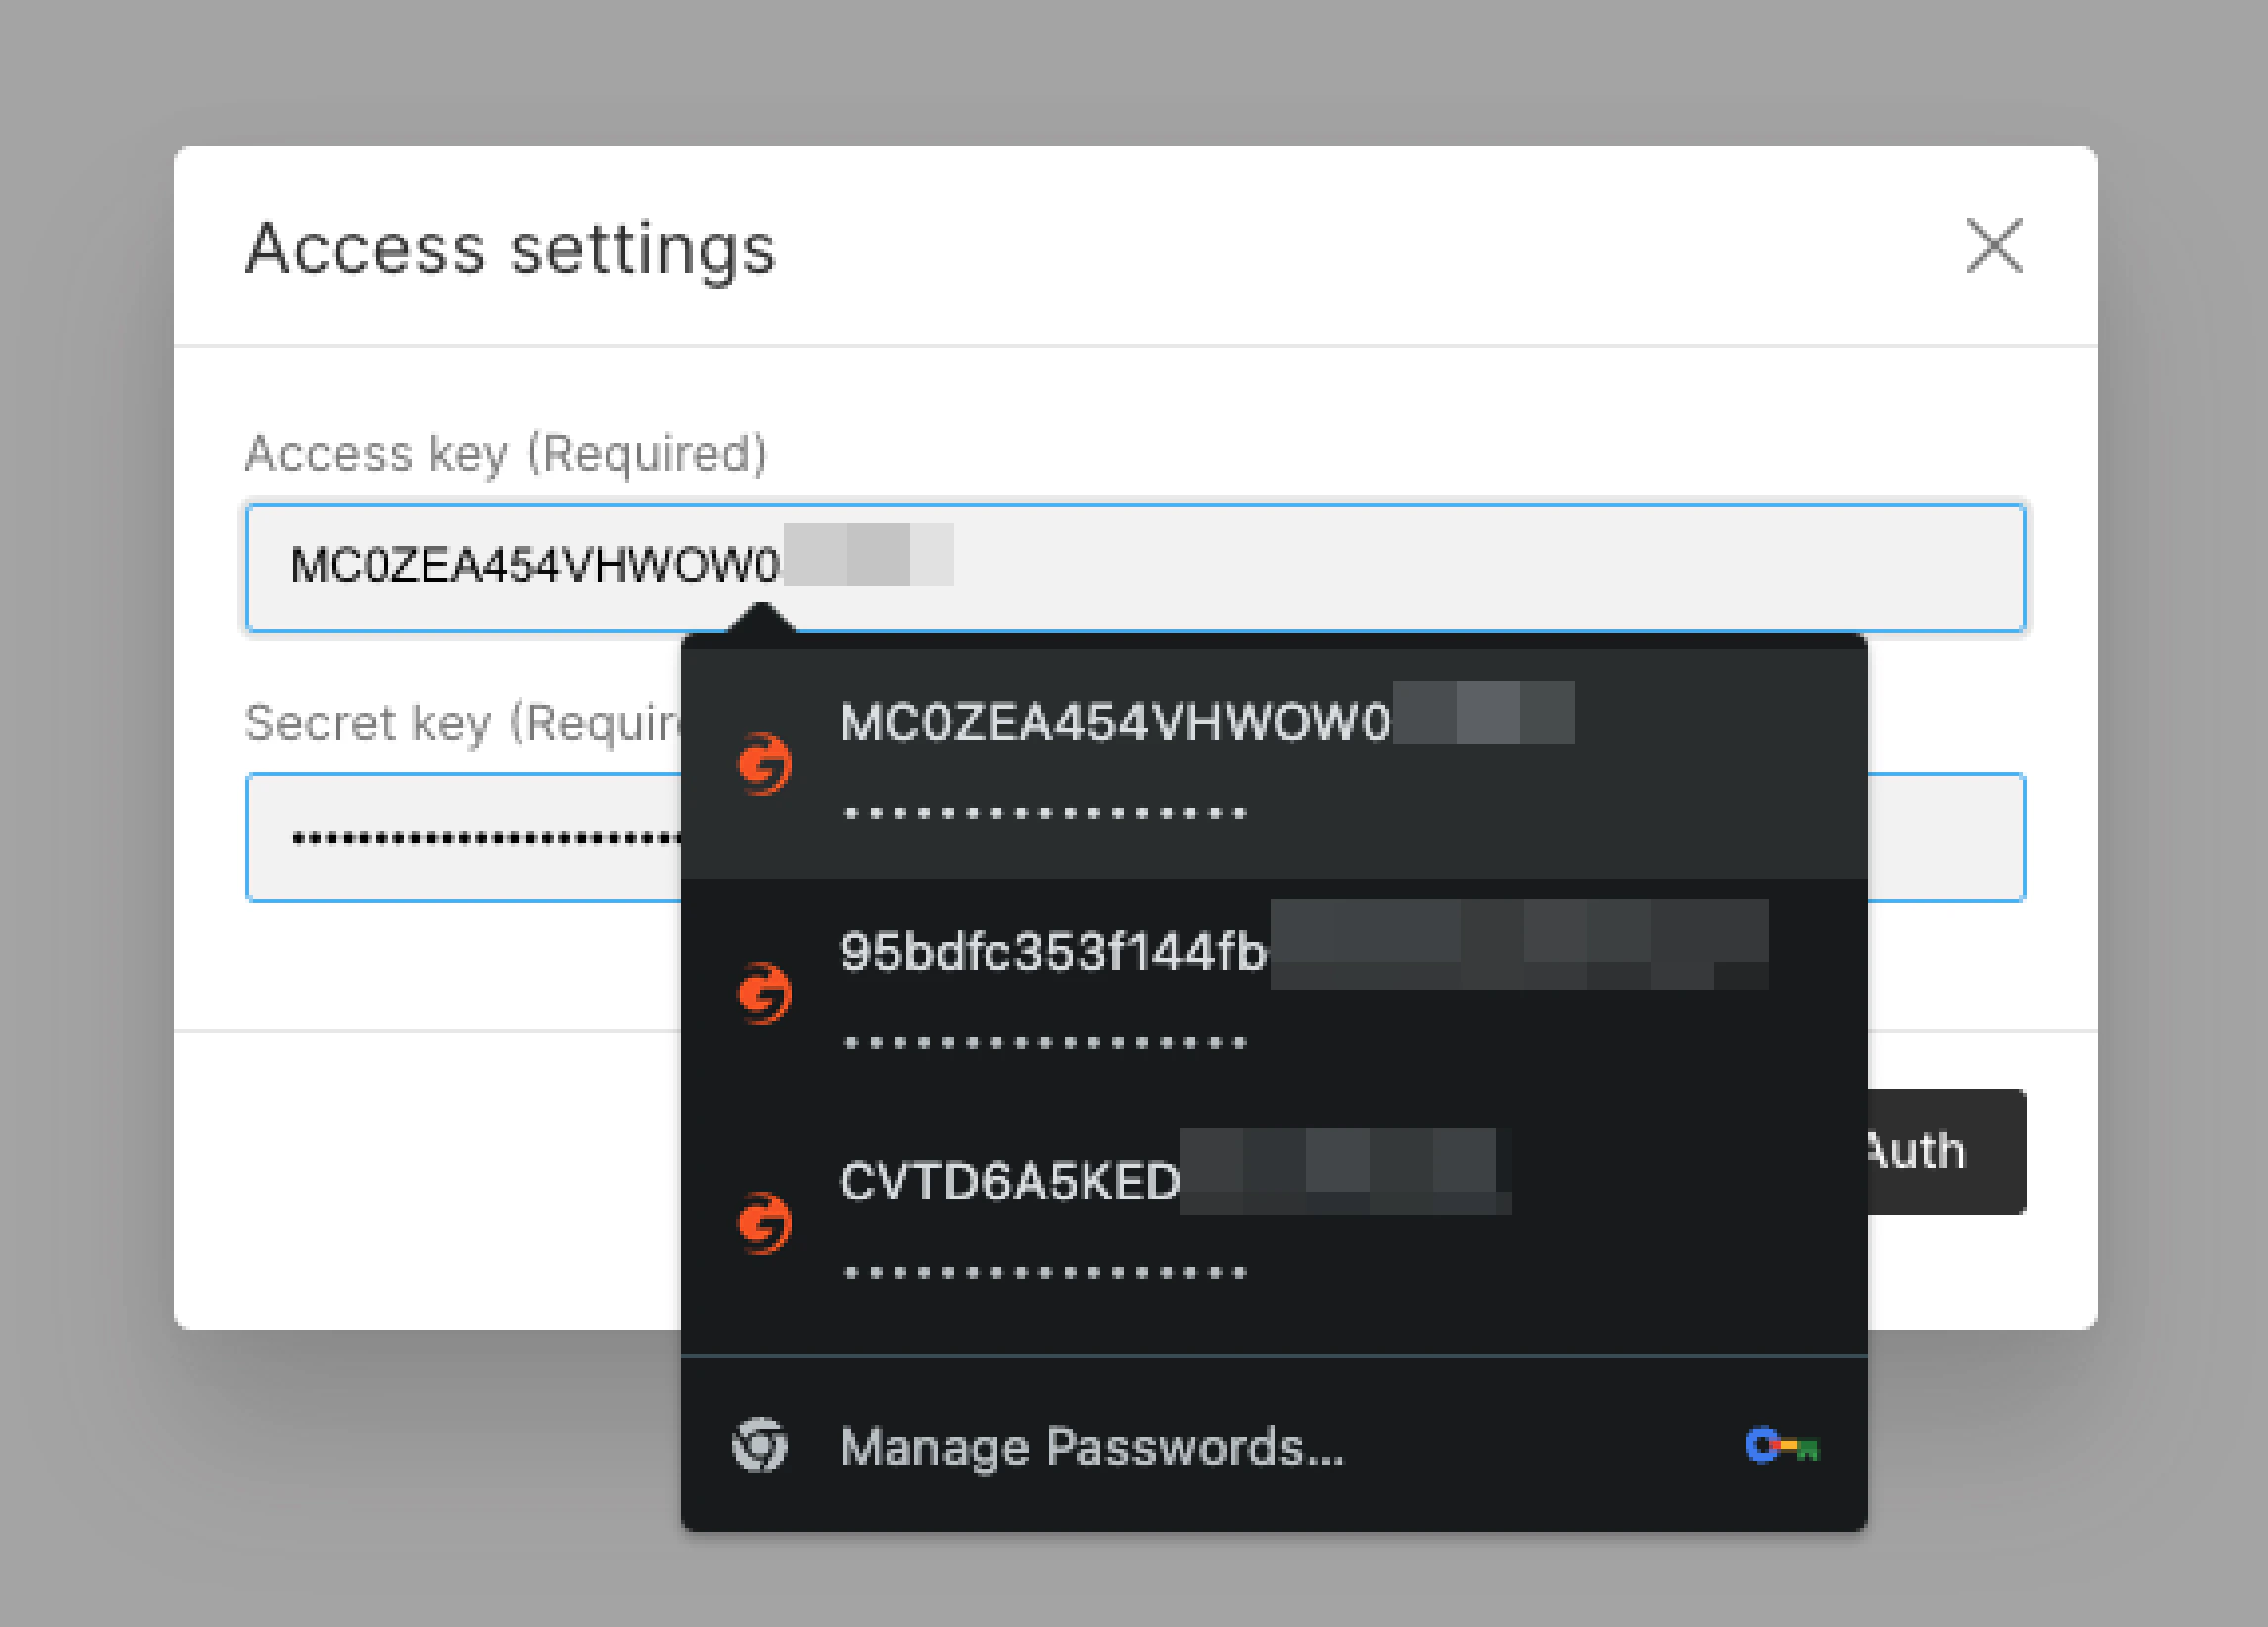
Adding folders
Once you’re authorized in the file manager, click Add folder. Enter the desired name in the field provided and click Create.
Uploading files
To upload files, authorize access to your bucket and click Select and upload file(s) either in the bucket root or within a specific folder. Then, follow the standard upload process.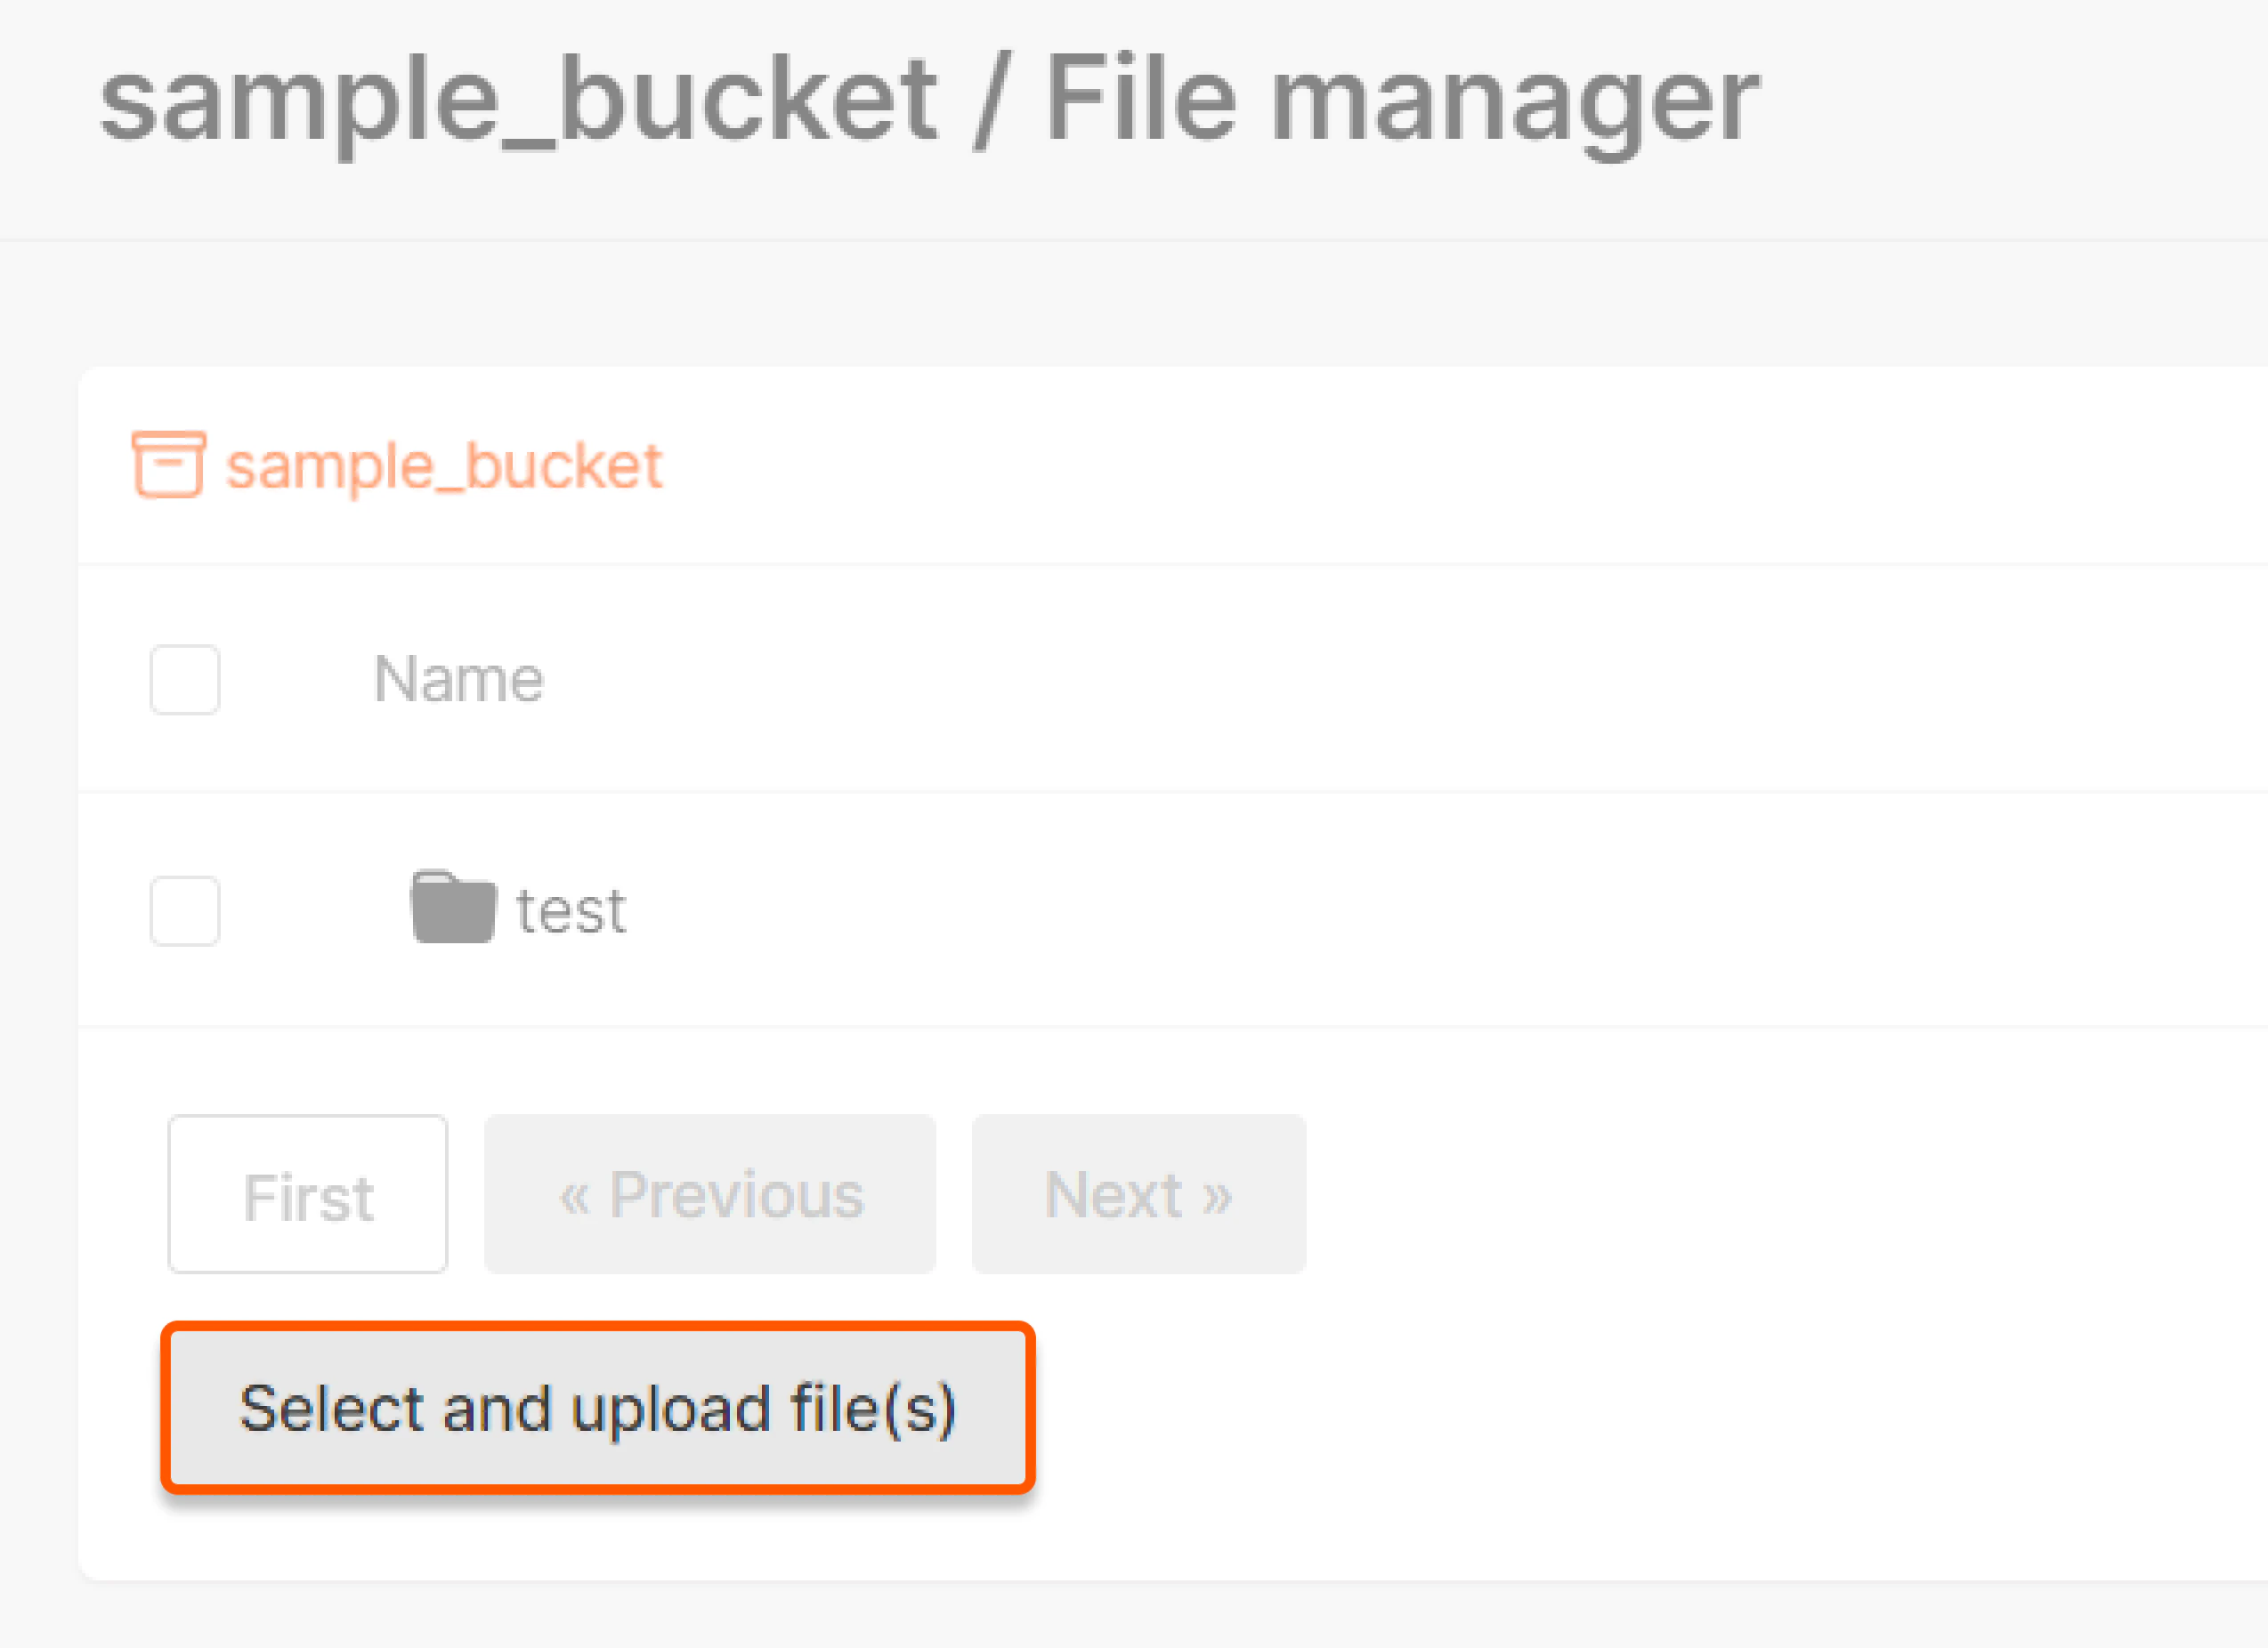
Deleting folders and files
To delete folders or files, authorize access to your bucket and click Delete next to the desired object. Alternatively, select the checkboxes next to the object names and click Delete selected.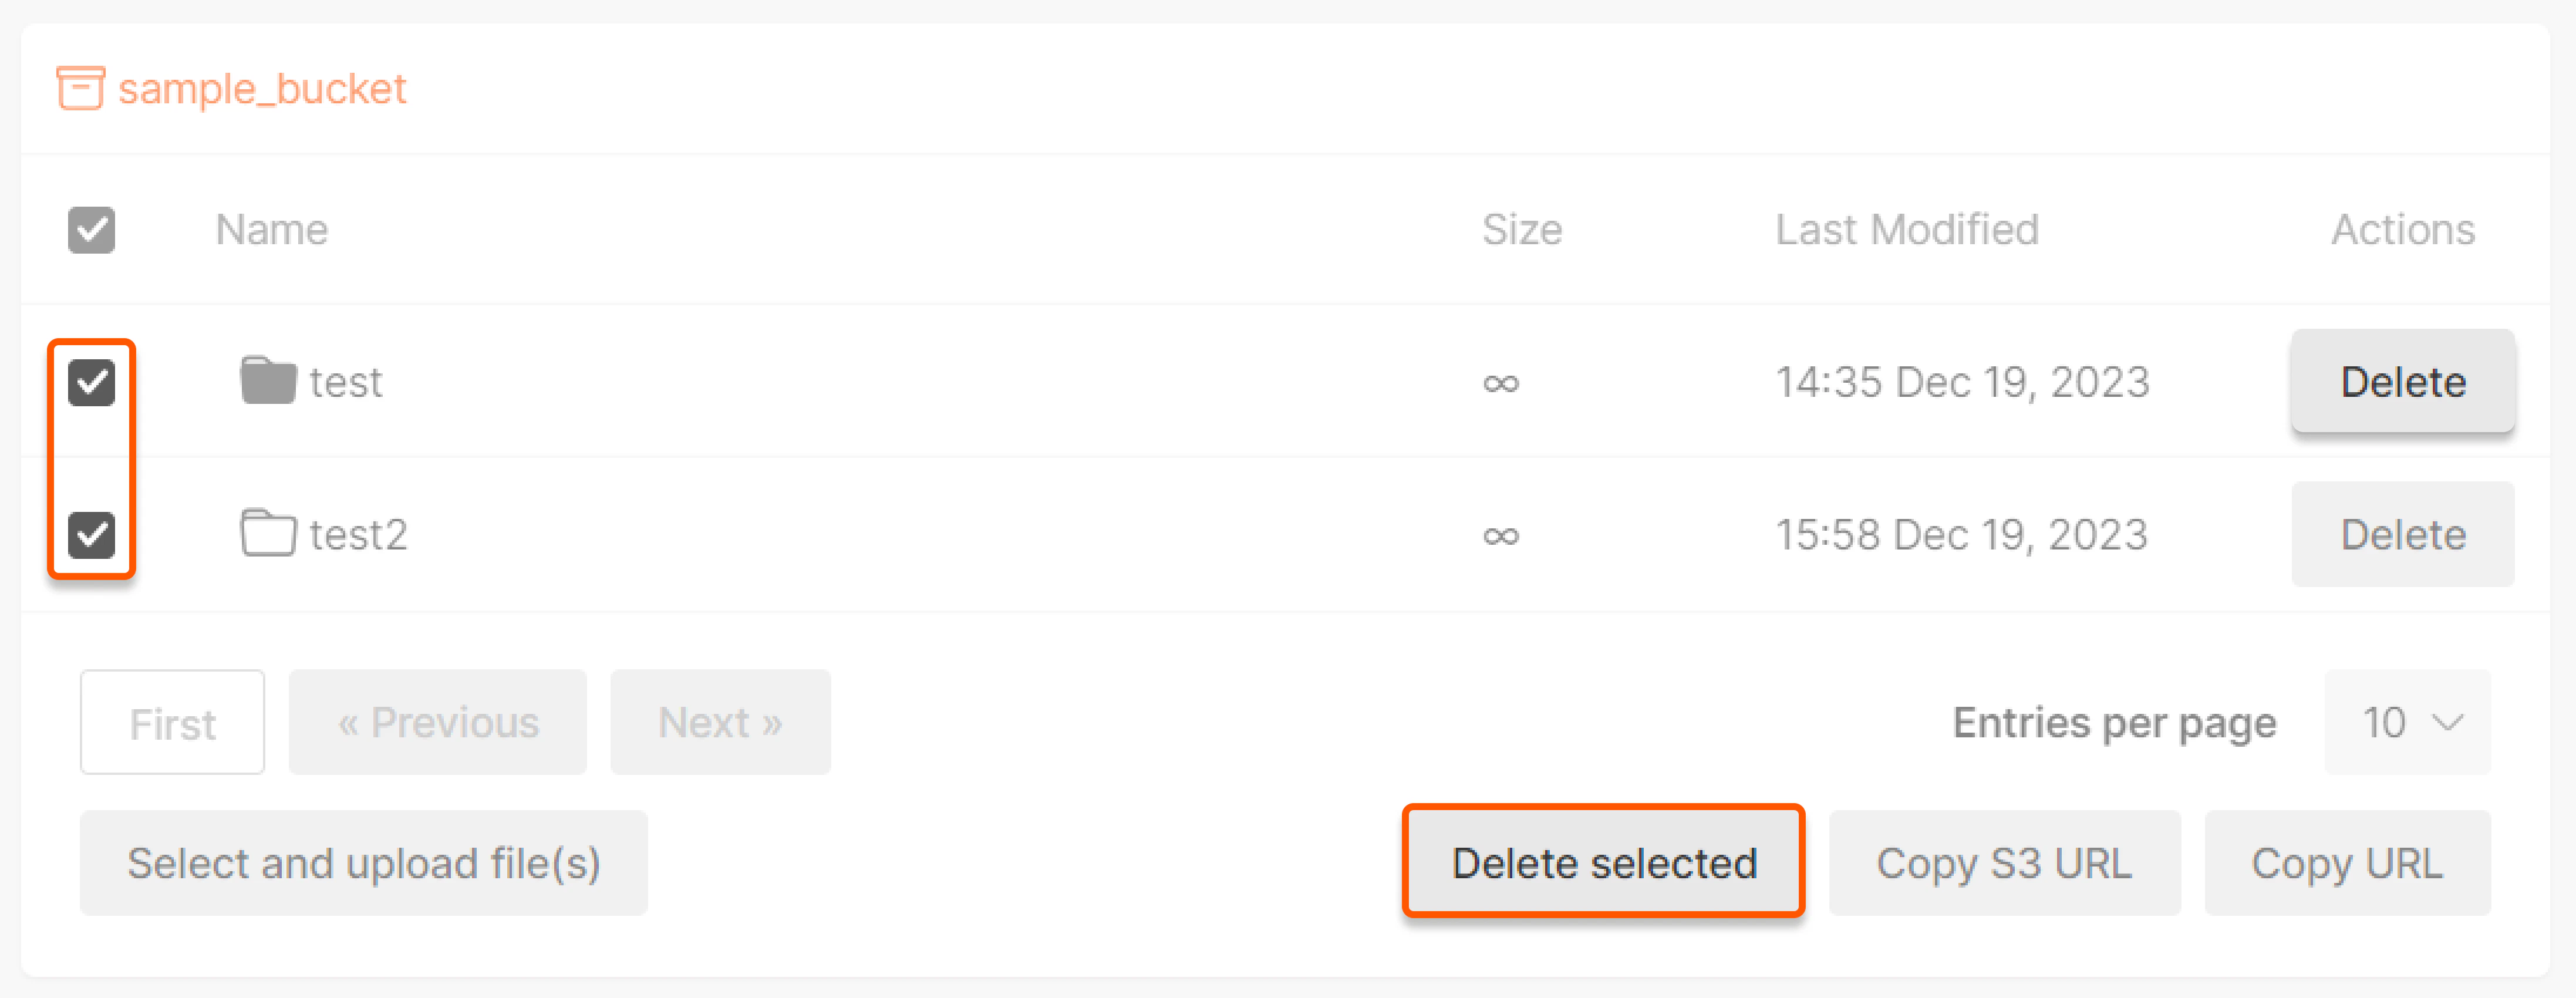
Copying URL or object storage URL
To copy the links of certain files, authorize access to your bucket, select objects and click the relevant buttons: Copy S3 URL or Copy URL.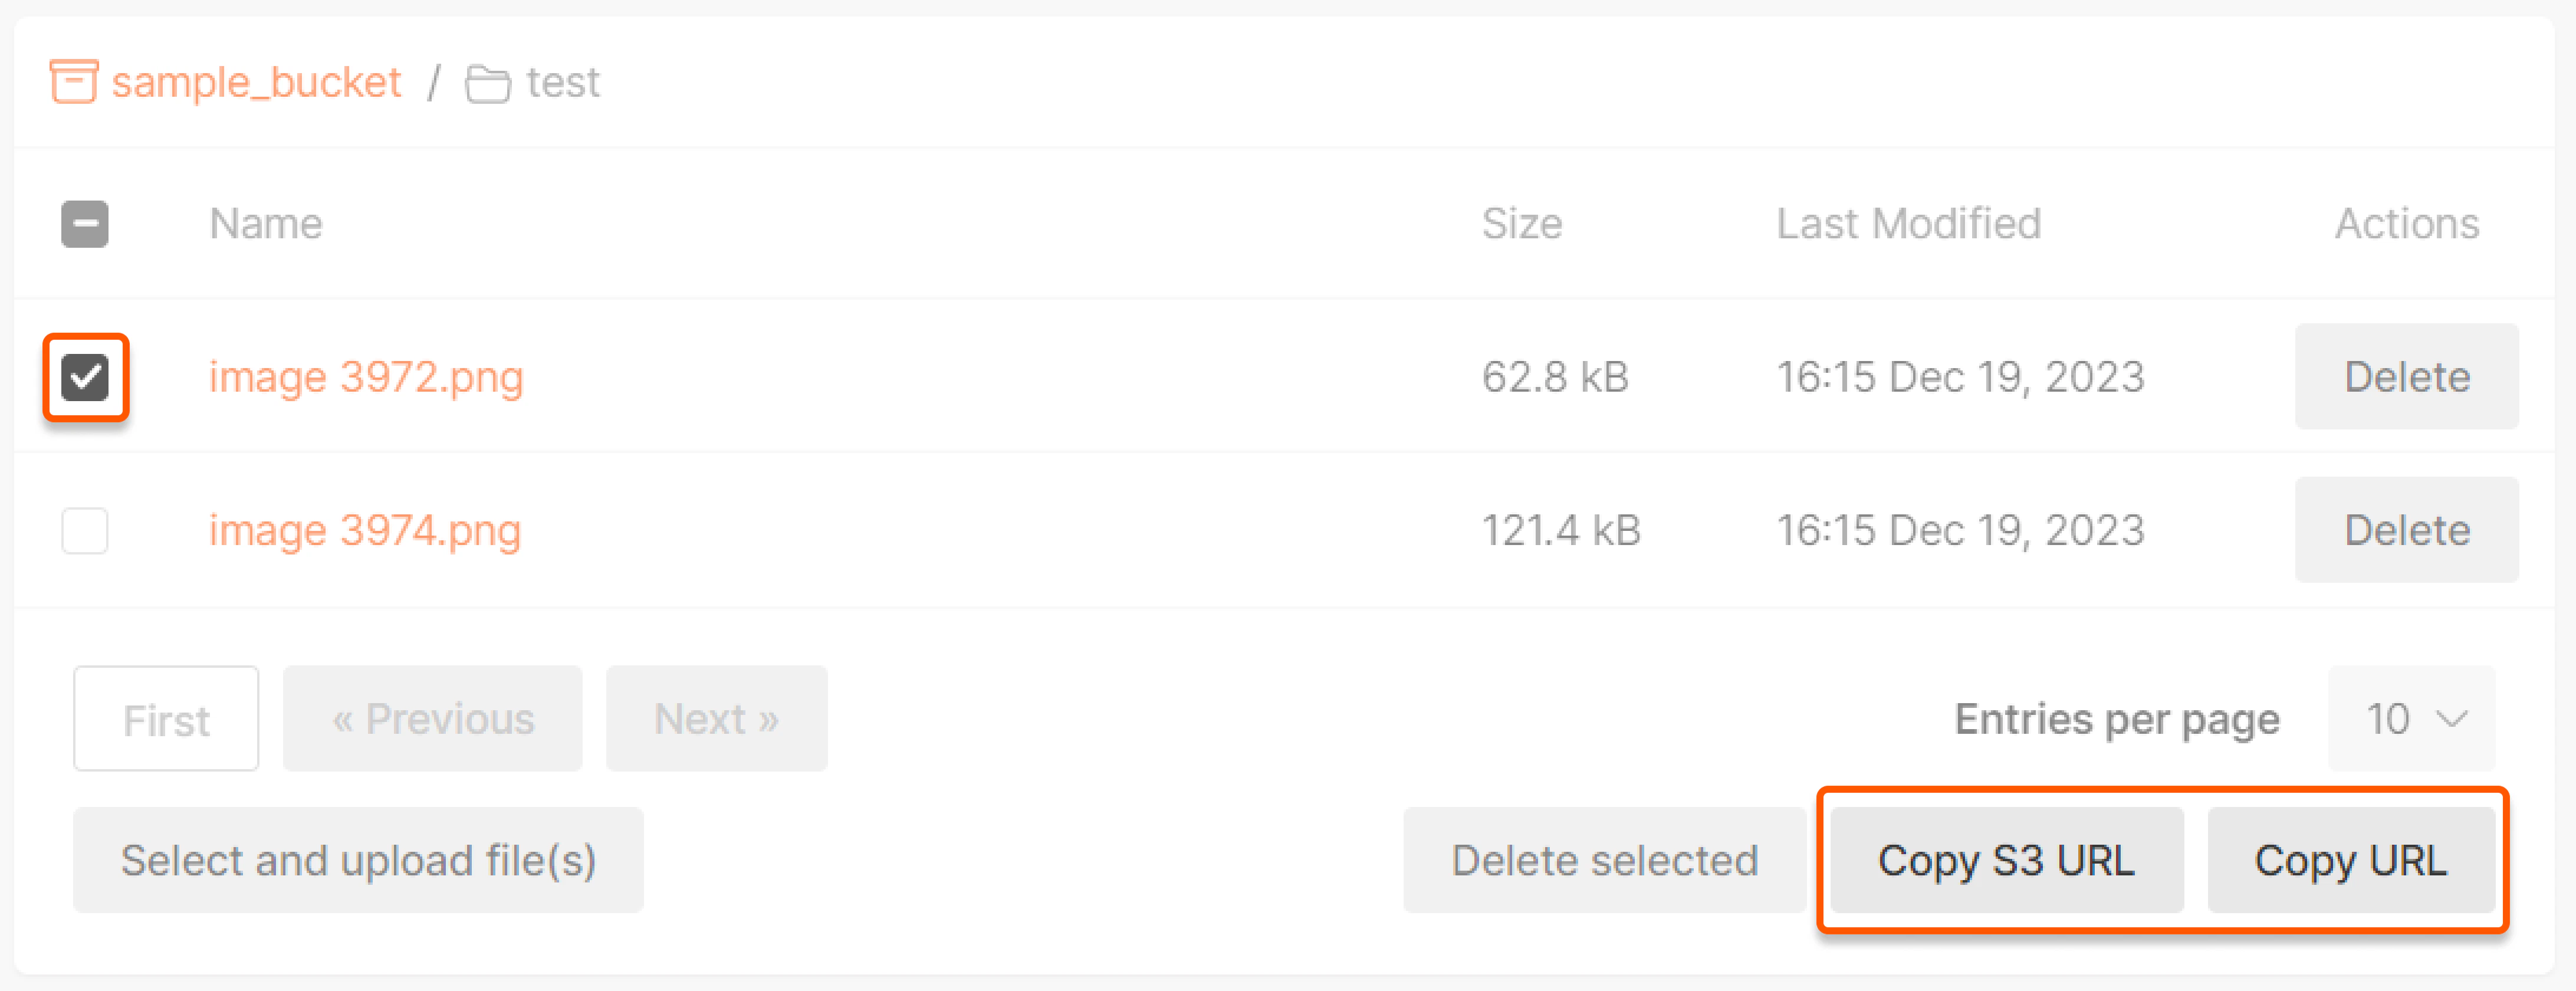
image 3972.png will look like this:
s3://s-ed1.cloud.gcore.lu/000-sample-for-articles/test/image%3972.pnghttps://s-ed1.cloud.gcore.lu/000-sample-for-articles/test/image%3972.png
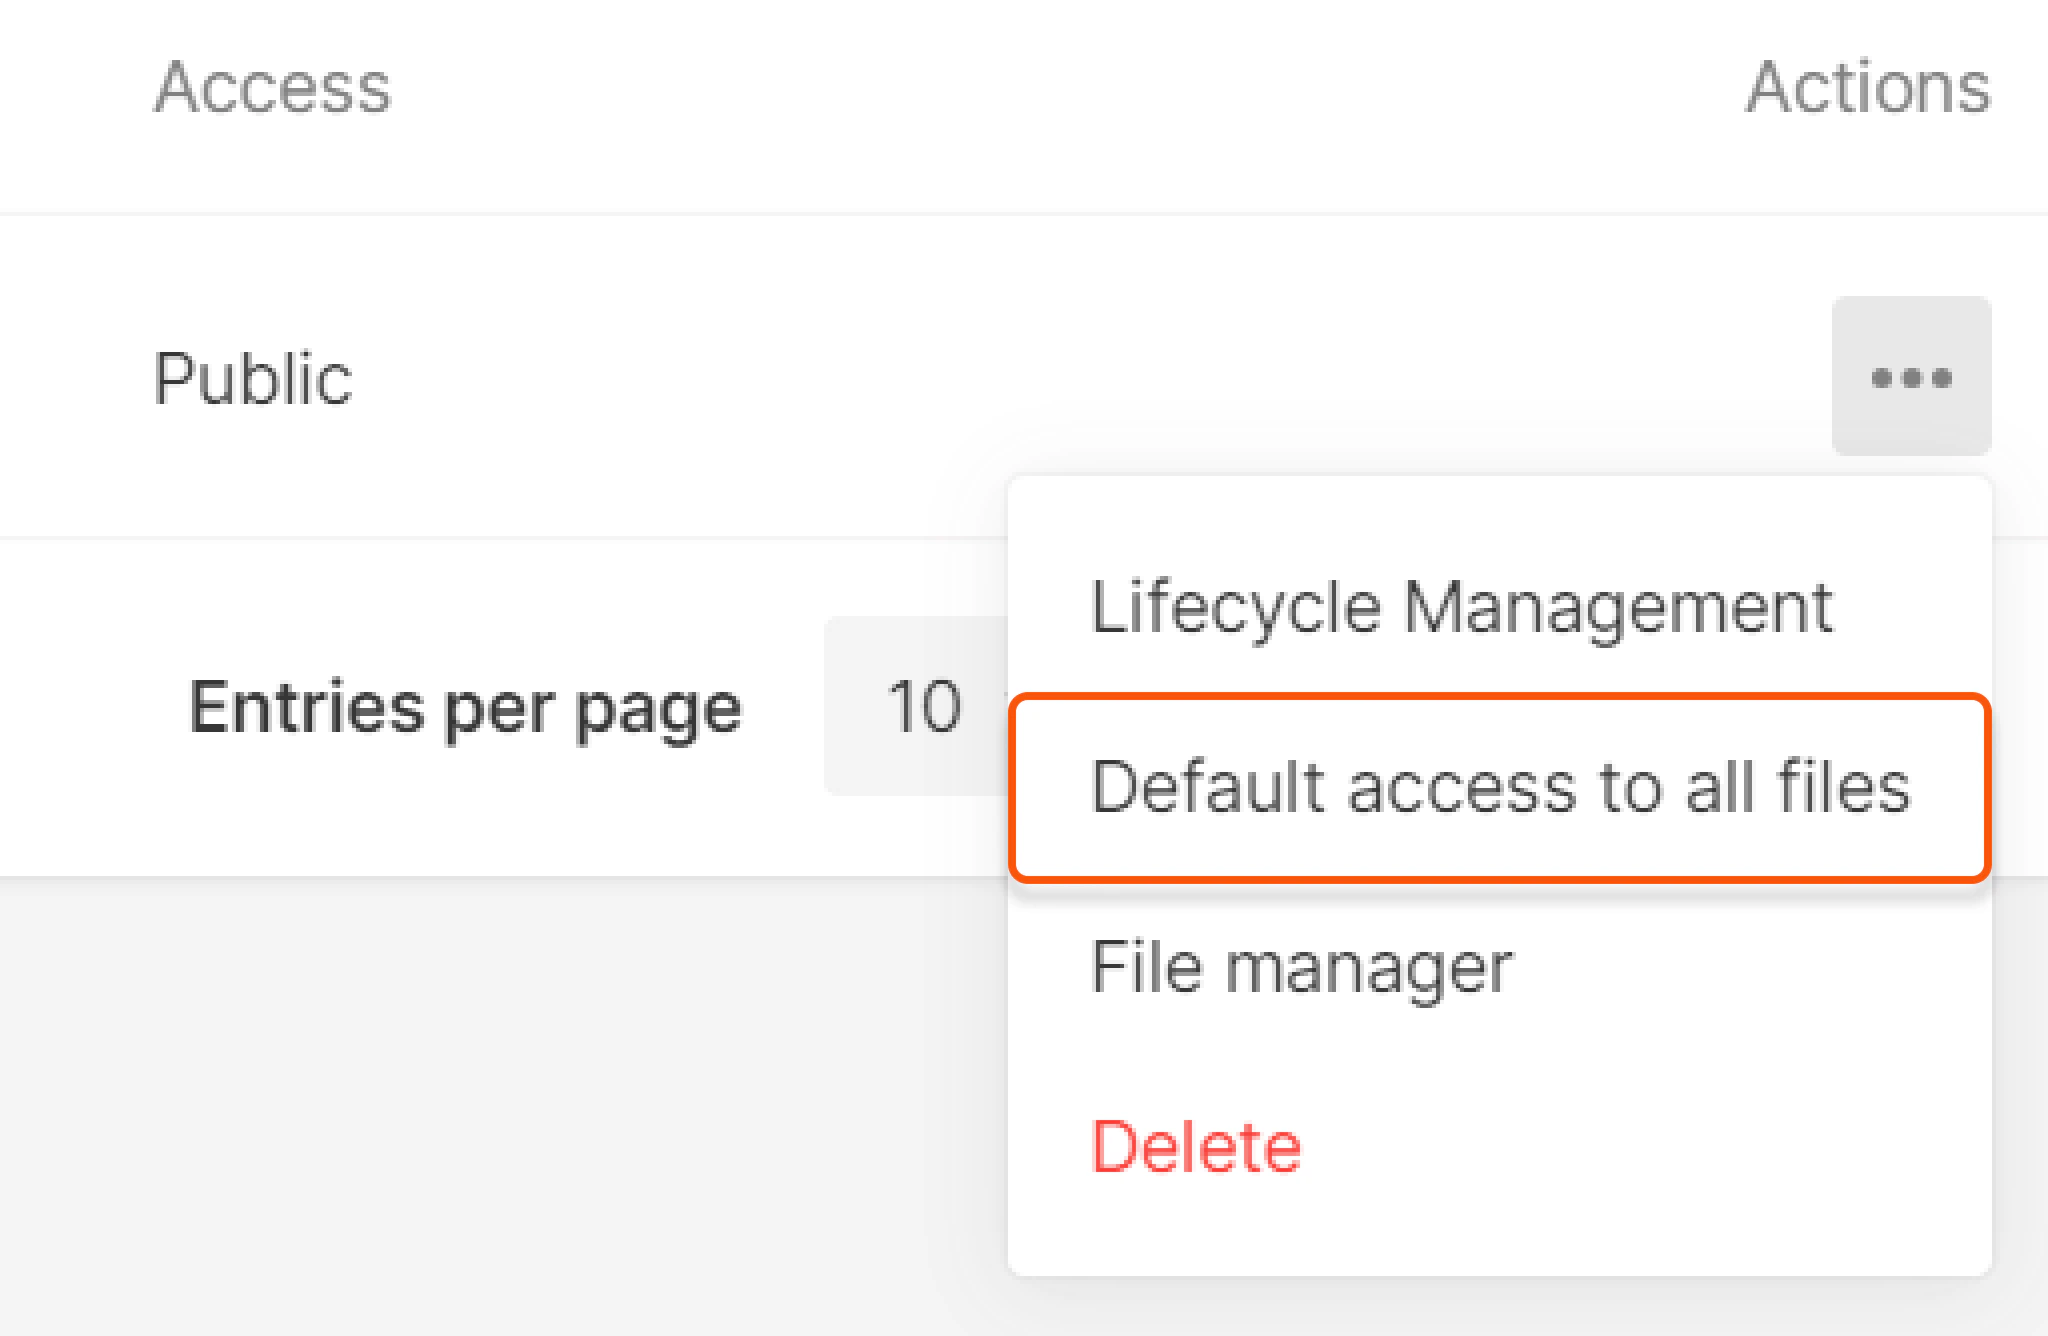
Managing access
If you wish to use Gcore Object Storage as the origin for a CDN resource or to make files accessible via an Object Storage URL, you must allow public (HTTP) access to your bucket. To do this, go to the bucket interface, click on the three dots on the right, and click Public access to all files. Then, click Apply in the pop-up window.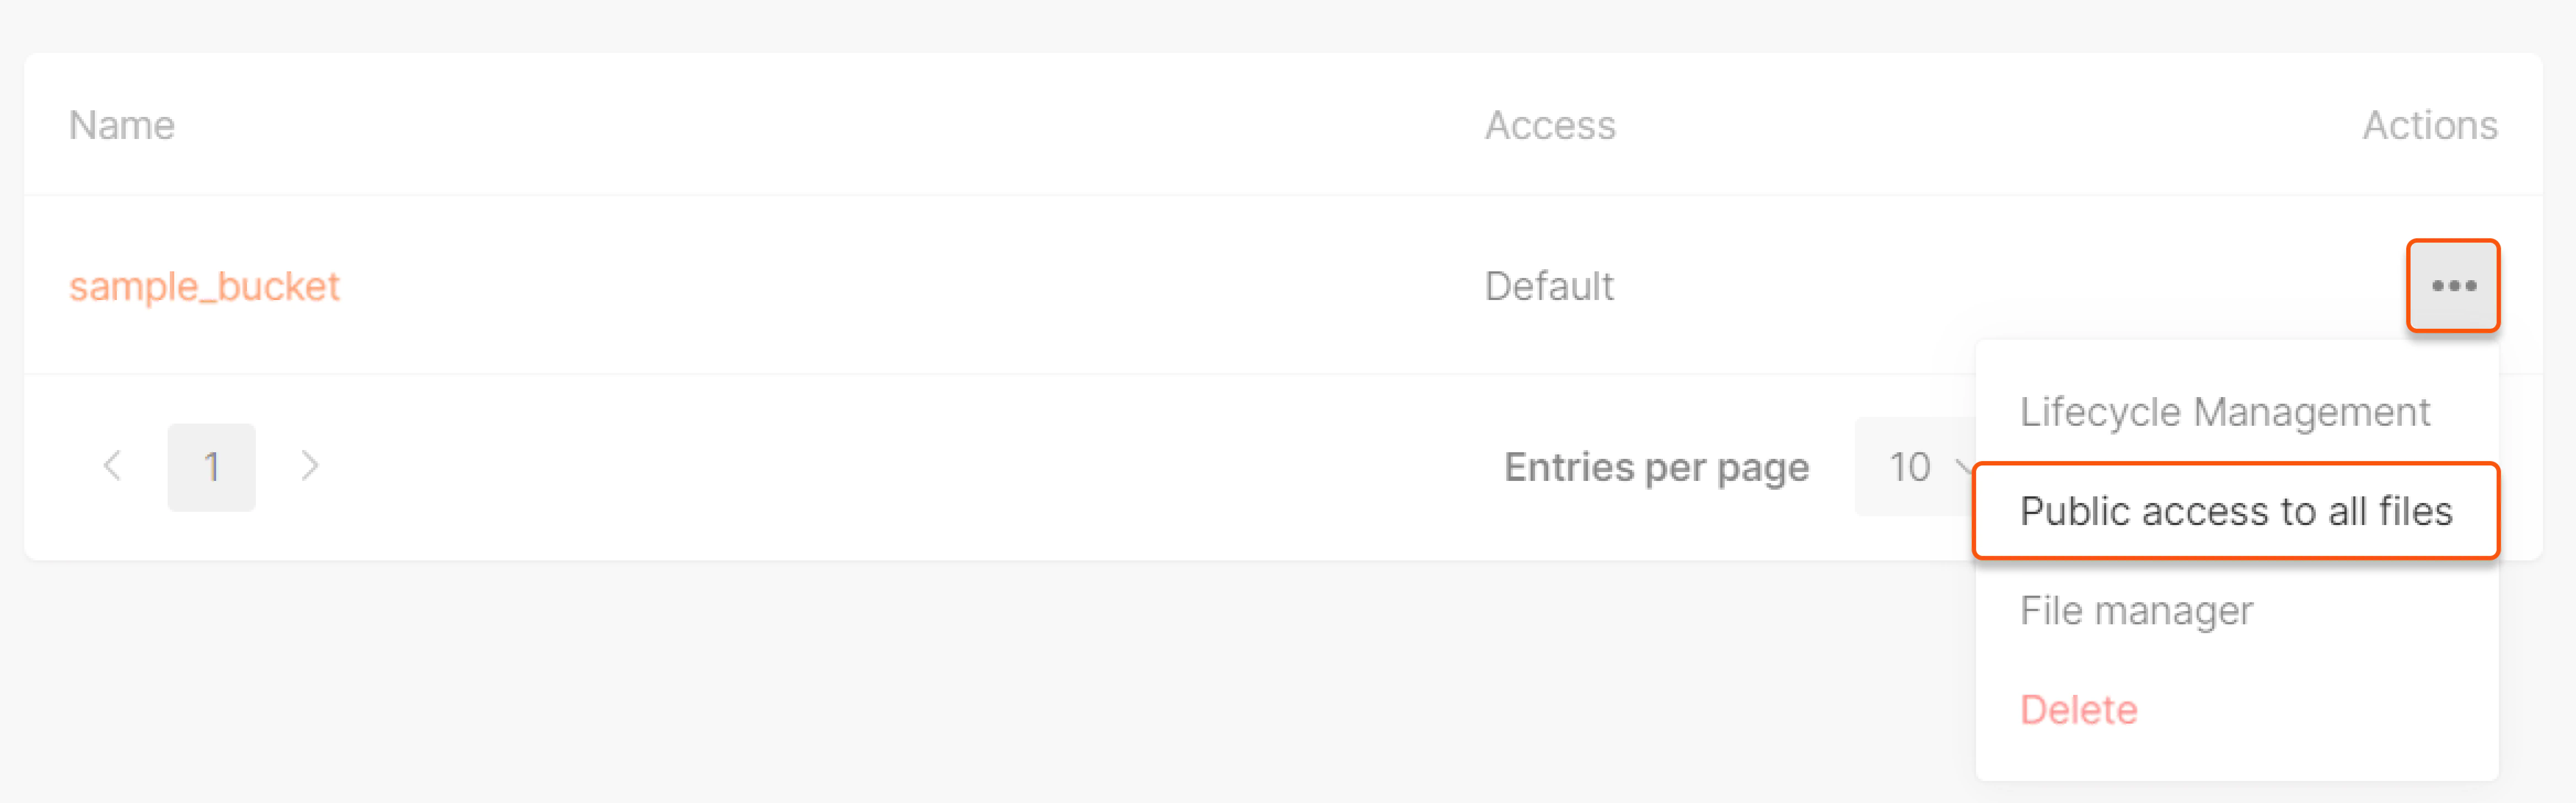
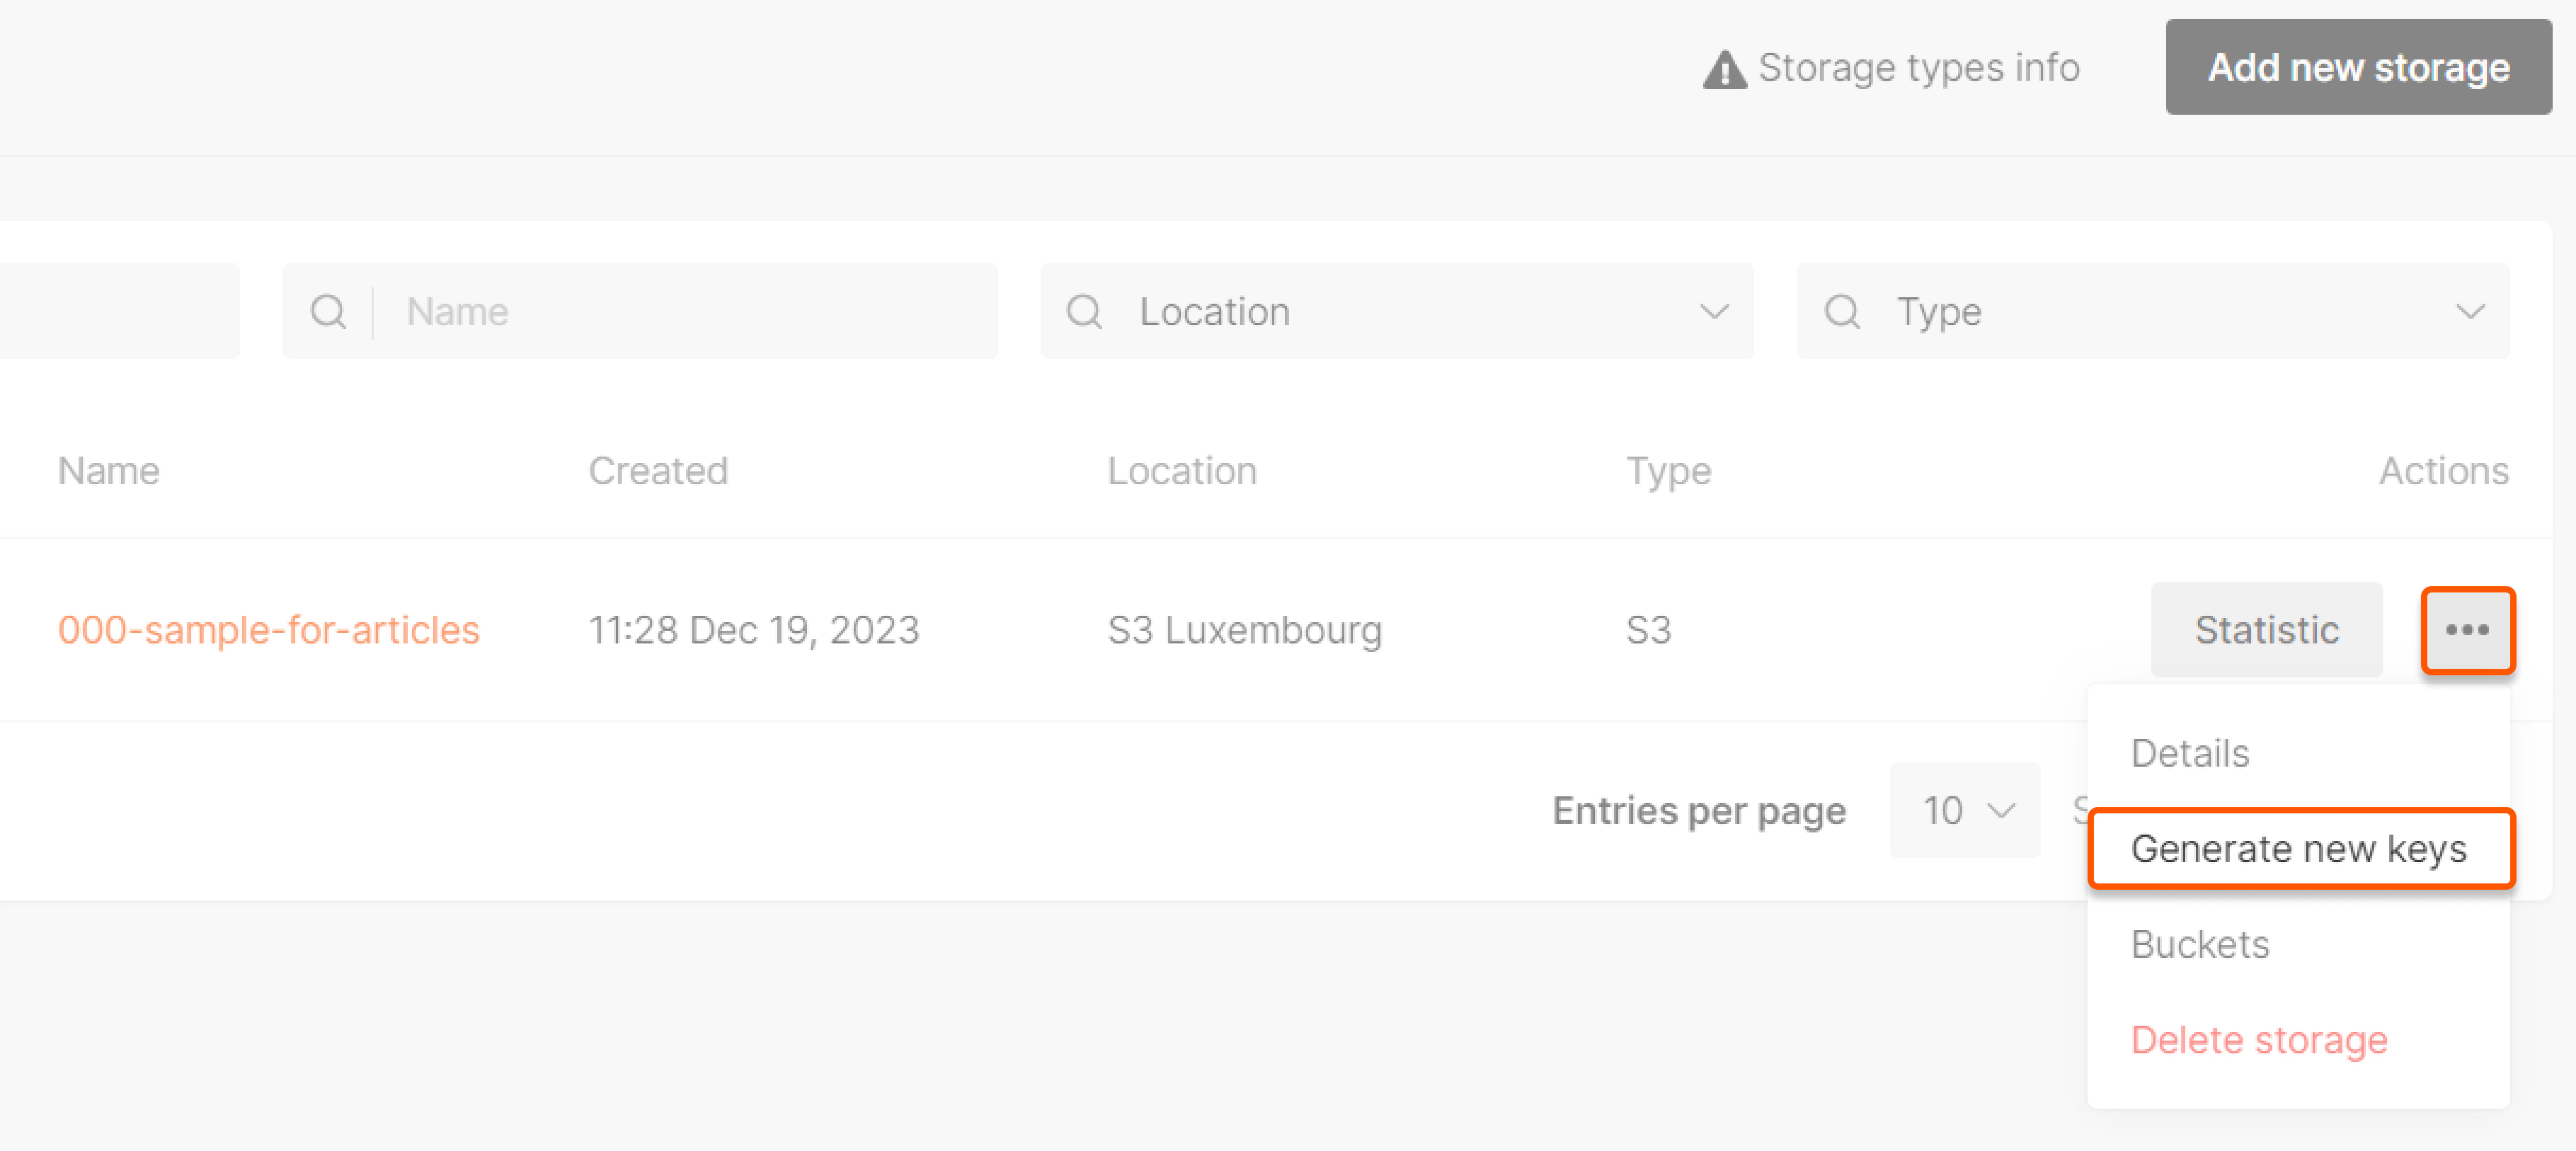
Adding lifecycle policy (for S3 in Luxembourg only)
To add a lifecycle policy, navigate to the bucket interface, click the three dots to the right, and select Lifecycle management. Set how long files should be retained in your bucket before deletion and click Save changes.