Running Kubeflow on Gcore Managed Kubernetes
- January 26, 2024
- 4 min read

In this tutorial, we’ll explore how to install and run Kubeflow on Gcore Managed Kubernetes. Kubeflow is an open-source toolkit designed to make the deployment of machine learning workflows on Kubernetes simple, portable, and scalable. Using a managed Kubernetes service as a foundation for Kubeflow is one of the easiest ways to run the toolkit because it eliminates the need for infrastructure and cluster management. In this article, you’ll learn all the steps required to install Kubeflow on a Kubernetes cluster and gain access to the Kubeflow Central Dashboard.
What Is Kubeflow?
Kubeflow is an open-source platform that lets you manage your machine learning (ML) workflow on Kubernetes. With Kubeflow, you get a single tool for managing containerized ML workloads because it supports all stages of the data science workflow, from data preparation to model training and serving. Kubeflow can help standardize and streamline ML operations by organizing projects and addressing the needs of data scientists, developers, and DevOps engineers in a single project.
The key Kubeflow components are as follows:
- Kubeflow Pipelines to build and deploy multi-step ML workflows using containers.
- Kubeflow Notebooks to run interactive Jupyter notebooks for data exploration and experimentation.
- Kubeflow Central Dashboard to manage and monitor Kubeflow components and ML workflows via a GUI.
You can run Kubeflow on a Kubernetes cluster deployed across various environments, including any public cloud, in your data center, or locally. This vendor-agnostic approach is one of the key advantages that differentiates Kubeflow from MLOps platforms like Amazon SageMaker or Google Vertex AI, which can only be used as part of the provider’s cloud.
When deploying on the public cloud, you can use a managed Kubernetes service to eliminate the need for infrastructure and cluster management. Using managed Kubernetes also provides scalability, efficiency, portability, and fault tolerance for ML pipelines.
Now, let’s explore how to run Kubeflow on Gcore Managed Kubernetes. Besides all the general benefits of a managed Kubernetes service, Gcore Managed Kubernetes supports Bare Metal worker nodes for performance-hungry applications and GPU worker nodes for AI/ML workloads. Gcore also offers free production-cluster management, unlike many other providers, making it an obvious choice for your Kubeflow workflows.
How to Run Kubeflow on Gcore Managed Kubernetes
In a nutshell, to run Kubeflow, you need to proceed with follows:
- Create a Kubernetes cluster in Gcore Cloud.
- Install kubectl on your local machine to connect and manage your cluster.
- Install kustomize that allows Kubeflow to install cert-manager, Istio, Knative, and other necessary components.
- Install Kubeflow.
- Access the Kubeflow Central Dashboard.
Let’s go through all the steps in order.
Step 1: Create a Kubernetes Cluster in Gcore Cloud
To run Kubeflow on Gcore Managed Kubernetes, you first need to create a Kubernetes cluster with at least one worker node. The process is as follows:
A. Log in to the Gcore Platform. If you are not registered, sign up using your email, Google, or GitHub account.
B. From the vertical menu on the left, click Cloud, then click Kubernetes. In the main tab, click Create Cluster.
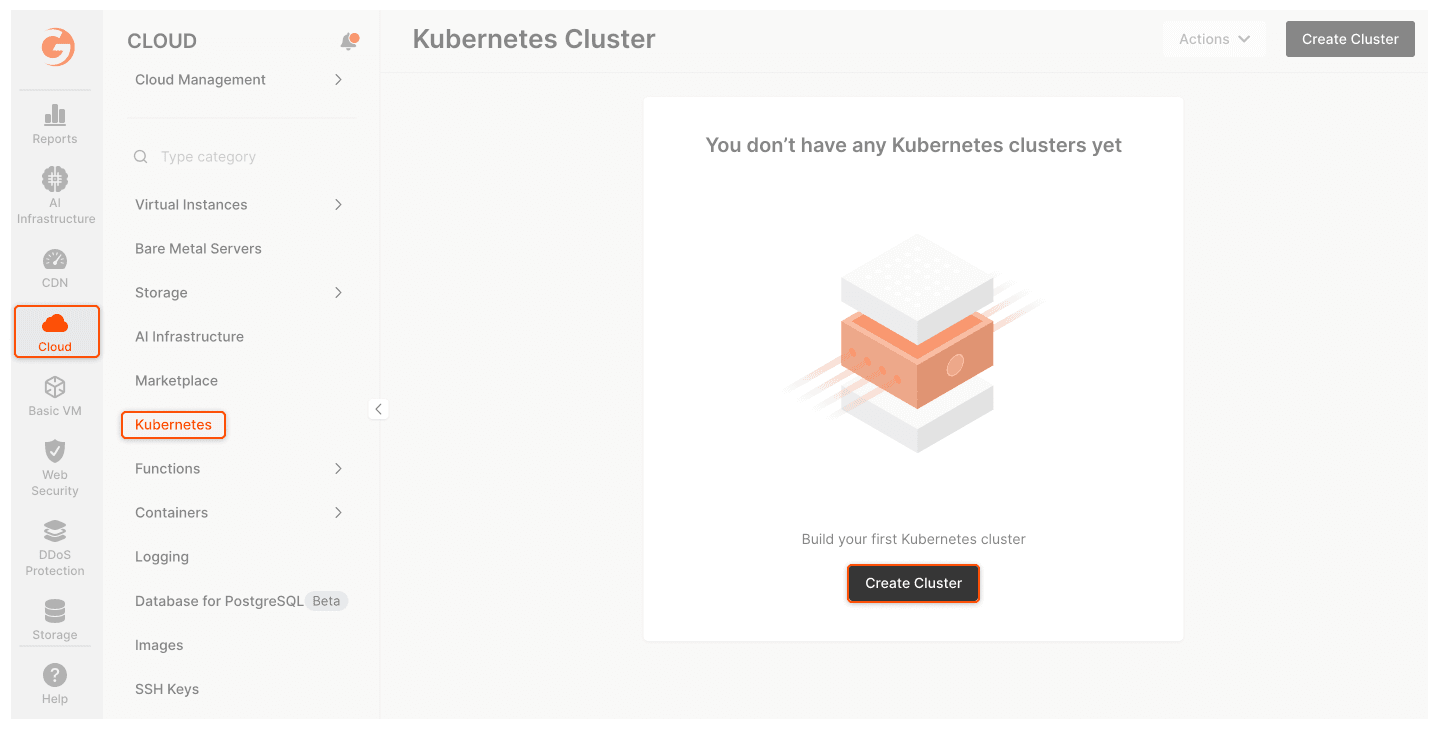
C. Configure your cluster according to the Kubeflow system requirements:
- Region: Your preferred Managed Kubernetes region.
- Kubernetes version: 1.25 or 1.26 (you can use any available patch version related to these minor versions, e.g., 1.25.15 or 1.25.16).
- Pool > Minimum / Maximum nodes: 1/1
- Instance type: Virtual instances, 4 vCPU / 16 GiB Memory
- Volume type: High IOPS SSD 50 GiB
- Network settings: Add new network and subnetwork, or select existing ones.
- SSH key: Choose your public SSH key or generate a new one.
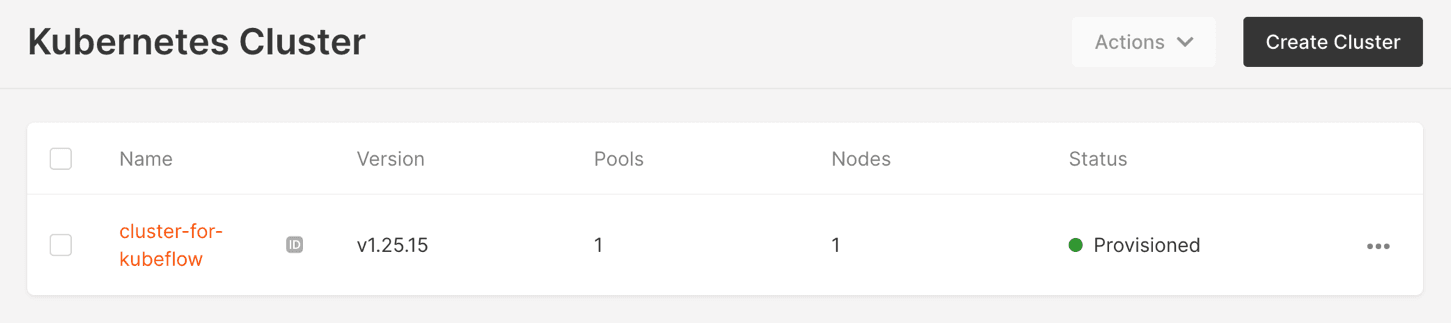
- Cluster name: cluster-for-kubeflow (or whatever you want).
D. Now that you’ve completed the setup steps, click Create Cluster. The cluster will appear in the “Kubernetes Cluster” section. Wait a few minutes until its status changes from “Creating” to “Provisioned.”
Step 2: Install Kubectl and Connect to Your Cluster
To connect to your cluster and manage its resources, including those related to Kubeflow, install kubectl. The installation and connection processes depend on the operating system. See our instructions for installing kubectl on Linux, Windows, and macOS and connecting to a cluster.
Step 3: Install kustomize
Install kustomize on your local machine, choosing the appropriate binary. Kubeflow uses kustomize to install cert-manager, Istio, Knative, and other necessary components.
Step 4: Install Kubeflow
A. Download the Kubeflow manifest repository to your local machine. Alternatively, clone it using the following command in your CLI:
git clone https://github.com/kubeflow/manifests.gitB. After cloning, checkout to the v1.7.0 tag:
git checkout v1.7.0C. From your Kubeflow local directory, execute the command that will install all the necessary Kubeflow components and run them as pods on your cluster:
while ! kustomize build example | awk '!/well-defined/' | kubectl apply -f -; do echo "Retrying to apply resources"; sleep 10; doneD. Check if all the pods are running:
kubectl get pods -n cert-managerkubectl get pods -n istio-systemkubectl get pods -n authkubectl get pods -n knative-eventingkubectl get pods -n knative-servingkubectl get pods -n kubeflowkubectl get pods -n kubeflow-user-example-comIf not, try re-executing the Kubeflow components installation command (the “while ! kustomize build…” command) from Step 3C (above.)
Step 5: Access to the Kubeflow Central Dashboard
A. To access the web GUI through port-forward, execute the following command:
kubectl port-forward svc/istio-ingressgateway -n istio-system 8080:80B. Open your web browser and go to http://localhost:8080 run.
You will see this window:
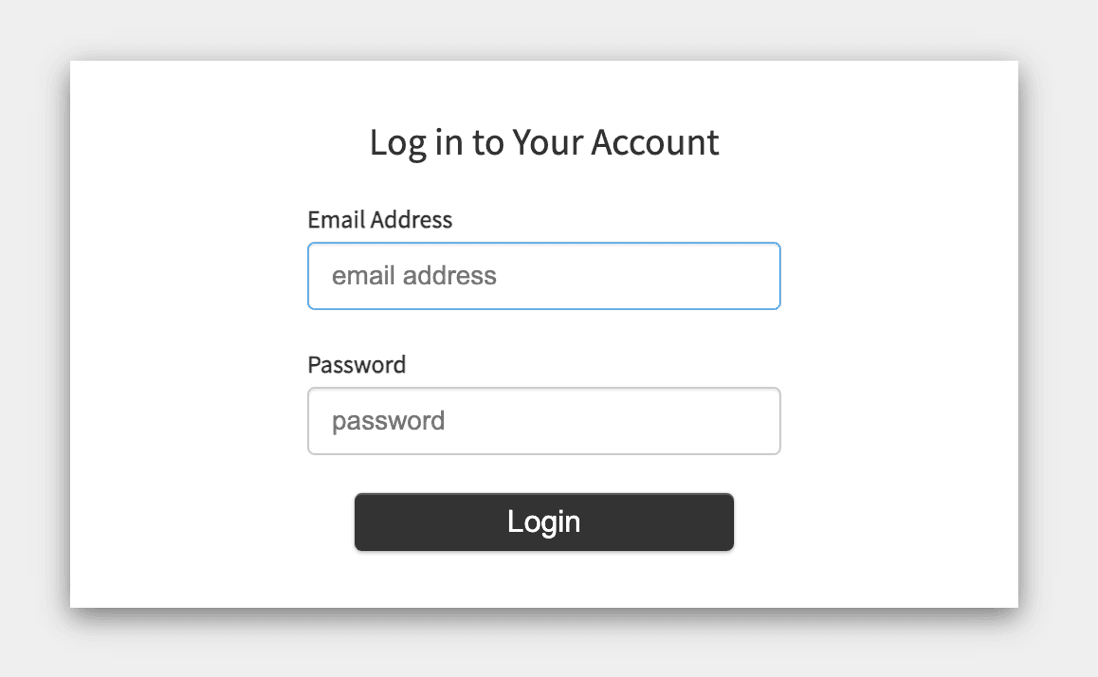
Enter default credentials:
Email Address: user@example.com
Password: 12341234
The default credentials are a prerequisite for the first connection. You can change the default password later by following the Kubeflow instructions.
After you log in, you will see the Kubeflow Central Dashboard:
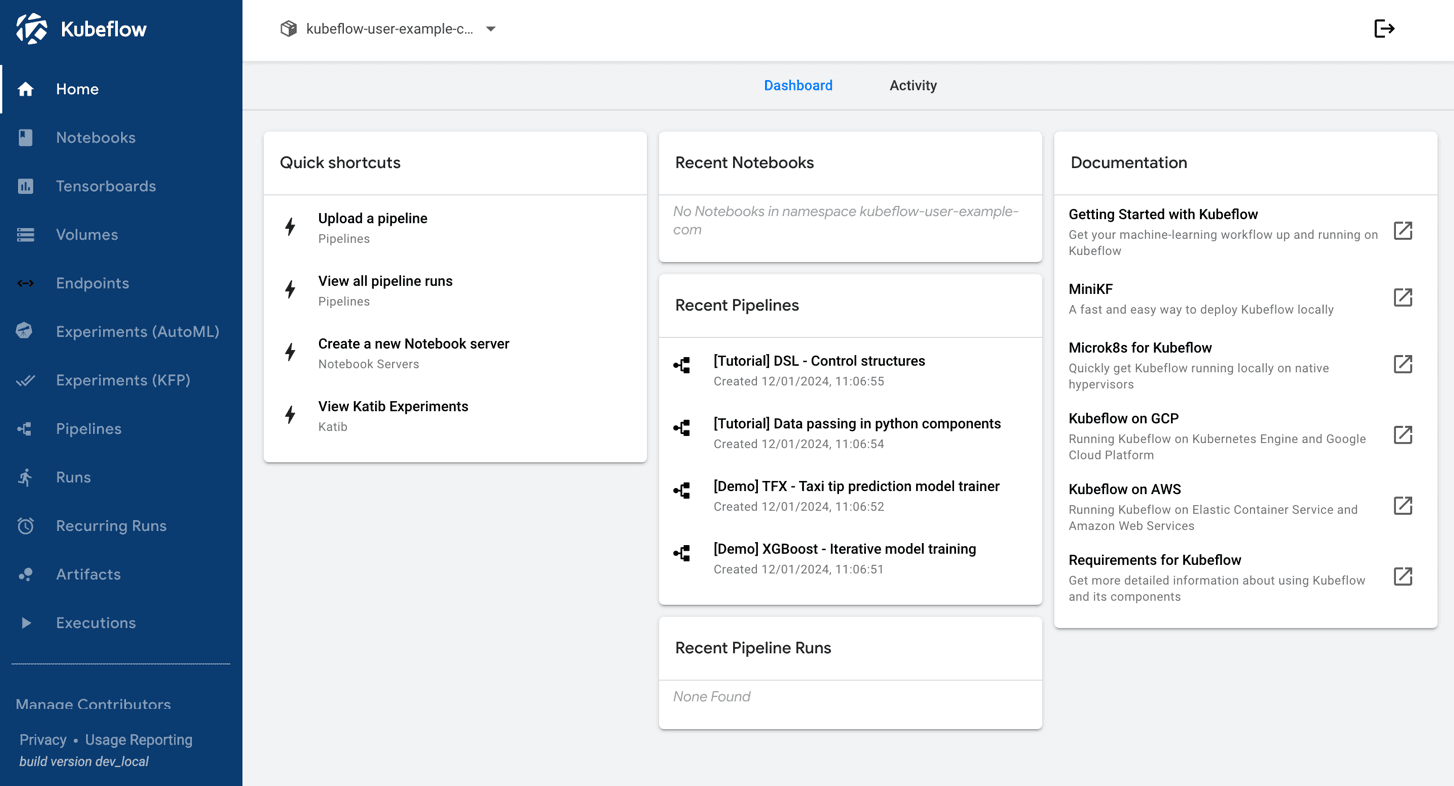
Congratulations! You have successfully installed Kubeflow on Gcore Managed Kubernetes.
Conclusion
It’s easy to set up and run Kubeflow on Gcore Managed Kubernetes. With Gcore, you can deploy ML workflows with ultimate efficiency and simplicity.
If you’re looking for a reliable, powerful, and scalable managed Kubernetes service as a foundation for your ML platform, try Gcore Managed Kubernetes. We offer Virtual Machines and Bare Metal servers with GPU worker nodes to boost your AI/ML workloads. Prices for worker nodes are the same as for our Virtual Machines and Bare Metal servers. We provide free, production-grade cluster management with a 99.9% SLA for your peace of mind.

Related articles

Panels about AI sovereignty tend to follow a predictable arc. Someone invokes GDPR. Someone else mentions hyperscalers. A politician says something optimistic. Everyone applauds and goes home.Last week's Gcore AI panel in Luxembourg didn't
An interview with Alexey Shirobokov, CEO & Founder of Mission Space with Dima Maslennikov, Head of Startups at Gcore, recorded at House of Startups, Luxembourg. At Gcore, we work closely with startups building at the edge of deep t
Building a startup is tough. Every decision about your infrastructure can make or break your speed to market and burn rate. Your time, team, and budget are stretched thin. That’s why you need a partner that helps you scale without compromis
Europe’s cloud priorities are changing fast, and rightly so. With new regulations taking effect, concerns about jurisdictional control rising, and trust becoming a key differentiator, more companies are asking a simple question: Who really

The cloud never stops. Neither do the threats.Every shift toward containers, microservices, and hybrid clouds creates new opportunities for innovation…and for attackers. Legacy security, built for static systems, crumbles under the speed, s
Subscribe to our newsletter
Get the latest industry trends, exclusive insights, and Gcore updates delivered straight to your inbox.