
In this guide, we will explore the steps required to install the MATE desktop environment on Ubuntu 22.04.
What is MATE?
MATE is a desktop environment that originated as part of GNOME, another desktop environment. However, it was forked (split off into a separate project) when GNOME’s design direction changed. MATE is known for its more traditional and simple interface, making it especially useful for beginners or those who prefer a classic look.
Install MATE on Ubuntu 22.04
1. Update your system’s package cache. This command will refresh the list of available packages and their versions from the repositories configured on your system:
sudo apt updatesudo apt upgrade2. Install the MATE environment using the following command:
sudo apt install ubuntu-mate-desktopWait until the unpacking process is complete.
3. Restart your server to apply the changes. You can do this by entering the following command into the terminal:
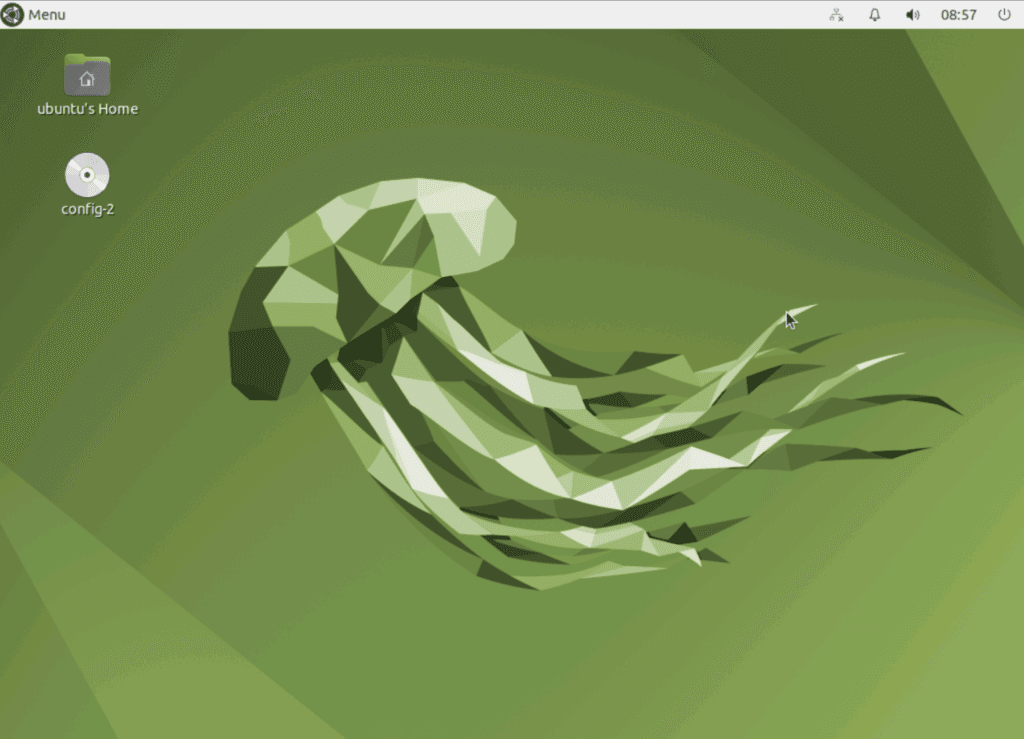
sudo rebootTo start a session with MATE, click on the gear icon in the bottom right corner of the login manager and select MATE. You will then see the MATE environment.
Conclusion
Want to run Ubuntu in a virtual environment? With Gcore Cloud, you can choose from Basic VM, Virtual Instances, or VPS/VDS suitable for Ubuntu:
- Gcore Basic VM offers shared virtual machines from €3.2 per month
- Virtual Instances are virtual machines with a variety of configurations and an application marketplace
- Virtual Dedicated Servers provide outstanding speed of 200+ Mbps in 20+ global locations
Related articles


Imagine discovering that migrating your company's data to a new cloud provider will cost hundreds of thousands of dollars in egress fees alone, before you've even touched the re-engineering work. Or worse, picture being in Synapse Financial

Subscribe to our newsletter
Get the latest industry trends, exclusive insights, and Gcore updates delivered straight to your inbox.