Nitrux Linux Distribution is gaining traction among enthusiasts for its sleek design and user-friendly features. Whether you’re looking to experiment with a new distro or are drawn by its unique offerings, our guide will walk you through the process of installing Nitrux on your system. Dive in and discover what sets Nitrux apart in the vast landscape of Linux distributions.
What is Nitrux Linux?
Nitrux is a Linux distribution derived from Ubuntu and Debian. It stands out for its distinctive design and user-centric approach. Designed to offer a seamless experience, Nitrux sets itself apart with its unique features and optimizations.
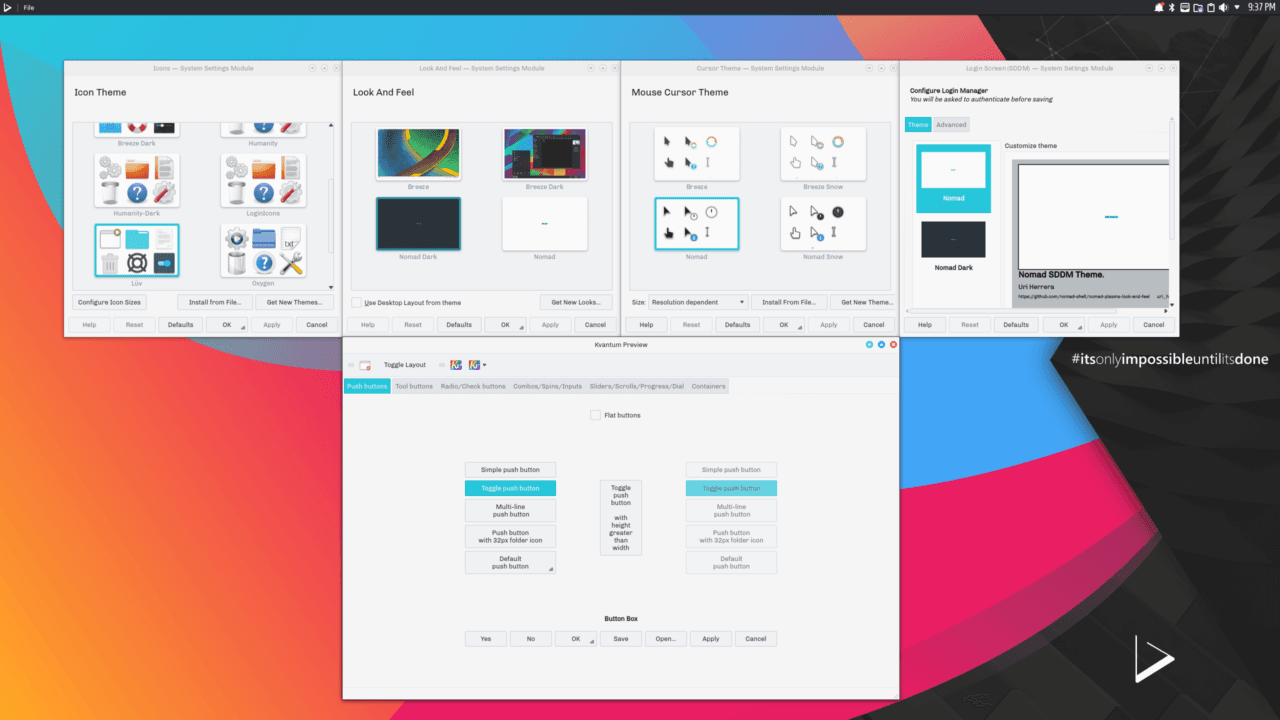
Below are the key features of the Nitrux Linux Distribution:
- NX Desktop Environment. Based on KDE Plasma 5, the NX Desktop provides a modern and customizable user interface that integrates unique aesthetics and functionalities.
- AppImage Integration. Nitrux emphasizes the use of AppImages as the primary software delivery mechanism. AppImages are portable application packages that can run on any Linux distribution without traditional installation.
- Customized Look and Feel. With its set of specially designed themes, icons, and graphics, Nitrux offers a cohesive and eye-catching visual experience out of the box.
- Latte Dock. Nitrux utilizes Latte Dock, an innovative and flexible dock, to manage tasks, launchers, and widgets, further enhancing the user interface.
- ZNX Operating System Manager. A unique deployment and management system for Nitrux, ZNX allows users to run multiple versions of the OS, update without rebooting, and rollback updates if needed.
The above features provide just a glimpse of what Nitrux has to offer. As the distribution evolves, it consistently introduces new tools and refinements, cementing its reputation as a significant choice in the Linux landscape. In the following section, we’ll explore how to install the Nitrux Linux Distribution.
Process to Install Nitrux Linux Distribution
Learn how to seamlessly install Nitrux, a Linux distribution renowned for its innovative features and user-friendly interface. Follow the steps below:
#1 Download the ISO Image
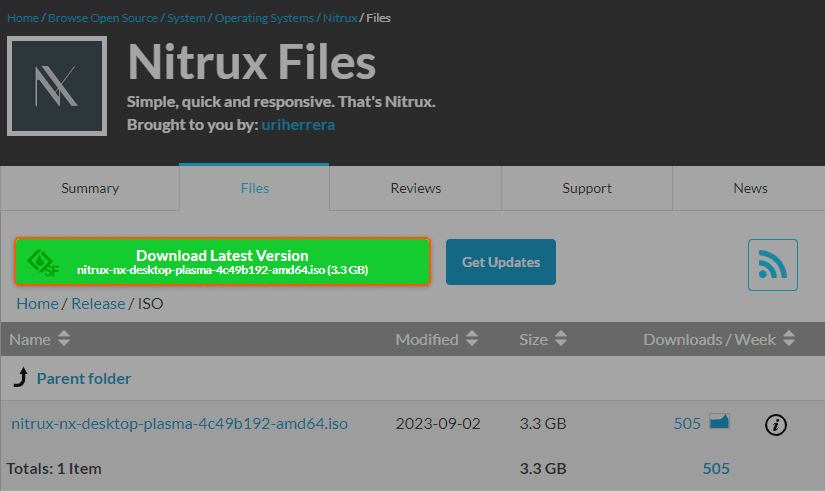
Visit the official Nitrux website, head to the download section, and grab the most recent stable version of Nitrux Linux.
Sample Download Page:
#2 Create a Bootable USB
Use a tool like Rufus or Etcher to flash the downloaded ISO image to a USB stick. This turns your USB stick into a live bootable Nitrux installer.
#3 Boot from USB
Restart your computer and boot from the USB stick. This may involve pressing a specific key (e.g., F12, F2, Del) during startup to select the boot device.
#4 Follow the Installation Wizard
Select your preferred language, connect to a network when possible, click “Install Nitrux“, follow the prompts for region and keyboard layout, input user details, and then pick the installation disk for Nitrux and approve the installation.
#5 Complete the Installation
Once all settings are input, the installation process will commence. This might take a while depending on your machine’s performance. After installation, the system will prompt you to remove the installation media (USB stick) and press Enter.
#6 Reboot and Explore Nitrux
- After rebooting, you’ll be presented with the Nitrux login screen.
- Enter your credentials and start exploring Nitrux!
That’s it! You’re now equipped to install and use the Nitrux Linux distribution. Always refer to the official Nitrux documentation or forums for specific details or updates to the installation process. While this guide provides a general overview, it may not encompass every detail or nuance.
Conclusion
Looking to deploy Linux in the cloud? With Gcore Cloud, you can choose from Basic VM, Virtual Instances, or VPS/VDS suitable for Linux:
- Gcore Basic VM offers shared virtual machines from €3.2 per month
- Virtual Instances are virtual machines with a variety of configurations and an application marketplace
- Virtual Dedicated Servers provide outstanding speed of 200+ Mbps in 20+ global locations
Related articles
Subscribe to our newsletter
Get the latest industry trends, exclusive insights, and Gcore updates delivered straight to your inbox.

