Create a server
This guide describes how to create a PostgreSQL server.Before you begin
Before you begin, make sure you have enough quotas to create a PostgreSQL cluster. 1. Go to Cloud Management, then Quotas Viewer and select the region.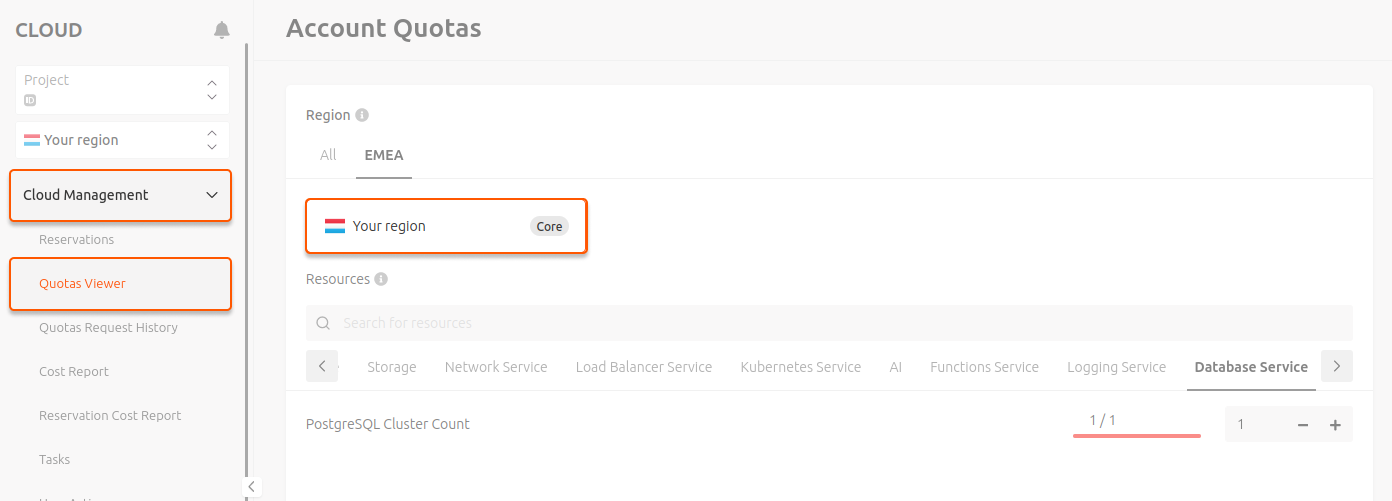
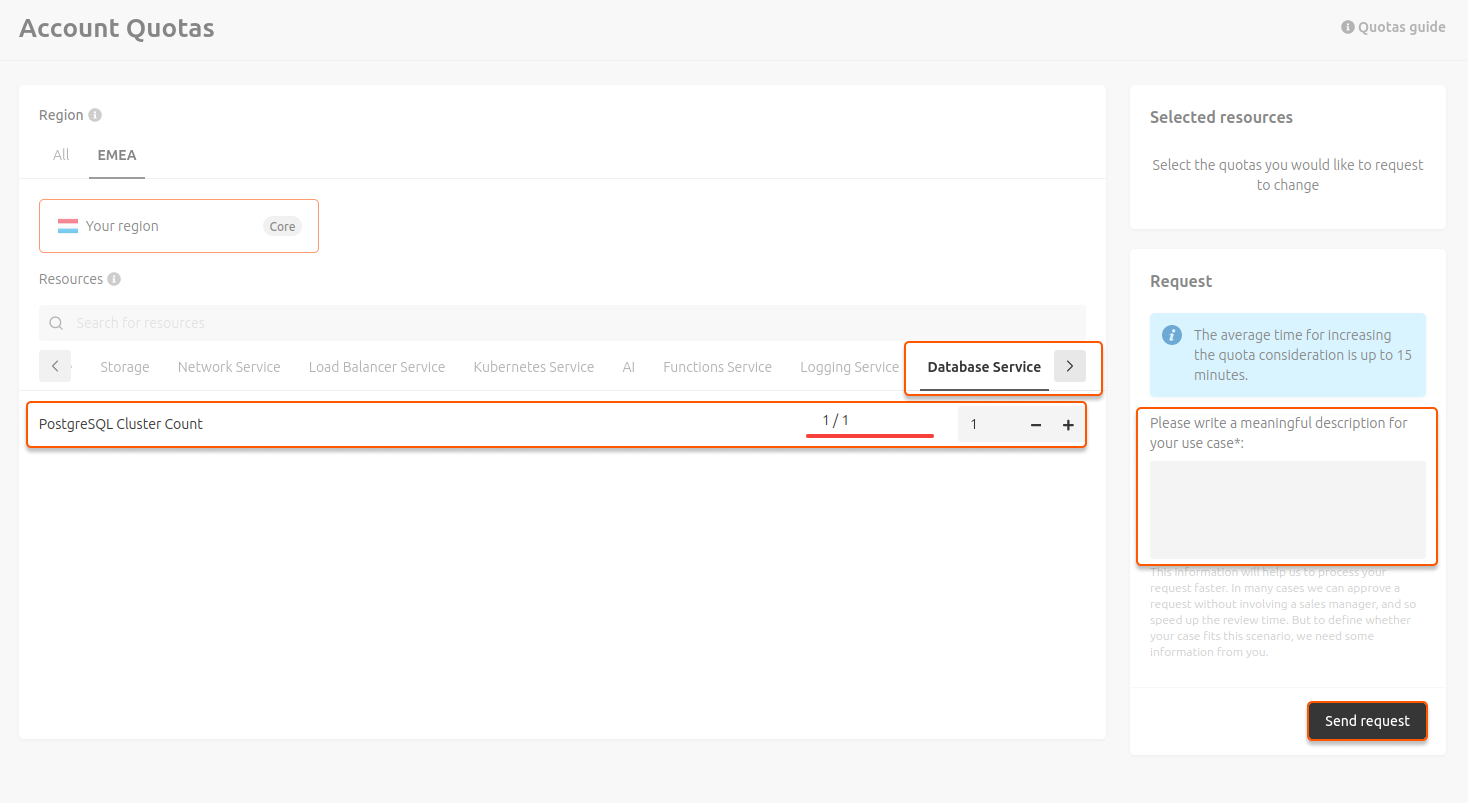
Create a server
1. In the Cloud menu, choose the Database for PostgreSQL tab and click Create PostgreSQL server.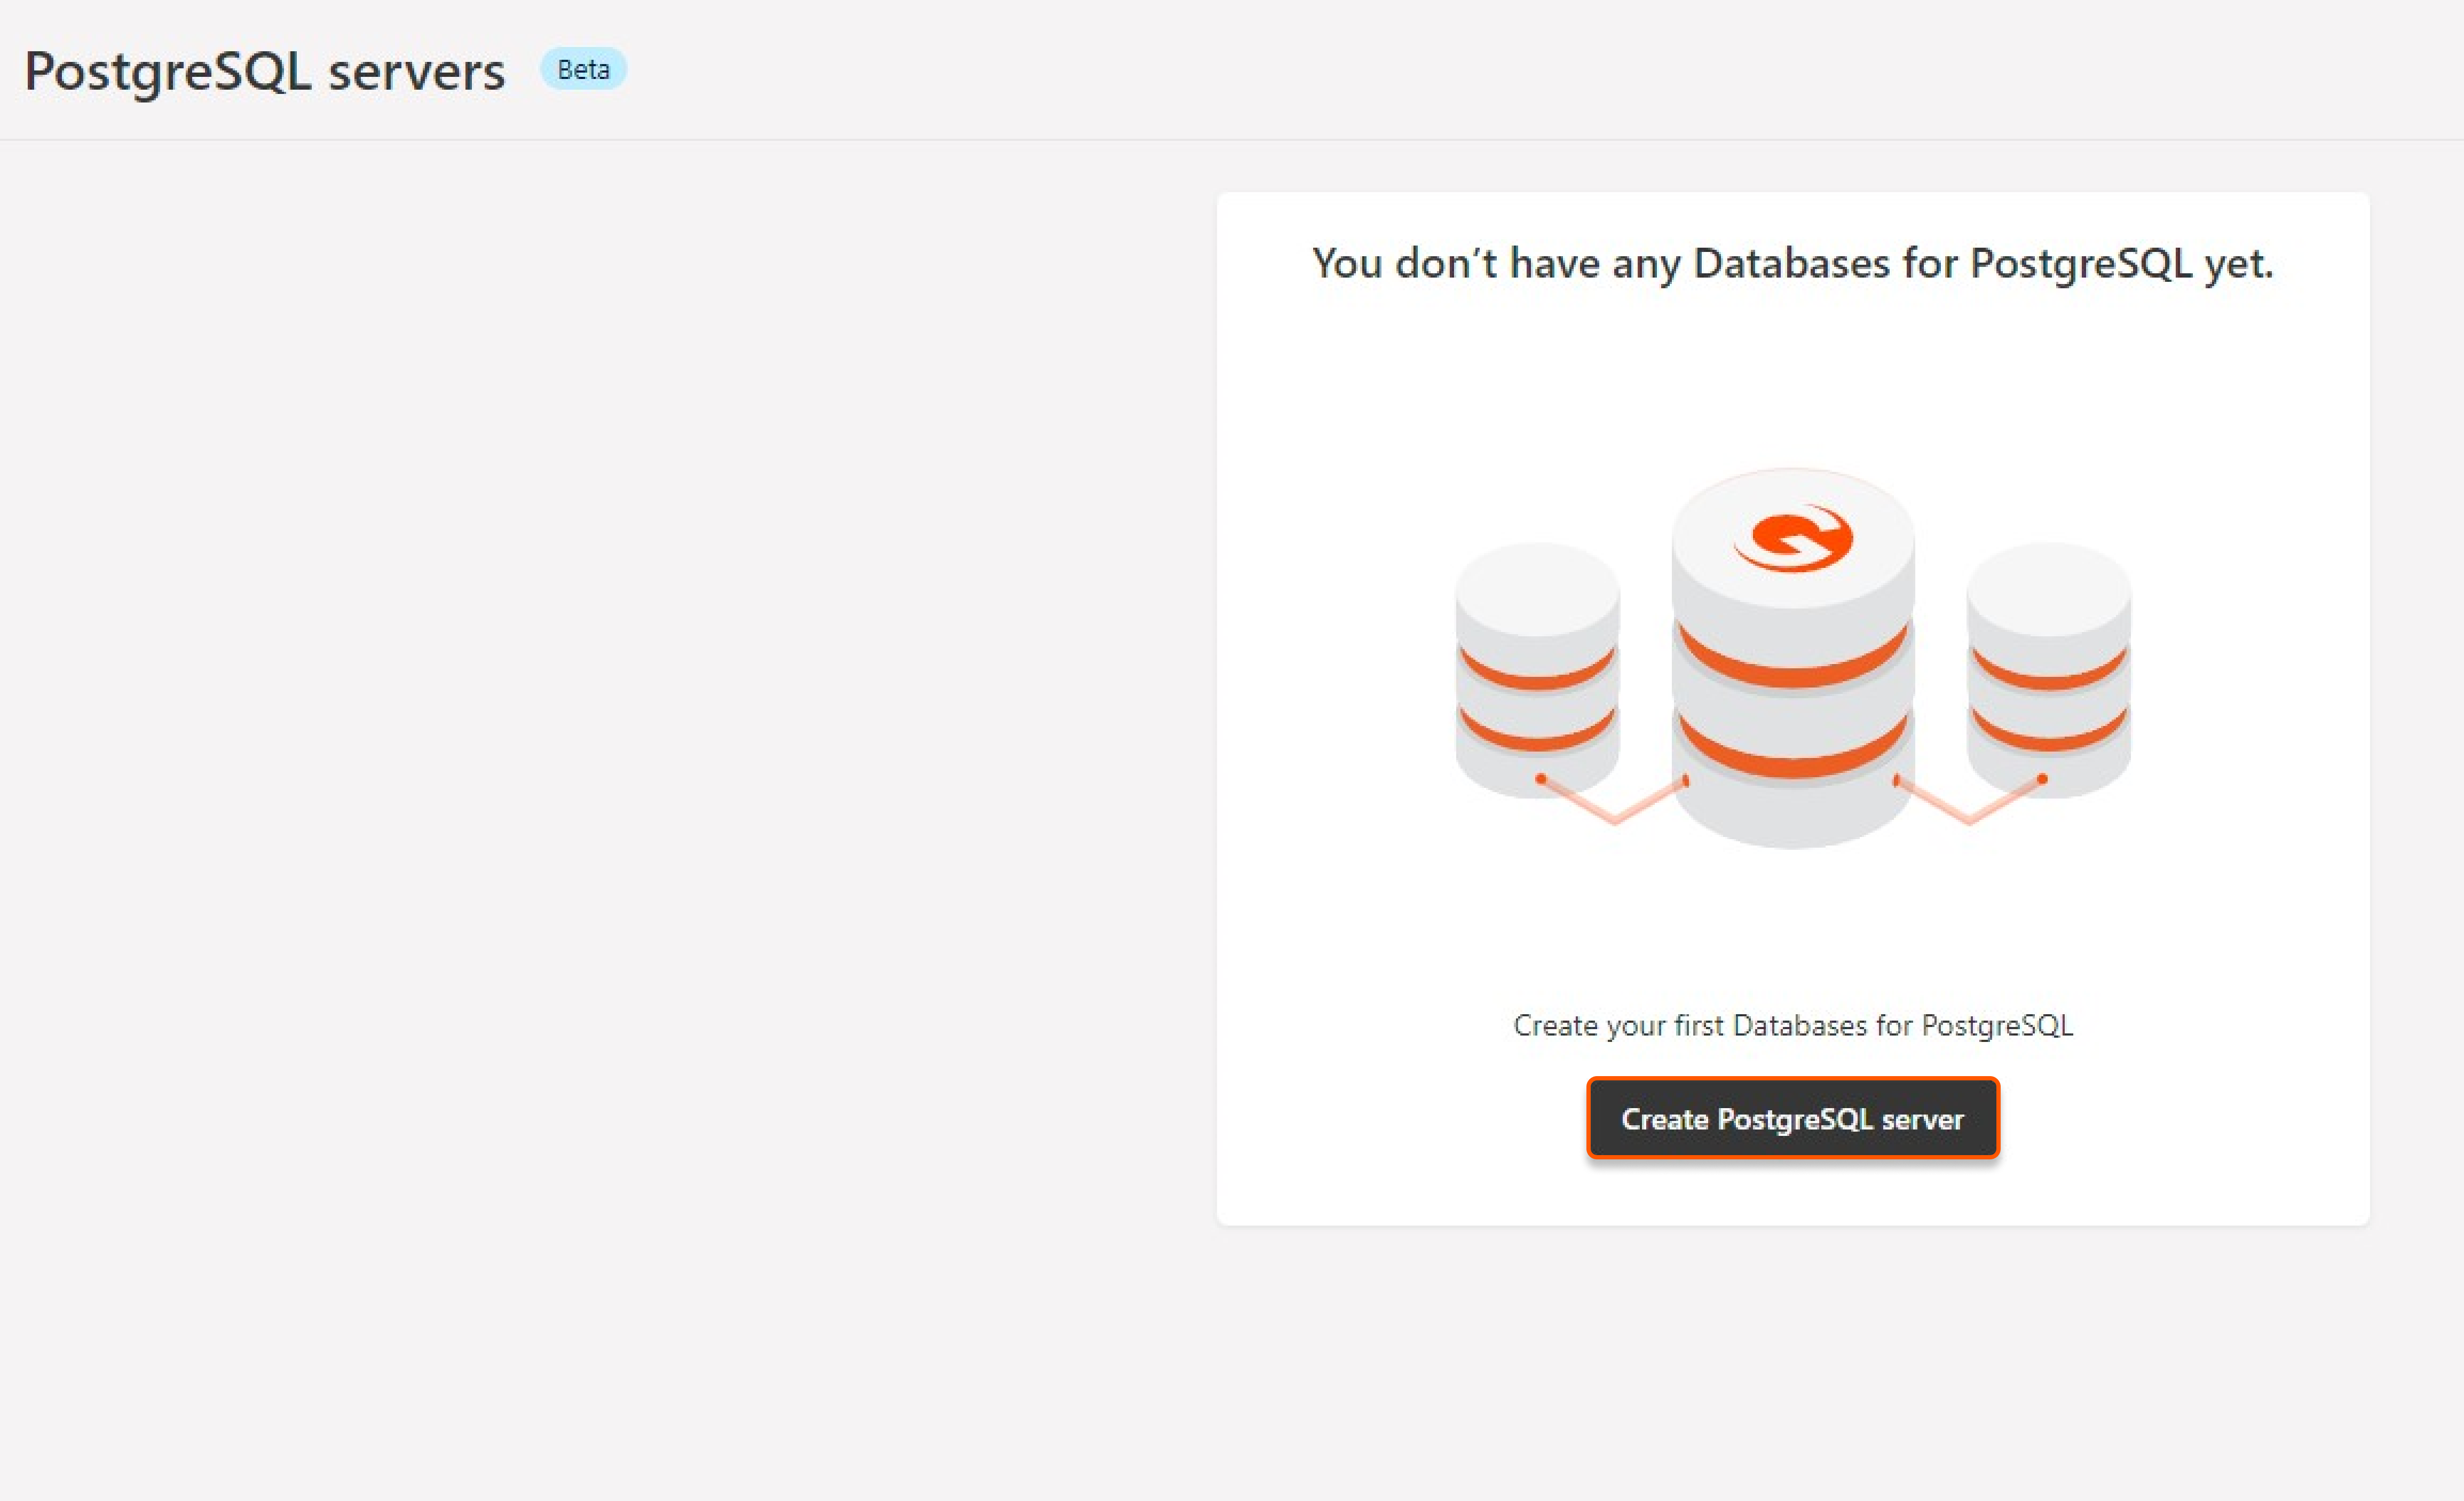
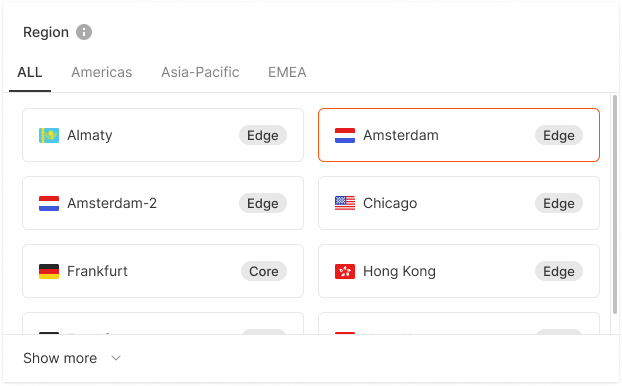


- Asynchronous: In asynchronous replication, servers work independently. The primary database sends the changes to the replicas and does not wait for confirmation that the changes have been applied. This mode is suitable for scenarios where data consistency with some level of delay is acceptable, though high performance is crucial.
- Synchronous: In synchronous replication, the primary database must wait for confirmation that the changes have been applied in the replica databases. The changes are replicated in real time or near-real time. It provides full protection against data loss but may have lower performance.

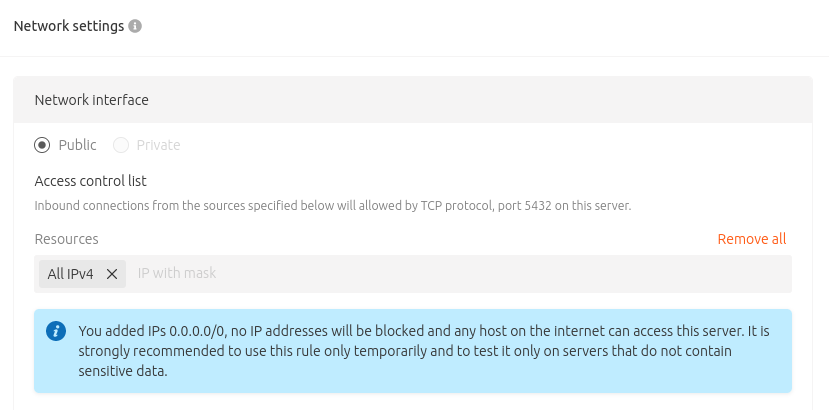

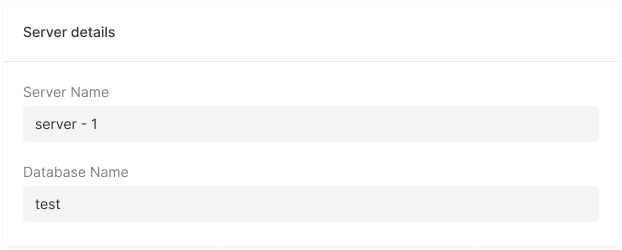
Get your credentials
This guide explains how to obtain the password to start using your Postgres server and how to reset it if you forget it. 1. Go to the Database for PostgreSQL tab and select the server you need. 2. Click Generate credentials.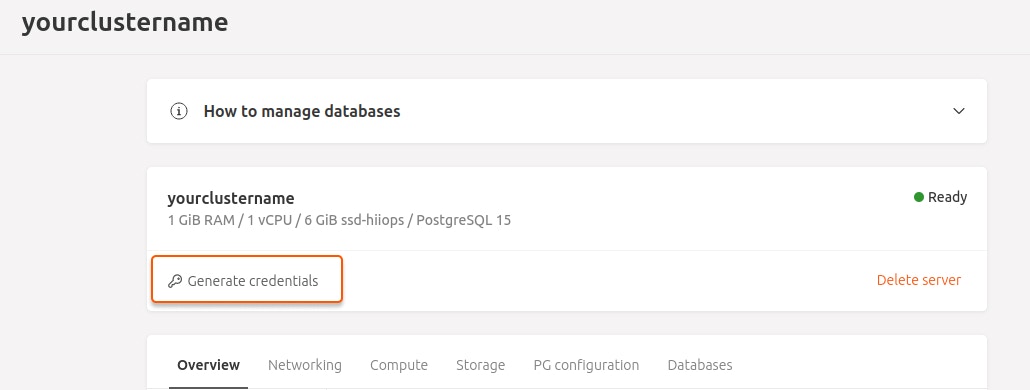
Upgrade the PostgreSQL version
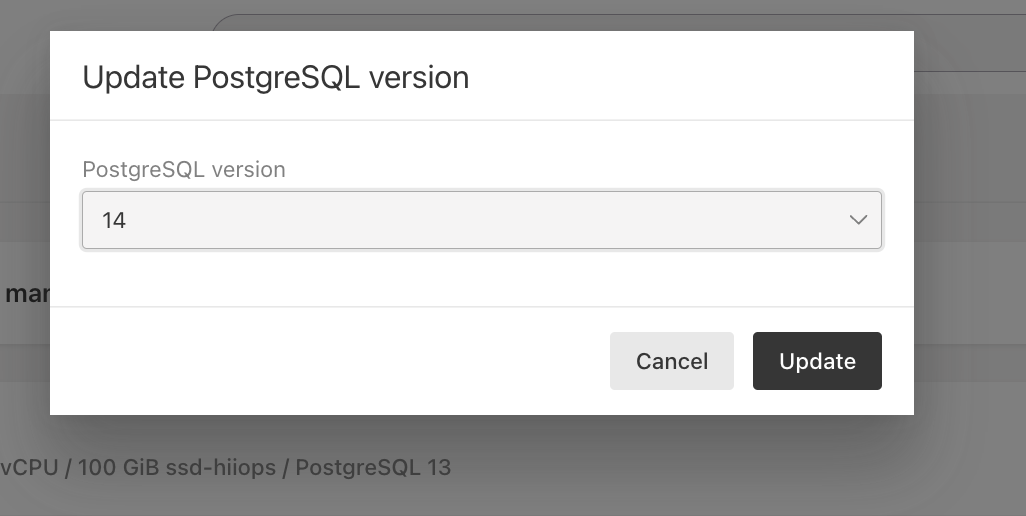
If your current PostgreSQL version is not the latest one, you can upgrade it. 1. Go to the Database for PostgreSQL tab and select the server you need. 2. On the Overview tab, click Update in the General info section. Note : if you use the latest version, the button will be absent.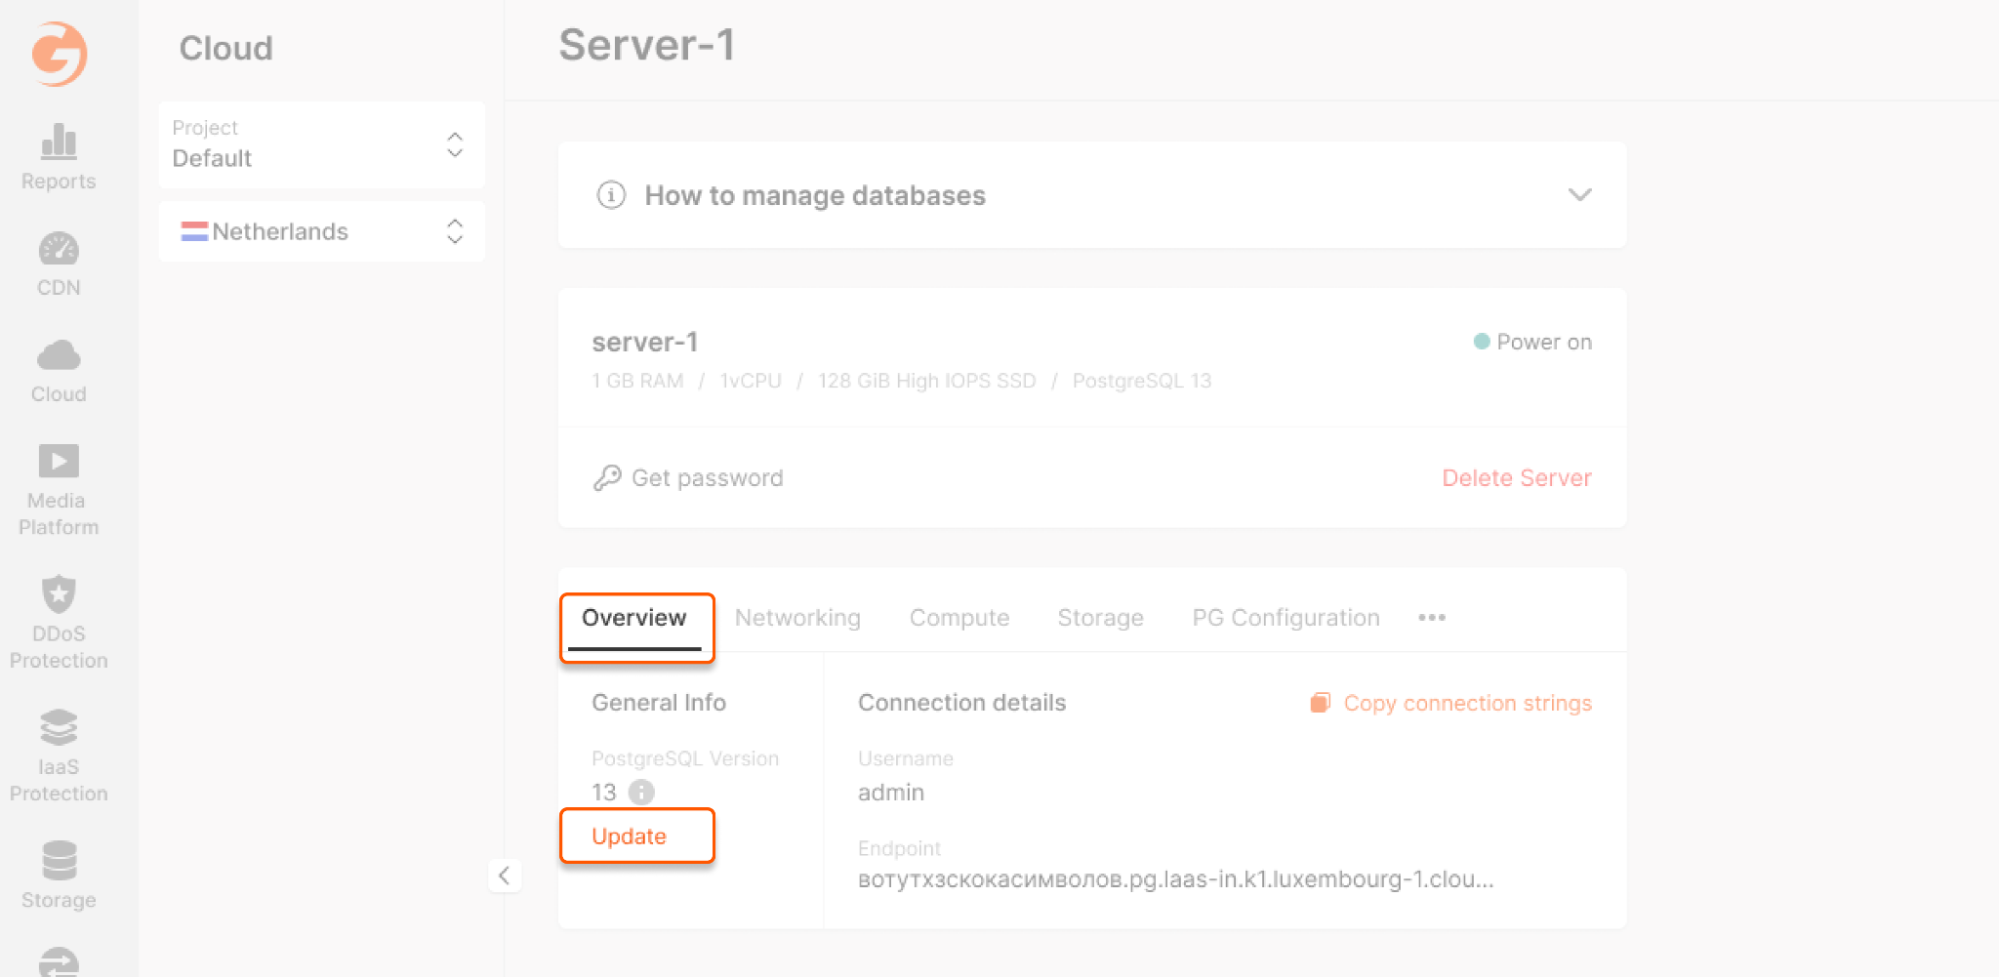
Delete a server
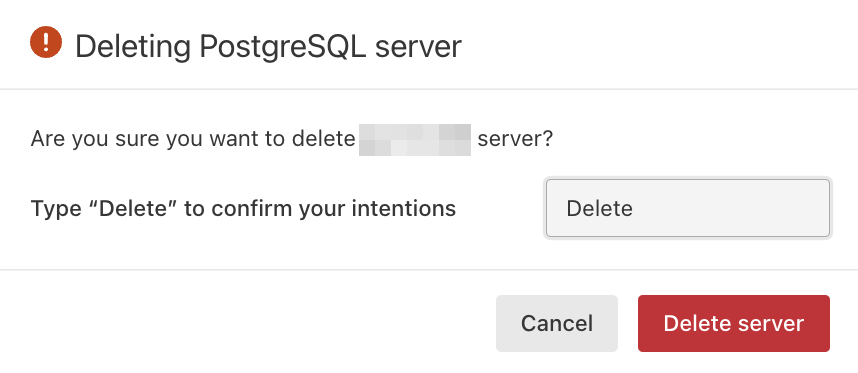
1. Go to the Database for PostgreSQL tab and select the server you want to delete. 2. Click Delete server.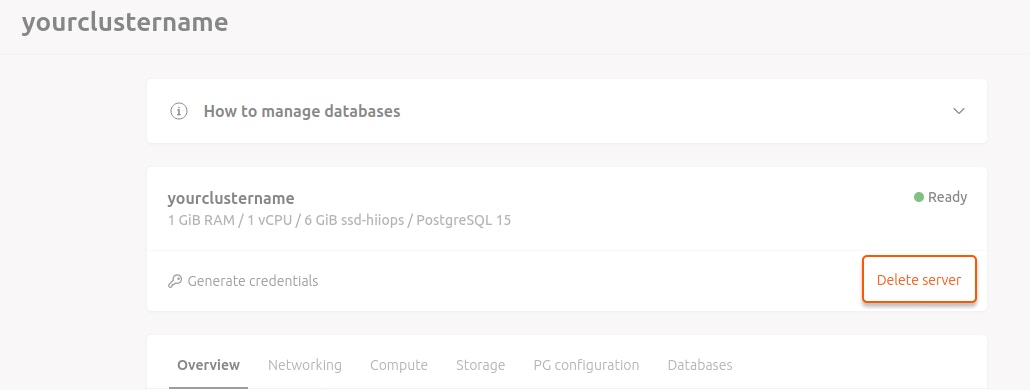
Connect to a PostgreSQL server
This guide explains what tools you can use to access your PostgreSQL server and how to connect using psql and pgAdmin.Before the beginning
Before you connect to your PostgreSQL server, make sure to do the following: 1. Collect the connection details: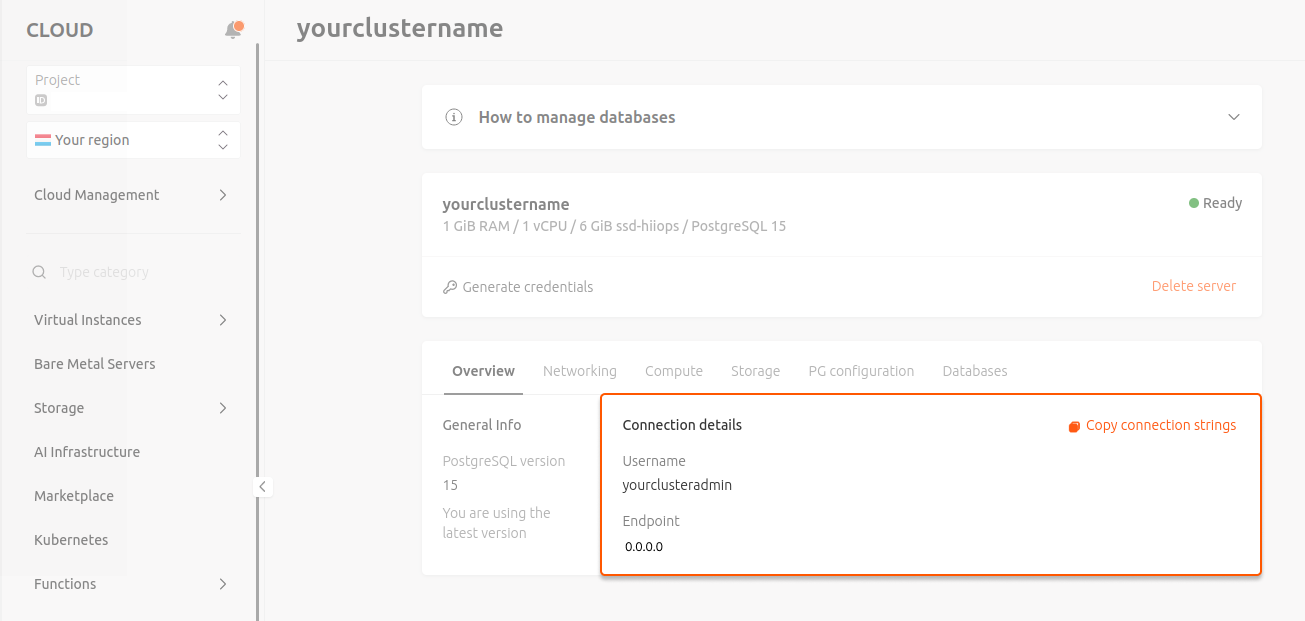
- Endpoint. You can find it in the “Connection details”
- Username. You can find it in the “Connection detais”
- Port. You can find it by copying the connection strings in the “Connection details”
- Password. You should have got it separately after creating a server. If you forgot your password, reset it.
- psql (Postgres Terminal Monitor): The command-line PostgreSQL client, that allows you to enter, edit, and execute SQL commands directly from your terminal or command prompt.
- Native Frontend Tools (e.g., pgaccess, pgAdmin, ApplixWare): They provide graphical user interfaces (GUIs) for PostgreSQL database management. These tools offer a more user-friendly and visual way to create and manipulate databases.
- Programming Languages (e.g., Perl, Tcl): These languages have supported interfaces for PostgreSQL. You can use these languages to write scripts or applications that connect to PostgreSQL databases programmatically. Some of the languages have convenient and powerful GUI toolkits which can help you construct custom applications. For example, pgaccess, mentioned above, is one of such applications written in Tcl/Tk.
- C Programming with LIBPQ: If you’re a C programmer, you can use the LIBPQ subroutine library to write C programs that connect to PostgreSQL databases. This allows you to submit SQL commands from your C program, retrieve results, and manage database interactions programmatically. The detailed information on using LIBPQ can be found in “The PostgreSQL Programmer’s Guide.”
Connect using the psql client
1. Download the PostgreSQL client from the PostgreSQL website for your operating system in order to install psql. 2. Start psql by typing the following command in your terminal:hostname, port, dbname, and username with your custom values.
3. Enter the password and press Enter.
For more details, refer to the PostgreSQL official documentation.
Connect using pgAdmin
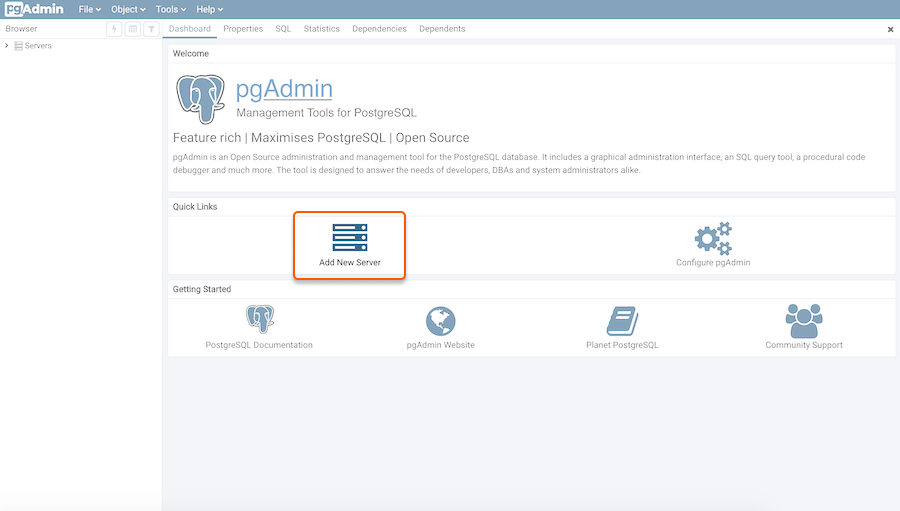
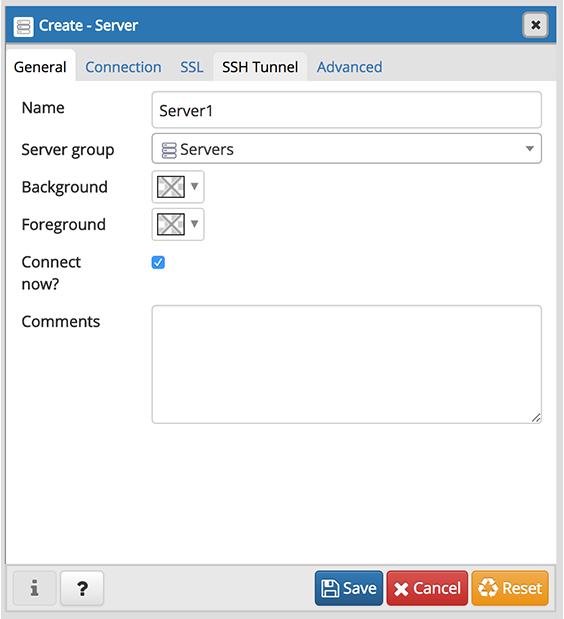
1. Download and install pgAdmin to your client computer. 2. Launch pgAdmin. 3. On the Dashboard tab, choose Add New Server.