What is the origin groups feature
Origin groups is a feature that allows you to specify sources for a CDN resource. One origin group can consist of a single site/private bucket or of multiple sites. Specifying several sites increases fault tolerance. If one origin fails, another can function as a backup. You can specify a group and set the logic of interaction between origins. For example, if multiple active origins are configured, the CDN distributes requests between them using a round-robin algorithm. Backup origins respond only when the primary source gives an error 5xx.Step 1. Add a new origin group
You can do this in several ways: during CDN resource creation, in the settings of an existing resource, or on the Origin groups page.In resource settings
1. In the Gcore Customer Portal, navigate to CDN. You’ll be directed to the CDN resources page. 2. Find the resource where you want to add a new origin group and click the CNAME to open its settings.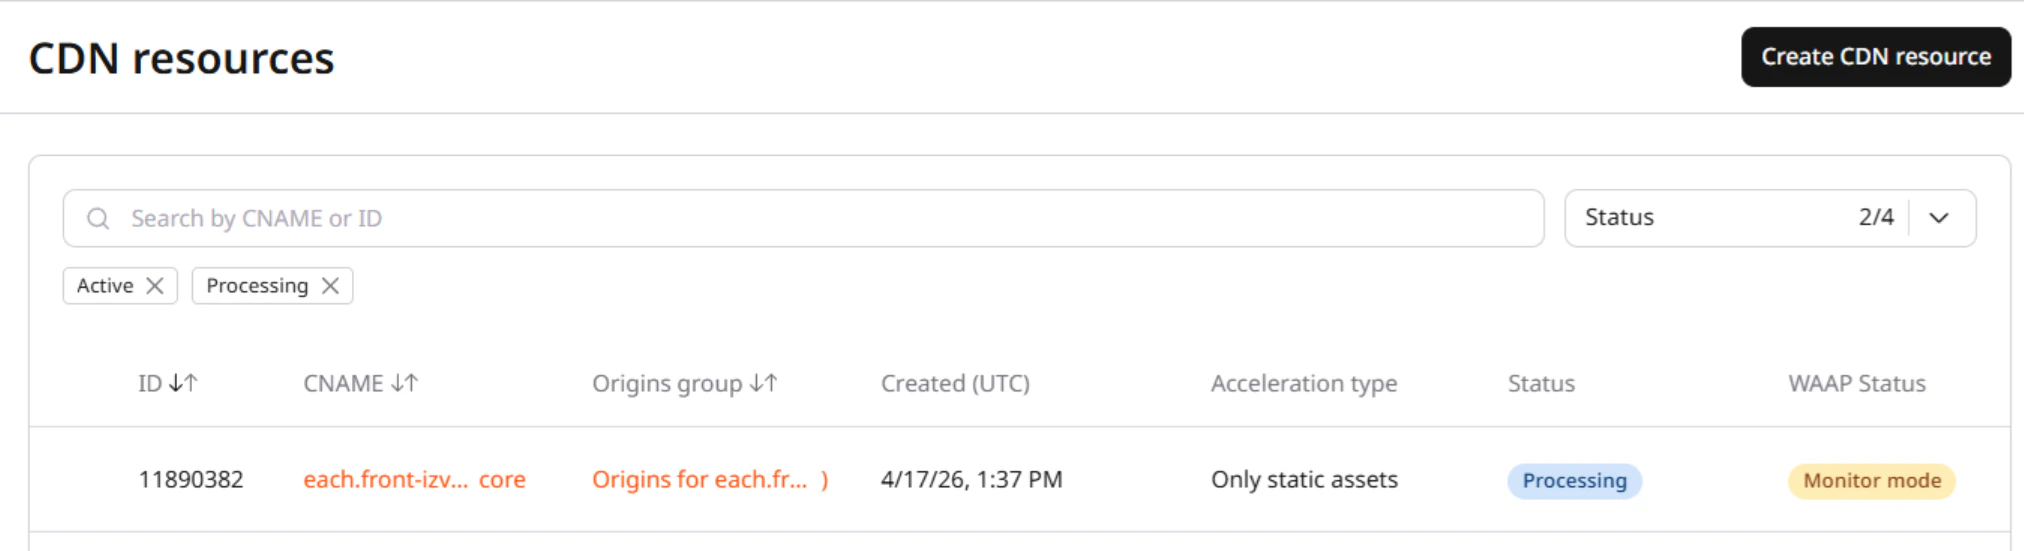
On the origin groups page
If you add a group from the Origin groups page, the created group won’t be automatically added to a CDN resource. You’ll need to manually add a group to the resource. 1. In the Gcore Customer Portal, navigate to CDN > Origin groups.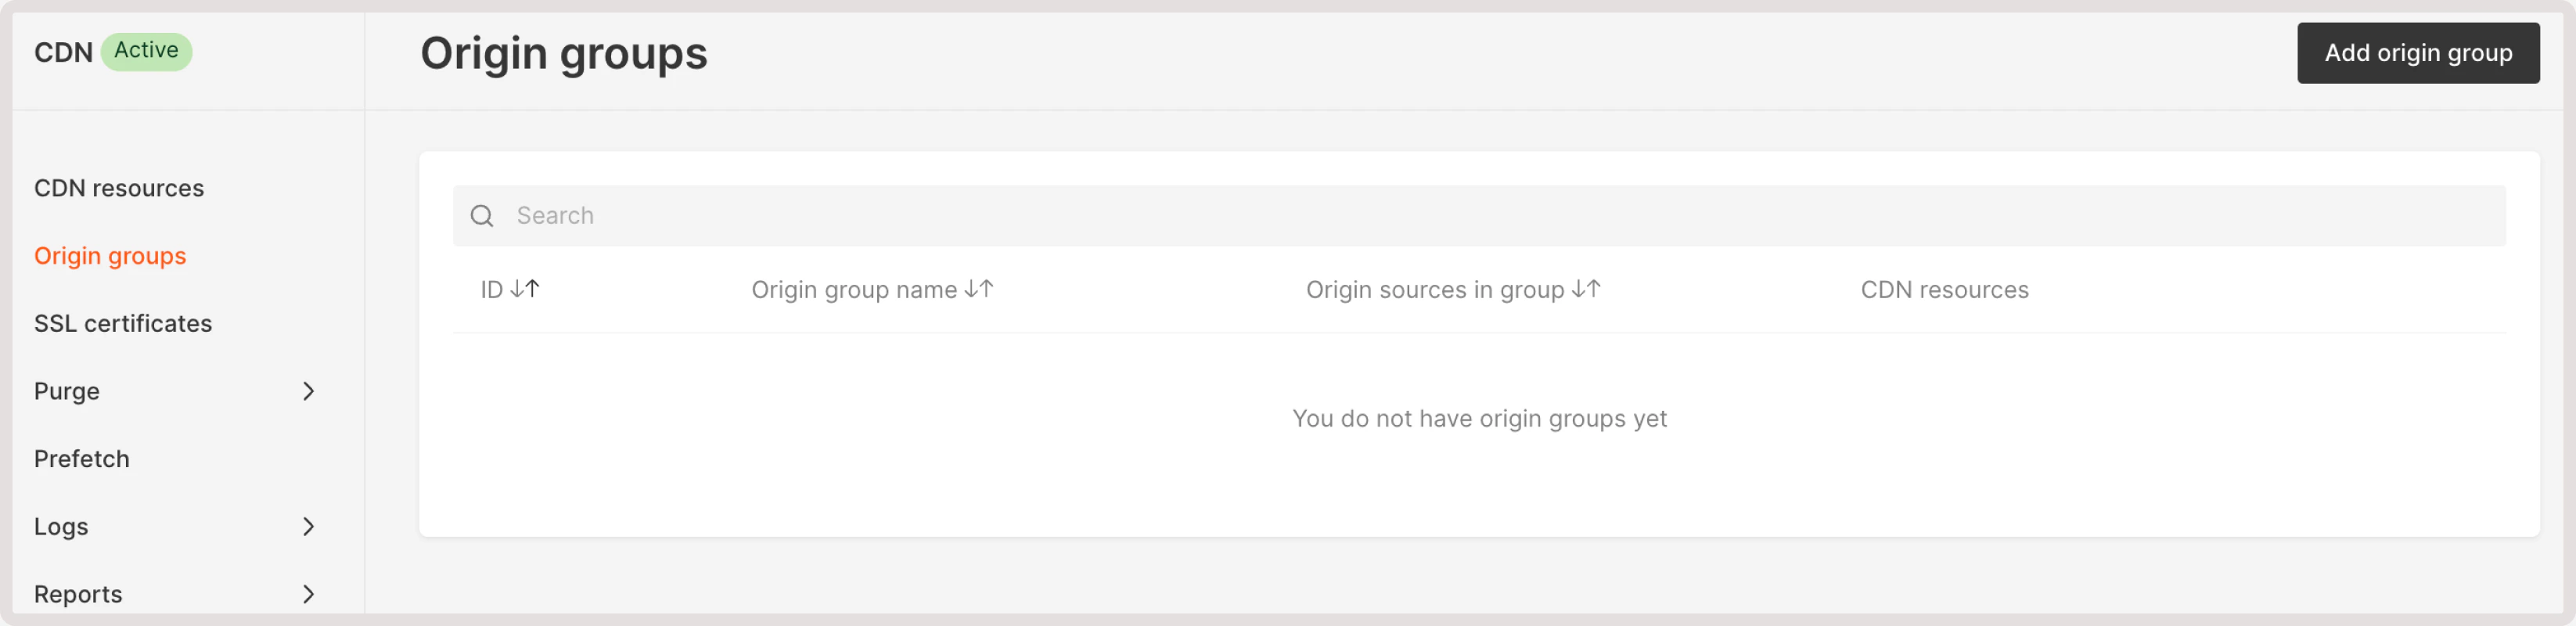
Step 2. Enter the origin group name
Enter a unique Origin group name.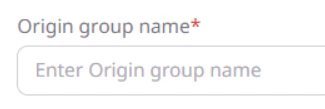
Step 3. Configure the origin group
Add one or more origins to the group.With S3 authentication
If you selected AWS signature authentication, choose your storage type and proceed with the relevant instructions. You can configure any S3-compatible storage, such as Google Cloud Platform, DigitalOcean Spaces, or Azure Blob Storage.Amazon S3 storage
1. Specify your access key ID. In your Amazon personal account, it’s called “AWS access key ID”. For details on how to find your key ID, check the official Amazon guide. 2. Specify your secret access key. In your Amazon account, it’s called “AWS secret access key”. For details on how to find your access key, check the official Amazon guide. 3. Choose your AWS region—the location of a server where your storage is hosted. 4. Enter your S3 bucket name. 5. Set the host header override per origin.
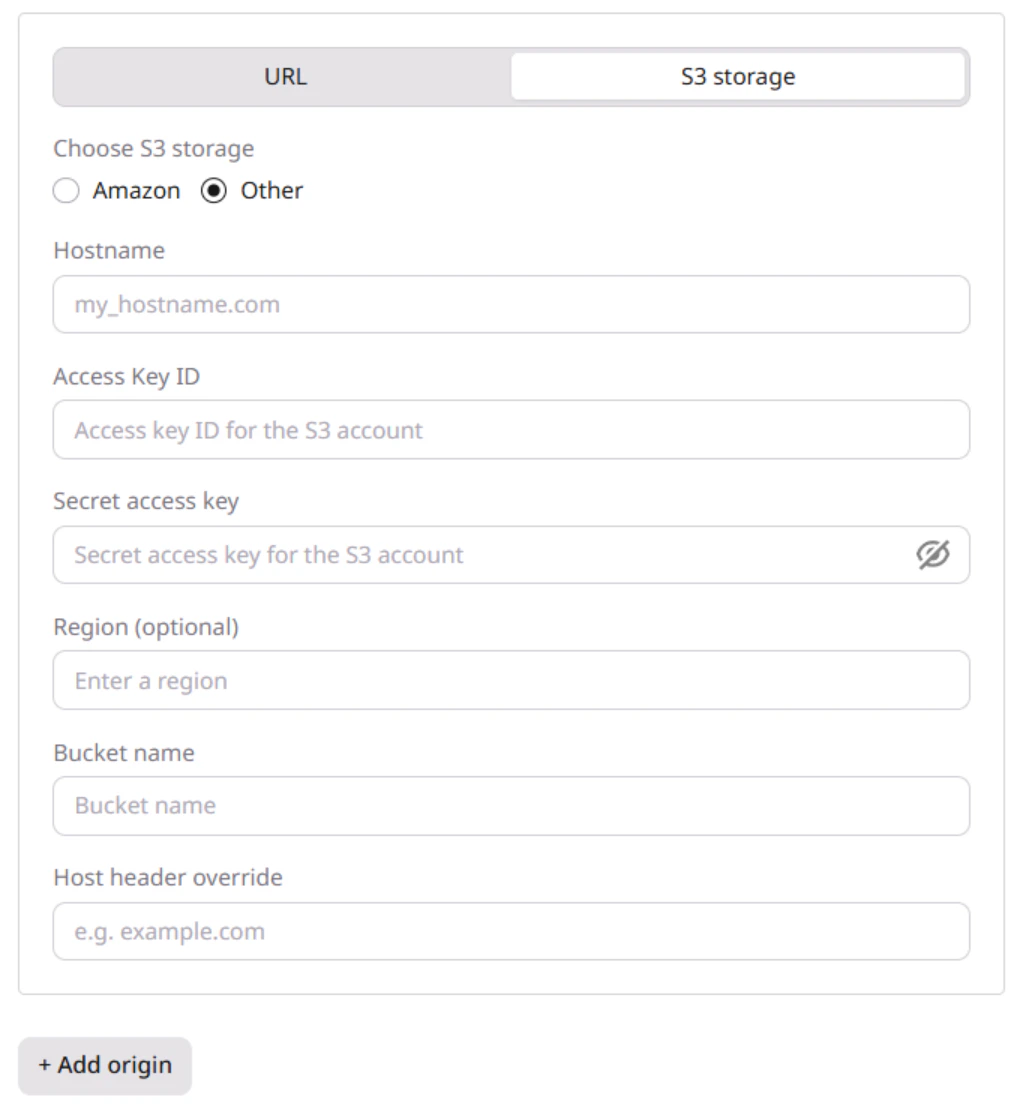
Other S3 storage
- Specify a hostname—a name that’s assigned to a storage server within a network and is used instead of an IP address.
- Specify your access key ID.
- Specify your secret access key.
- Specify a region—location ID of a server where your storage is hosted.
- Enter your S3 bucket name.
- Set the host header override per origin.
Without authentication
-
In the origin source field, enter the origin IP or its domain name without
httporhttps://. The CDN will pull content from this source. - Set the host header override per origin.
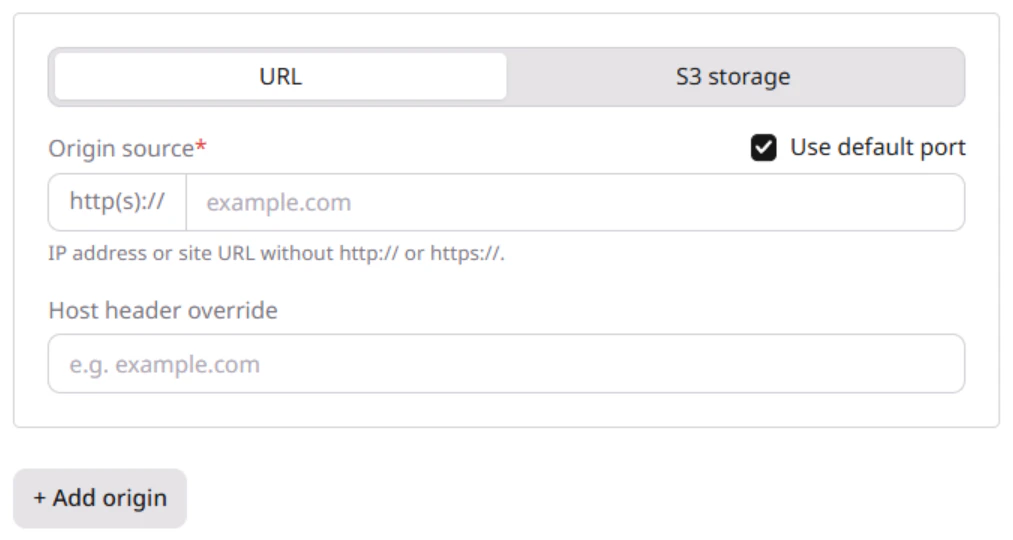
- (Optional) If your source uses ports other than 80 or 443, disable the Use default port toggle and enter the port on the right.
- (Optional) If you want to use several sources of content, click +Add origin and enter the value. The CDN will determine the origin IPs as separate sources and distribute requests to them according to the round robin algorithm. In other words, the first request will go to the first source, the second request will go to the second source, and so on.
Available options
Set up multiple origins
When you have more than one origin in a group, you can adjust the balance between them. To do so:- Select which origins to enable and disable.
- Select active and backup origins.
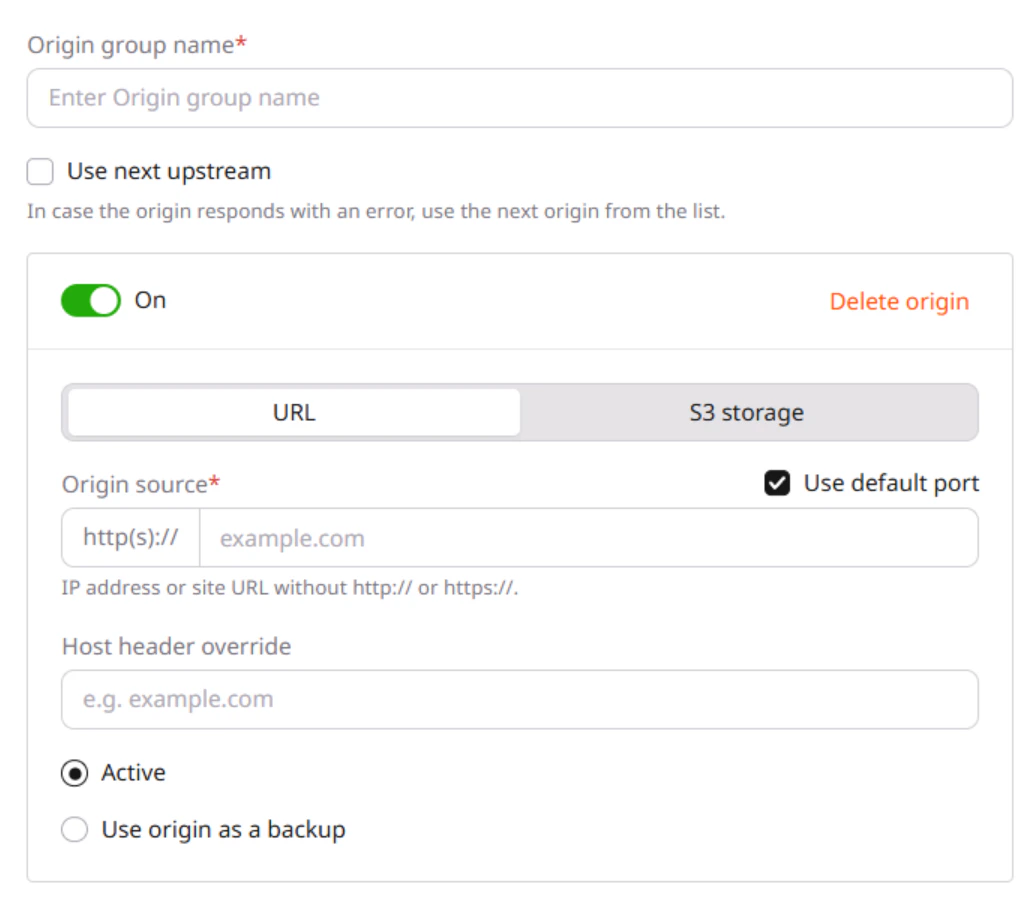
Enable or disable an origin
Each origin has the On toggle enabled by default. This means that CDN can pull content from this origin and it has been added to the balance. If you want to disable the content origin in the group, disable the toggle so it changes to Off. Note that this will only disable the origin in the current group, but the origin will continue to work in other groups. CDN requests will stop coming to the disabled origin within fifteen minutes.InfoYou can’t disable the last active origin.
Activate origin or use it as backup
All new origins are automatically assigned an Active status. The CDN pulls content from such origins. The balancing between them is determined by the round-robin algorithm. You can turn the active origin into the backup origin by selecting the Use origin as a backup option. Backup origins are taken out of balance by default. The CDN requests content from them only if the active origin gives a 5xx response code.Use next upstream
This option only works if each origin has the same content. When enabled, the CDN will call the following origins on the list if the previous one is unavailable and respond with any 4xx or 5xx series response code. Code 400 is an exception. In this case, the CDN won’t redirect requests to another source. If all origins are unavailable, the CDN will show the response of the last one in the list. At first glance, the interaction between the active/backup origins and the Use next upstream option may seem complicated, so to make it easier to understand, let’s look at examples of how it works.| Case | How the CDN requests content |
|---|---|
| The Use next upstream option is disabled; all origins are active. | If the active origin responds with an error, the CDN will hand it off to the end user. |
| The Use next upstream option is enabled. One origin is active, and the rest are backups. | If the active origin responds with 4xx and 5xx response codes, the CDN will start requesting content from the other origins, moving down the list. |
| The Use next upstream option is enabled. All origins are active. | If the first active origin responds with 404, 500, 502, 503, or 504 response codes, the CDN will start requesting content from the other origins, moving down the list. |
| The Use next upstream option is disabled. One origin is active, and the rest are backups. | If the active origin doesn’t respond within 5 seconds or responds with a 5xx response code, the CDN will request content from the backup origin. If the active origin responds with a 4xx response code, the CDN won’t request the backup origin and will send an error message to the user. |
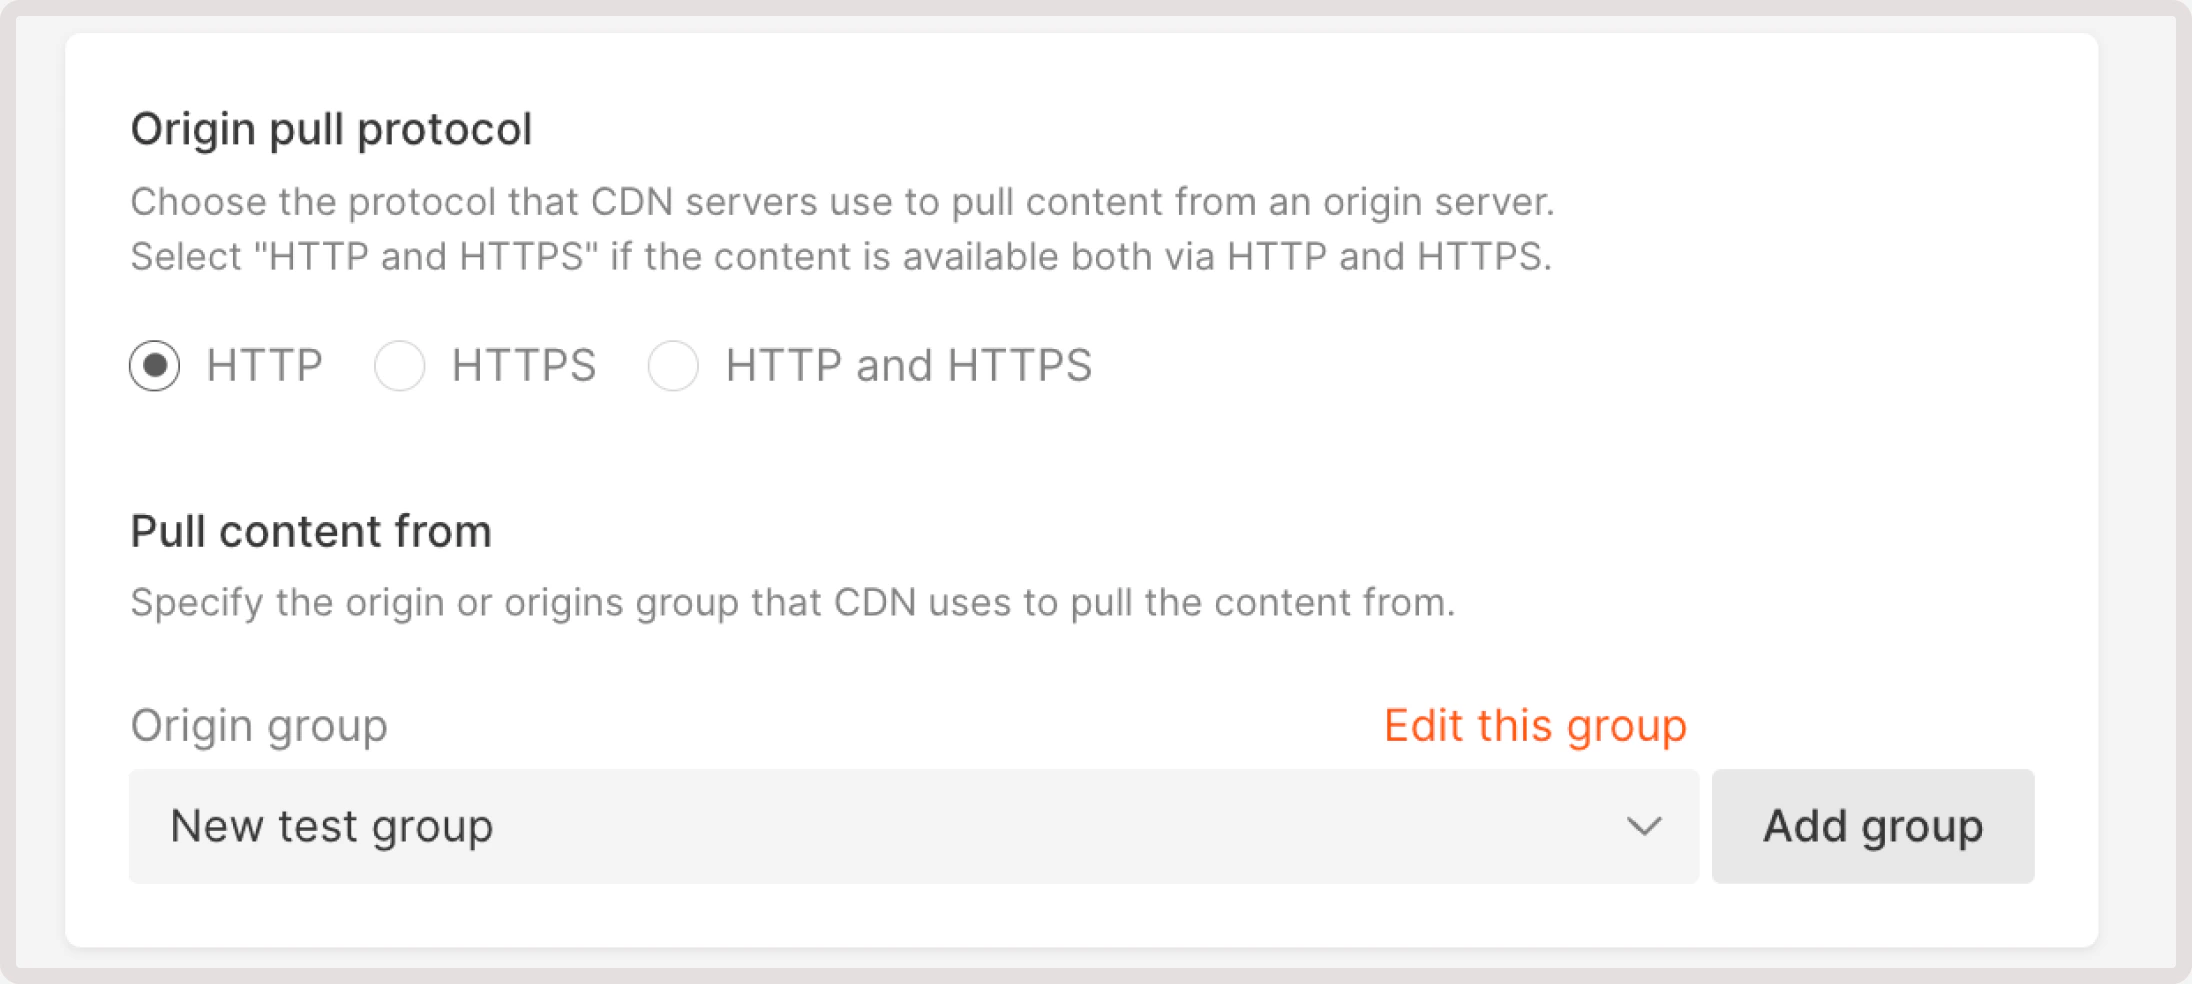
Step 4. Save changes
Click Add group to save changes.Step 5. Connect the origin group to the CDN resource
InfoIf you change an origin group for a CDN resource, the Host header will not automatically change. You’ll have to update it manually.