API
The Gcore Customer Portal is being updated. Screenshots may not show the current version.
Cloud
Cloud
OverviewTerraformBilling
API
Chosen image
Home/Cloud/Container as a Service/Manage containers

Manage containers

Create a container

1. Request quotas to ensure you have a sufficient number of resources.

2. Open the Containers sub-section and click Create container.

Create a new container for the first time

A new page opens. Perform the remaining steps there.

3. In the Container image block, select the image type: Public or Private. The difference between them is a password secures that private image.

  • For public image type, enter the image name, e.g. nginx:latest, and go to the next step.
Public containers
  • For private image type, enter the URL in the format https://registry.mysite.com and specify registry credentials. If you have already saved them, choose Select credentials. If you do not have them, click Create credentials:
Private containers

In the pop-up, enter the necessary data: Image registry name, URL, username, and password, and click Add credentials.

4. In the Port block, specify the port for connection to your container.

Note: Currently, we support only one port for the container. If you need to add additional data, create a separate container.

Port for container creation

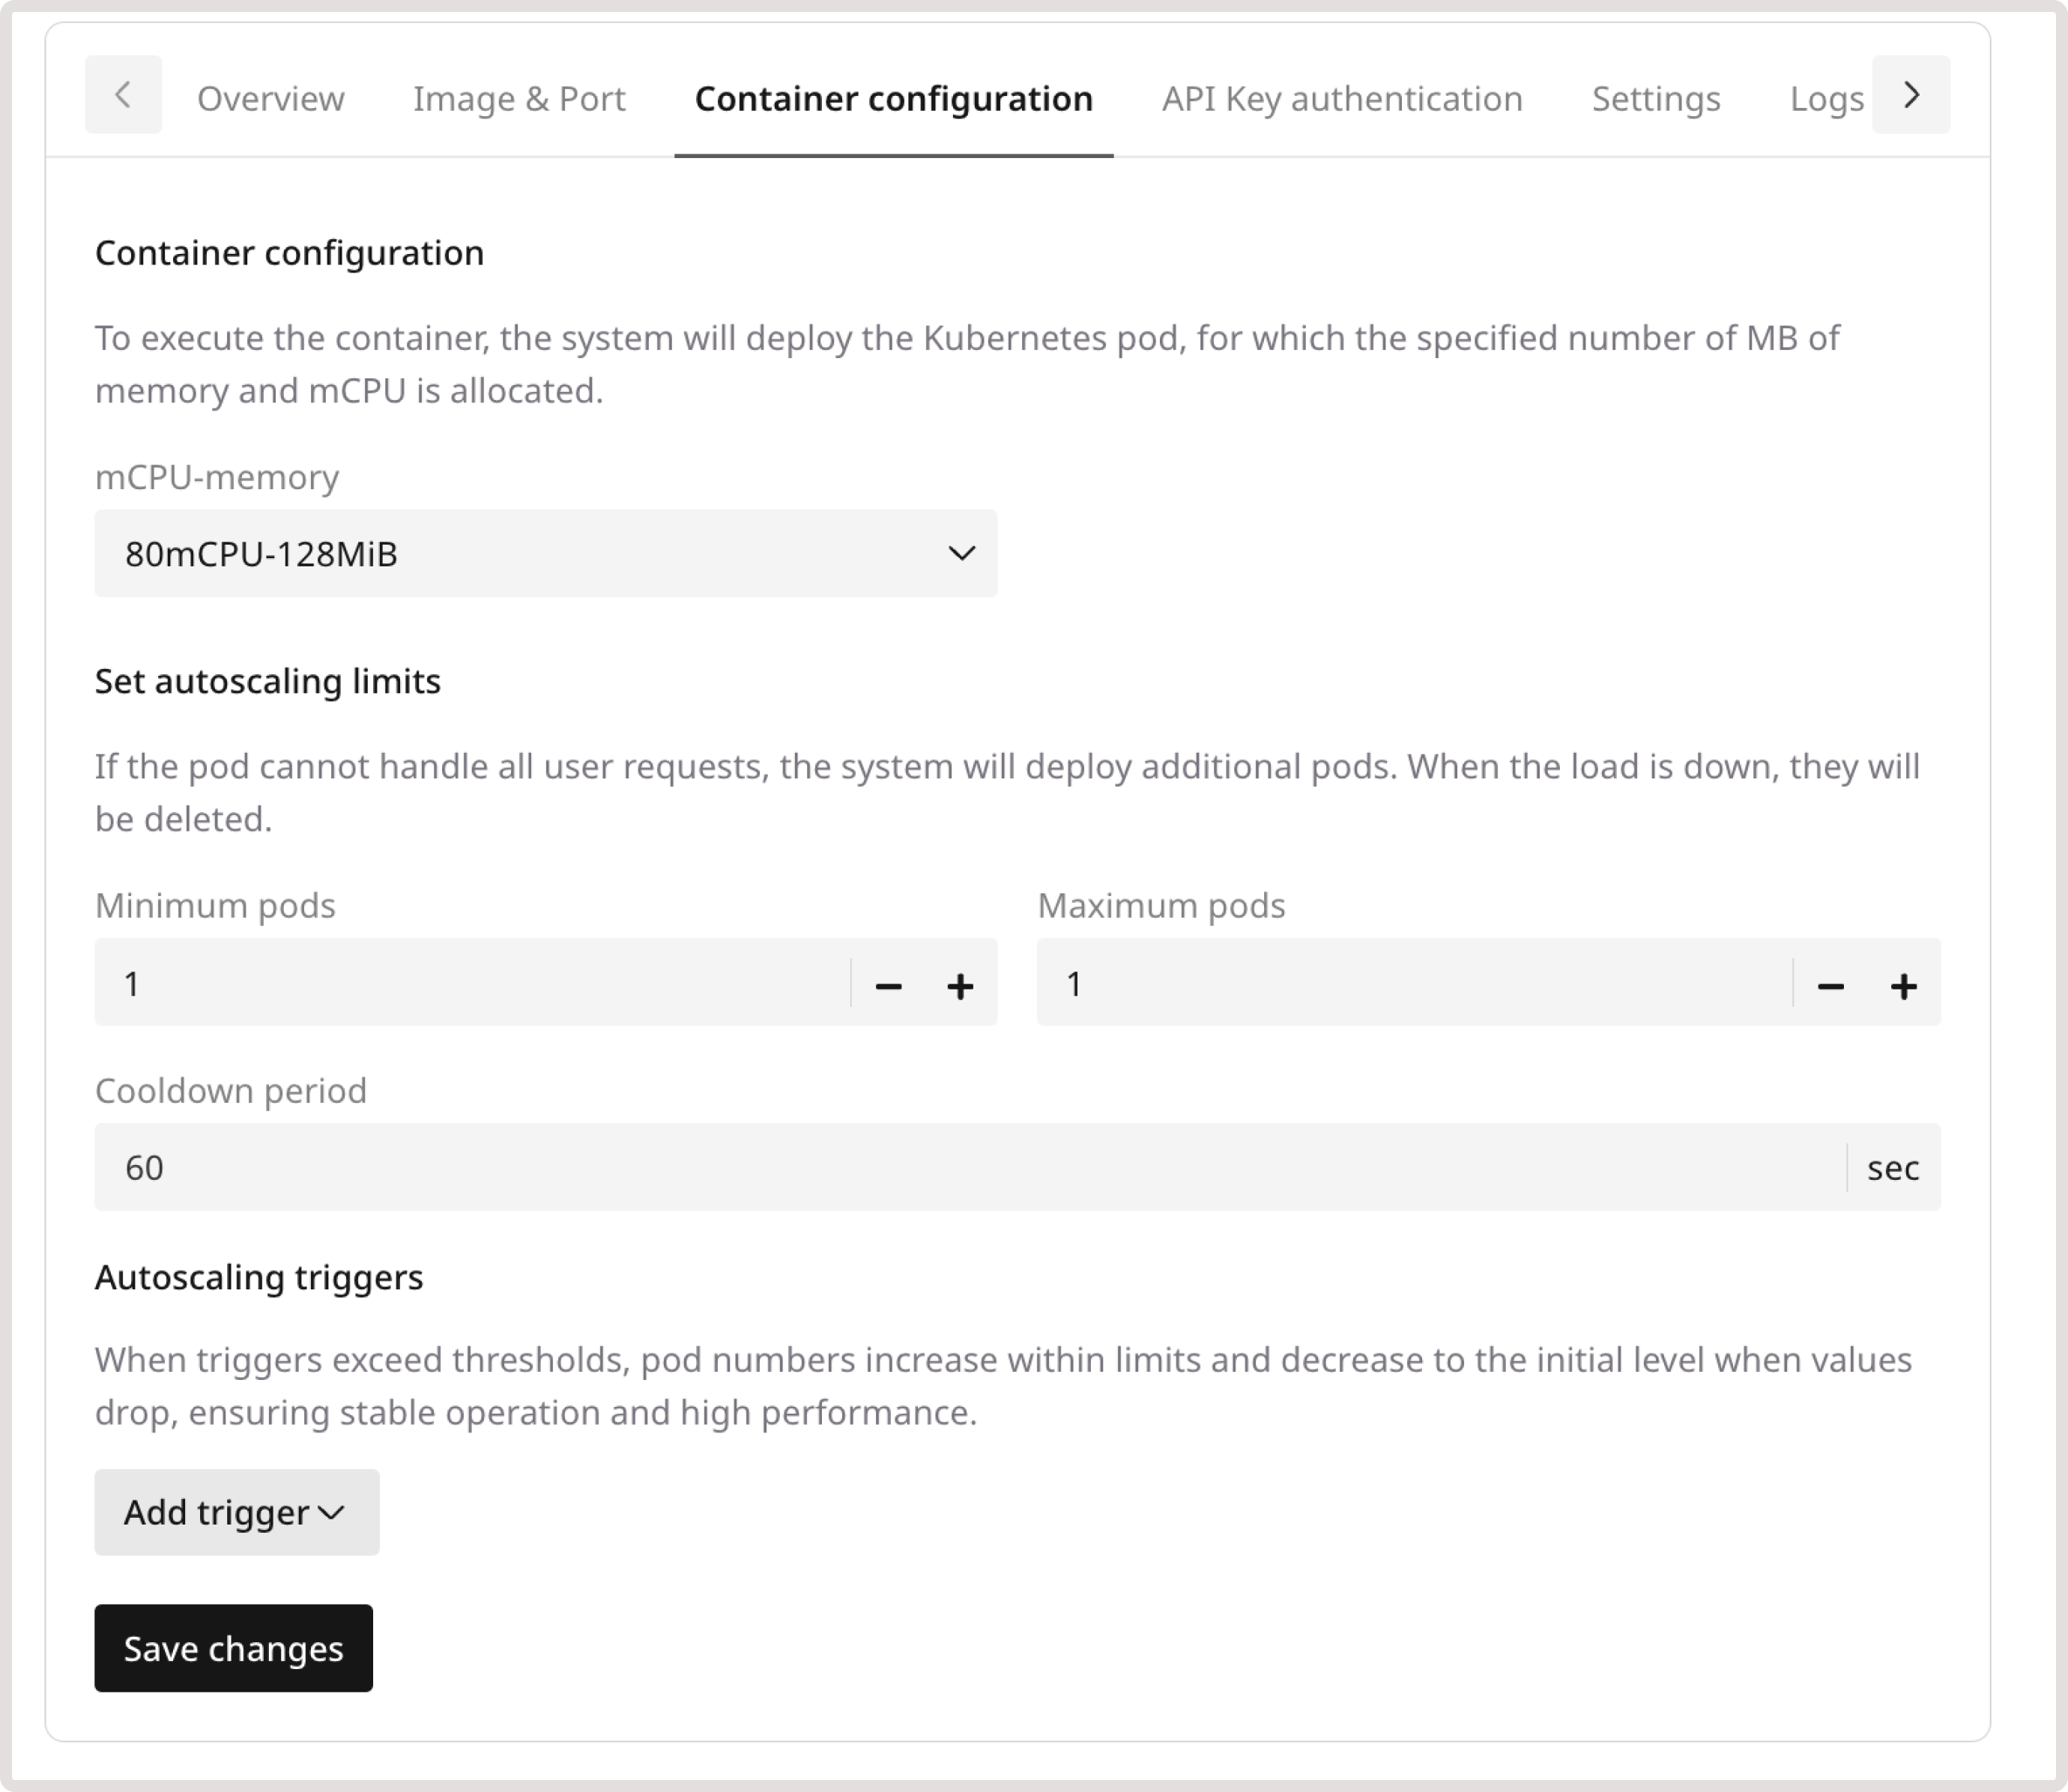
5. In the Container configuration block, select the MB of memory and mCPU (up to 2260 mCPU and 4096 MB) from the list. This configuration will be used for the deployed Kubernetes pod, where your container will be placed after creation.

Configuration of mCPU anf memory

6. 5. In the Limits of autoscaling block, enter the range for the number of nodes you want to maintain under Minimum pods and Maximum pods.

Autoscaling configuration

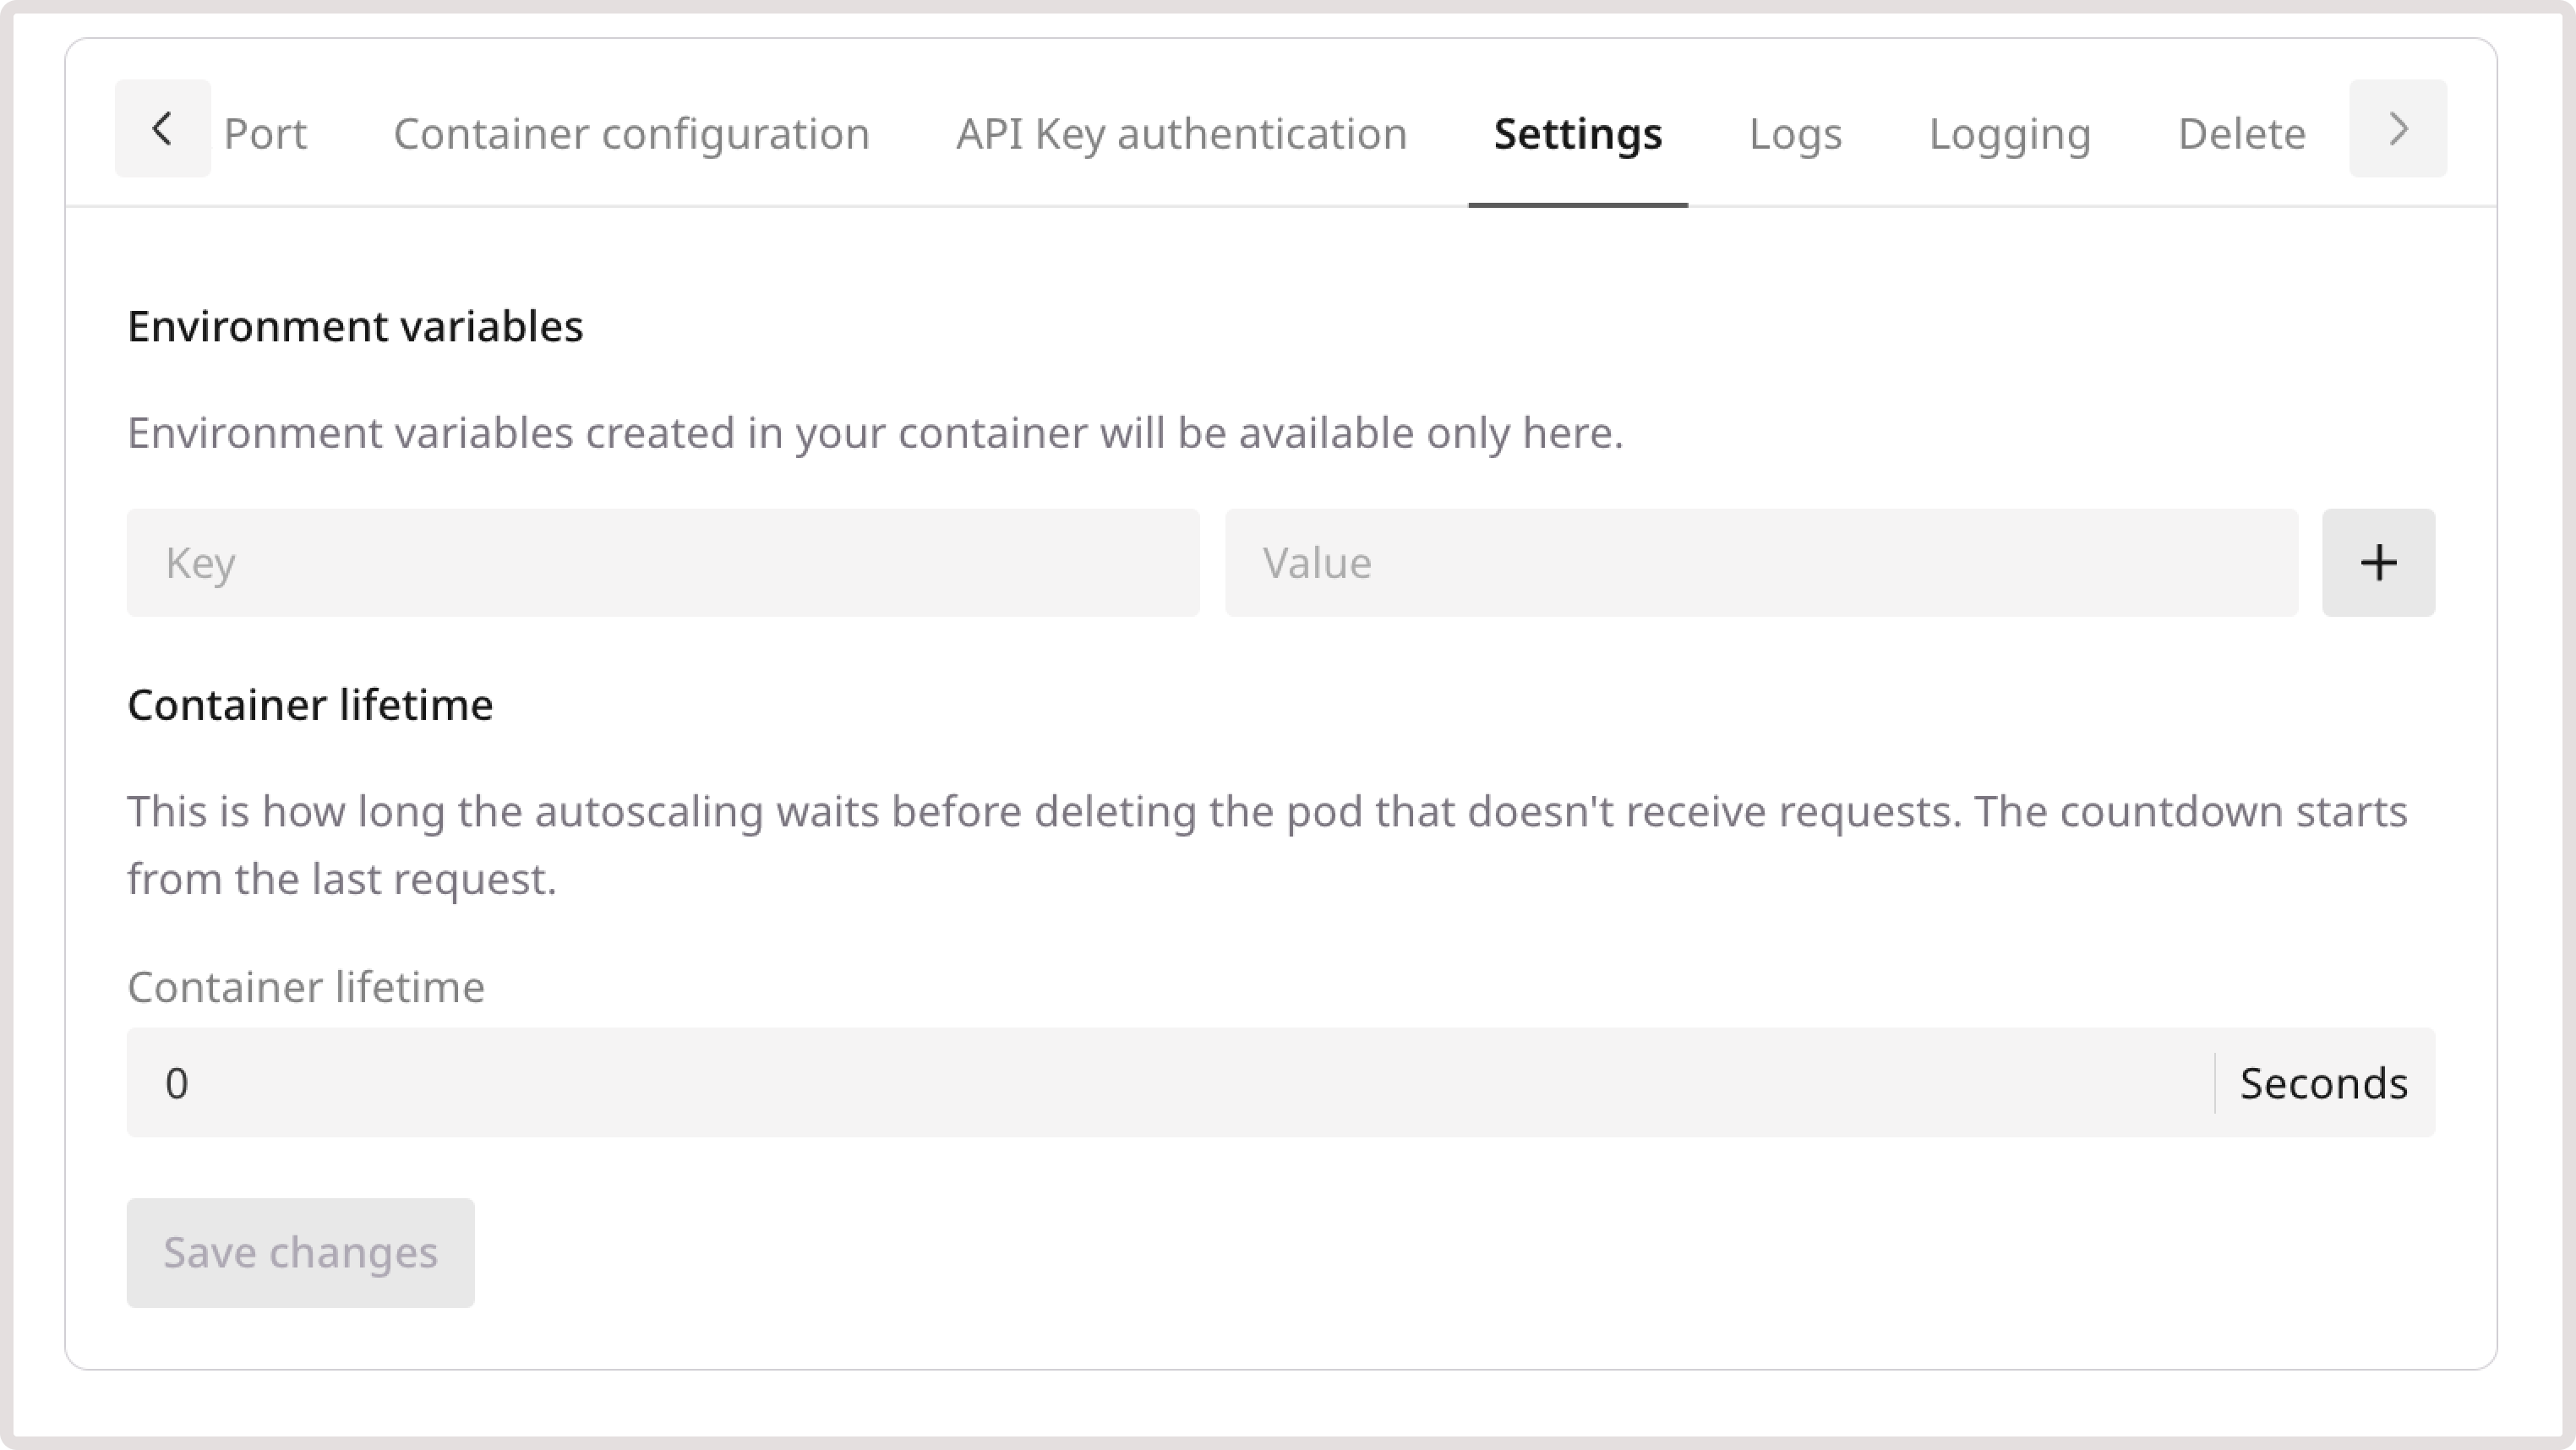
7. In the Container lifetime block, specify the number of seconds after which a pod will be deleted when there are no requests to your pod. For example, if you enter 600, the pod will be deleted in 600 seconds—equal to ten minutes.

Note: If you specify 0, the container will take approximately one minute to scale down.

Container lifetime configuration

8. (Optional) In the Environment variables block, create variables for your container by entering Key and Value. These variables will only be used in the environment of the created container.

Variables configuration for container environment

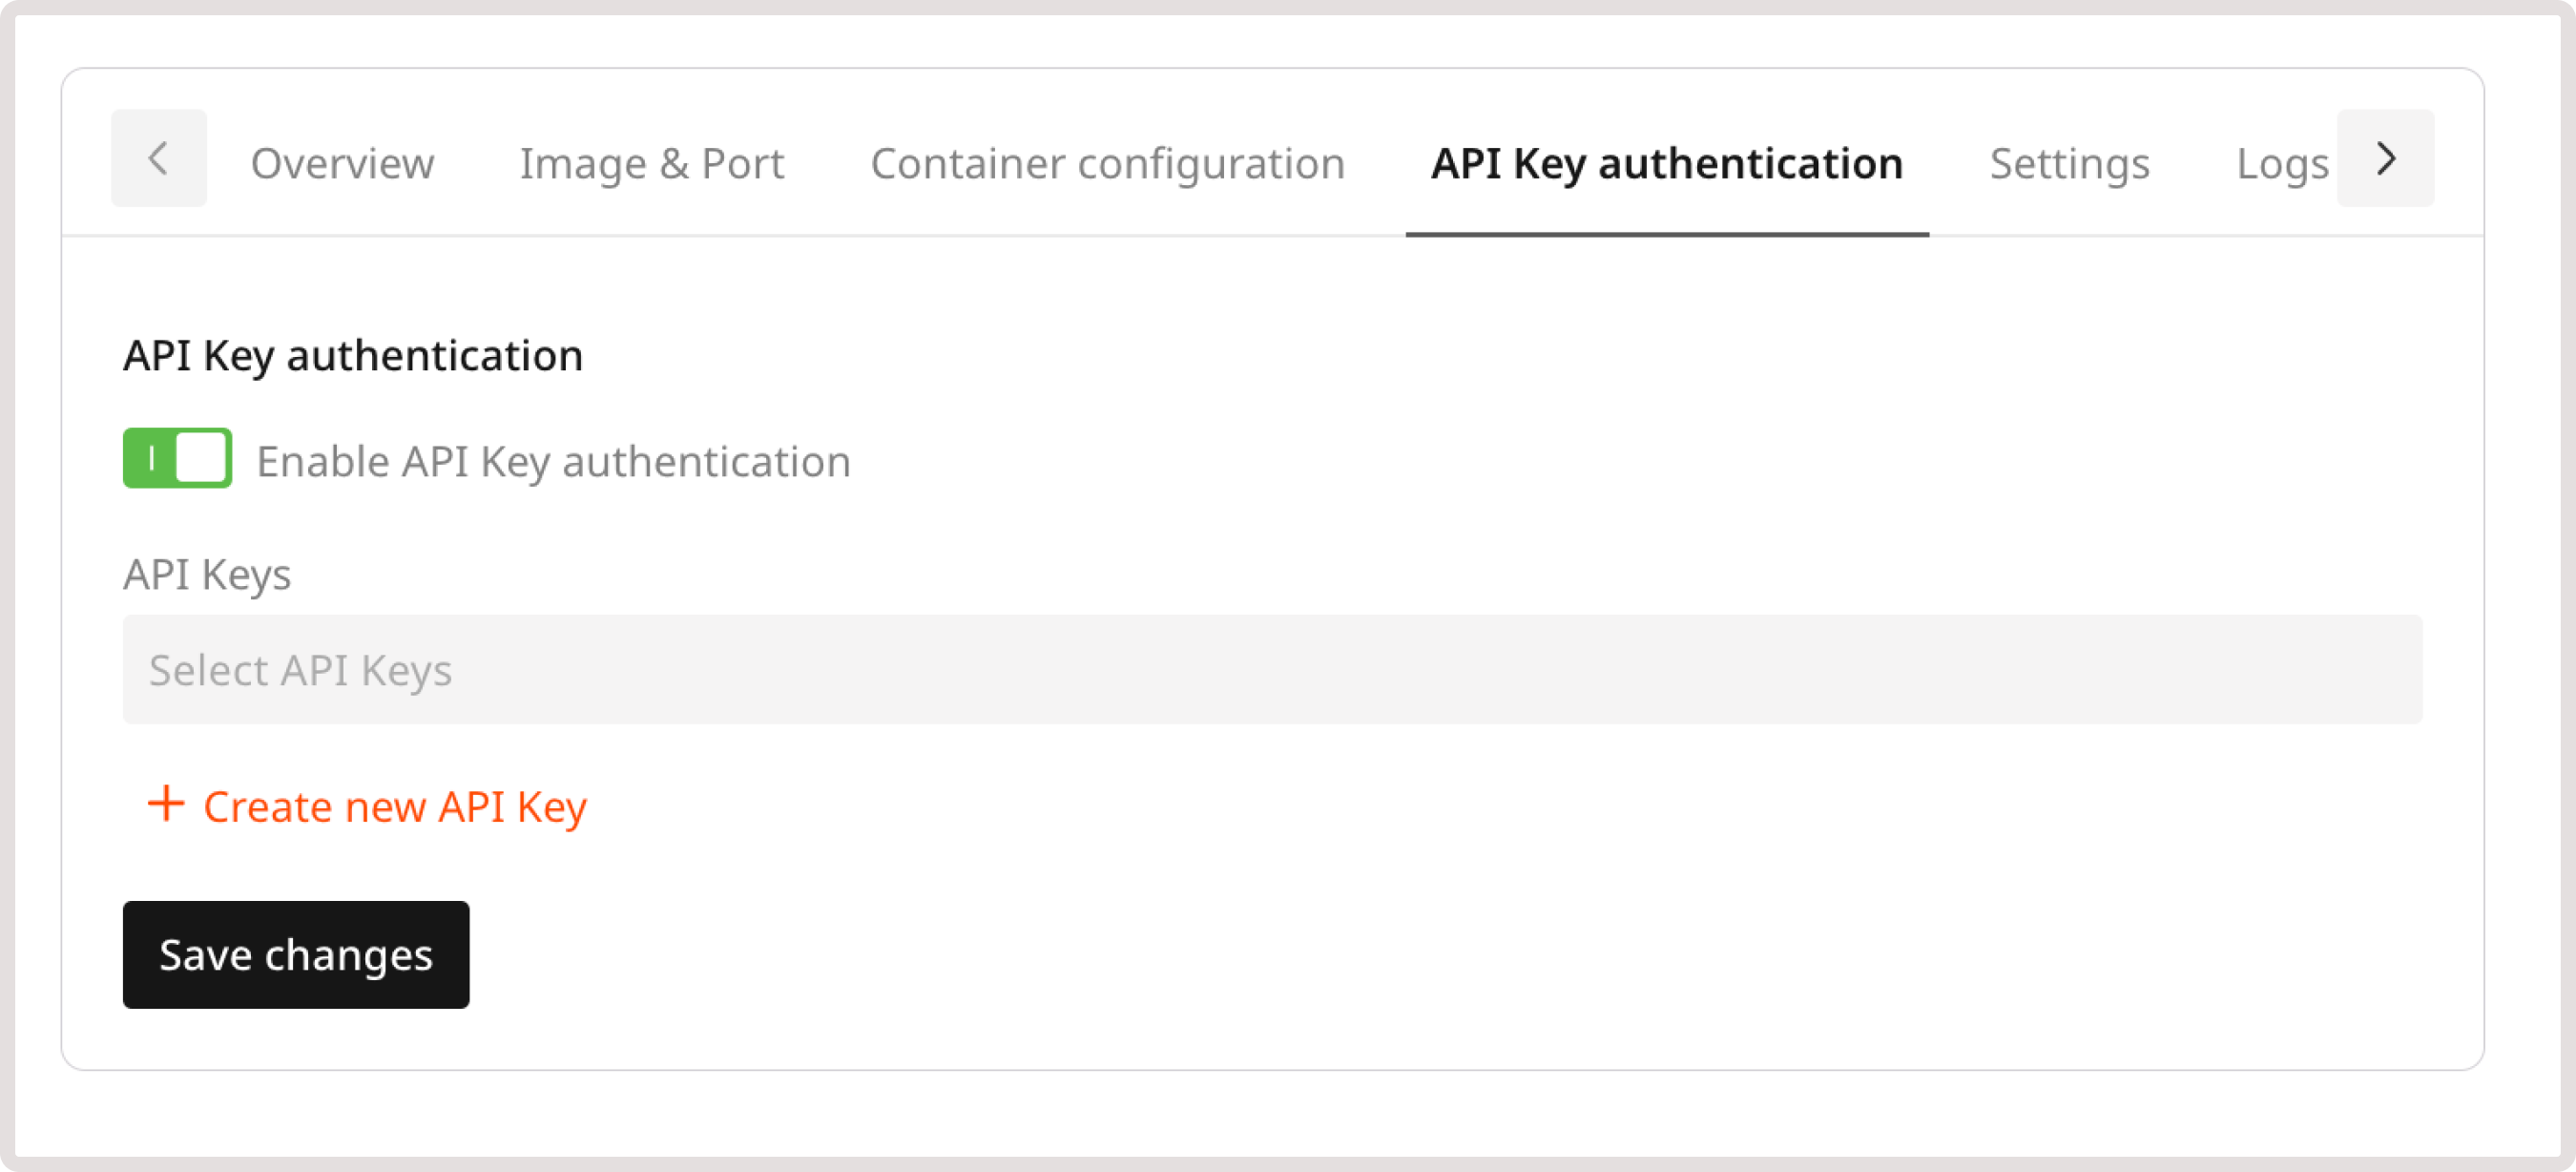
9. (Optional) To protect your container endpoints from unauthorized access, enable the API Key authentication feature. Either select the API key or create a new one.

API key authentication for containers

10. In the Container details block, specify the container name (this will be displayed in the Customer Portal) and additional information if needed.

Container details

11. On the right, click Create container. After a few minutes, the initial setup will be finished and the container will be launched.

Create container final step

Container statuses

Three statuses are available:

  • Started: The initial setup was successful and the container works appropriately.
  • Stopped: You manually disabled the container in settings.
  • Failed: There were issues with the image of your container in its initial configuration and as a result, the container doesn’t work.

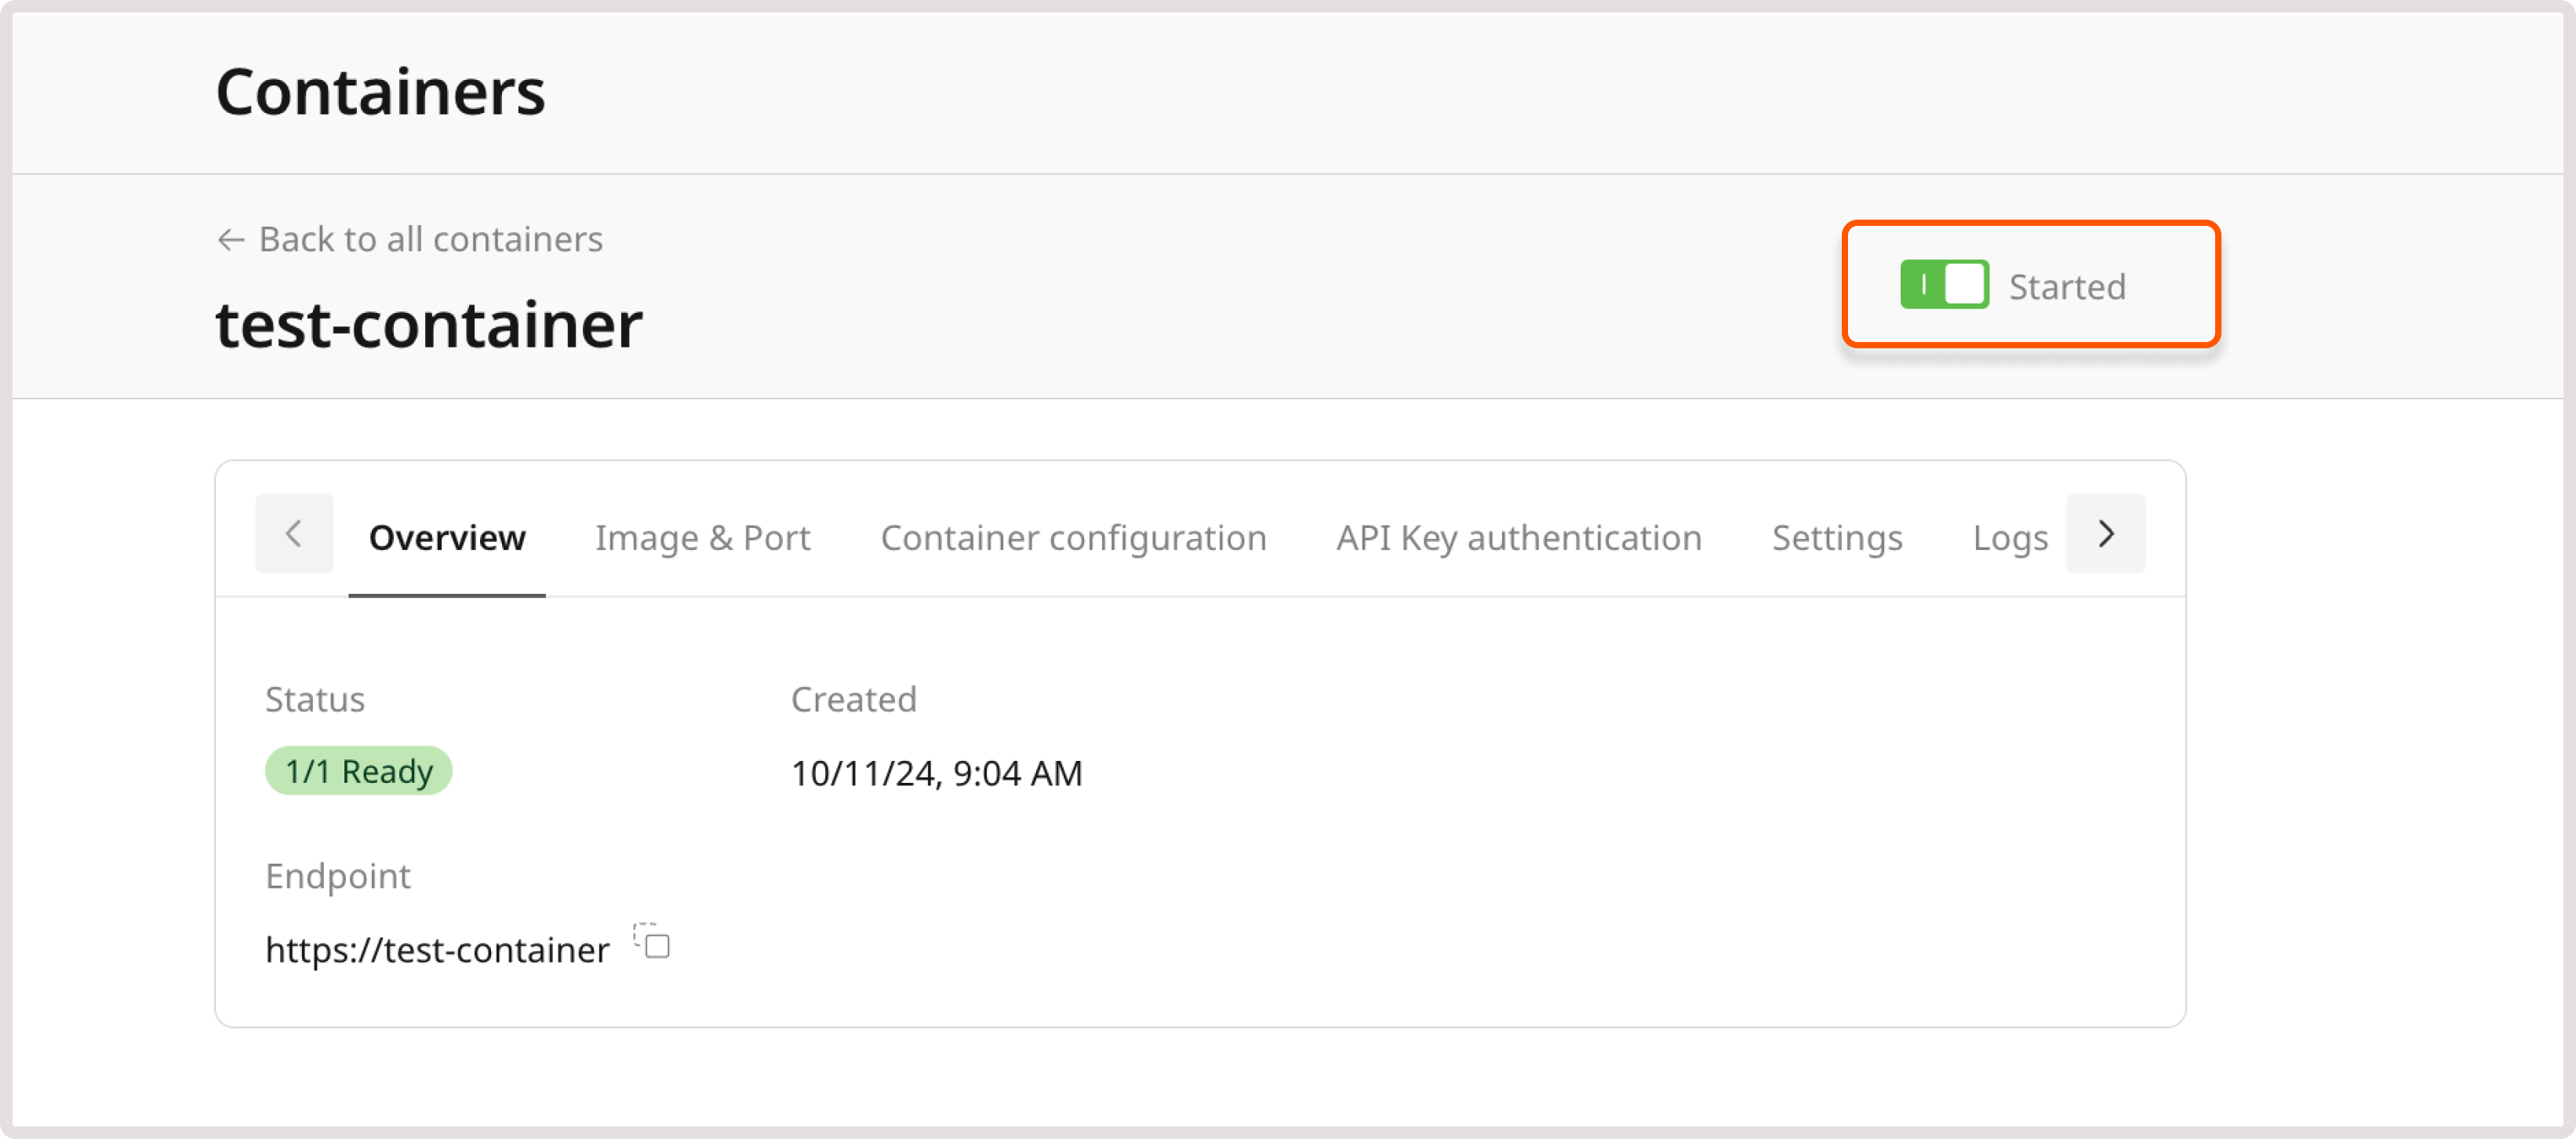
To change the container status to “Stopped,” go to the container settings and disable the toggle highlighted on the screenshot below:

How to stop a container

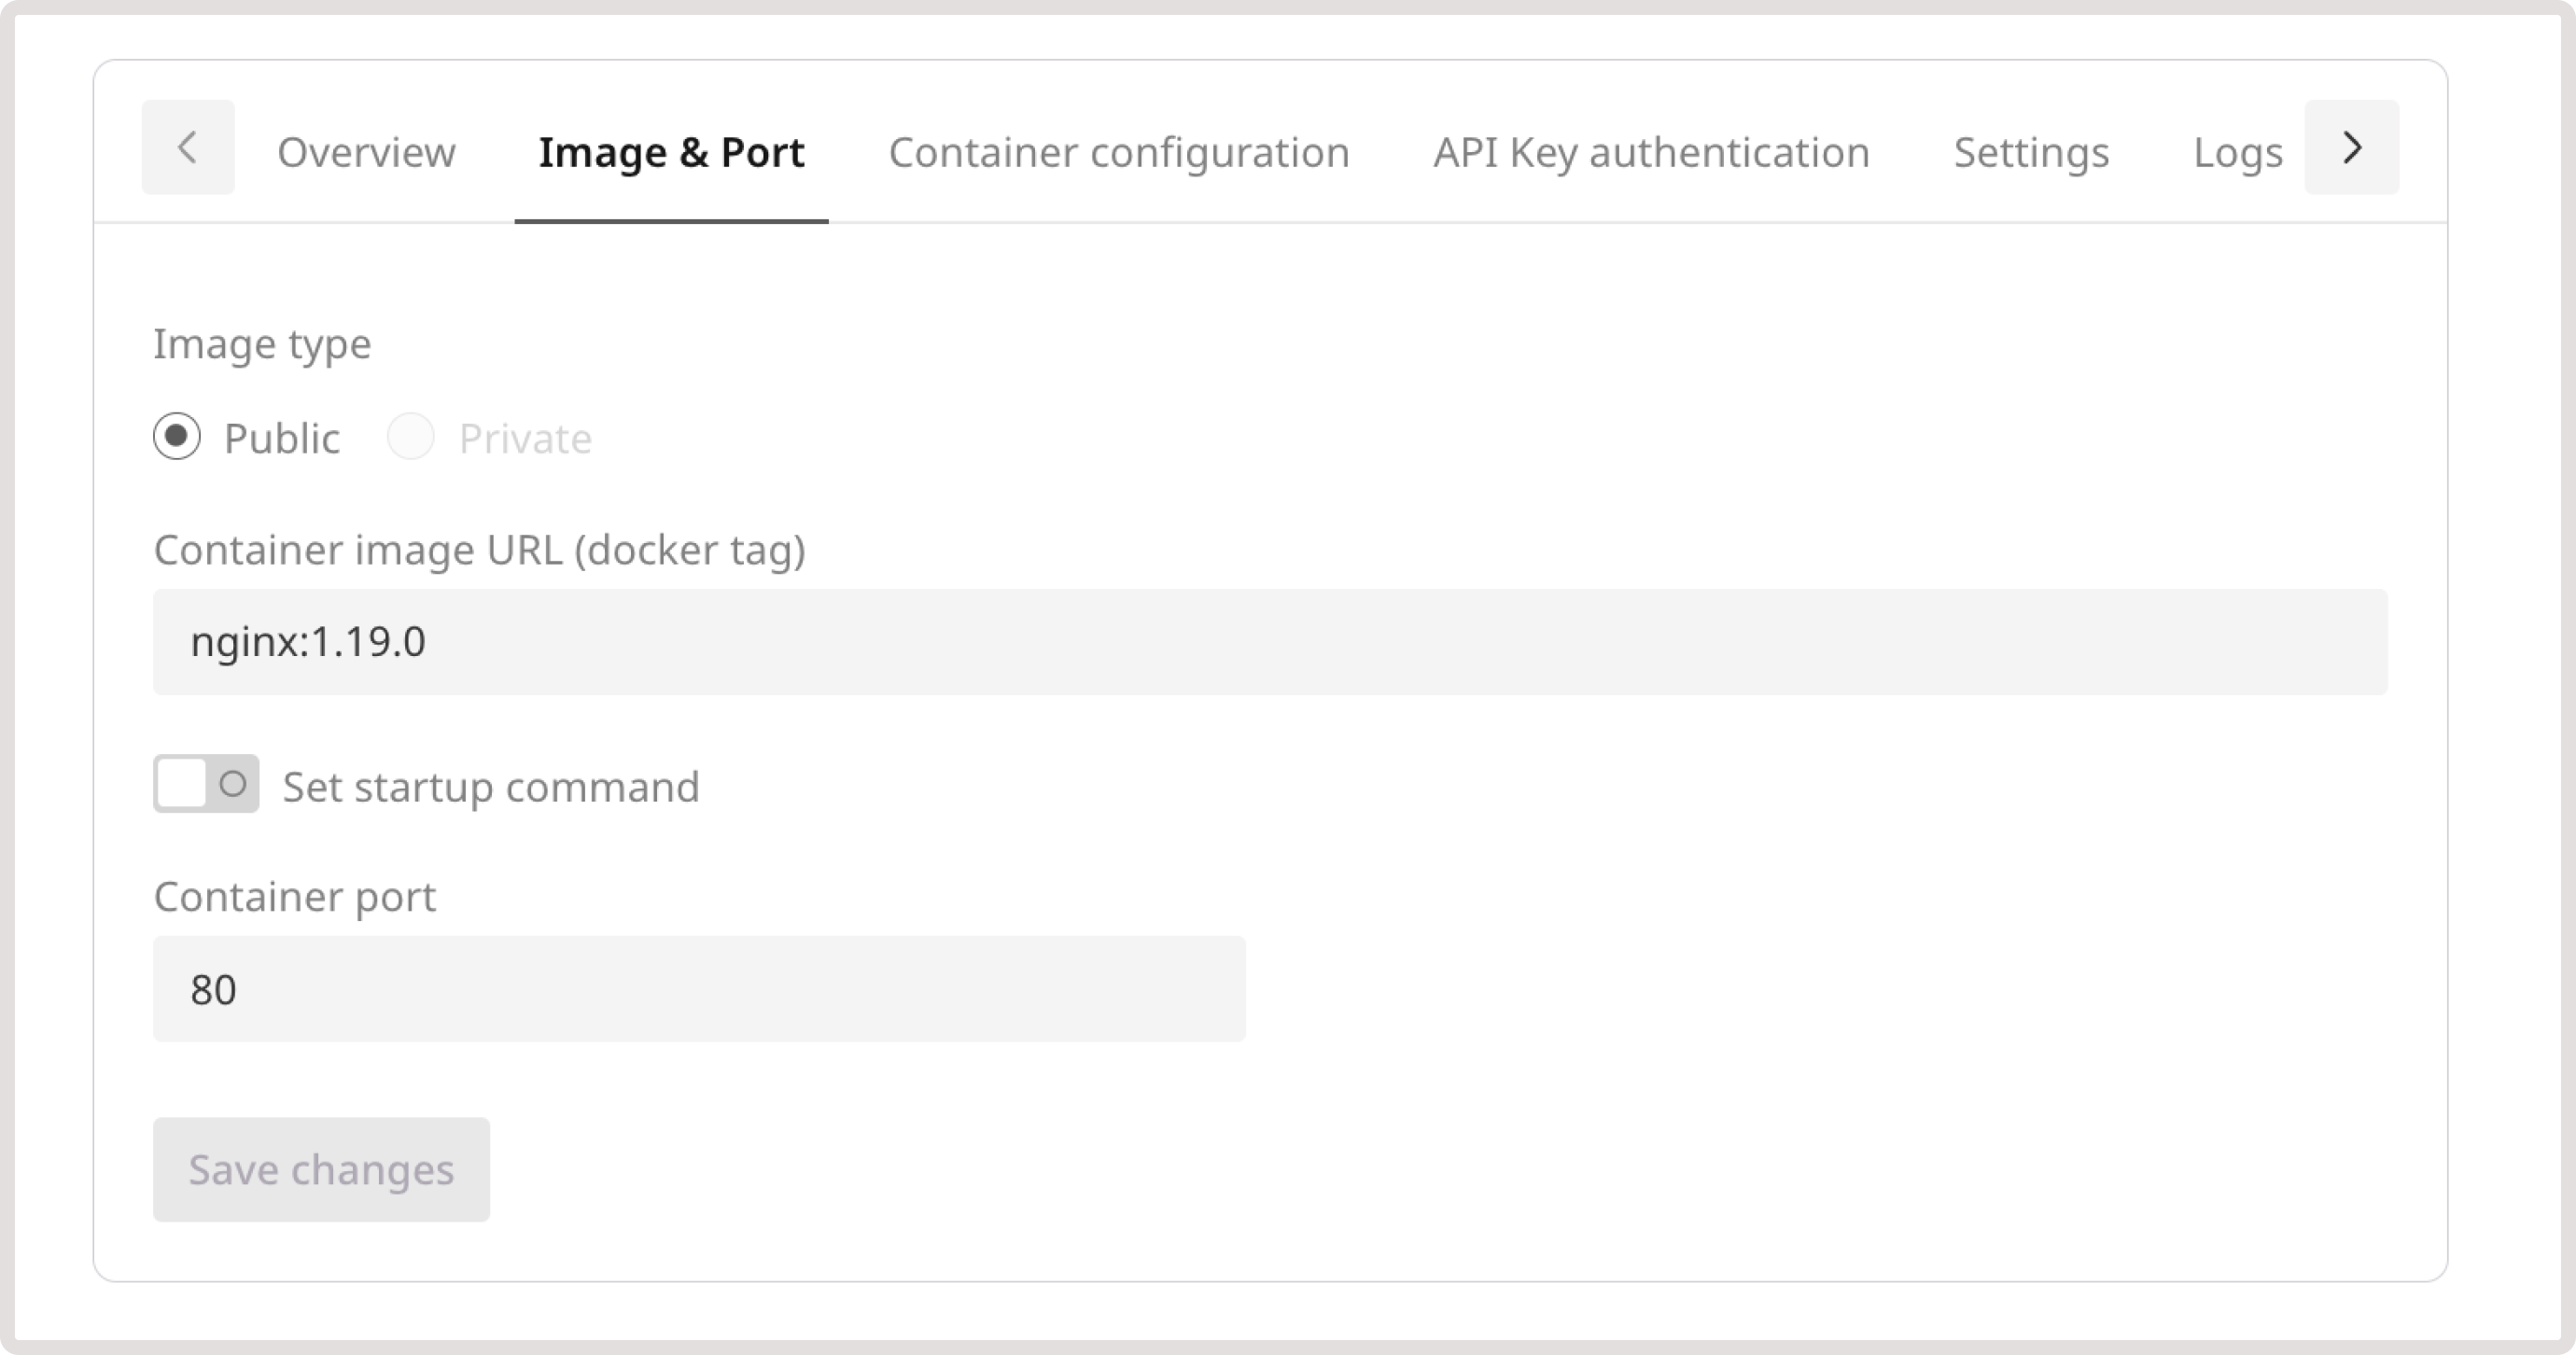
Overview and Port tabs

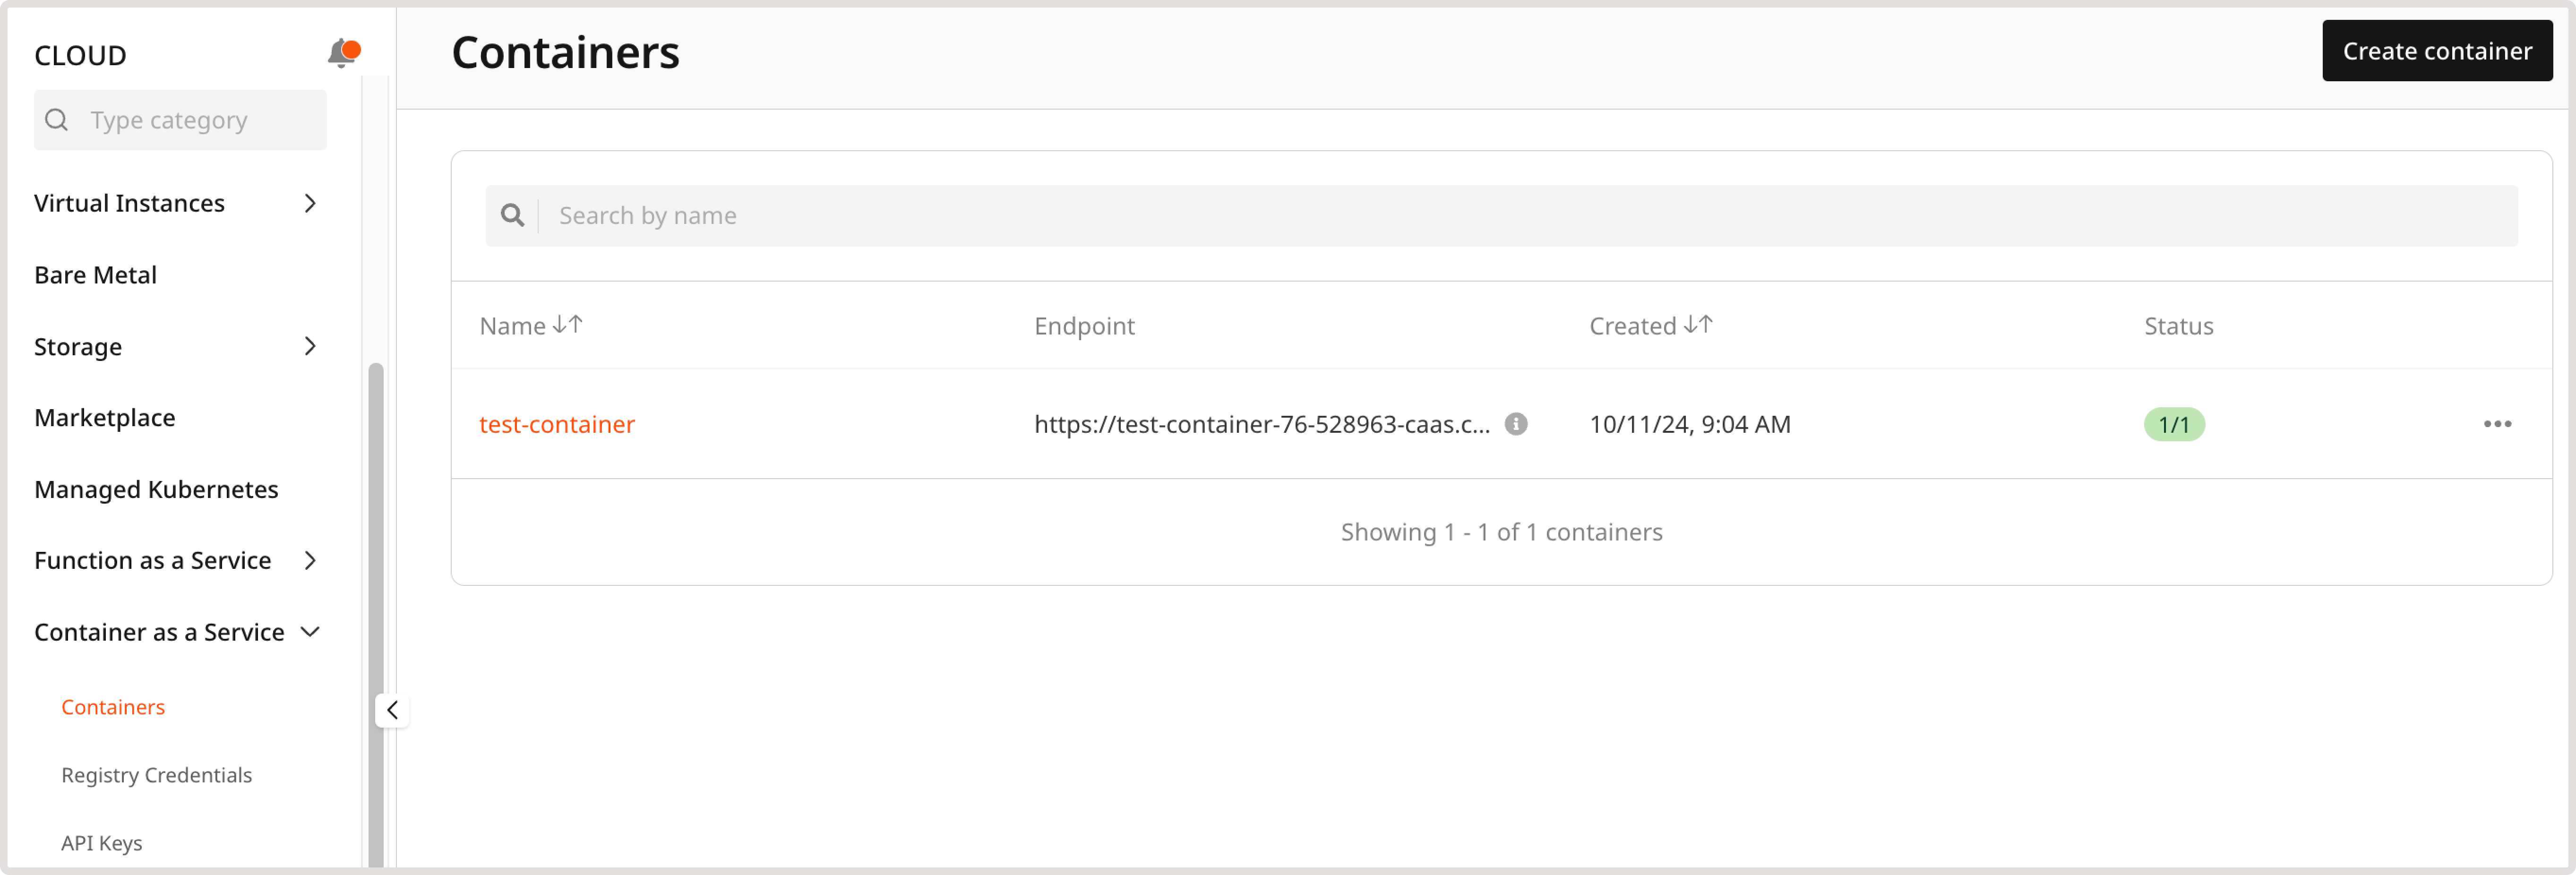
After creating the container, click its name in the Containers tab to open its settings. Alternatively, click the three dots on the right of its row and then click Edit.

In the Overview tab, you will see the following details: container status, name of the container image, description (if you added one during creation,) and date of creation. You can’t change this information.

Overview tab

In the Port tab, you will see the specified port and protocol to connect to your container. This information is also unchangeable.

Change container settings

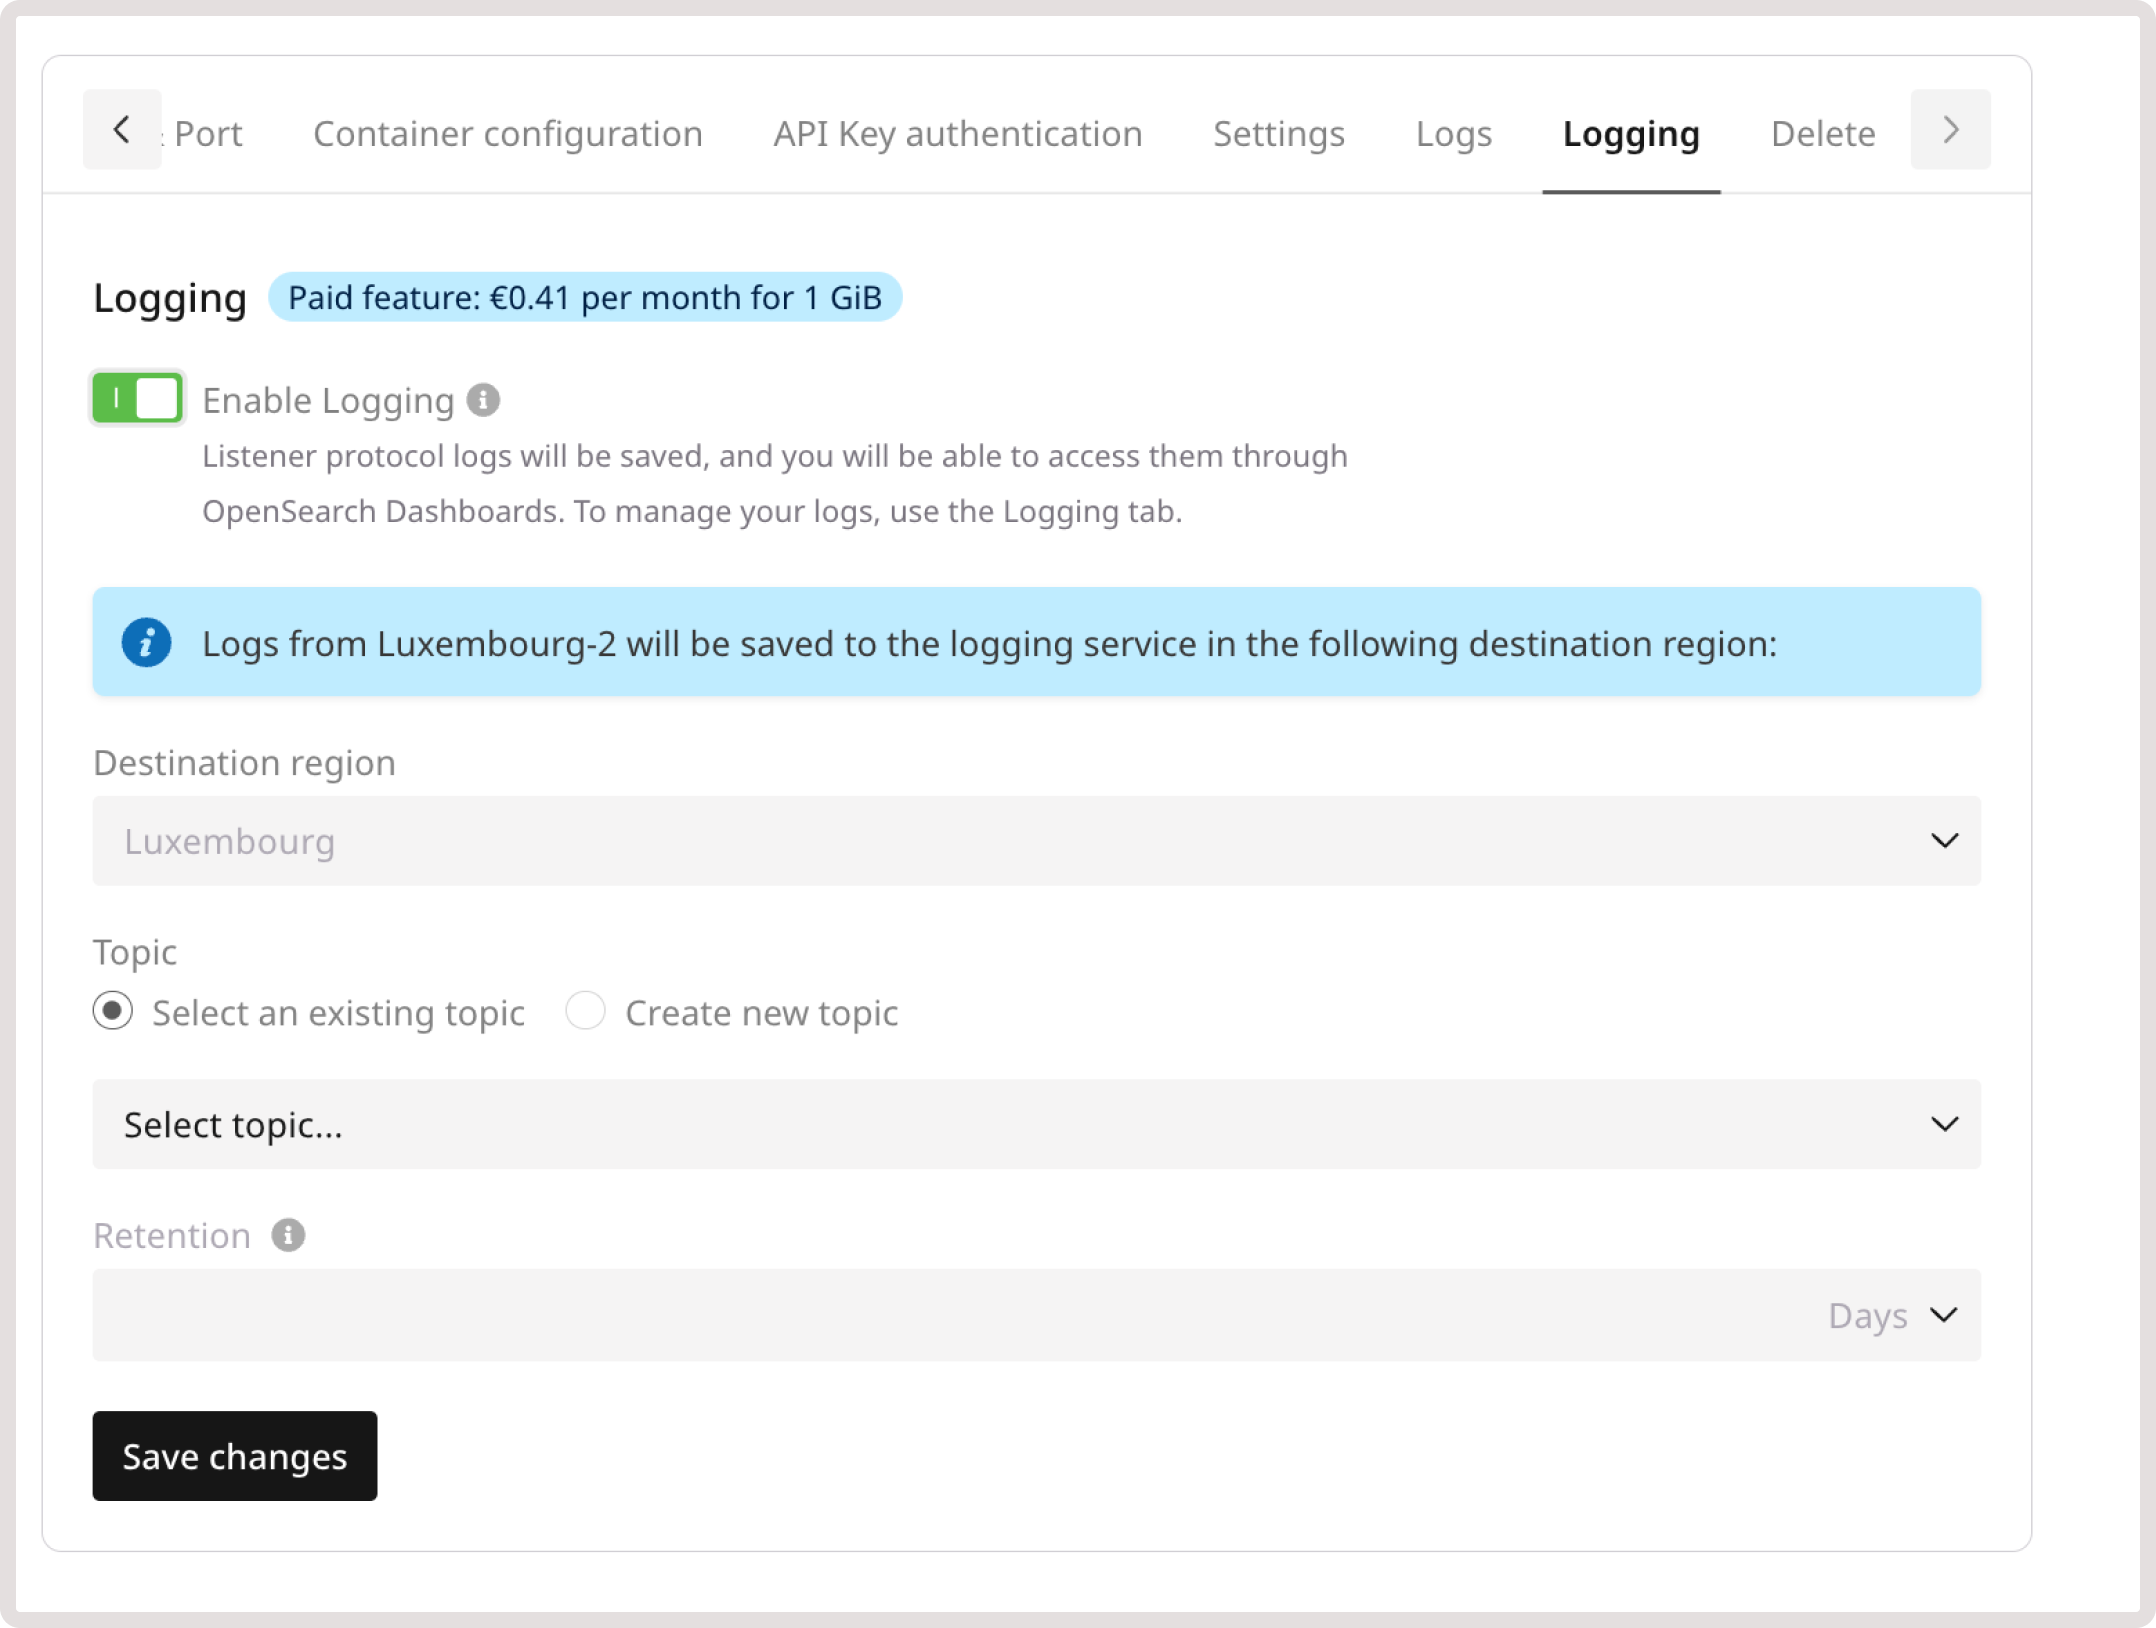
Click the container’s name in the Containers tab to open its settings. Alternatively, click the three dots on the right of its row and then click Edit. You can change the following configurations:

  • mCPU and memory
  • Limits of autoscaling
  • API Key authentication
  • Variables
  • Lifetime

Don’t forget to click Save changes.

Logs

Open container settings and go to the Logs tab to view entities with the data about requests to your container.

Note: When you delete a container, logs are also deleted.

Logs entities are shown in the following format:
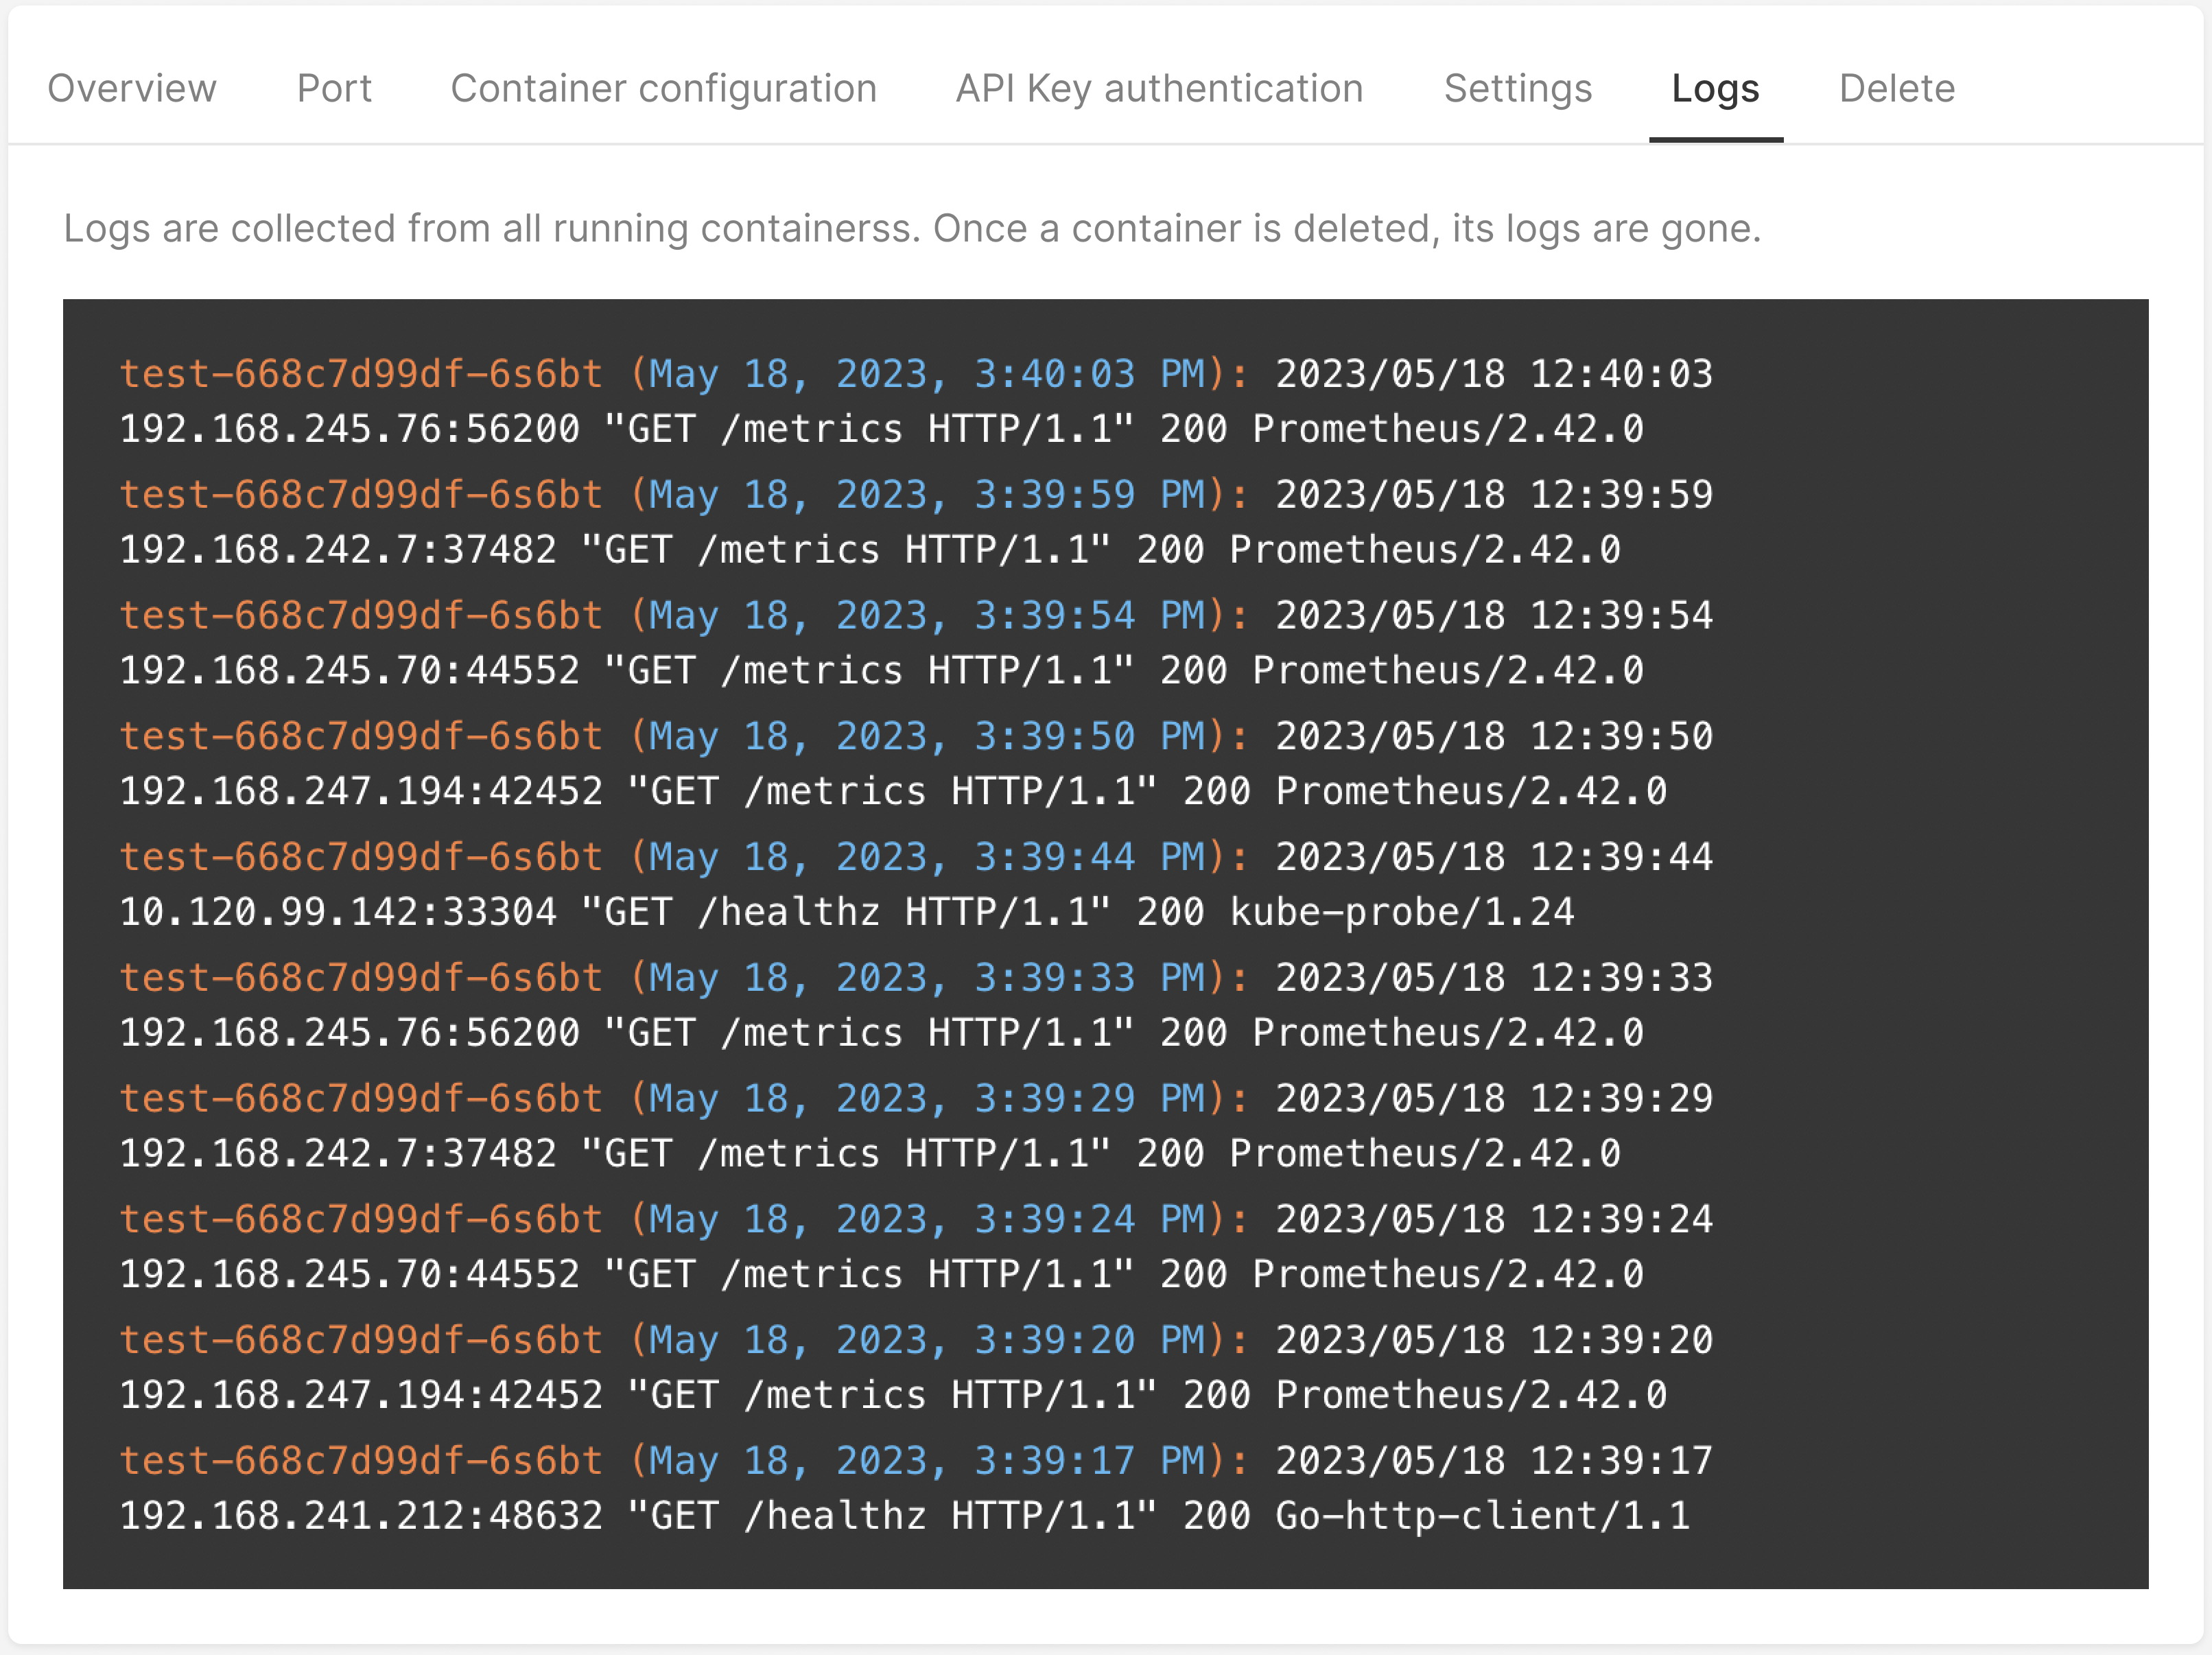
Container name_Date_Date  
IP_Method_Endpoint_HTTP type_ Resonse code_Monitoring technology name
Example of the logs

Delete a container

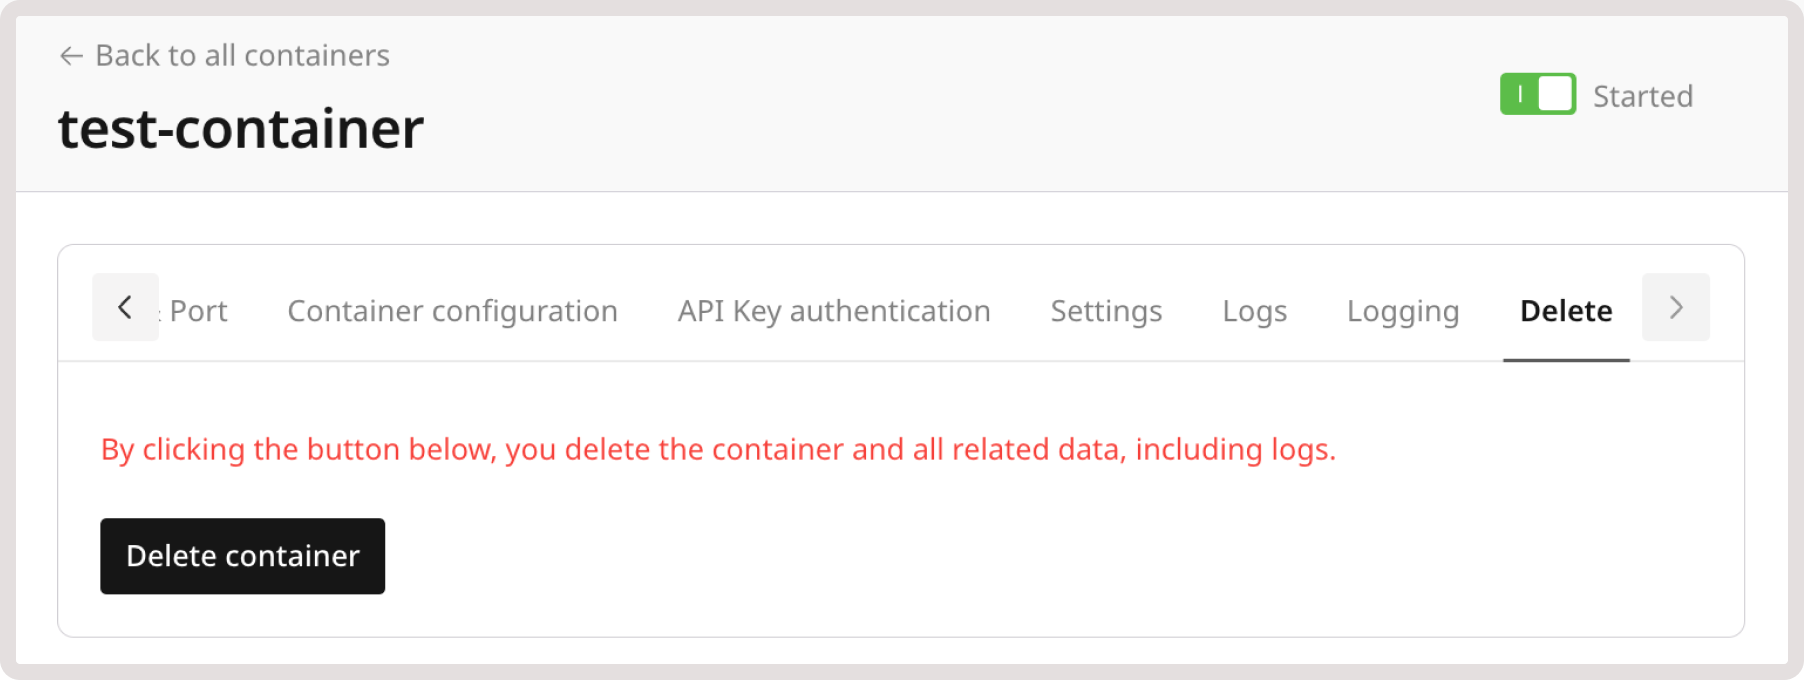
Open container settings, go to the Delete tab, and click Delete container. Confirm the deletion in the pop-up window that appears.

Container deletion

Was this article helpful?

Not a Gcore user yet?

Discover our offerings, including virtual instances starting from 3.7 euro/mo, bare metal servers, AI Infrastructure, load balancers, Managed Kubernetes, Function as a Service, and Centralized Logging solutions.

Go to the product page