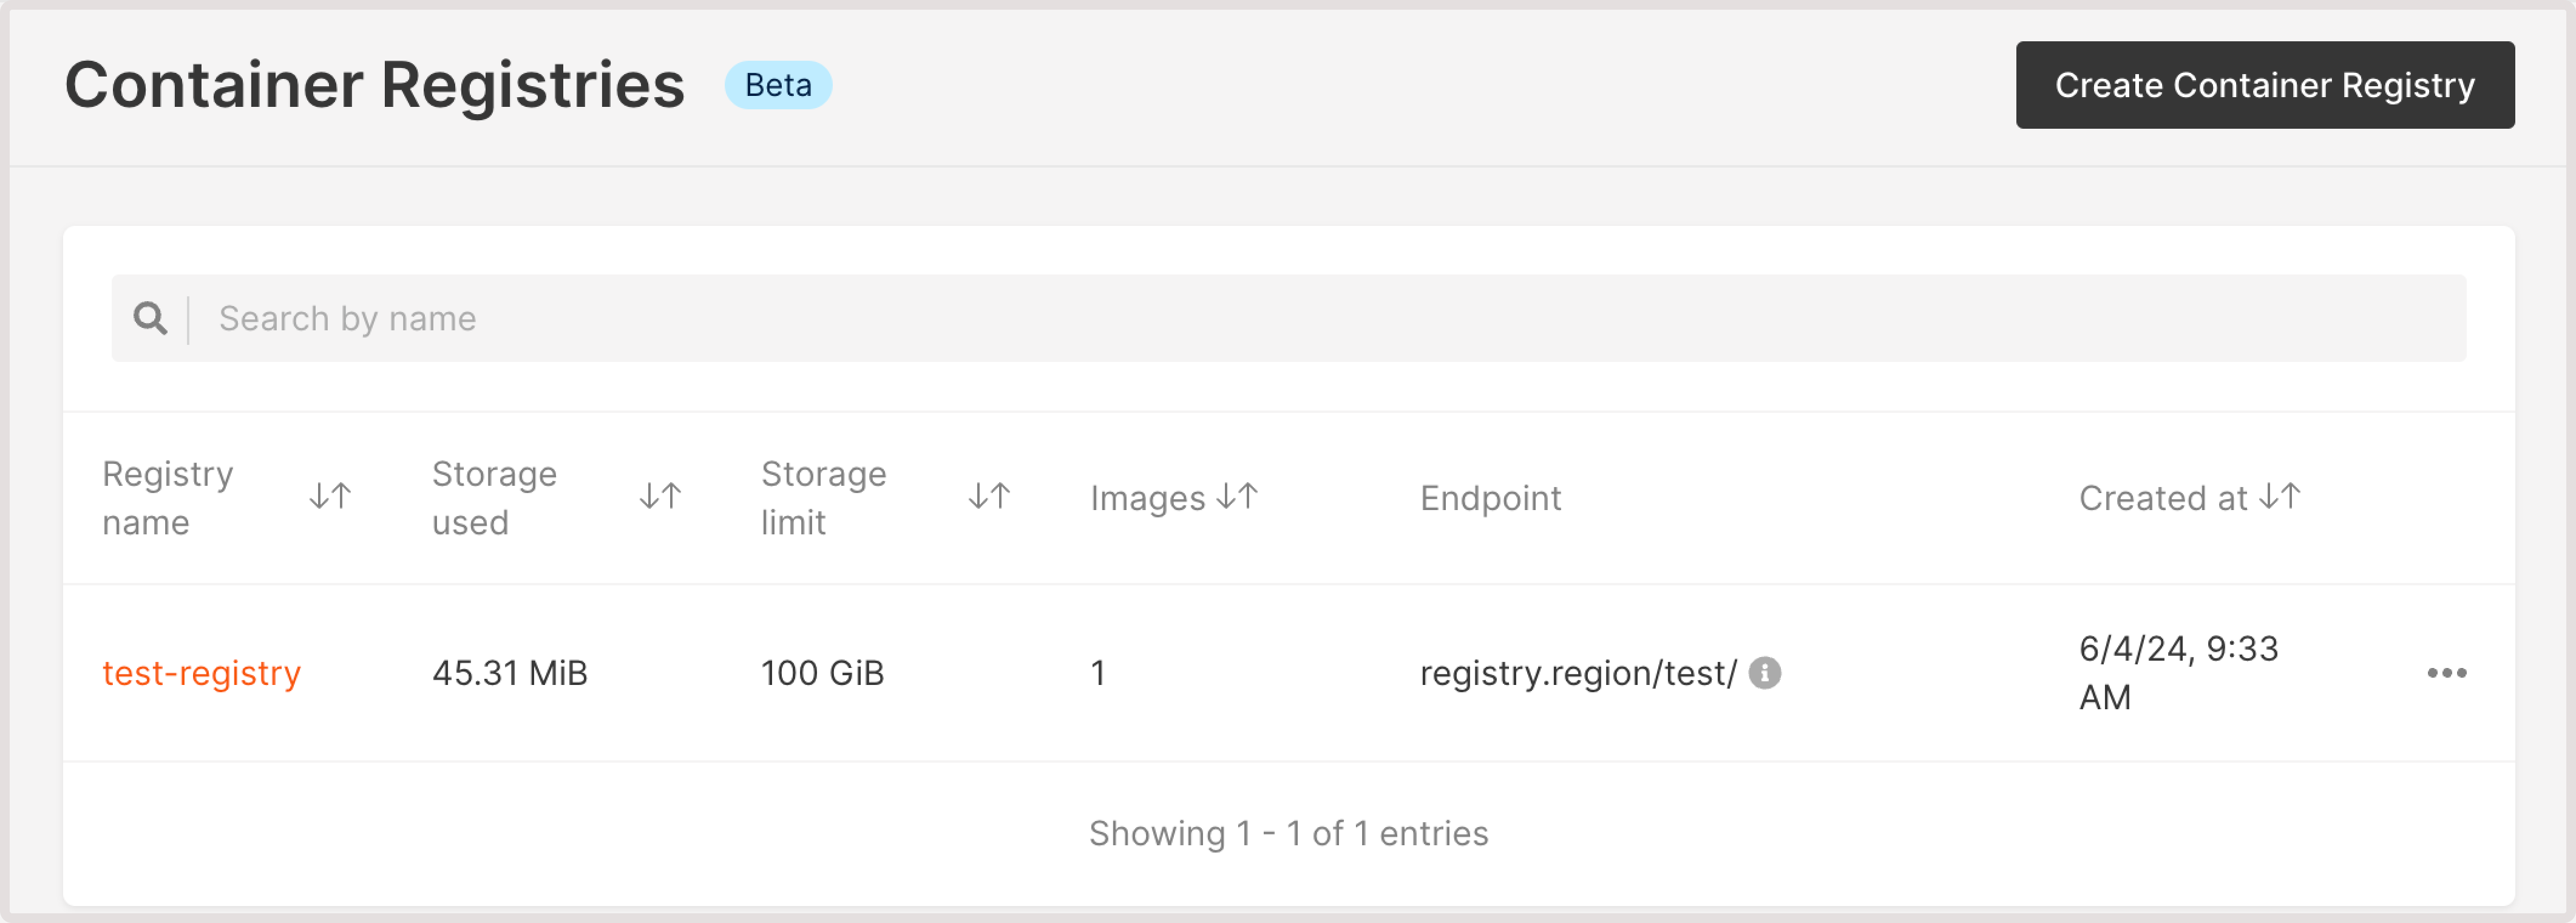
All created Container Registries appear in the Gcore Customer Portal on the Container Registries page:
You can change the storage limit for a registry, configure its users and images, or delete the registry if you no longer need it. If you have a large number of registries, you can also use search to find the one that you’re looking for.
Change storage limit
You can adjust your storage limit to host more images in the container registry or optimize storage according to your usage and container requirements.
To change the storage limit:
1. In the Gcore Customer Portal, navigate to Cloud > Container Registries.
2. Find the registry you want to configure and click the three-dot icon next to it.
3. Click Change storage limit.
4. Enter a new limit and click Save to apply the changes.
The storage limit has been changed.
Manage images in the container registry
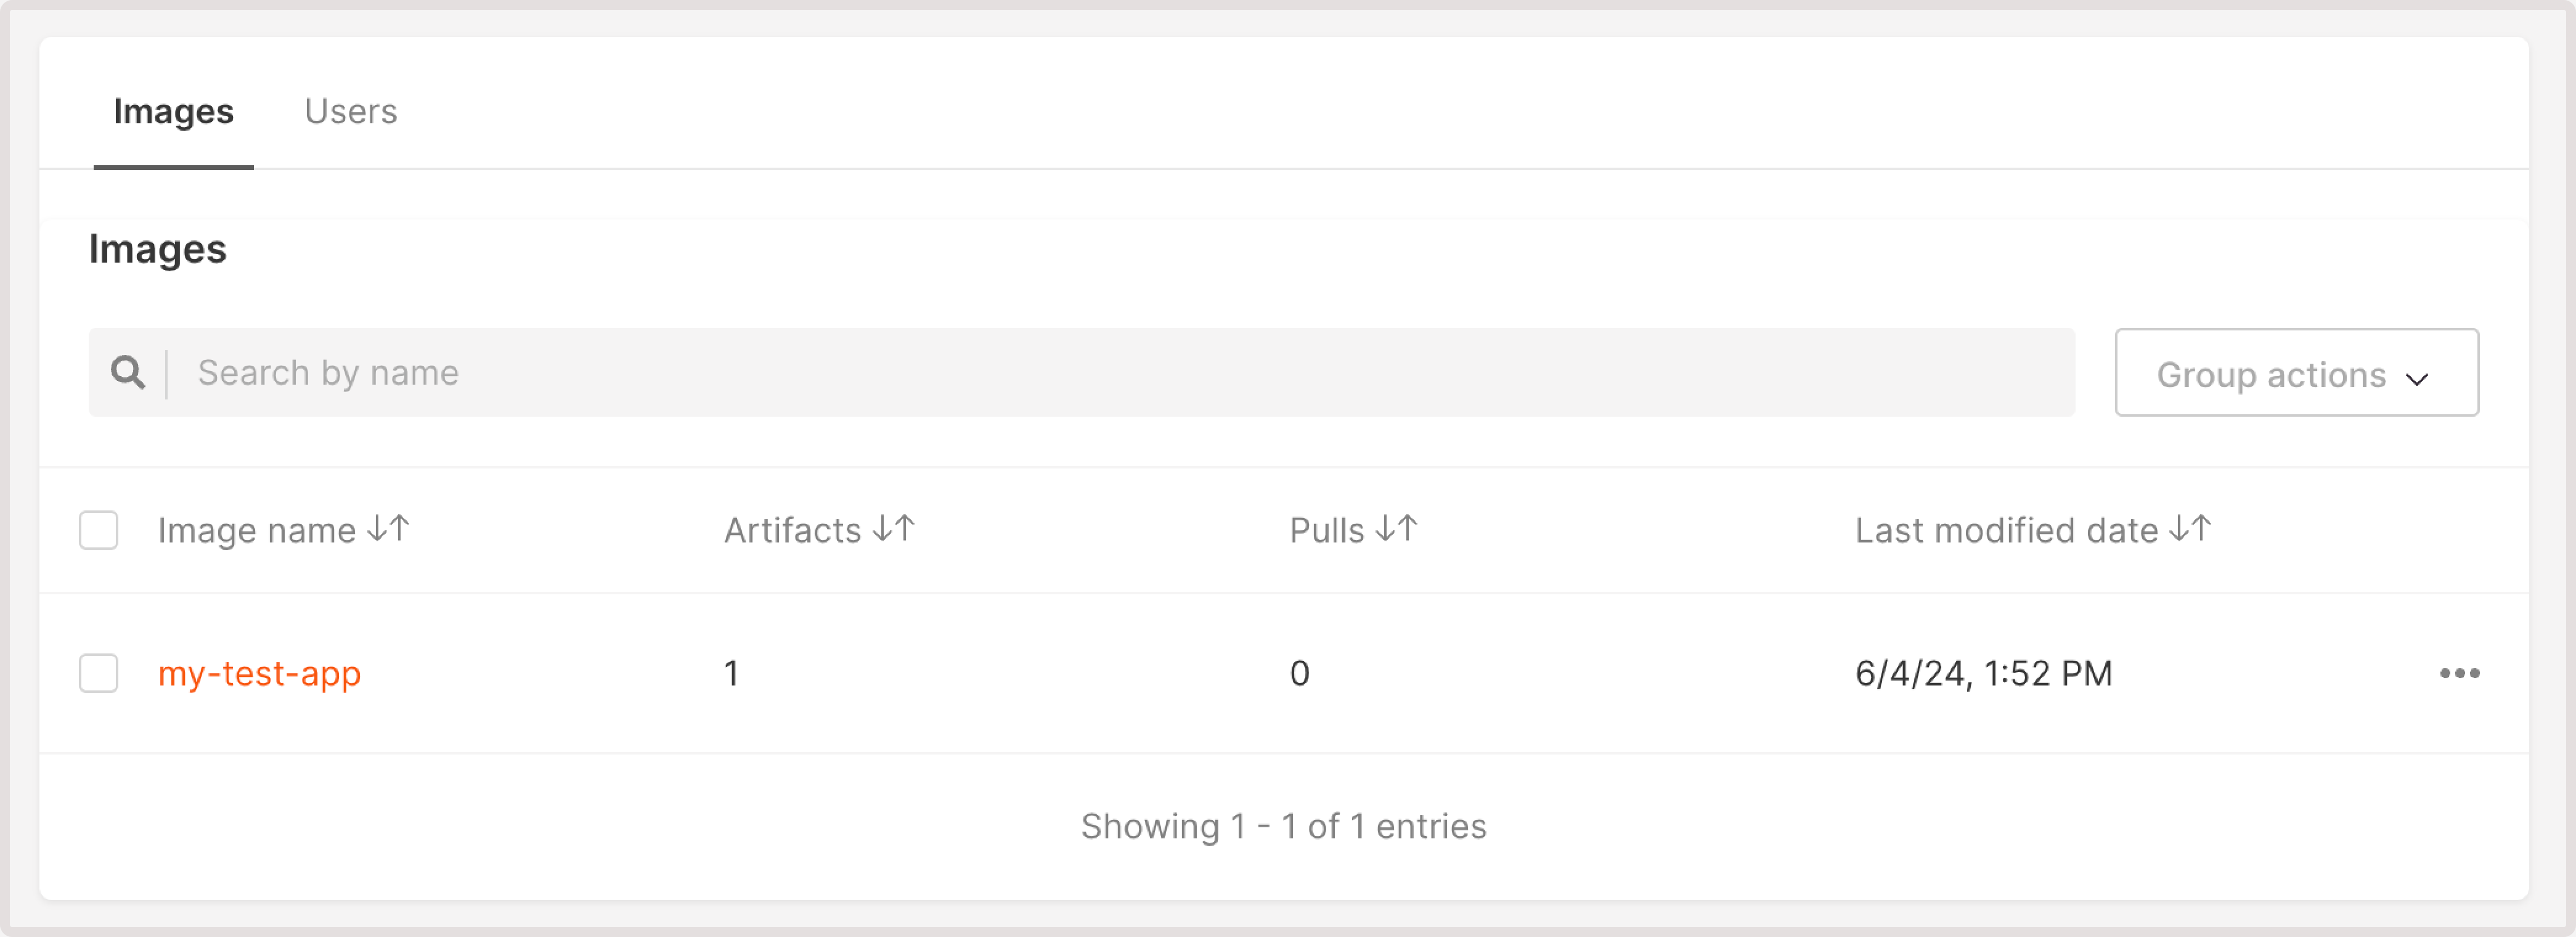
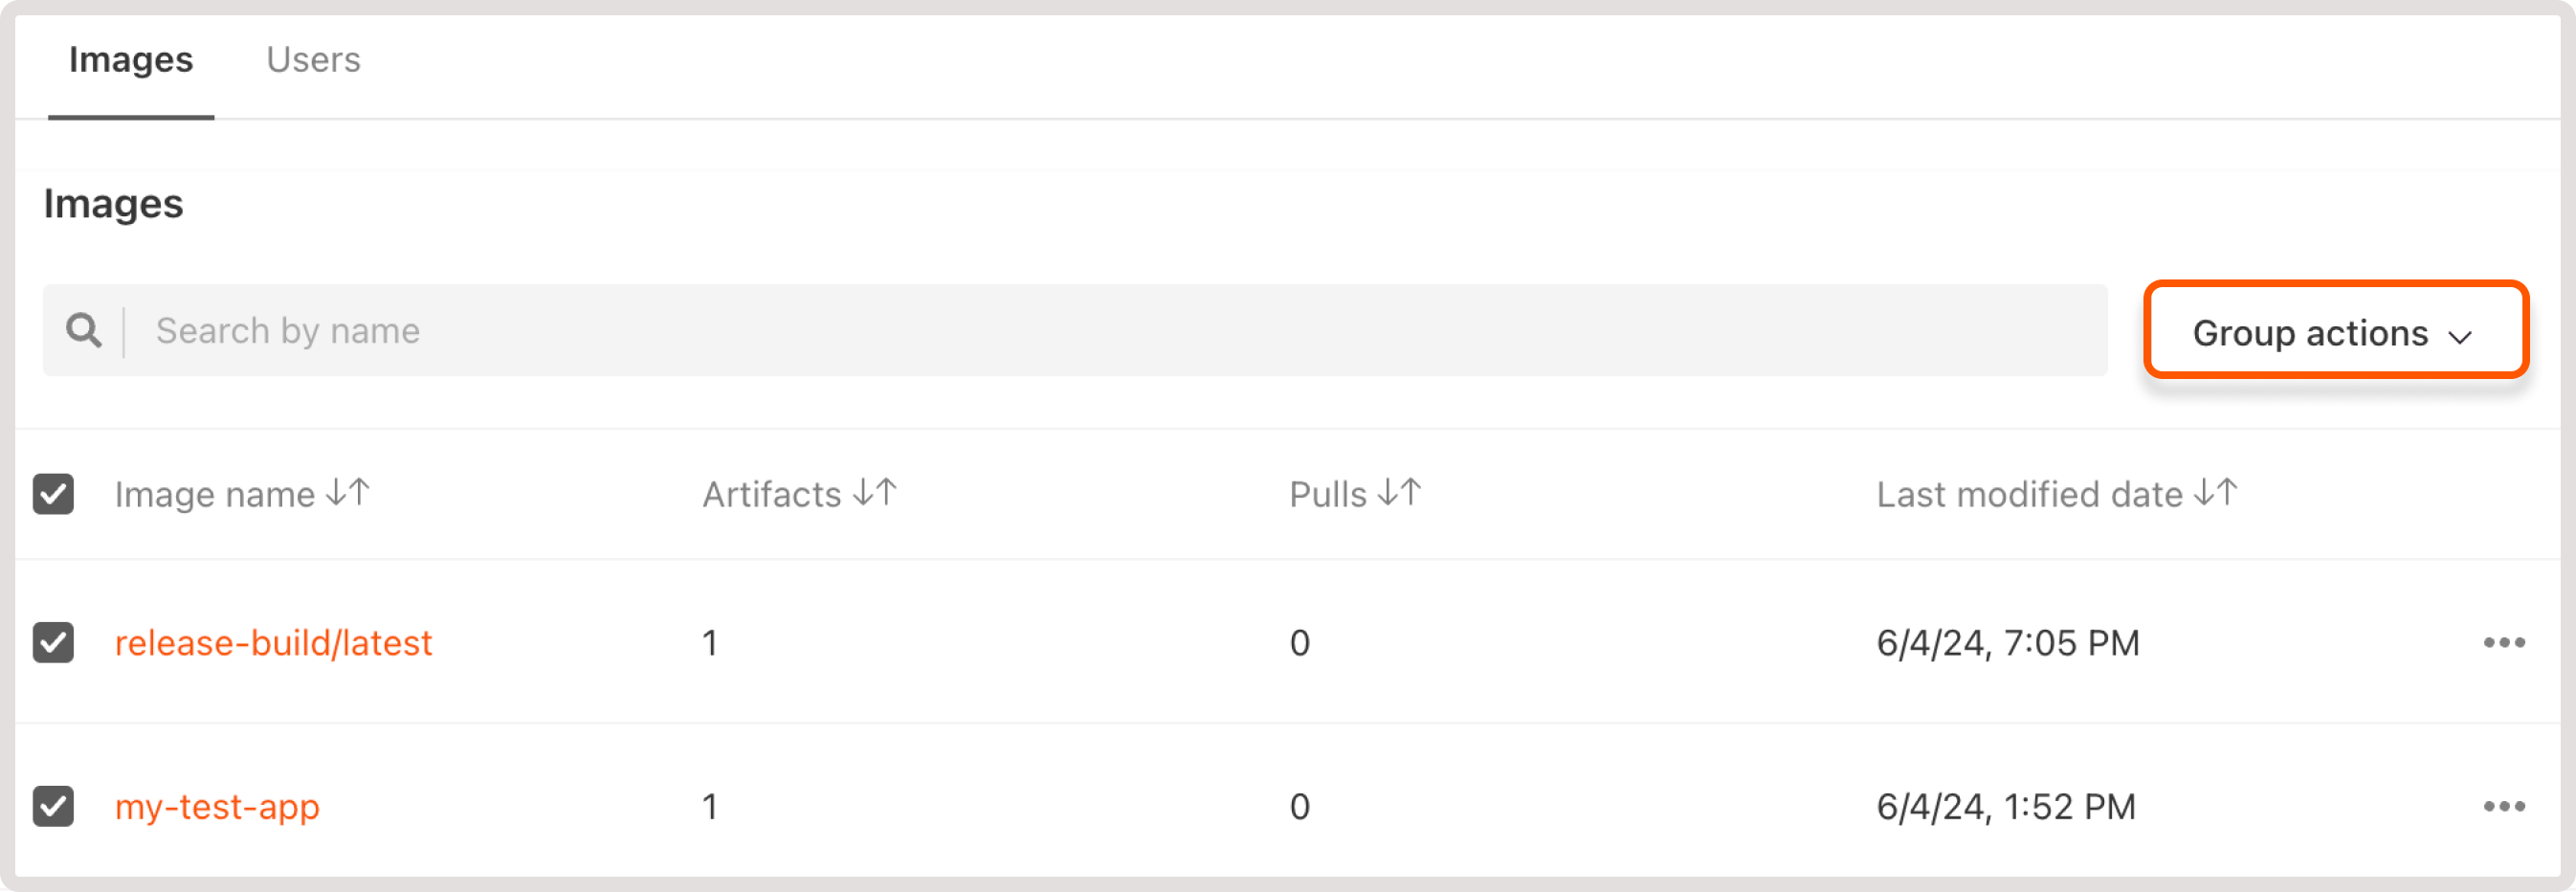
Open the Images tab to view the following information about the images within your Container Registry:
-
Image name
-
Artifacts associated with the image
-
The number of times the image was pulled from the registry
-
The date and time when the image was last modified
You can do the following actions with images: view and manage related artifacts, pull images from the registry, or delete them. You can also search through the images to find the one that you need.
View and manage image artifacts
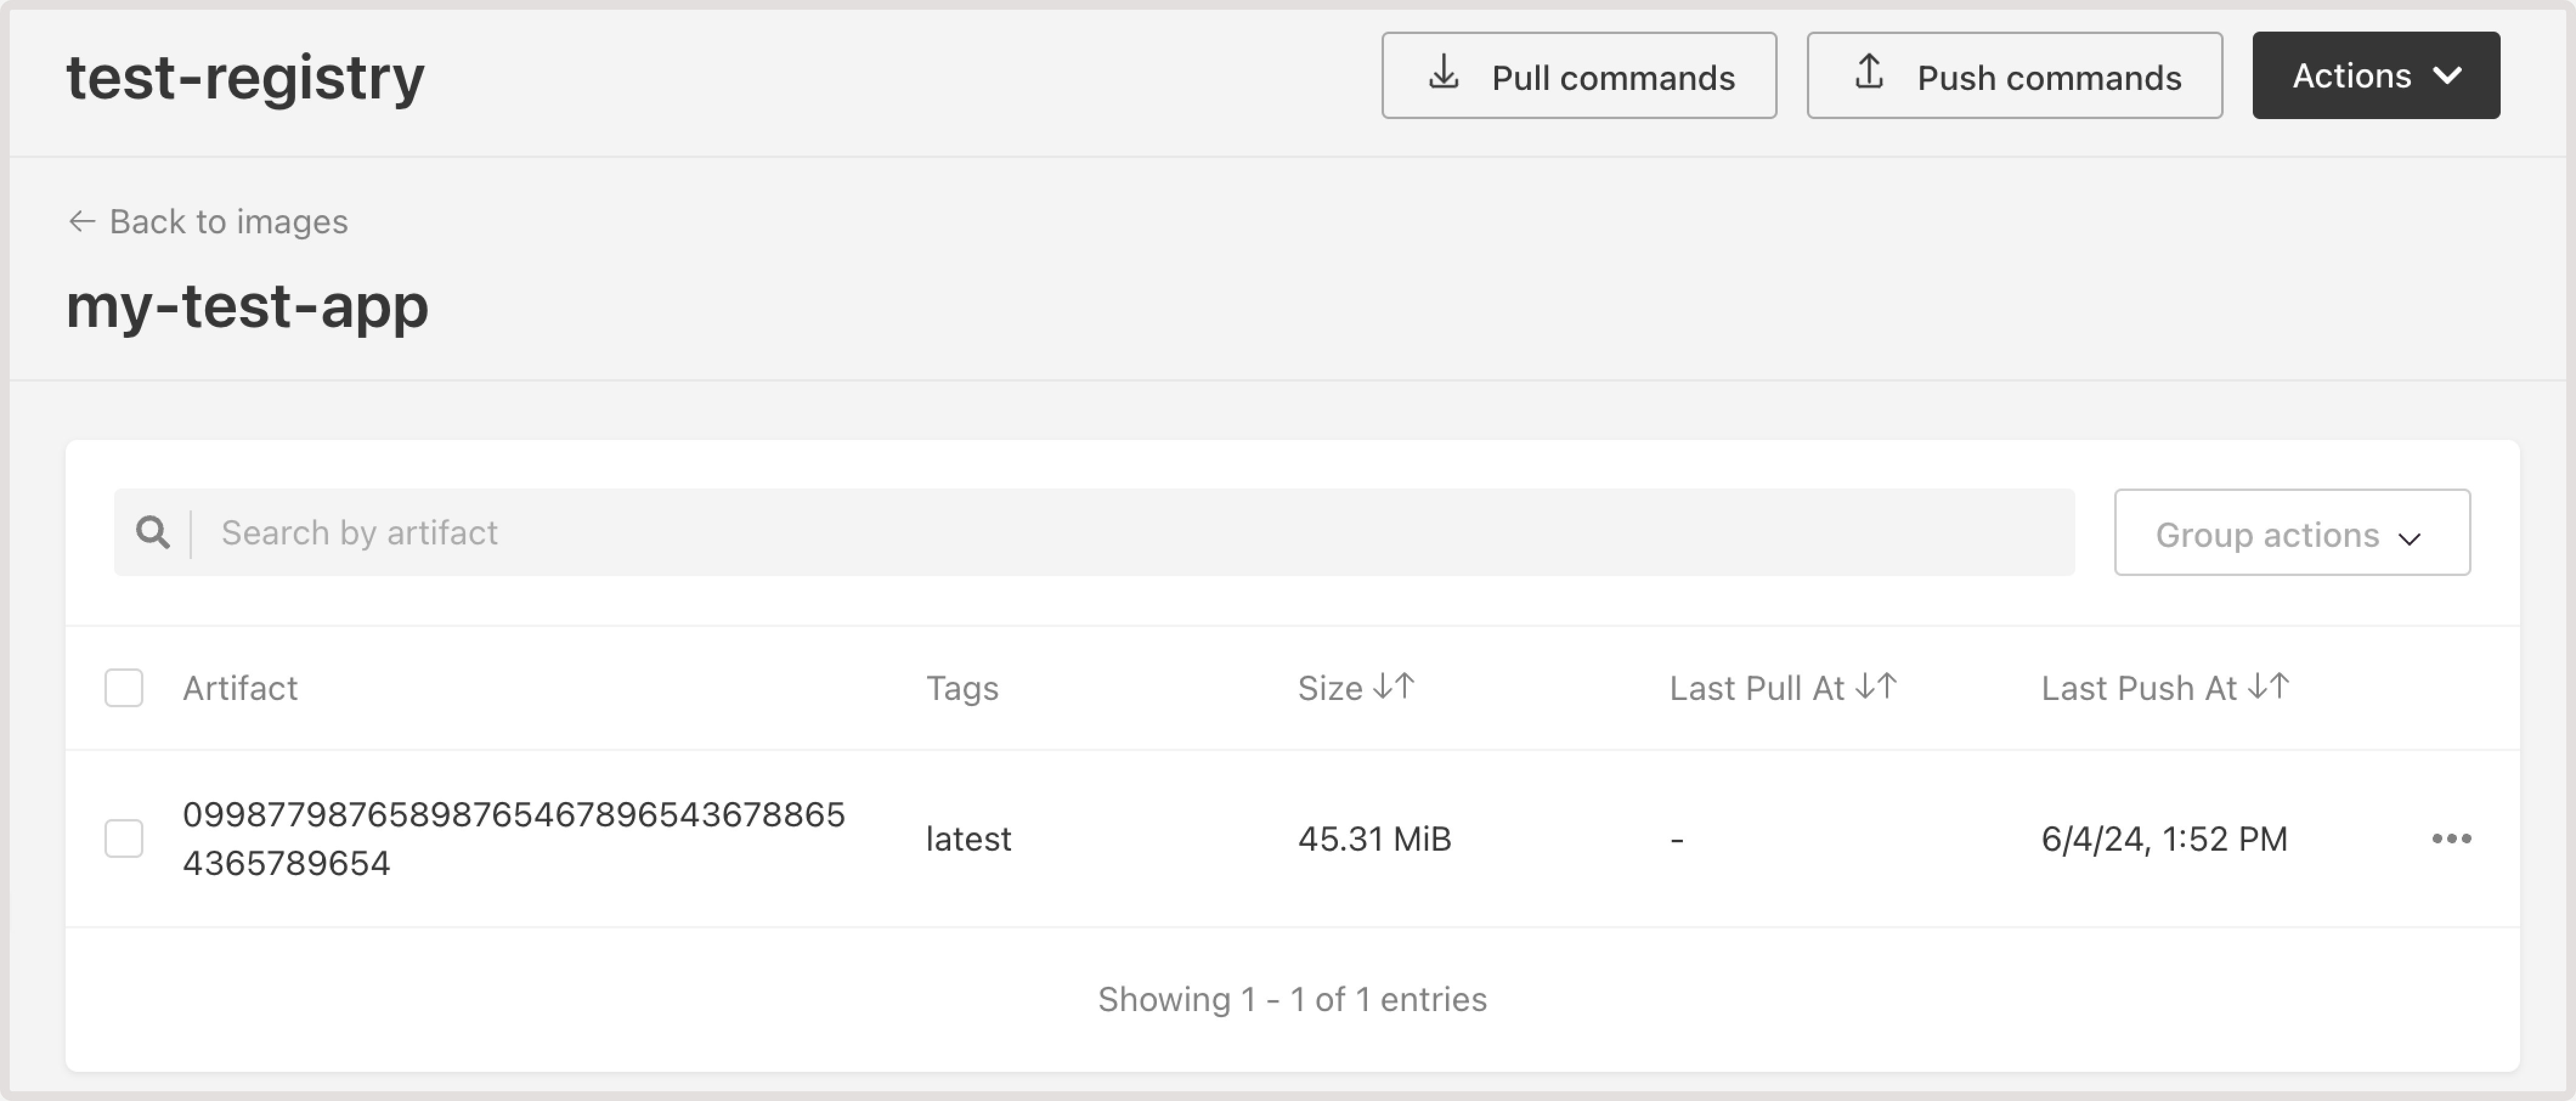
To view image artifacts, click the image name to open it. On the Artifacts page, you can check the artifact name, its tags, size, and the last associated push and pull operations. You can also search through the artifacts.
To delete an artifact or its tag:
1. Find the needed artifact and click the three-dot icon next to it.
2. Select the required action from the dropdown and proceed with the instructions.
You can also apply group actions to multiple artifacts. To do so, select checkboxes next to the artifacts you want to manage and choose the needed action from the Group actions dropdown.
Delete an image
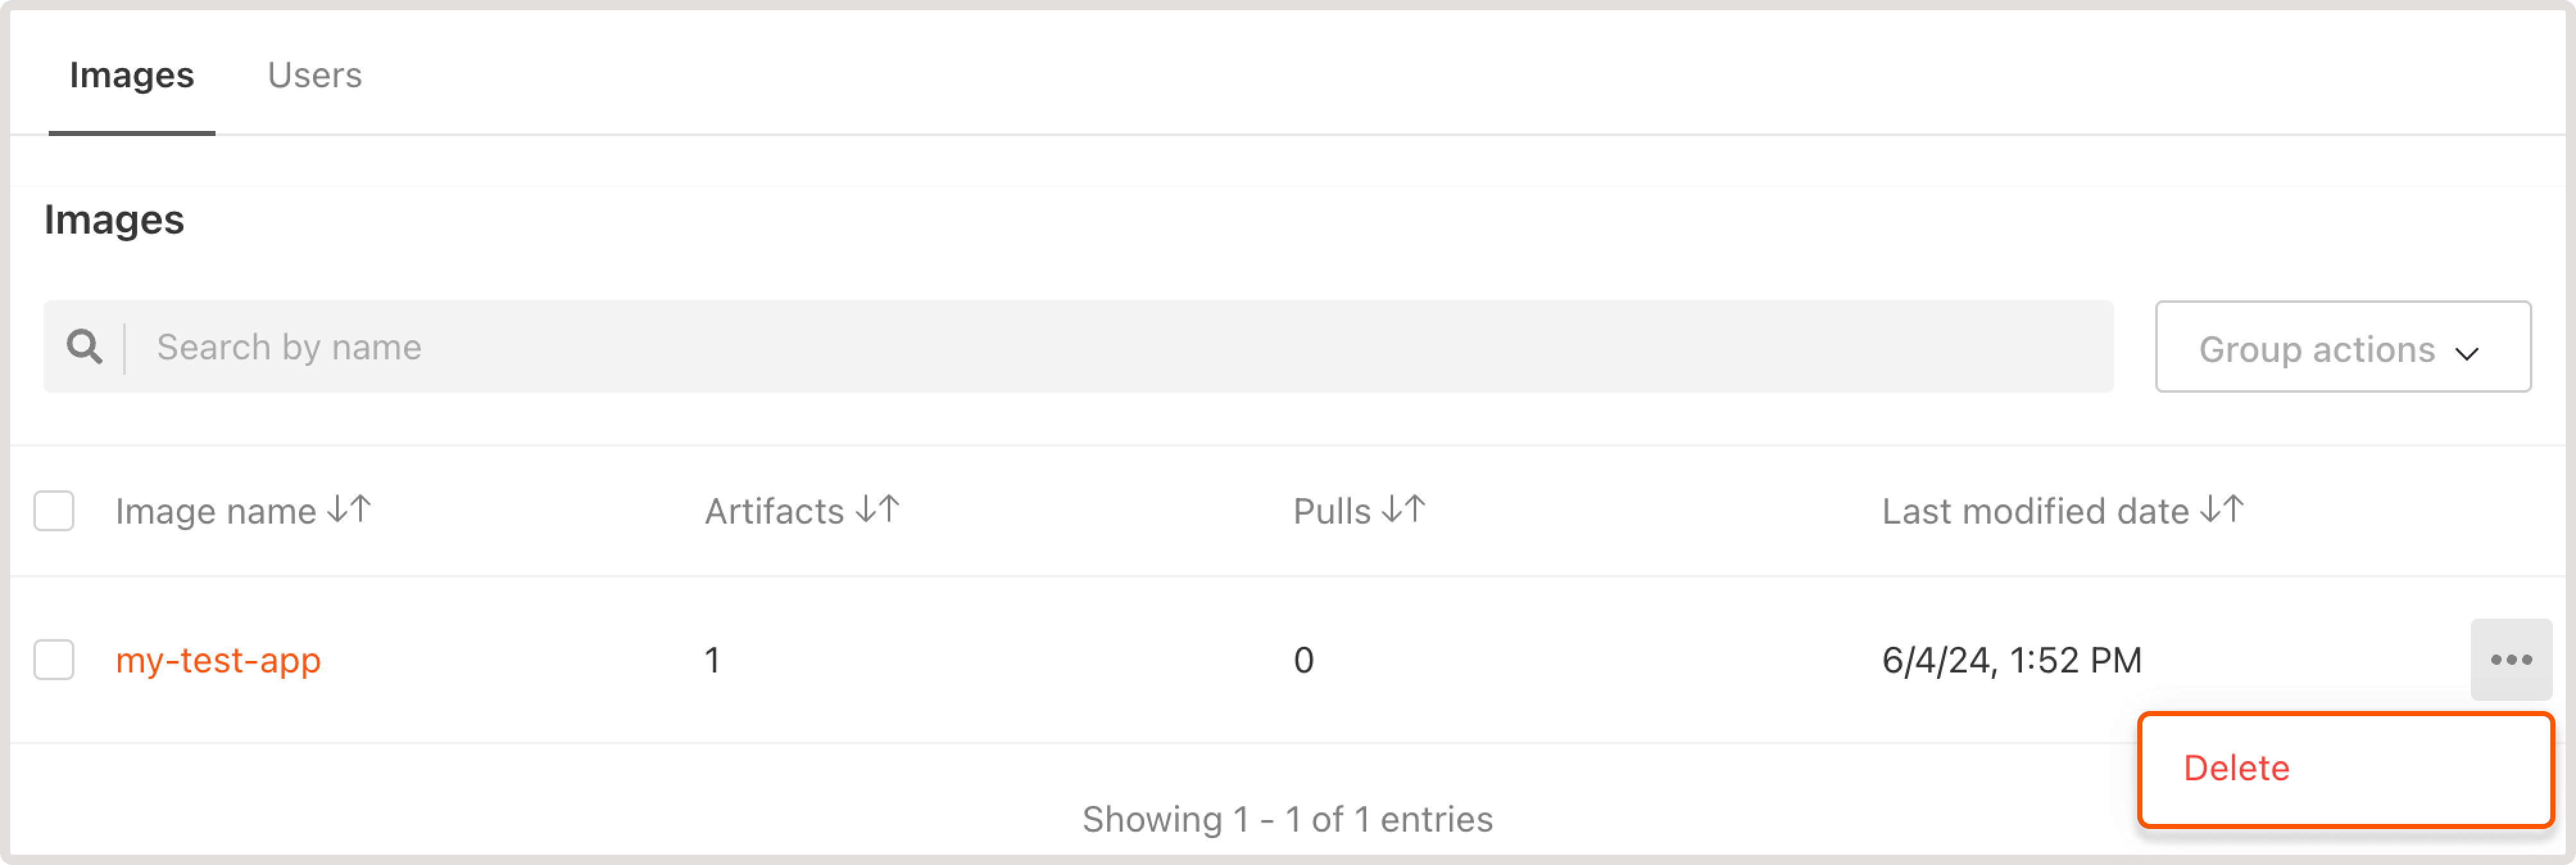
1. On the Images tab, find the image you want to remove.
2. Click the three-dot icon and select Delete.
3. Confirm your action by typing “Delete” in the text field.
4. Click Delete Image.
Your image has been removed from the registry.
Delete multiple images with group actions
You can simultaneously delete multiple images with Group actions. To do so, select checkboxes next to the images you want to manage and use the required action from the dropdown.
Manage users in the container registry
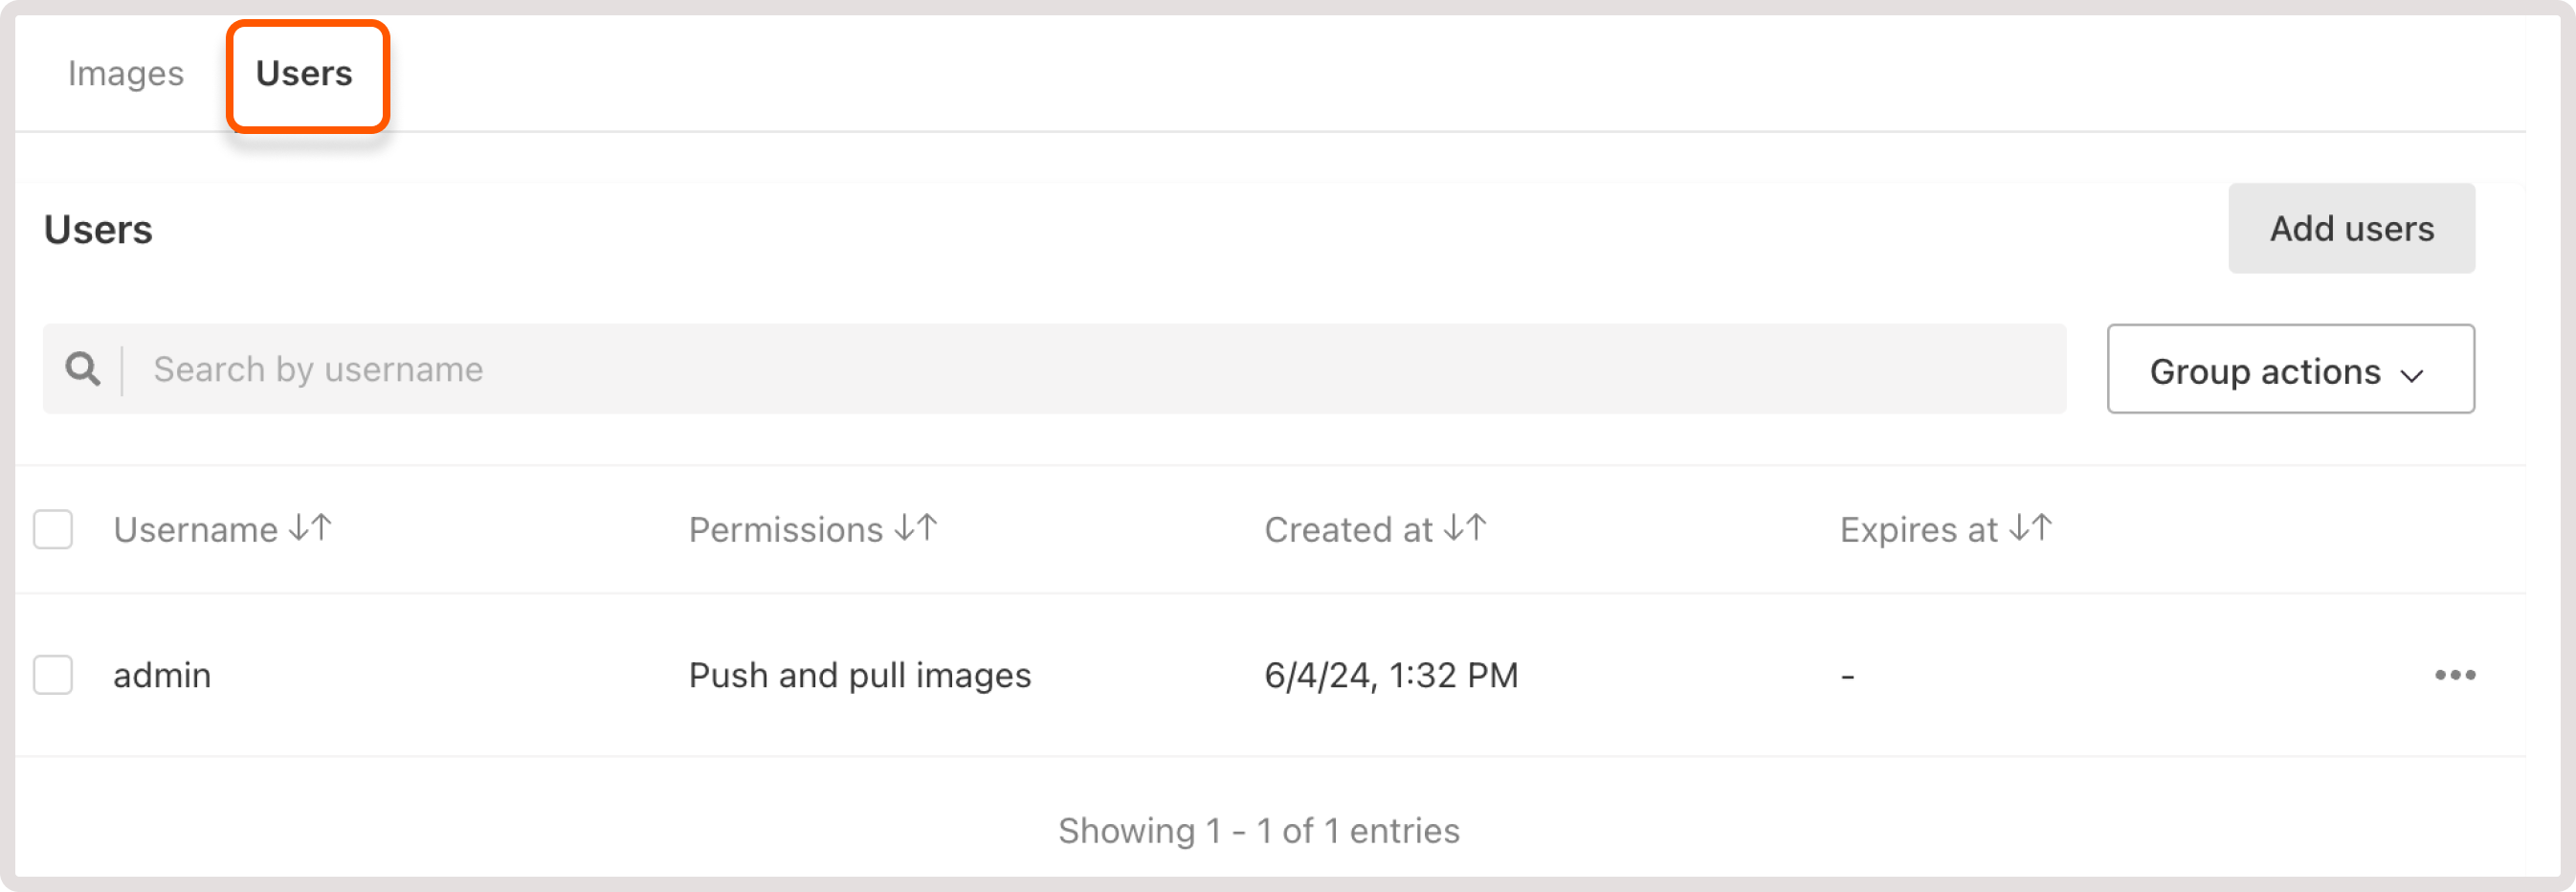
Open the Users tab to view the following information about created users within your Container Registry:
-
Username
-
User permissions
-
The date and time when the user was created
-
(Optional) If the password expiration date was set during user creation, this information will be displayed in the Expires at column.
You can change user permissions, generate a new user password, or delete the user from the registry.
Change user permissions
For each user, you can configure the following permissions:
-
Pull images : this is helpful if you’d like to prevent unauthorized or accidental changes to the Container Registry. In this case, you can restrict permissions for some users to pull operations only.
-
Push and push images : this permission grants full access to the registry and allows users to pull and push any new images or image versions to the registry.
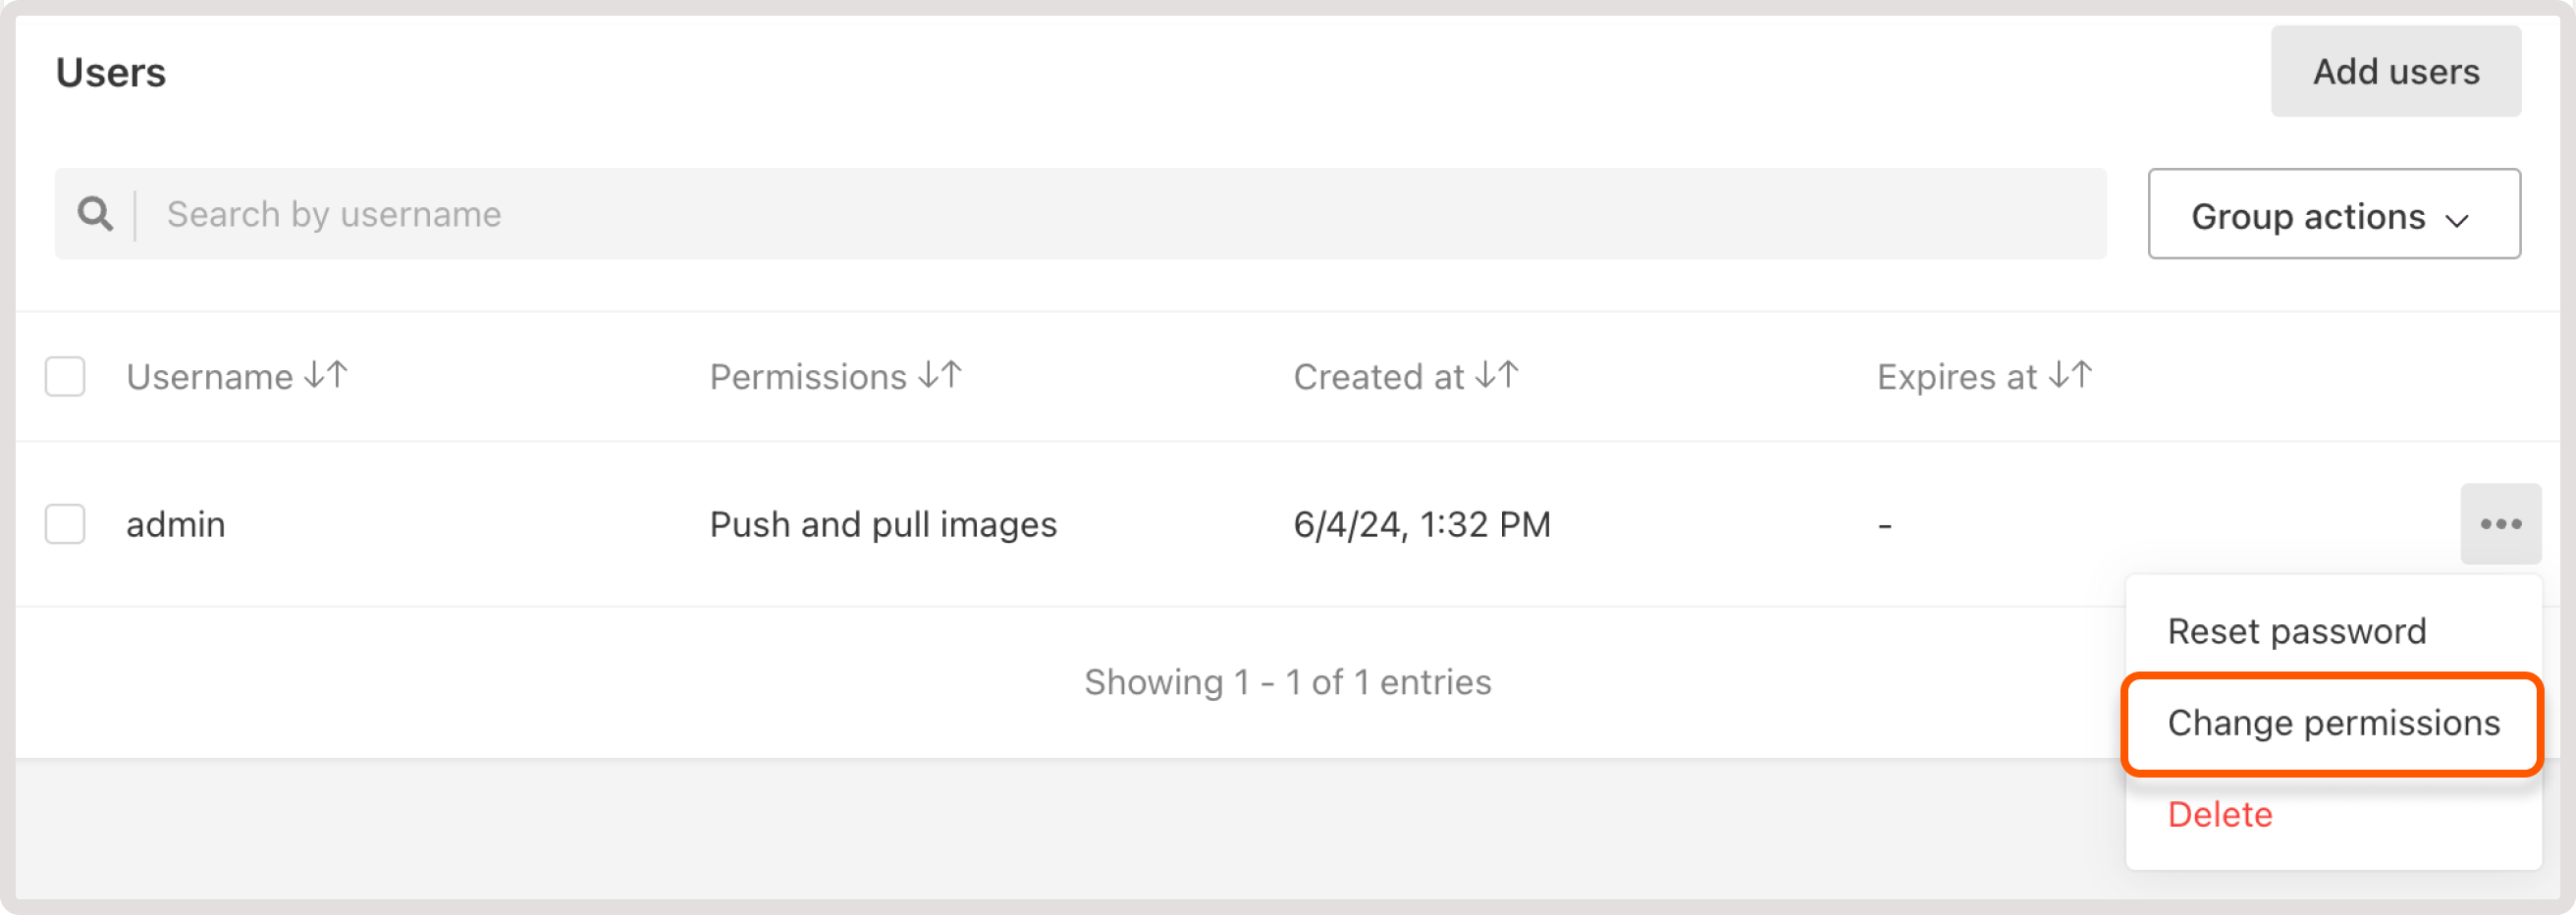
To change user permissions:
1. On the Users tab, find the user you want to delete and click the three-dot icon next to it.
2. Select Change permissions.
3. Update the permissions as needed and click Save to apply the changes.
Reset user password
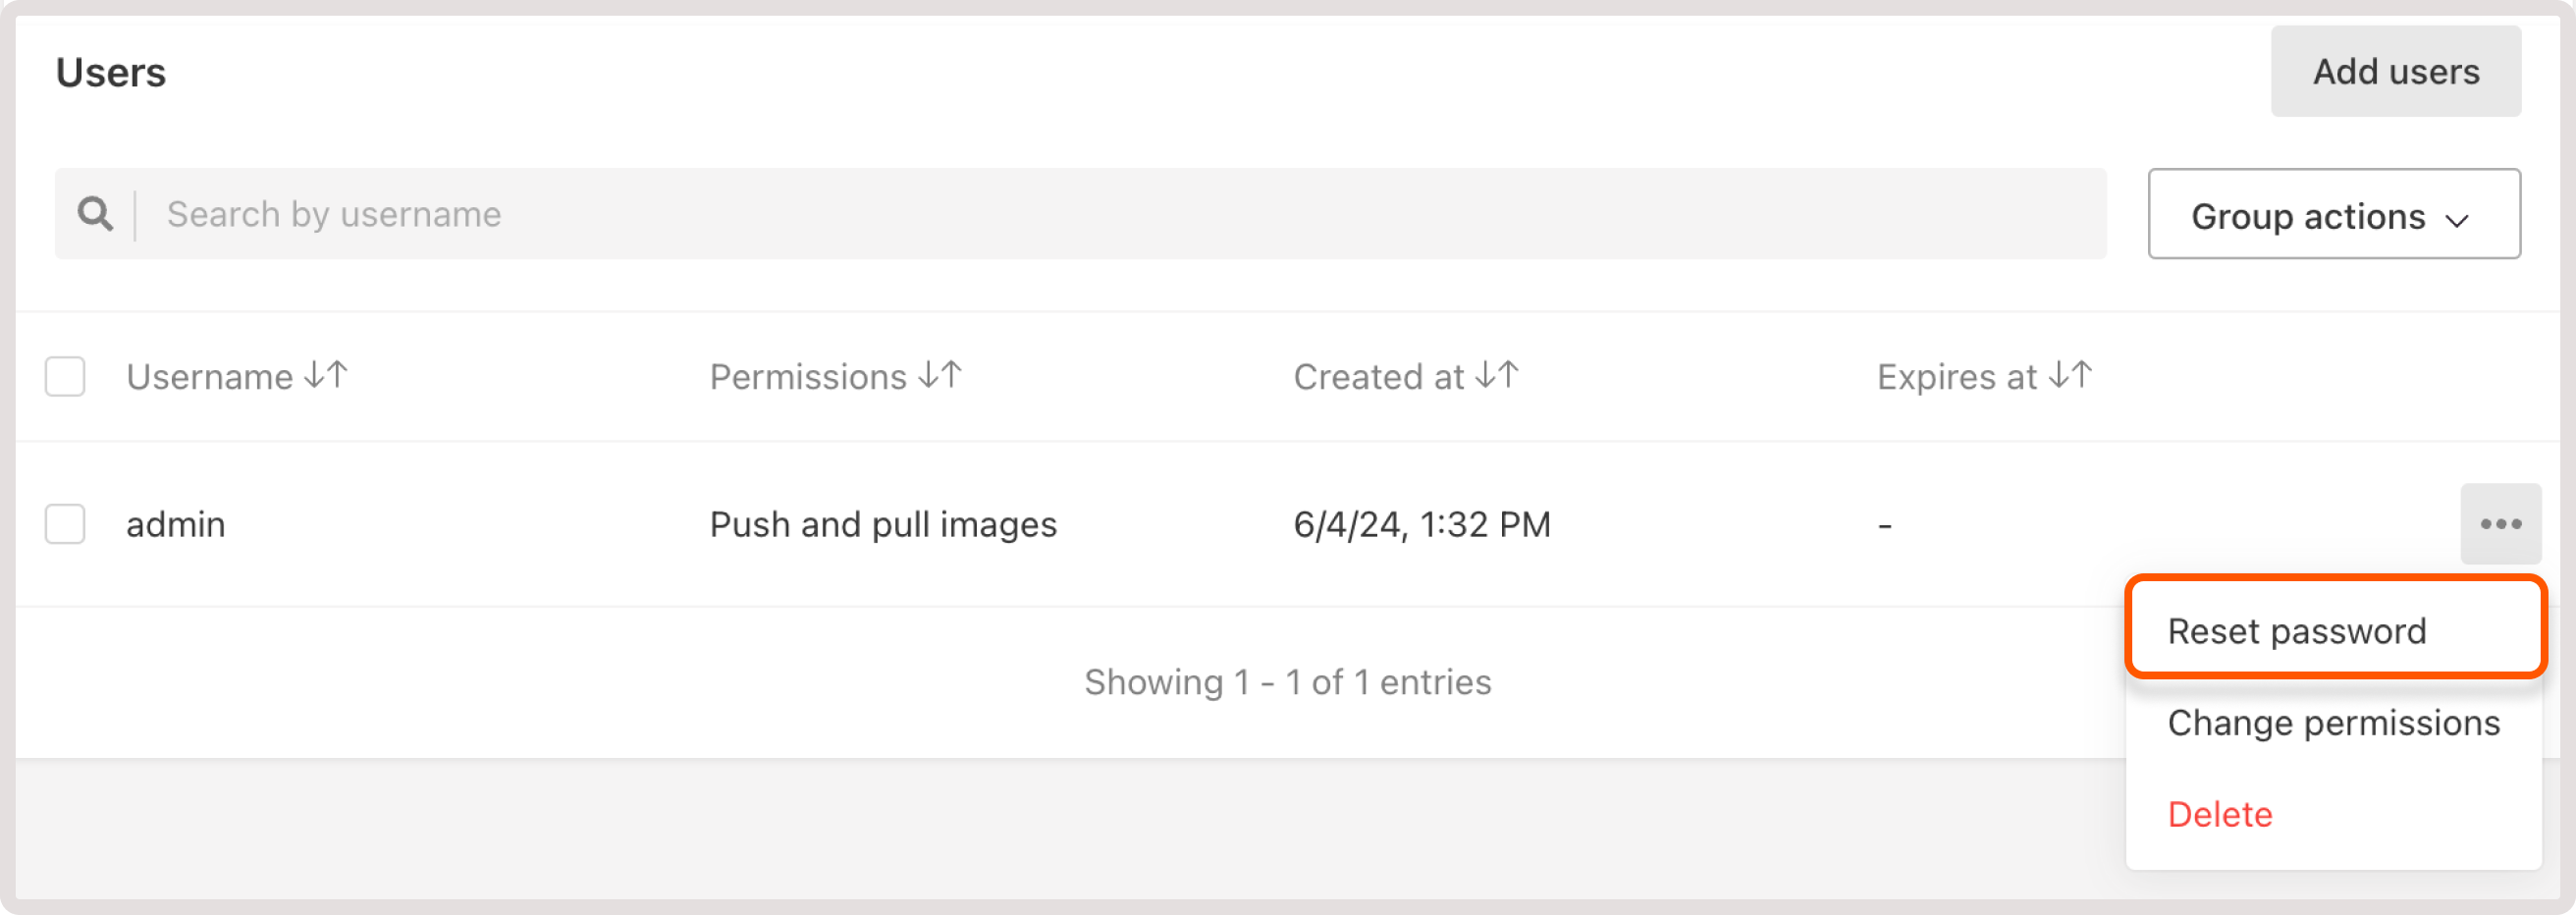
A user password is automatically generated during user creation. If the password has expired or the user can’t remember it, you can regenerate a password as follows:
1. On the Users tab, find the user you want to delete and click the three-dot icon next to it.
2. Select Reset password.
3. Confirm password reset.
4. Copy the password and save it locally. Keep in mind that you won’t be able to view it again.
Delete a user
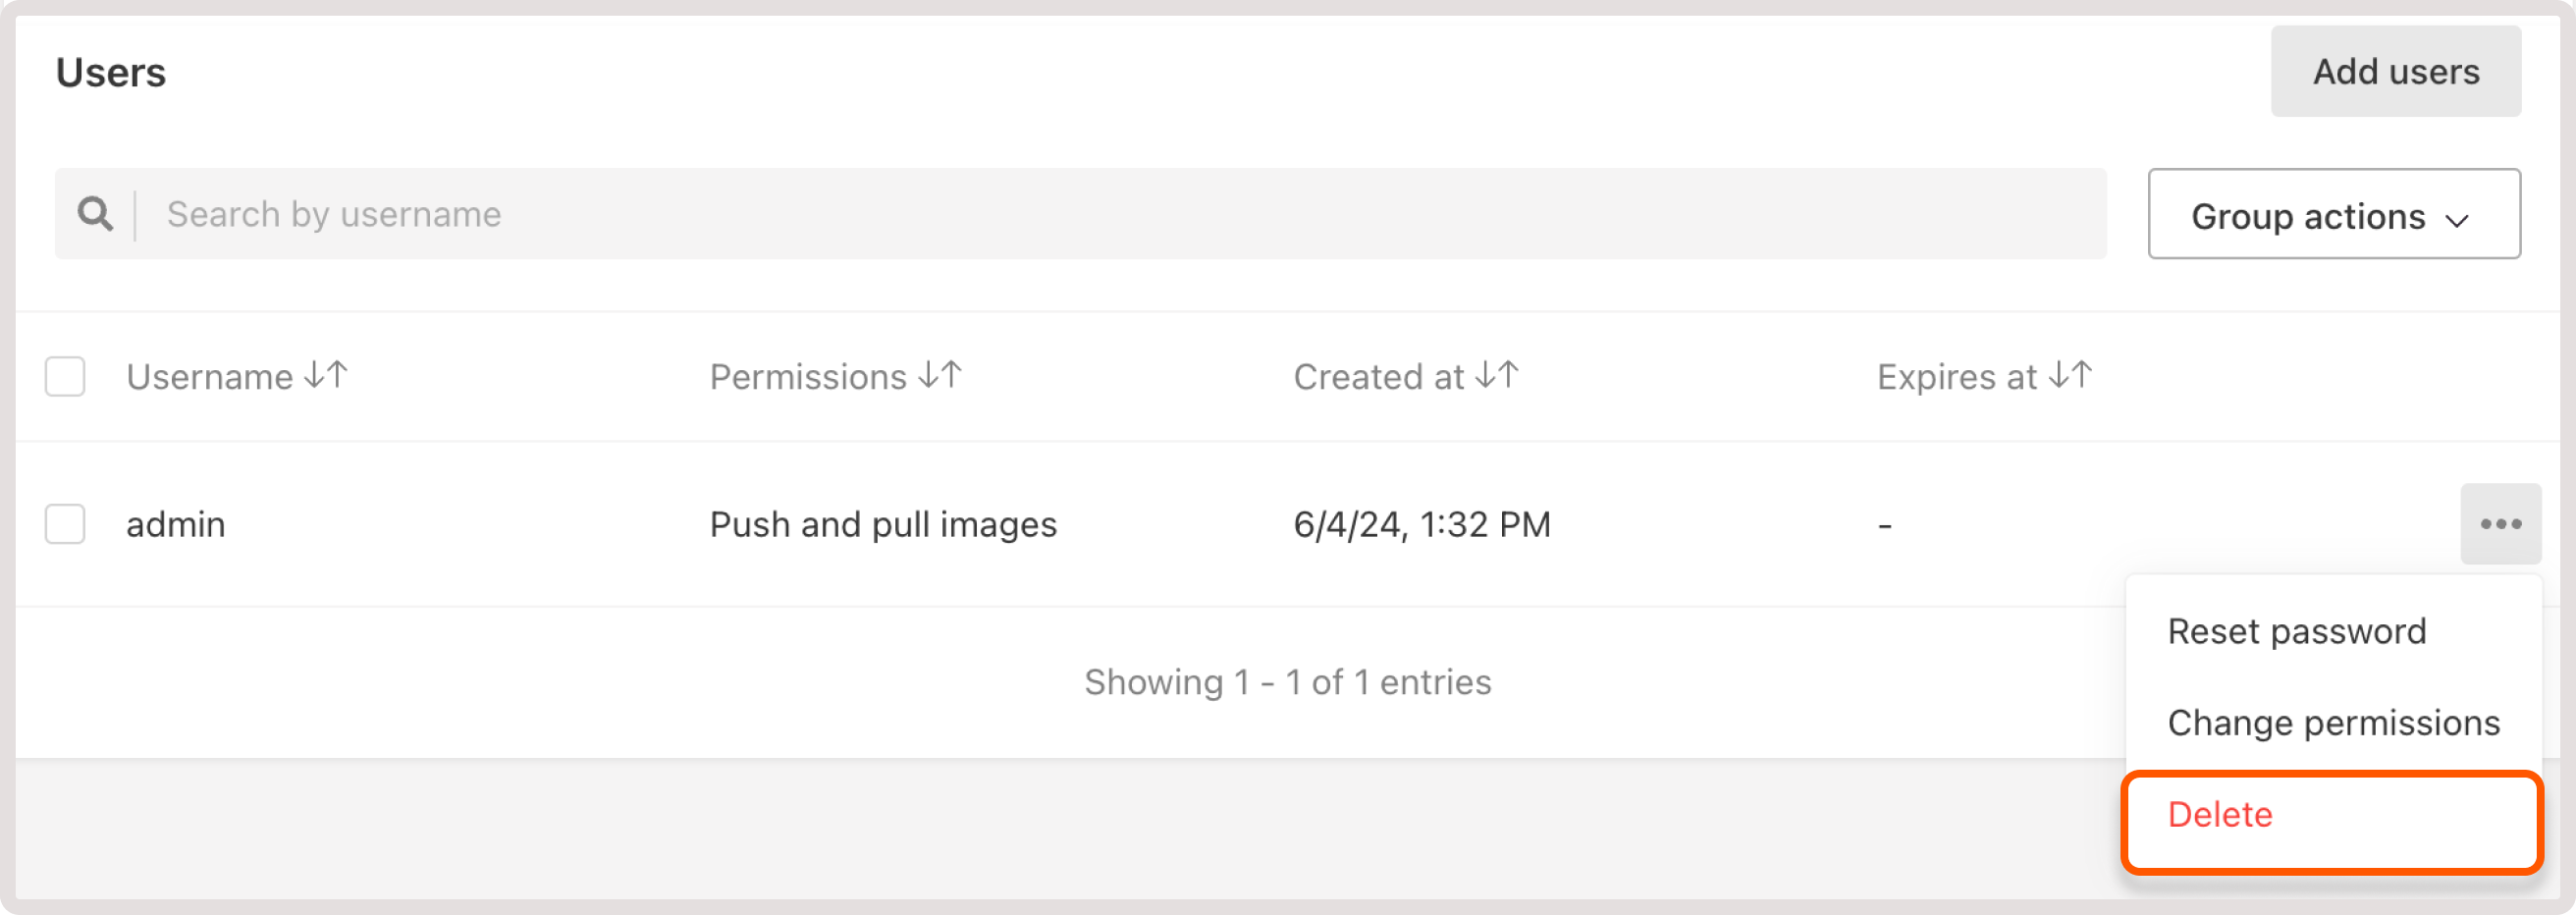
1. On the Users tab, find the user you want to delete and click the three-dot icon next to it.
2. Select Delete.
3. Confirm your action by typing “Delete” in the text field.
4. Click Delete user.
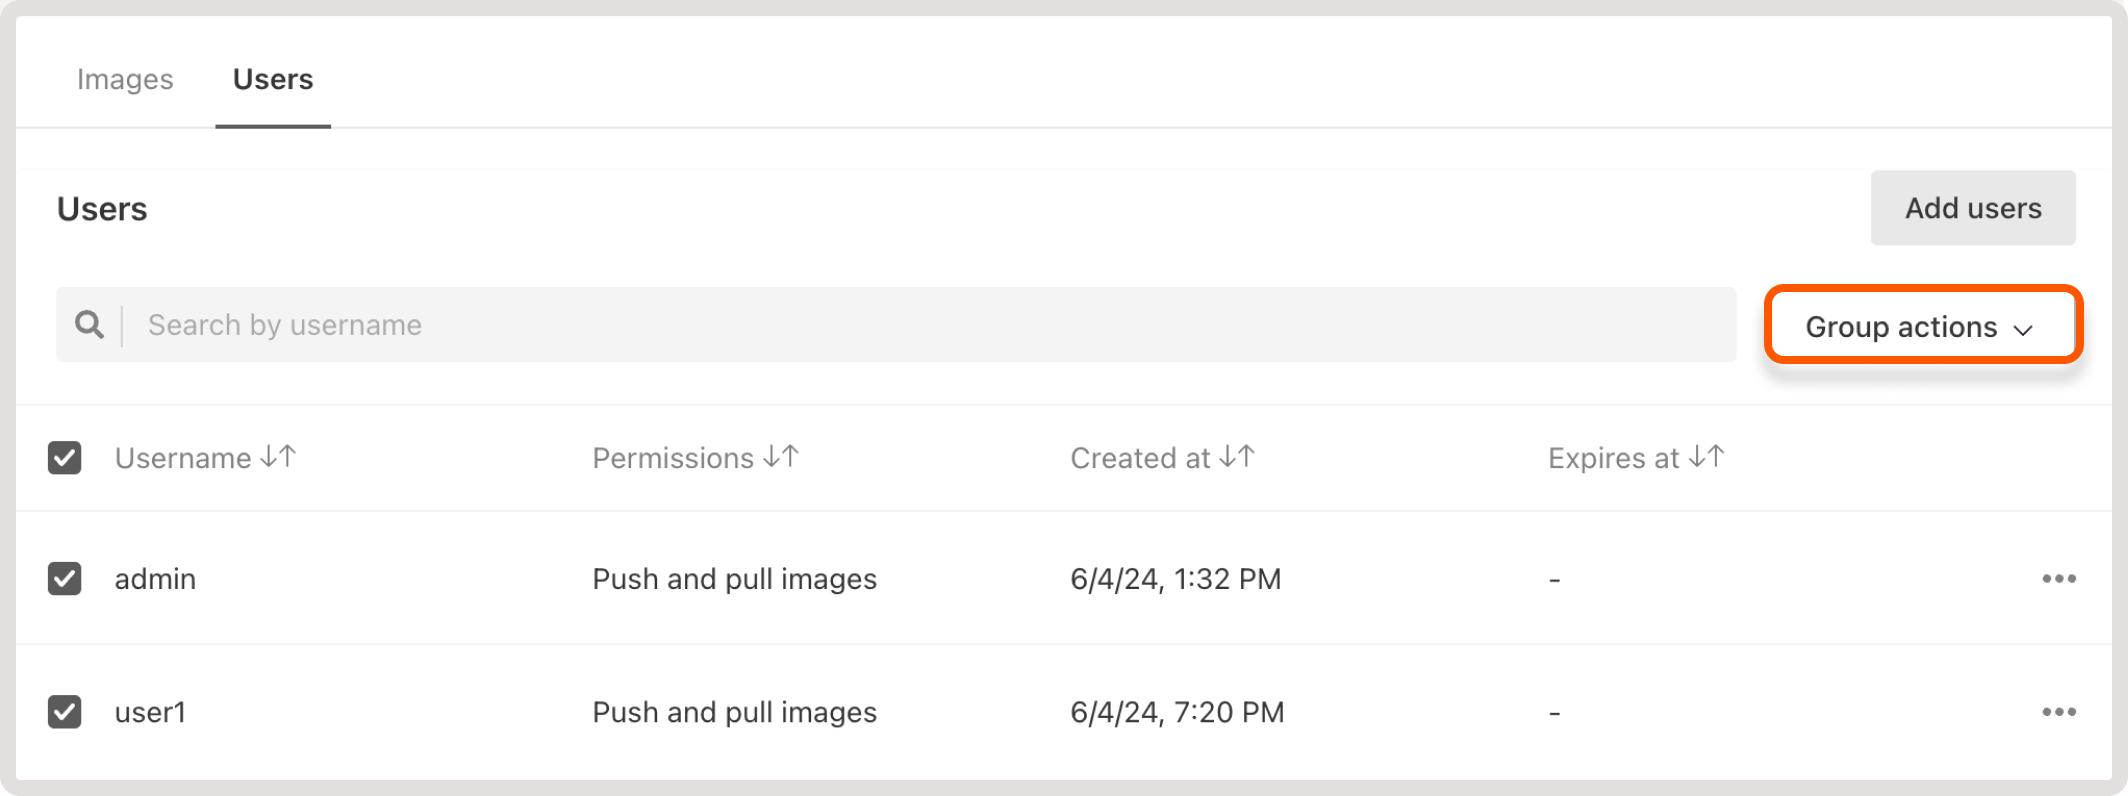
Manage multiple users with group actions
There’s an option to simultaneously delete multiple users or change their permissions using Group actions. To do so, select checkboxes next to the users you want to modify and then choose the needed action from the Group actions dropdown.
Delete a registry
WarningIf you delete a Container Registry, you will lose all data stored there. This action can’t be reverted.
