Stage 1. Create a Wasm binary file
To get started, create a .wasm file that you will later upload to the Gcore Customer Portal.- Via Rust
- Via JavaScript SDK
Step 1. Set up the environment
1. Install the Rust compiler and cargo (package manager):Step 2. Prepare the directory structure and a configuration file
1. Initialize the directory structure:myapp/.cargo/config.toml with the following content:myapp/Cargo.toml with the following content:Step 3. Create a source
In this example, we’ll create a simple app that responds with “HTTP 200” and the text “Hello world!” in the response’s body. You can find more examples in the Gcore repository.Create a main source file src/lib.rs with the following content:Step 4. Compile a Wasm file
Produce the Wasm binary:myapp/target/wasm32-wasip1/release/myapp.wasm file.Stage 2. Deploy an application
For detailed steps on how to deploy a FastEdge app, refer to the relevant sections below:- In the Customer Portal. Follow the instructions if you created a custom Wasm using either the Rust or Javascript SDK, or if you want to create a FastEdge app from a preconfigured template.
- Via command line: Follow the instructions if you want to deploy a custom Wasm using cURL and our API.
In the customer portal
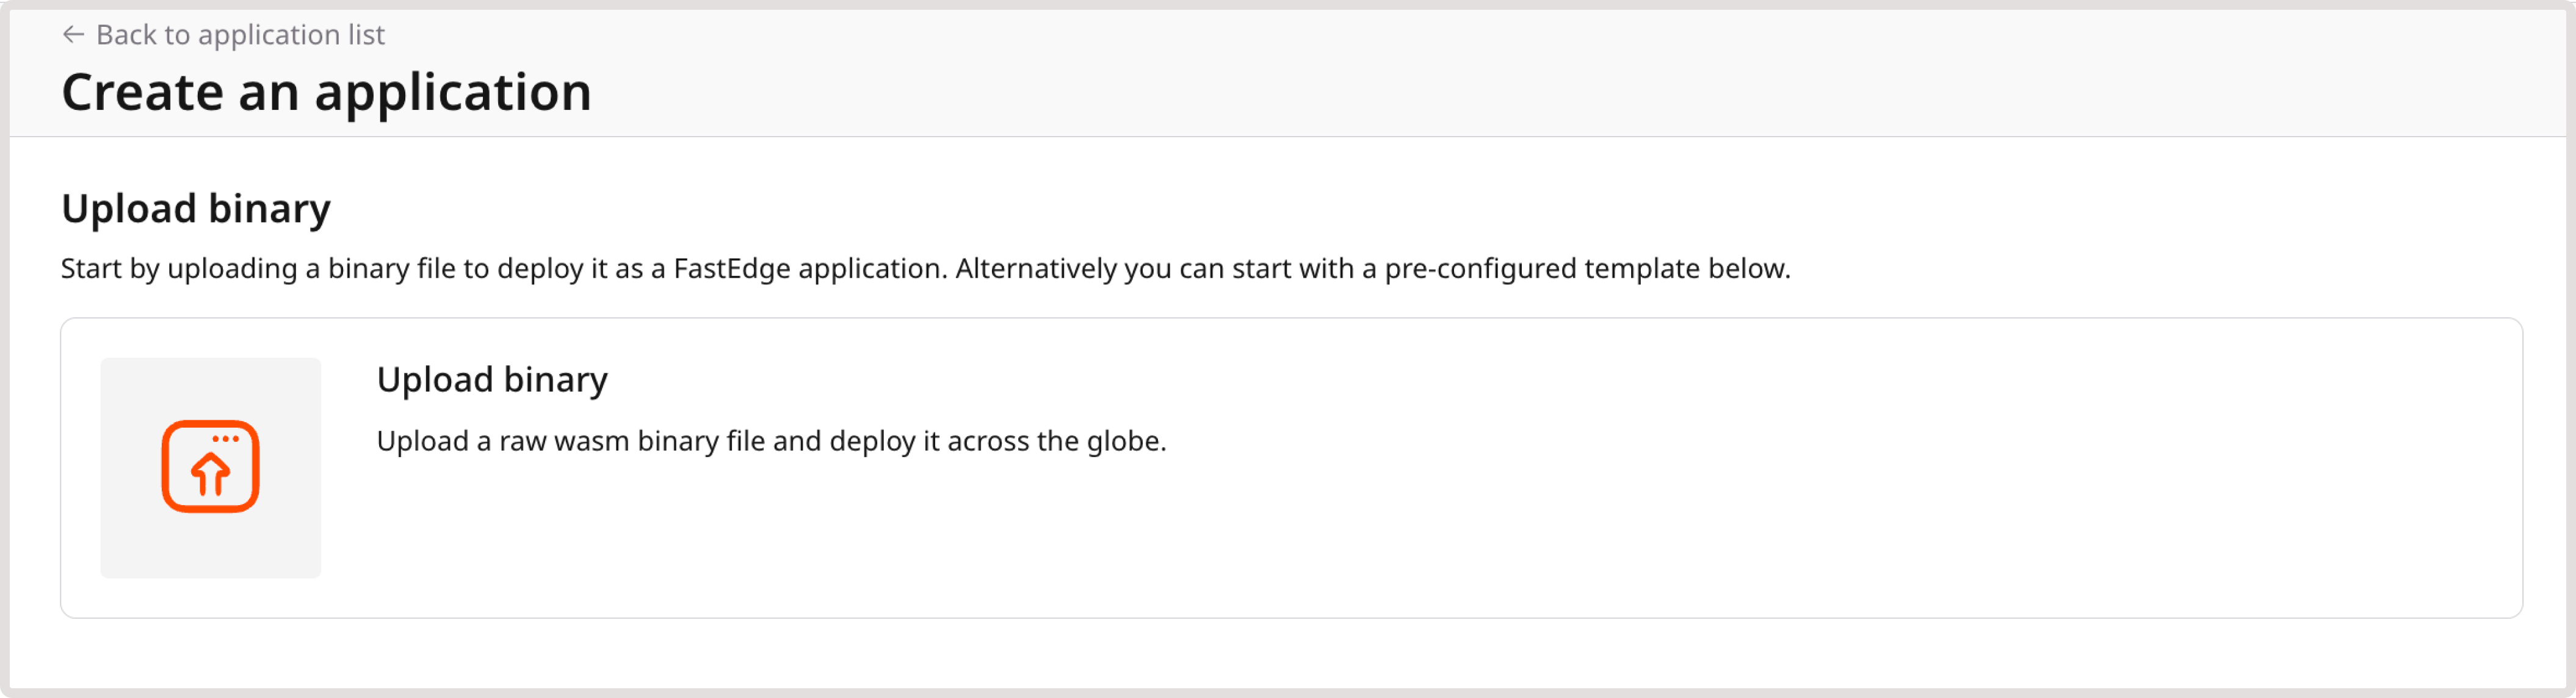
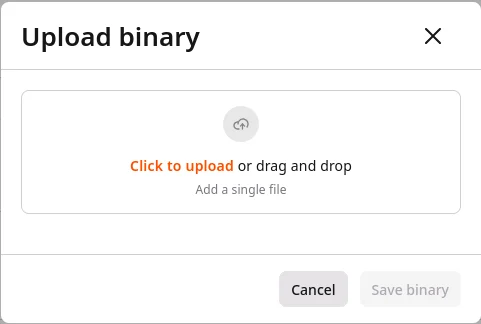
- Deploy an app from a binary
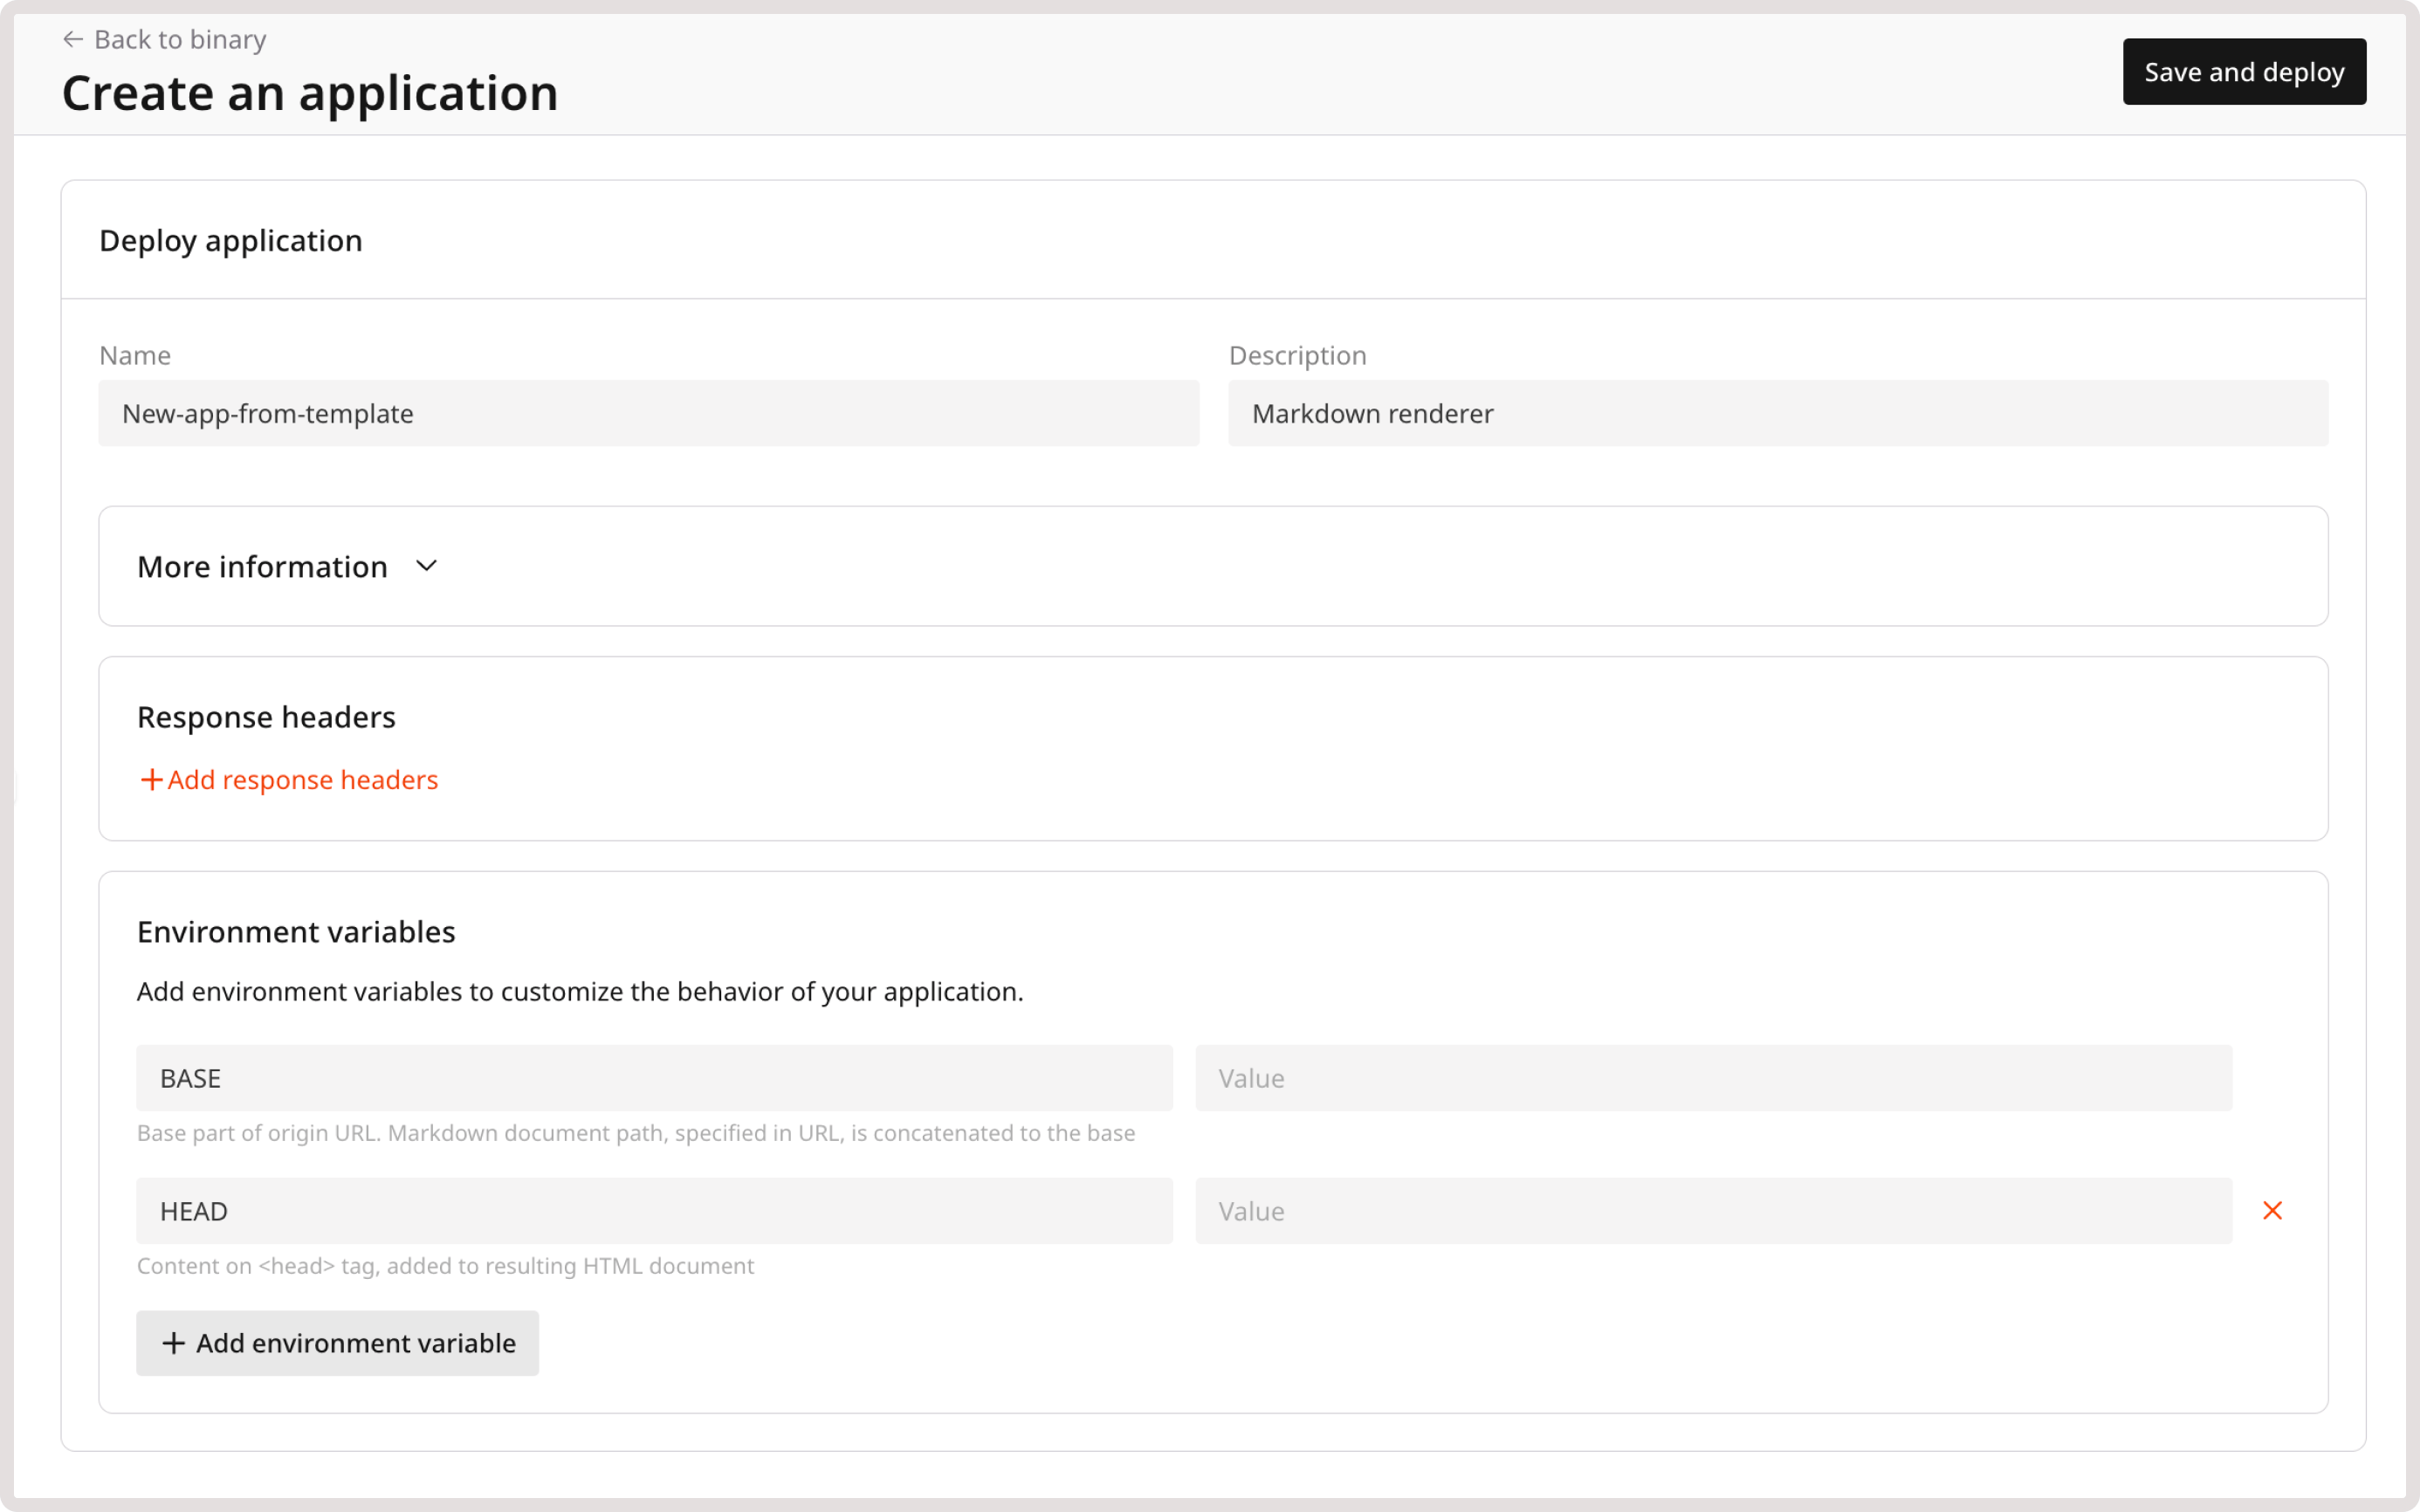
- Deploy an app from a template
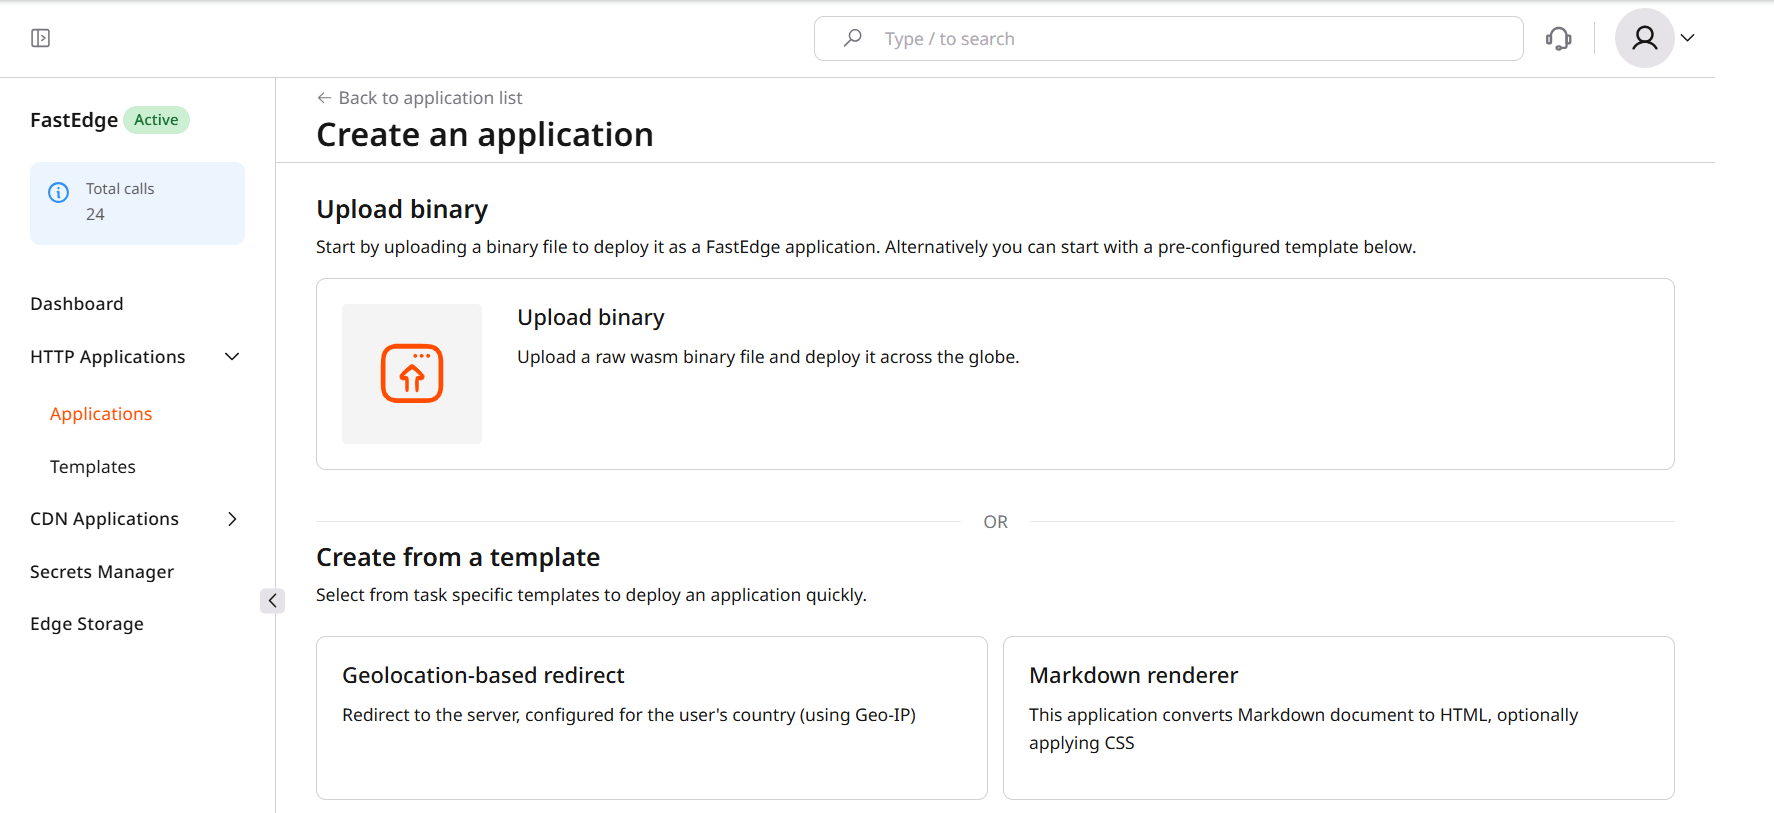
1. In the Gcore Customer Portal, navigate to FastEdge > HTTP Applications.2. In the top-right corner of the screen, click Create new application.
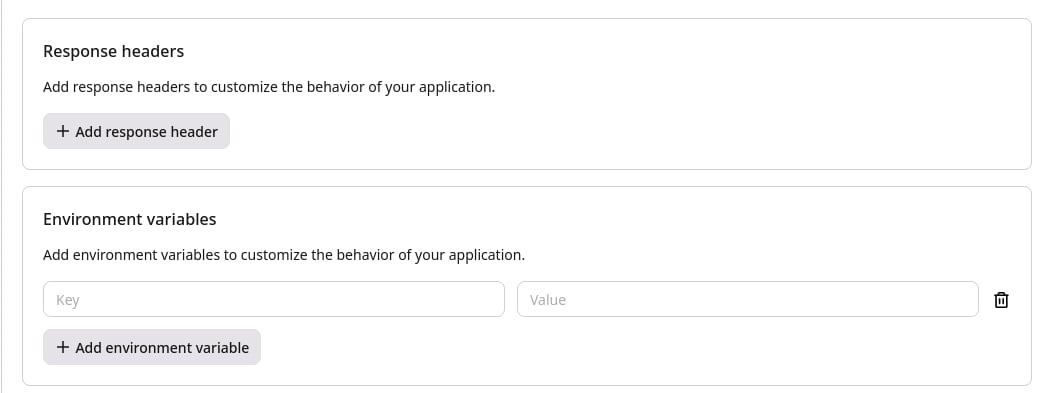
InfoIf you’re adding sensitive information or want to ensure that any data in the app’s configuration remains secure, click + Add Secret and use the Secrets Manager.
Via command line
1. Upload the Wasm binary to our edge servers by running the following API request from the repo’s root directory. Insert your permanent API token instead of the api_key:<binary_id>). Make sure to save it, as it will be used in the following step.
2. Create the app by running the following API request:
app_nameis the unique name of your app.api_keyis your permanent API token.binary_idis the ID of your uploaded Wasm binary.
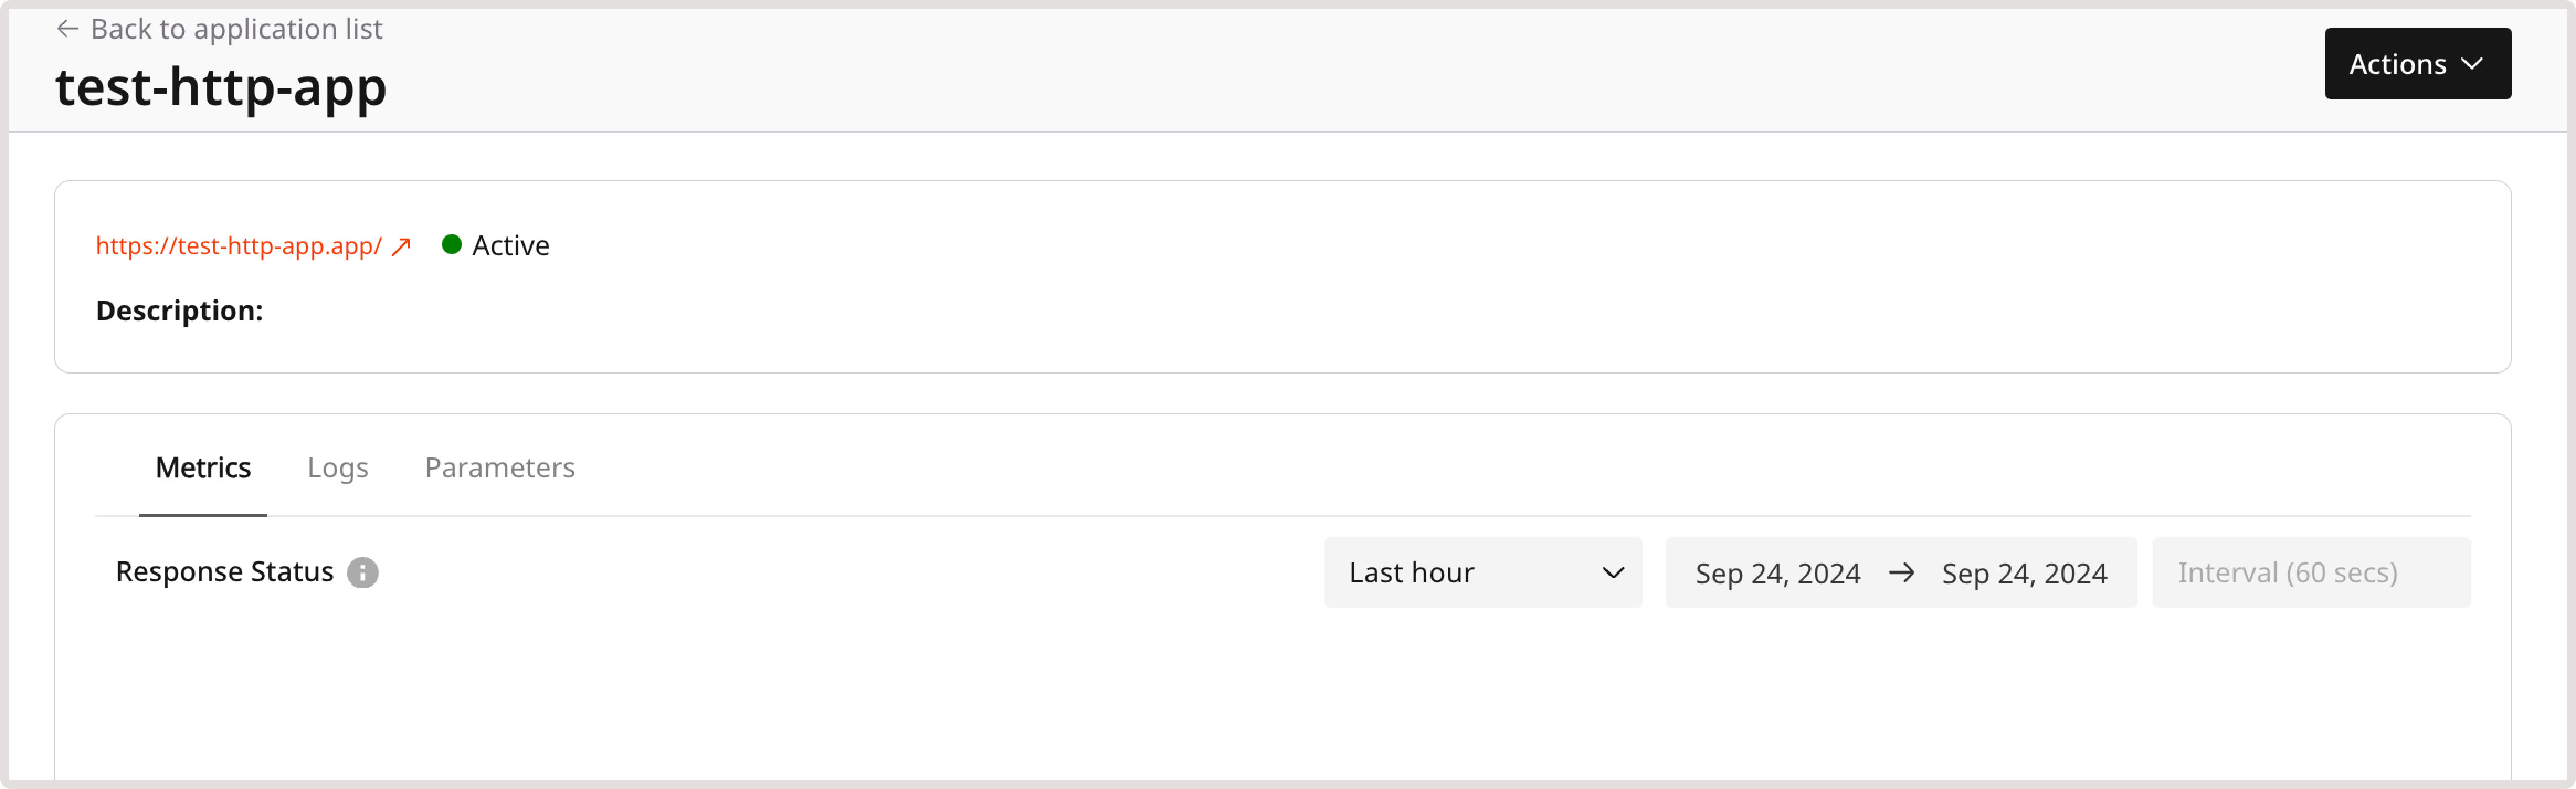
Stage 3. Test an application
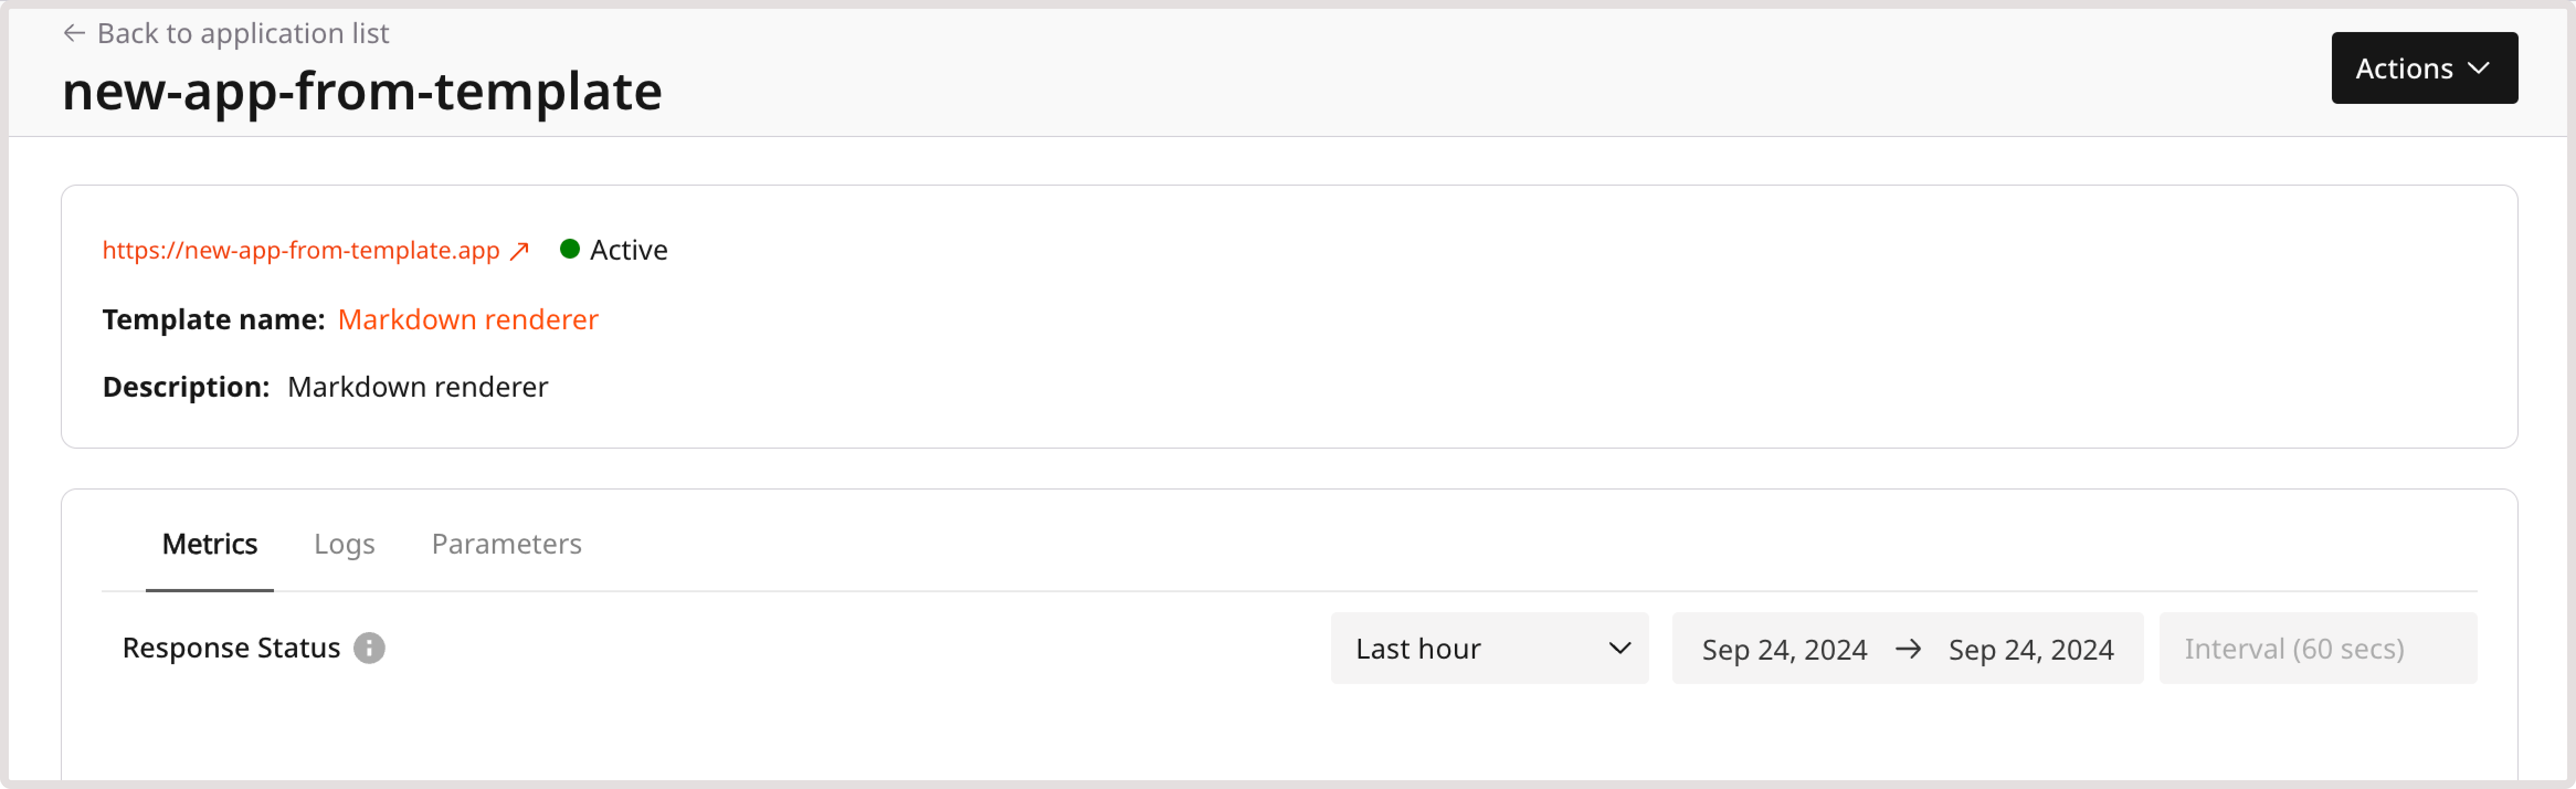
You can test the application after its deployment by clicking the application link on the deployment confirmation screen: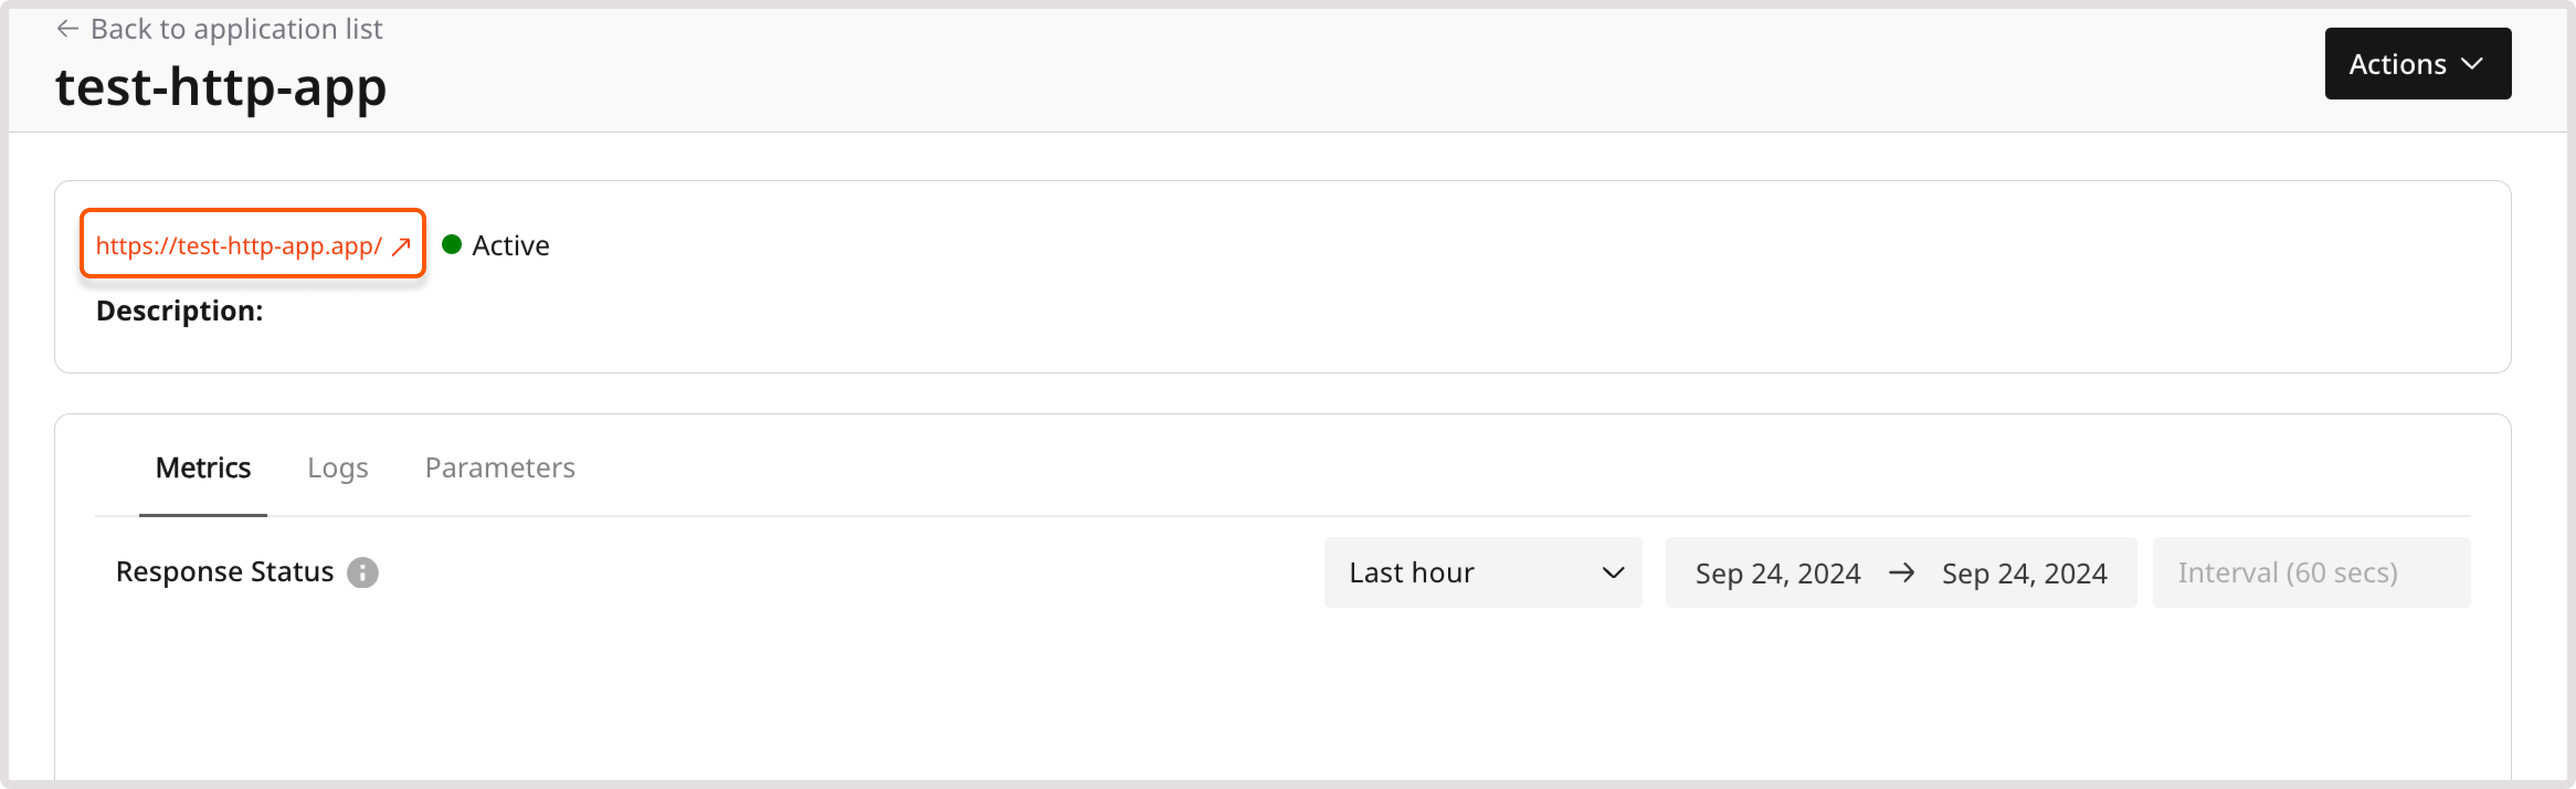

Stage 4 (Optional). Add more functionality
You can add more functionality to your app. For example, instead of printing “Hello world!”, the app can print all request headers and set a custom response header from the environment settings. Let’s see how to do that.- Via Rust
- Via JavaScript SDK
Step 1. Change the source
To print all request headers and develop a custom response header, replace the current content of themyapp/src/lib.rs file with the following:InfoThe headers listed in the following step are passed to the FastEdge application, which uses the header content for functionalities like geolocation-aware redirects.
Step 2. Compile and upload the binary file
Update the application on the edge servers:1. Compile a new Wasm file as described in stage 1.2. Upload it to the Gcore Customer Portal as a custom binary file.When you open the app, you’ll see all request headers from the environment settings. It will be similar to the following output:Description of the parameters
Description of the parameters
- custom-header: Custom header
- dc: Data center
- geoip-*: Client GeoIP data, such as asn, latitude, longitude, region, city, continent, country name, and country code
- server_addr: PoP IP address
- server_name: Application hostname
- x-forwarded-for: Client IP address
- pop-*: PoP GeoIP data, such as asn, latitude, longitude, region, city, continent, country name, and country code