InfoThe API Discovery feature is included in the Enterprise package.
Overview
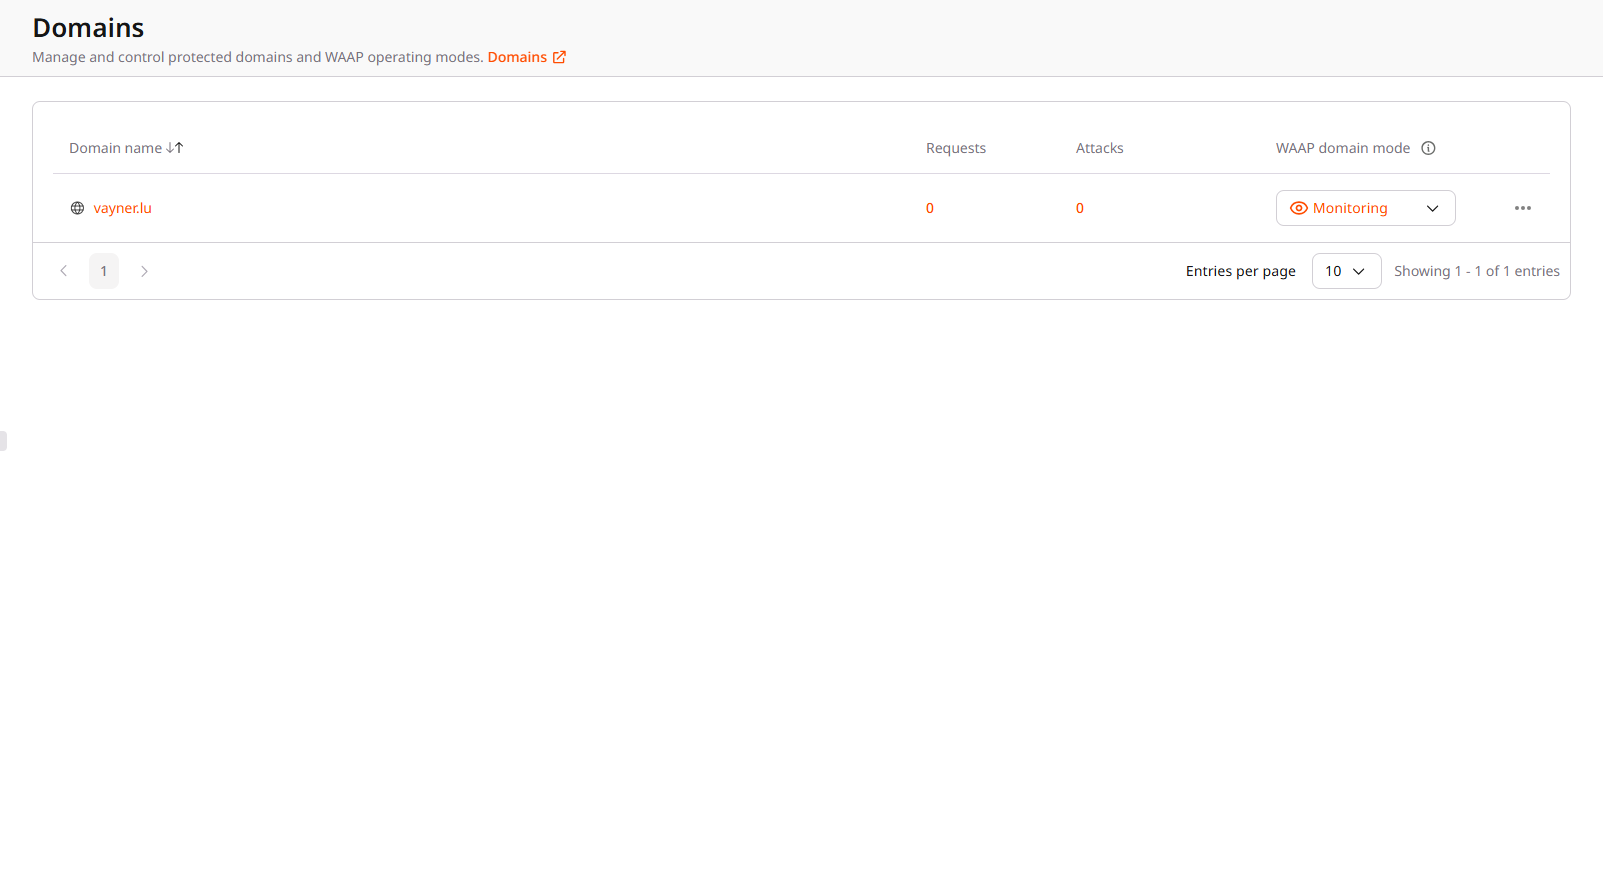
API Discovery covers both public and private REST APIs. Public APIs are available to anyone, while private APIs are only accessible to authorized users. To access the feature: 1. In the Gcore Customer Portal, navigate to WAAP > Domains.
- API Baseline : Contains all API endpoints protected by WAAP. On this page, you can add, edit, and view your APIs.
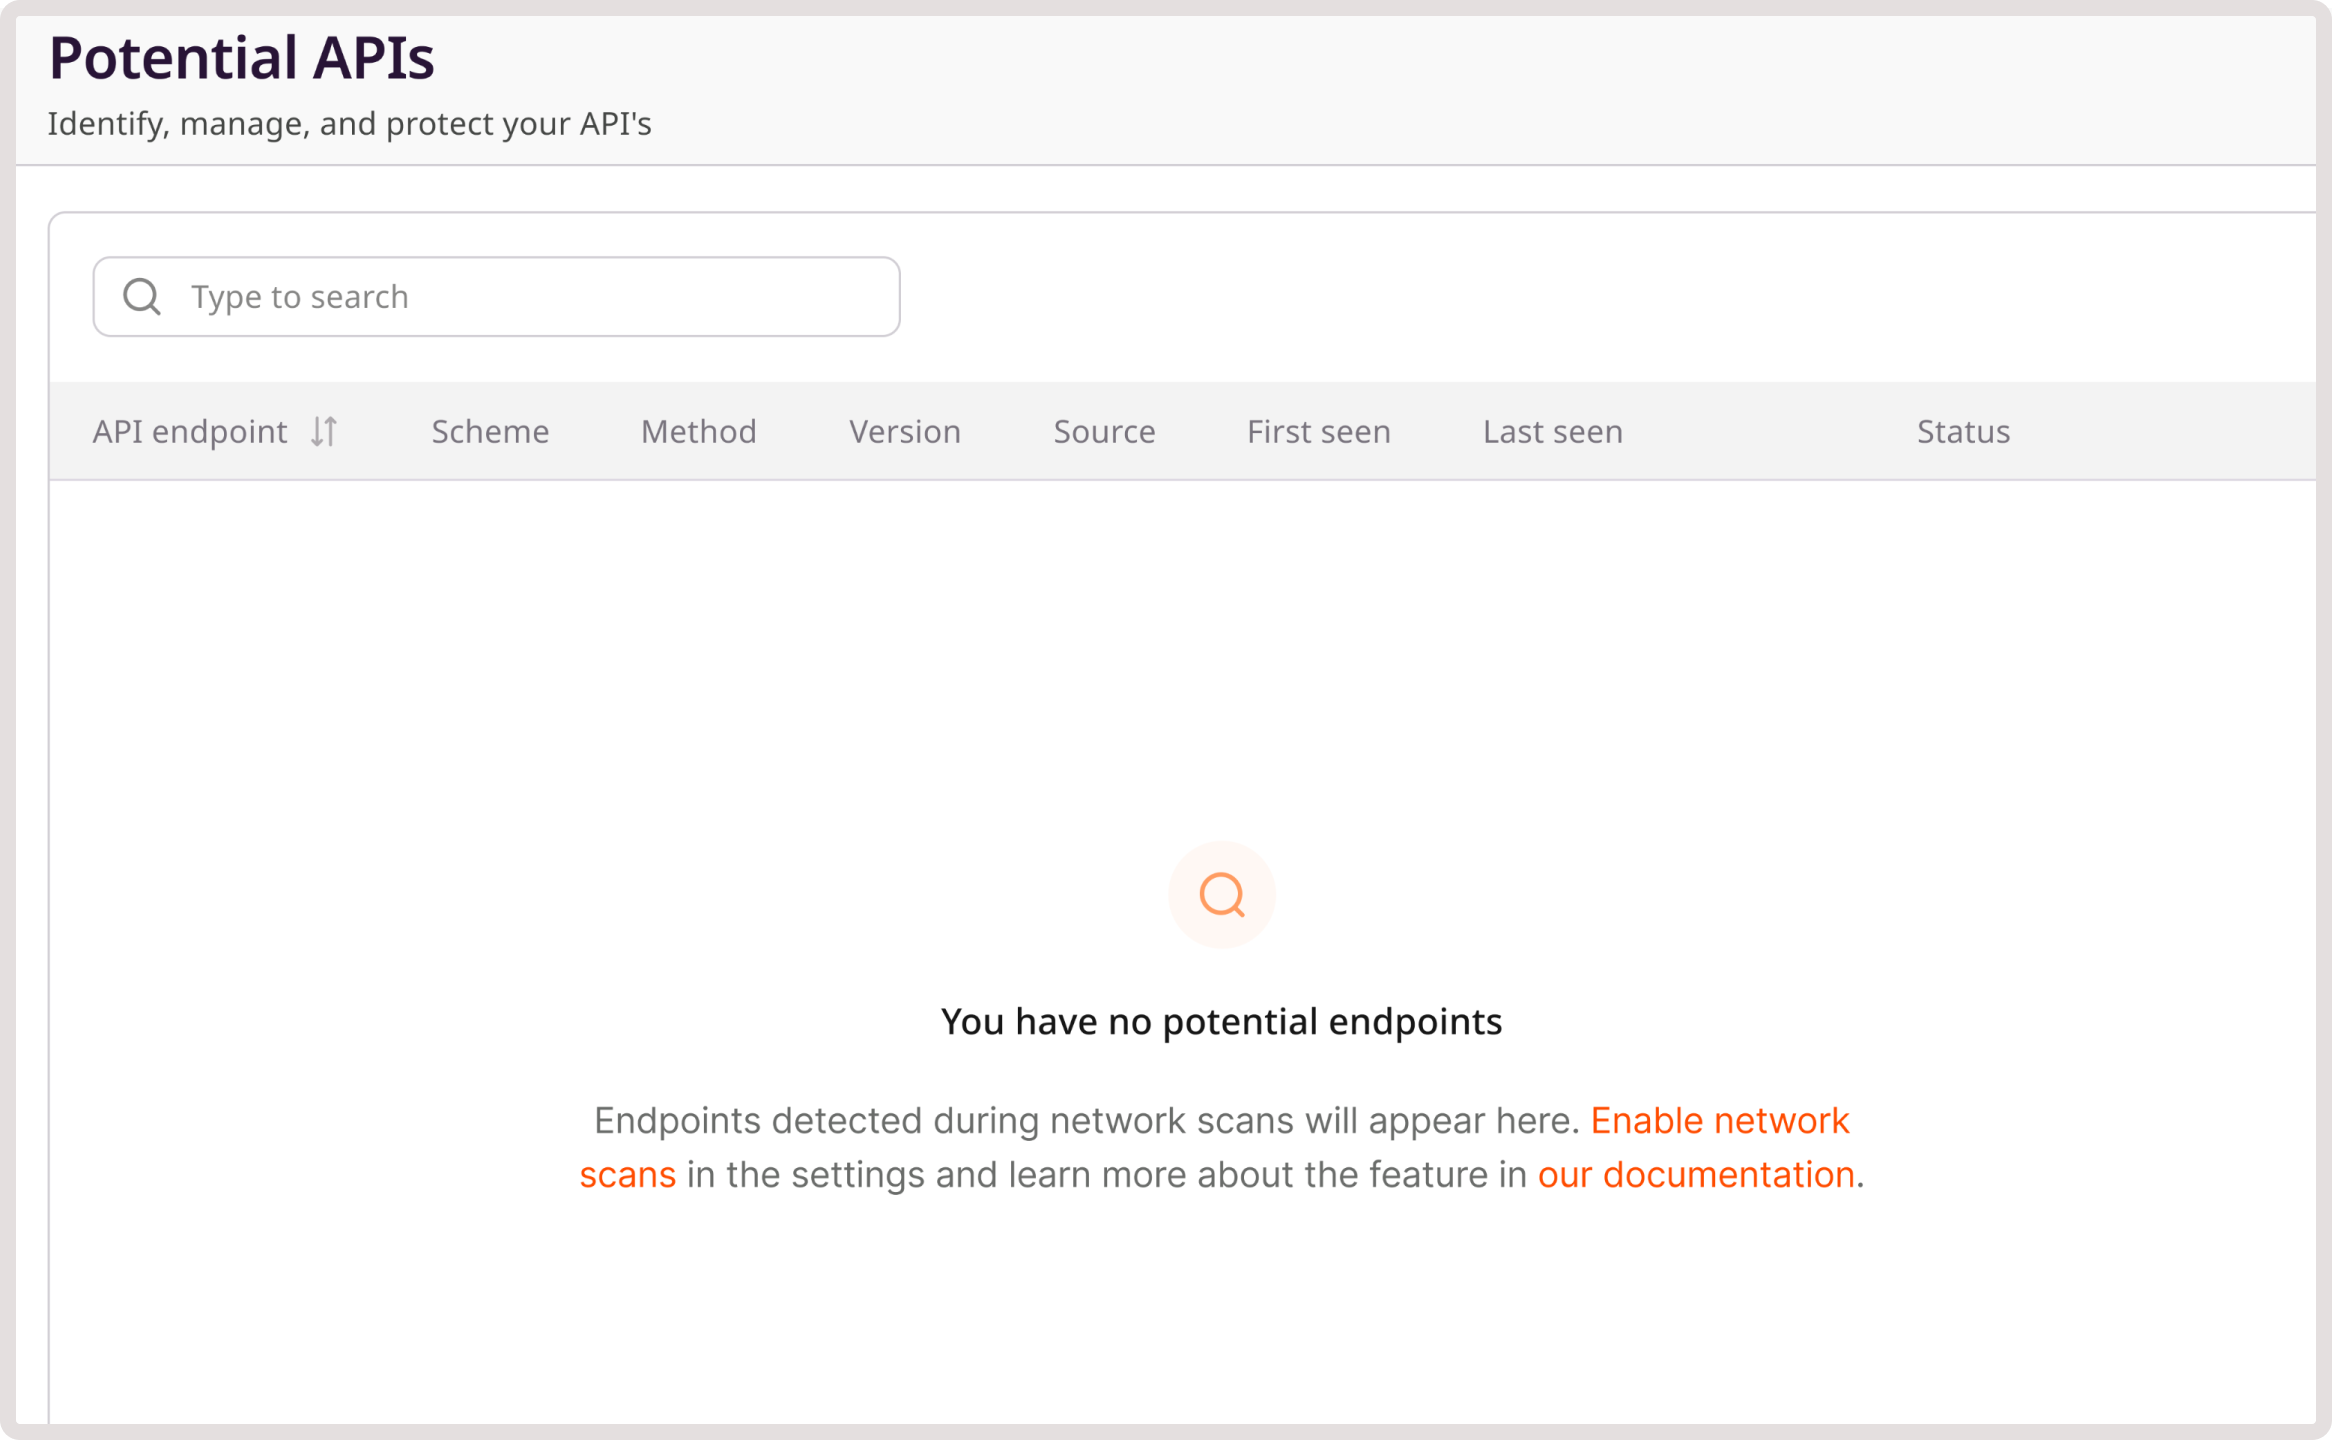
- Potential APIs : Endpoints that have been auto-detected by the system and require verification. This is where you can reject or approve endpoints as valid APIs.
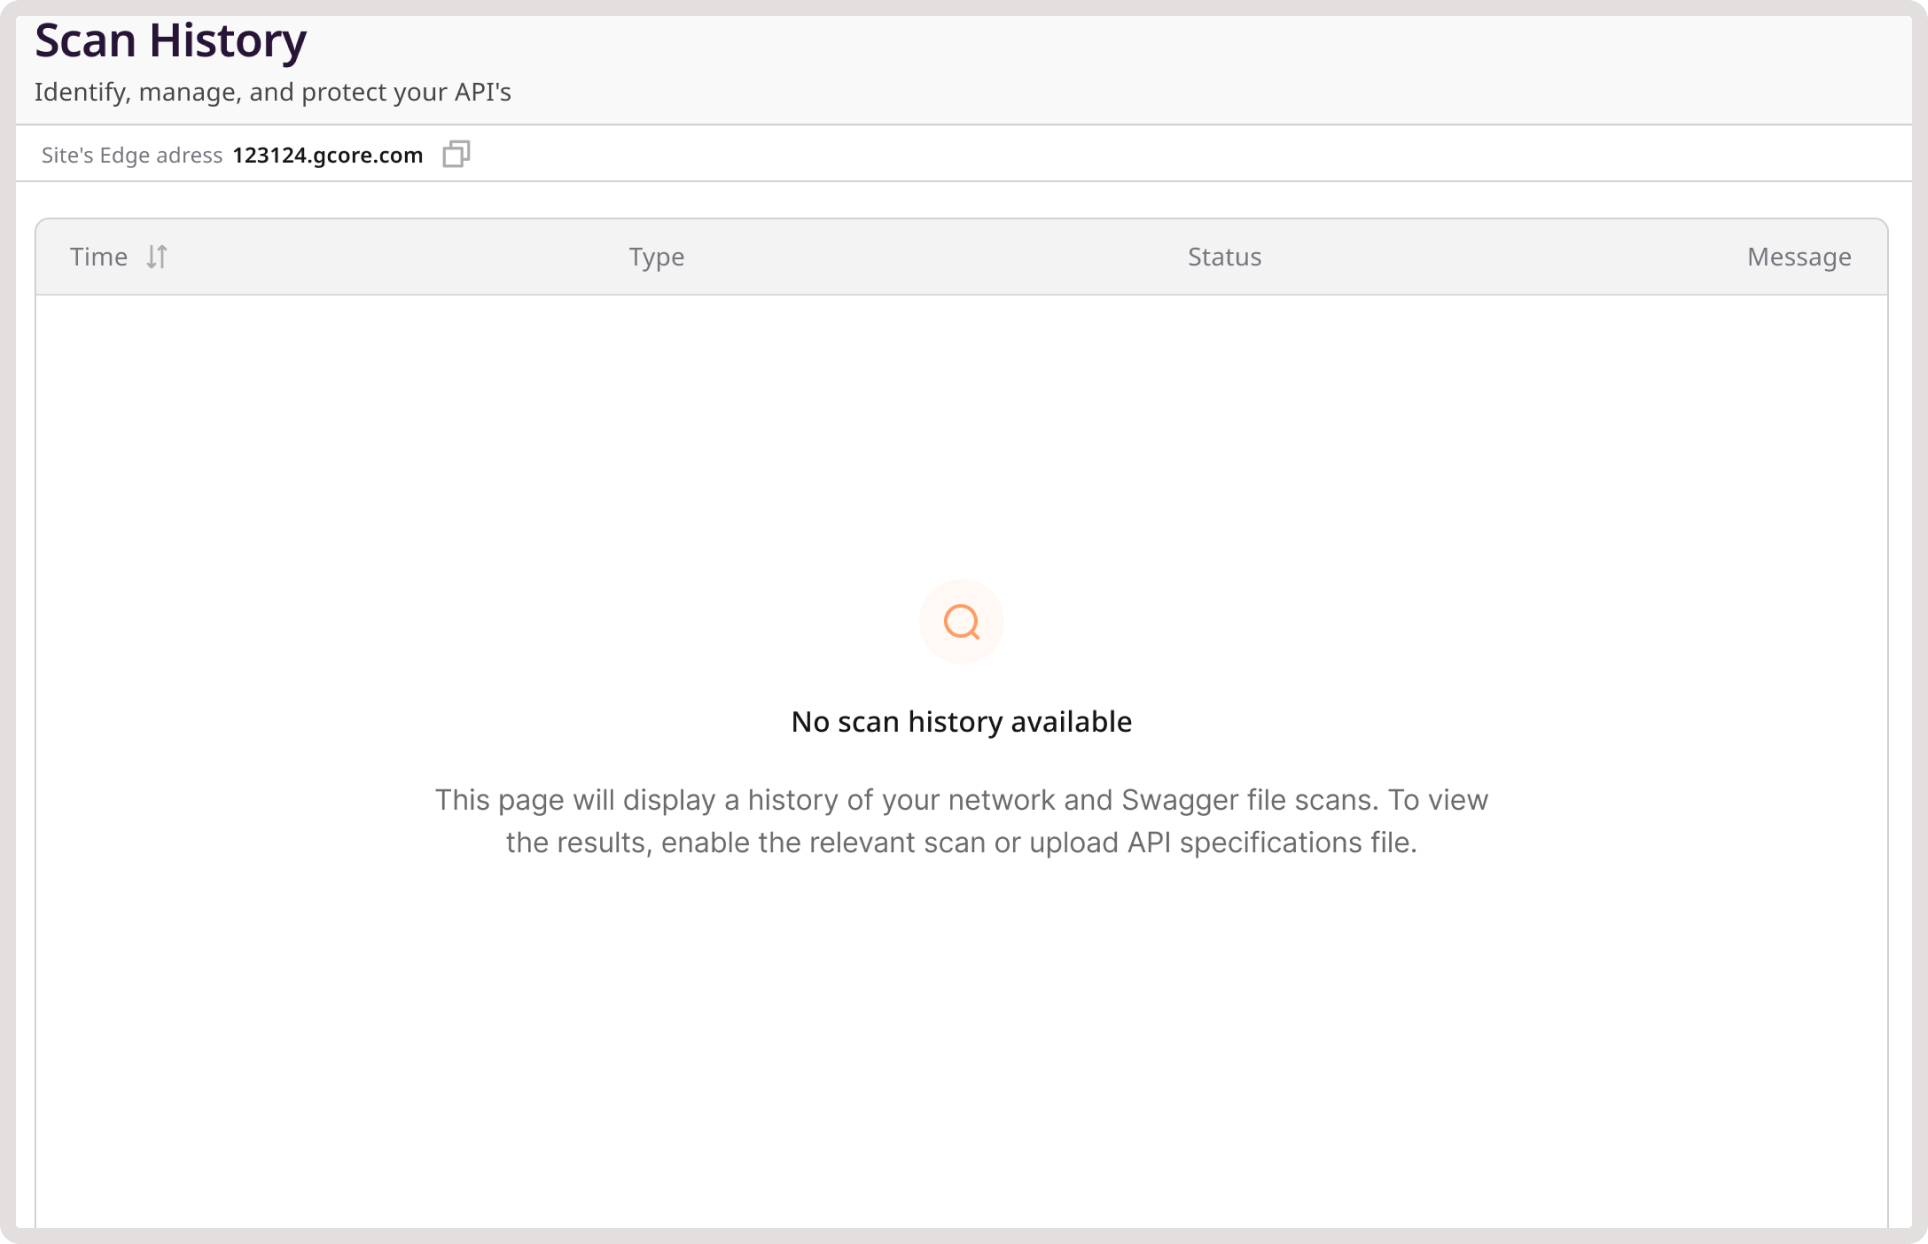
- Scan History : A history of network scans run by the system.
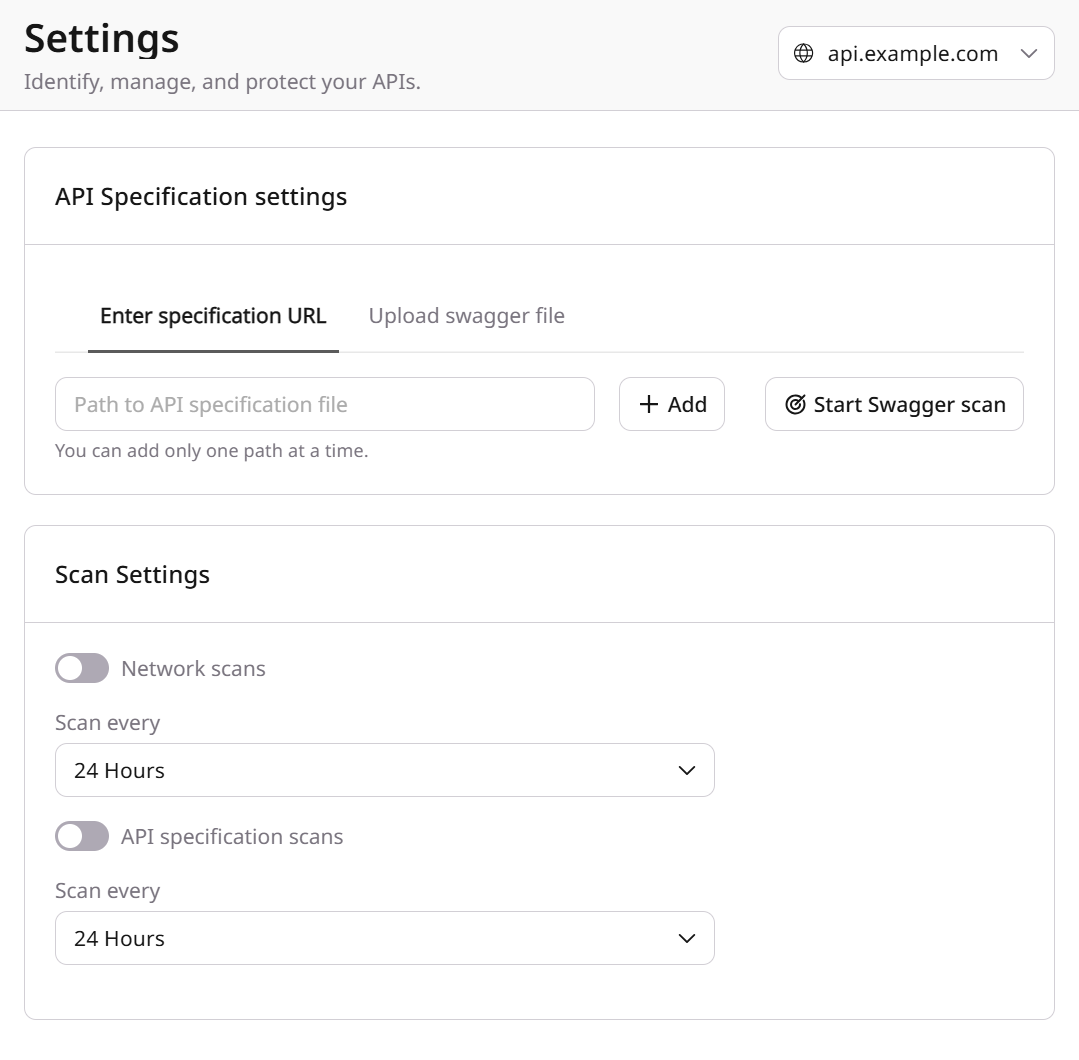
- API Discovery Settings : A page with available configuration and customization options where you can set up scan settings and upload a Swagger file.
Statuses of scanned endpoints
Each API endpoint can have a specific status. This status reflects the results of a system scan or Swagger file check:- Potential : The endpoint has been added to the system through a network scan and is awaiting to be marked as a confirmed API or not an API. If you confirm the endpoint, it’ll appear on the API Baseline page along with other APIs and will automatically get the Confirmed status.
- Confirmed : The endpoint is a valid API and should be protected by WAAP. An API endpoint automatically gets a “Confirmed” status if it was added to the API Baseline page or via Swagger file scan. You can change the status at any time.
- Not an API : The potential endpoint is not a valid API and doesn’t require protection. You can manually assign this status to endpoints that were falsely detected during a network scan.
- Delisted : The endpoint was originally detected in the Swagger file, but it’s subsequently missing after a later Swagger scan.
API baseline
All your protected API endpoints are listed on this page. Here, you can do the following:- Manually add endpoints that should be protected by WAAP
- Group endpoint using tags to manage access to your APIs

Add endpoints to API baseline
If you manually add APIs on the API Baseline page, they will automatically get the confirmed status. You can change the status at any time. To add a new API endpoint: 1. In the top-right corner of the screen, click Add an API. This will open up a menu with the required settings on the right side of the page. 2. Configure your APIs as follows:- Scheme : Choose the relevant scheme – HTTP or HTTPS.
- Method : Provide the relevant API method.
- Endpoint : Enter a full path to the endpoint.
- Version (optional): To maintain API efficiently and consistently, you can establish an API versioning to keep track of API changes, relevant fixes, or deprecations.
- API group (optional): Organize endpoints into related groups.
- Tags : Configure access to your endpoints. Add reserved tags to set up advanced API protection.
Group endpoints based on tags
You can categorize endpoints by marking them with reserved tags and then create custom rules to specifically protect those tagged endpoints. For example, you can mark certain APIs with the Indicate API Privileged User or Indicate API Admin User tags to make those paths accessible only to privileged or admin users. Refer to our configure API access with reserved tags guide for instructions.View endpoints
To inspect existing APIs in more detail or modify endpoint status, API groups, or associated tags: 1. In the Gcore Customer Portal, navigate to WAAP > Domains. 2. Find the domain where you want to configure APIs and click the domain name to open it. 3. In the sidebar menu, click API Discovery. You’ll be directed to the API Baseline page. 4. Find the endpoint you want to inspect and click the three-dot icon next to it. 5. Select View details. 6. On the page that opens, you can check additional information about your existing endpoint or change endpoint status, API groups, and tags. 7. If you made any changes, click Save to apply them. Otherwise, close the menu.Edit endpoints
If you want to update the actual endpoint path, you can do it as follows: 1. In the Gcore Customer Portal, navigate to WAAP > Domains. 2. Find the domain where you want to modify APIs and click the domain name to open it. 3. In the sidebar menu, click API Discovery. You’ll be directed to the API Baseline page. 4. Find the endpoint you want to edit and click the three-dot icon next to it. 5. Enter a new or updated path. When editing a path, you can use curly braces to signify query string parameters. For example,/api/v1/stacks/{stack_id}/sites/{site_id}.
Potential APIs
When the API Discovery feature performs a network scan, all detected endpoints appear on this page. Here, you can manage their status and determine whether or not they are confirmed APIs.
Verify detected endpoints
After you identify the endpoint as a confirmed API, it will be moved to the API Baseline page. All rejected APIs will be removed from the system.Scan history
This page the history of scans performed by the system:- Automated network scans. The default scan frequency is set to 24 hours, but you can adjust it on the API Discovery Settings page.
- Scans of the uploaded Swagger file (if you added it to the API Discovery Settings page).

API Discovery Settings
On this page, you can configure specifications and network scan intervals for detecting potential API endpoints.
Configure base path
For guidelines on how to configure the API base path in Gcore WAAP, check out the Manually add endpoints to API base path guide.Specify API specification files
One of the ways to add APIs to the API Discovery feature is to parse an uploaded JSON or YAML Swagger file. Detected API endpoints will appear on the page with the Confirmed status. Uploading a Swagger file can significantly reduce the work needed for categorizing potential APIs, as this will automatically classify most of the endpoints that comprise the API Baseline. This is how you can do it: 1. On the API Discovery Settings page, navigate to the API specifications file section. 2. Choose the preferred method for adding APIs:- Path : Provide a URL to the Swagger file
- Upload : Import locally stored Swagger file
Once the scan is complete, potential endpoints will be added to the API Baseline page.
Set up scan settings
In this section, you can choose how the system will detect your APIs:- Network scans. When this toggle is enabled, API Discovery will automatically scan your site’s URLs and detect new potential API endpoints.
- API specification scans. When this toggle is enabled, API Discovery will scan your uploaded API Specification file or specified API paths to see if any new endpoints were added or if any existing endpoints were removed (delisted).