Create a custom response page
Creating custom response pages allows you to display different messages to your users based on which domains they are navigating to. You can create up to 6 page sets. Note that creating custom response pages is only available at the account level. You can’t add and modify pages in domain settings.Step 1. Add a new page set for your account
1. In the Gcore Customer Portal, navigate to WAAP > Response Pages. 2. In the upper-right corner of the screen, click Response Page Set.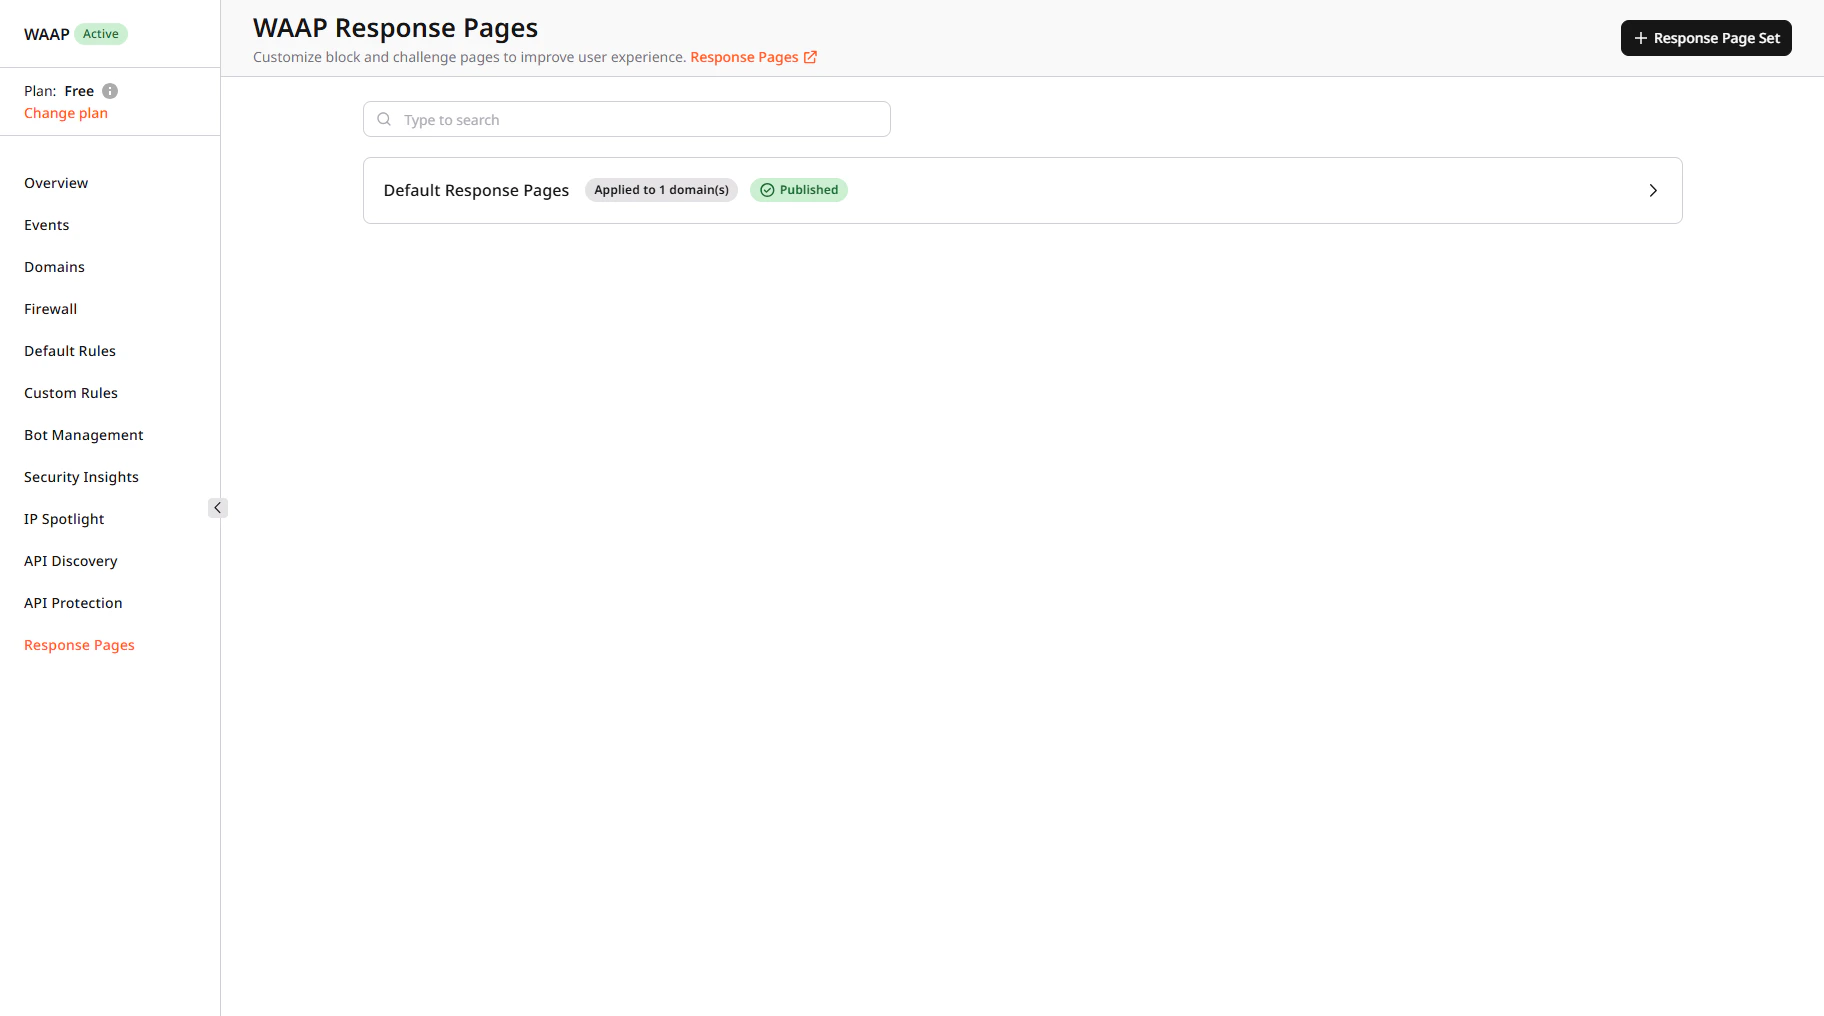
Step 2. Give your page set a name
1. Enter a unique name for your page set that’s easy to distinguish from the default response pages. The name can be up to 50 characters long. 2. Click Continue to pages to proceed with the next steps.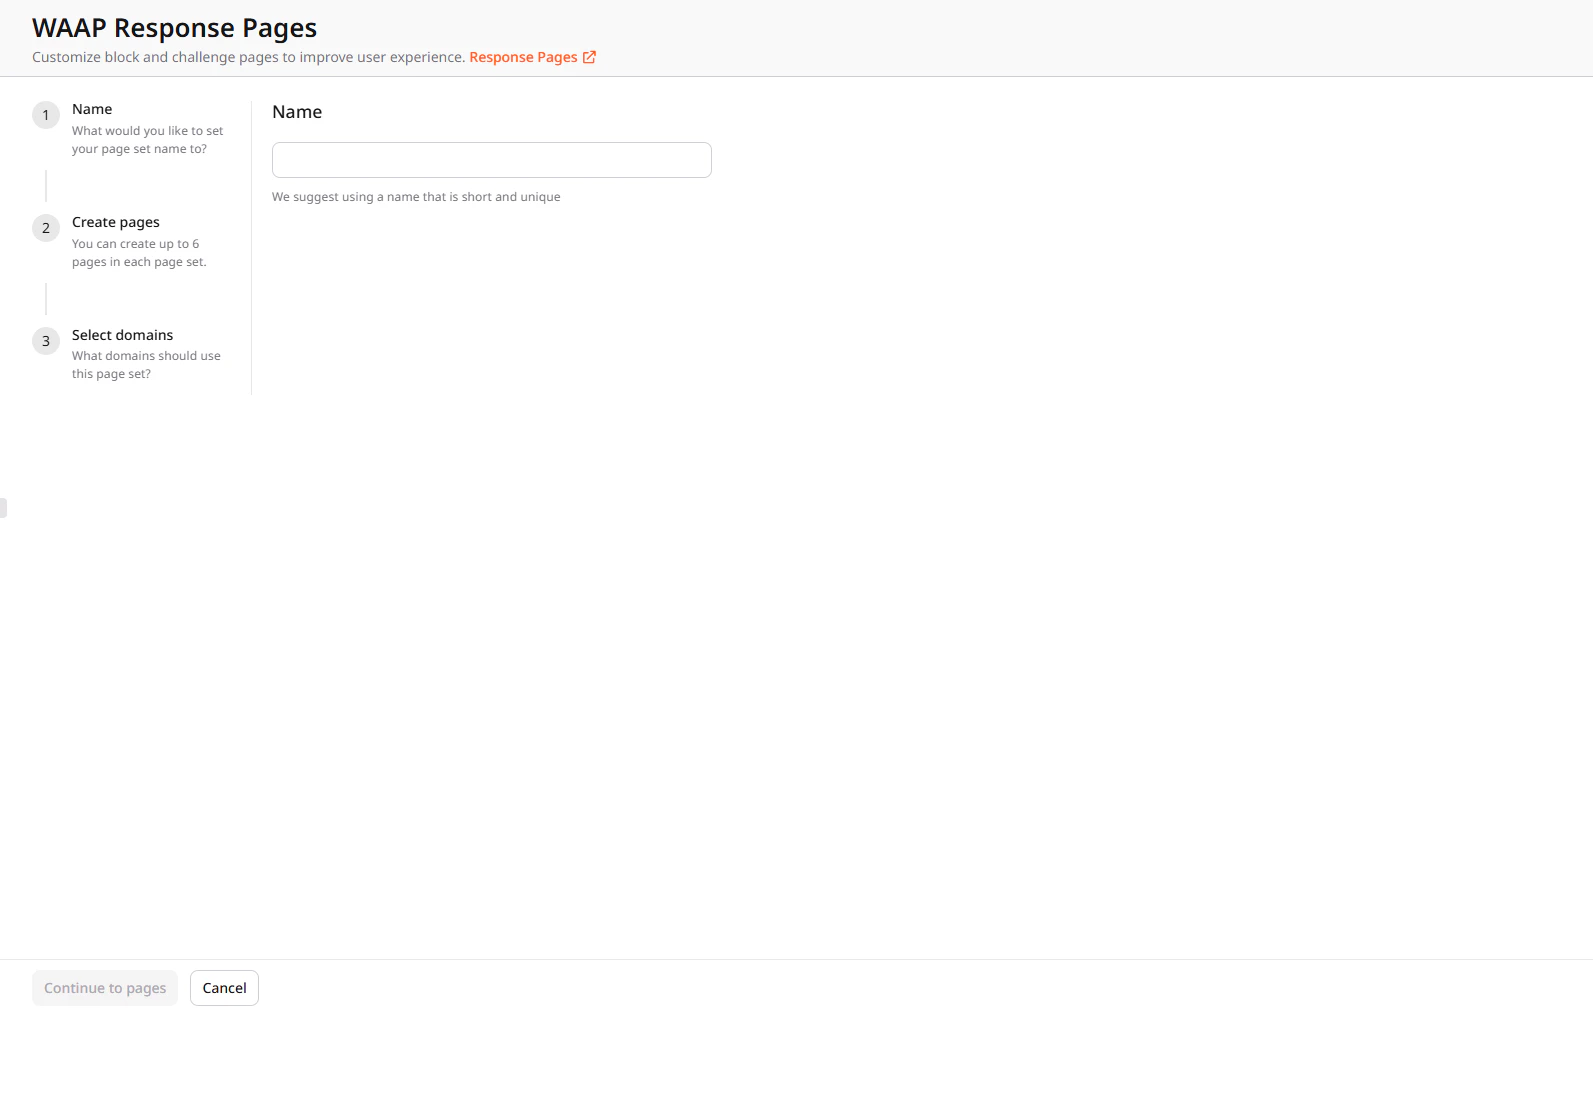
Step 3. Configure the selected response page
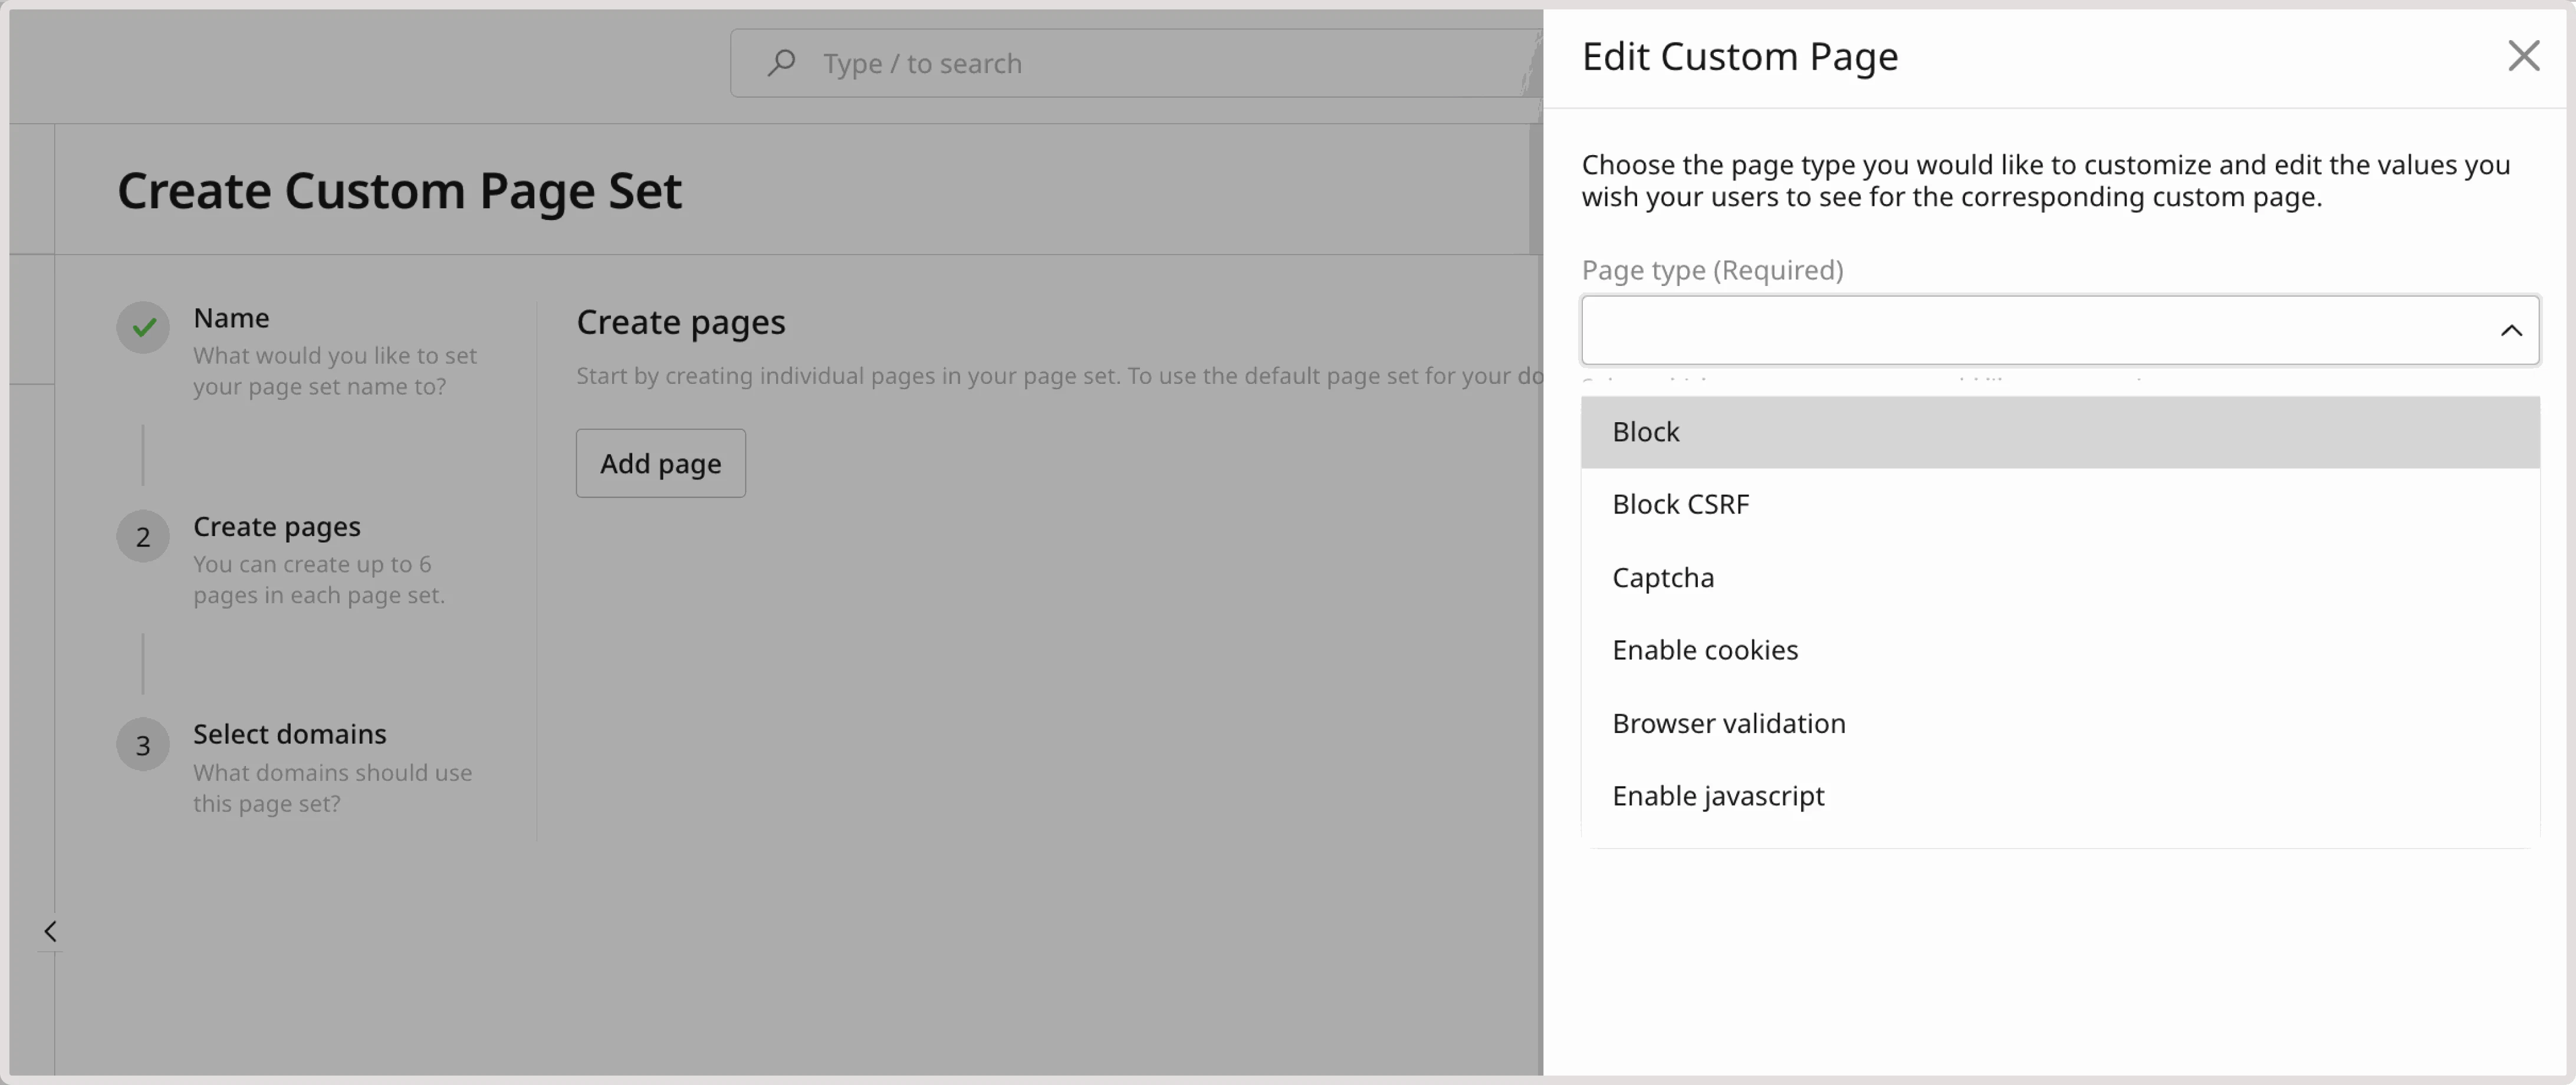
1. In the Create pages section, click Add page. 2. In the sidebar menu that opens, choose the default page type that you want to customize:- Block
- Block CSRF
- Captcha
- Enable cookies
- Browser validation
- Enable javascript
Step 4. Configure the selected response page
Configure the default response page you’ve selected in the previous step. Note that page customization options will vary depending on the type of page you want to modify.Browser title
Add the text that will appear as the title in your web browser’s tab where the custom response page is open. The title can be up to 62 characters. You can add browser title to the following response pages: Browser validation, Captcha, Block, Block CSRF.Page title
Provide the name of your custom page. You can add a page title to all response pages. For example, in following screenshot, the text “Sorry, you’ve been blocked” is a page title.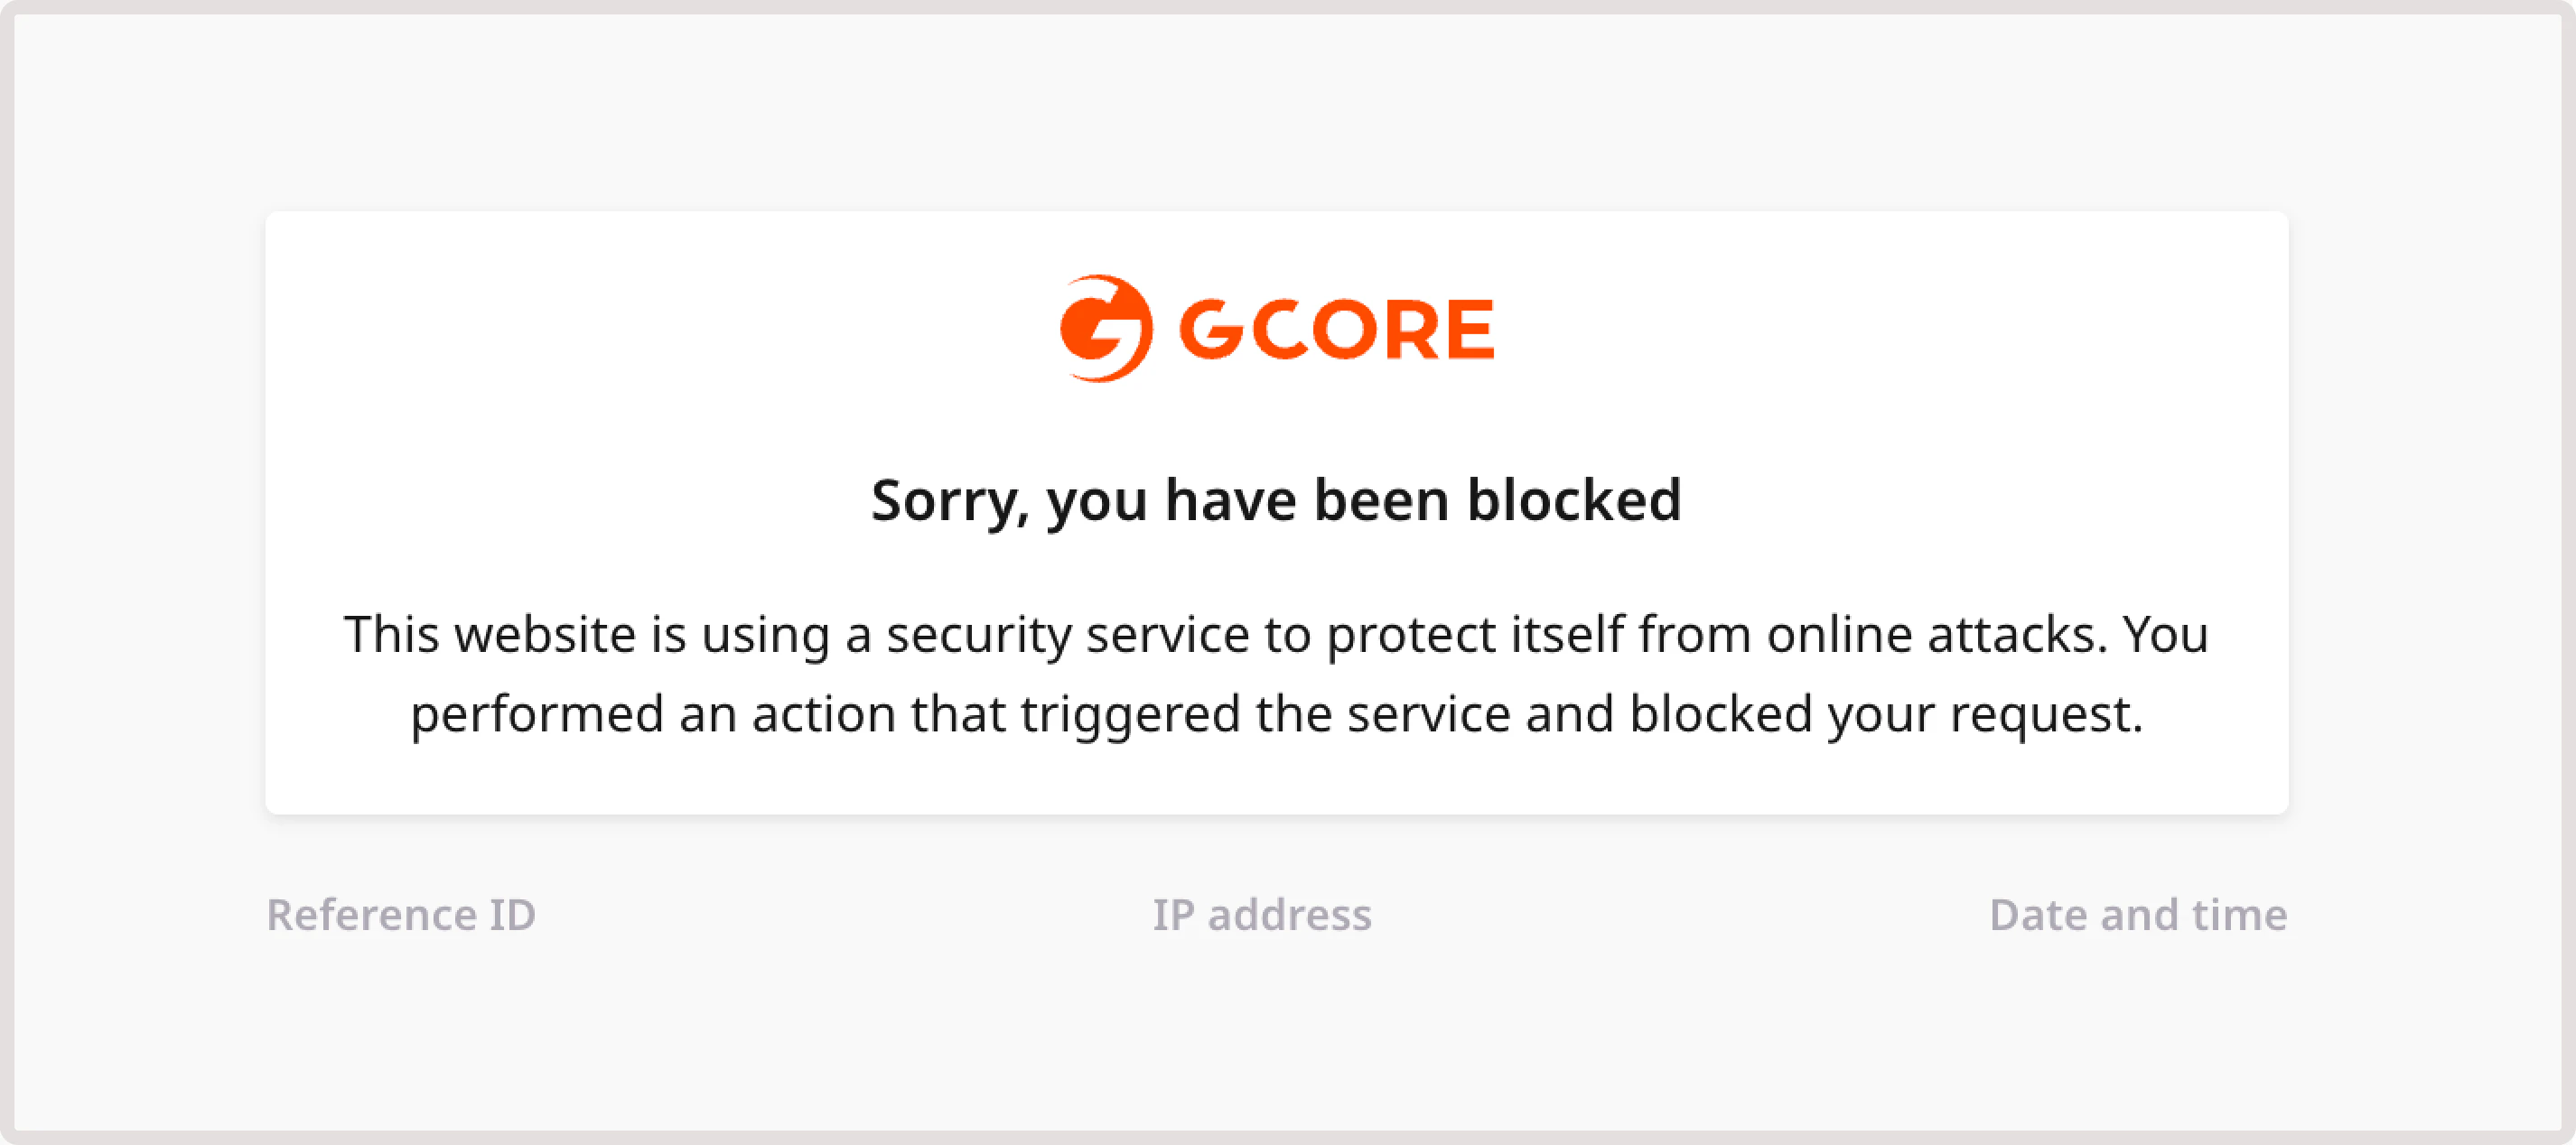
Page message
Enter a body text that will be displayed under the page title. This is a good place to explain why a user has been challenged or blocked and what they should do to pass the check or obtain access to a domain. You can add a message to all response pages except for Browser validation. For example, in the following screenshot, the message informs users that they need to have JavaScript enabled to access the domain.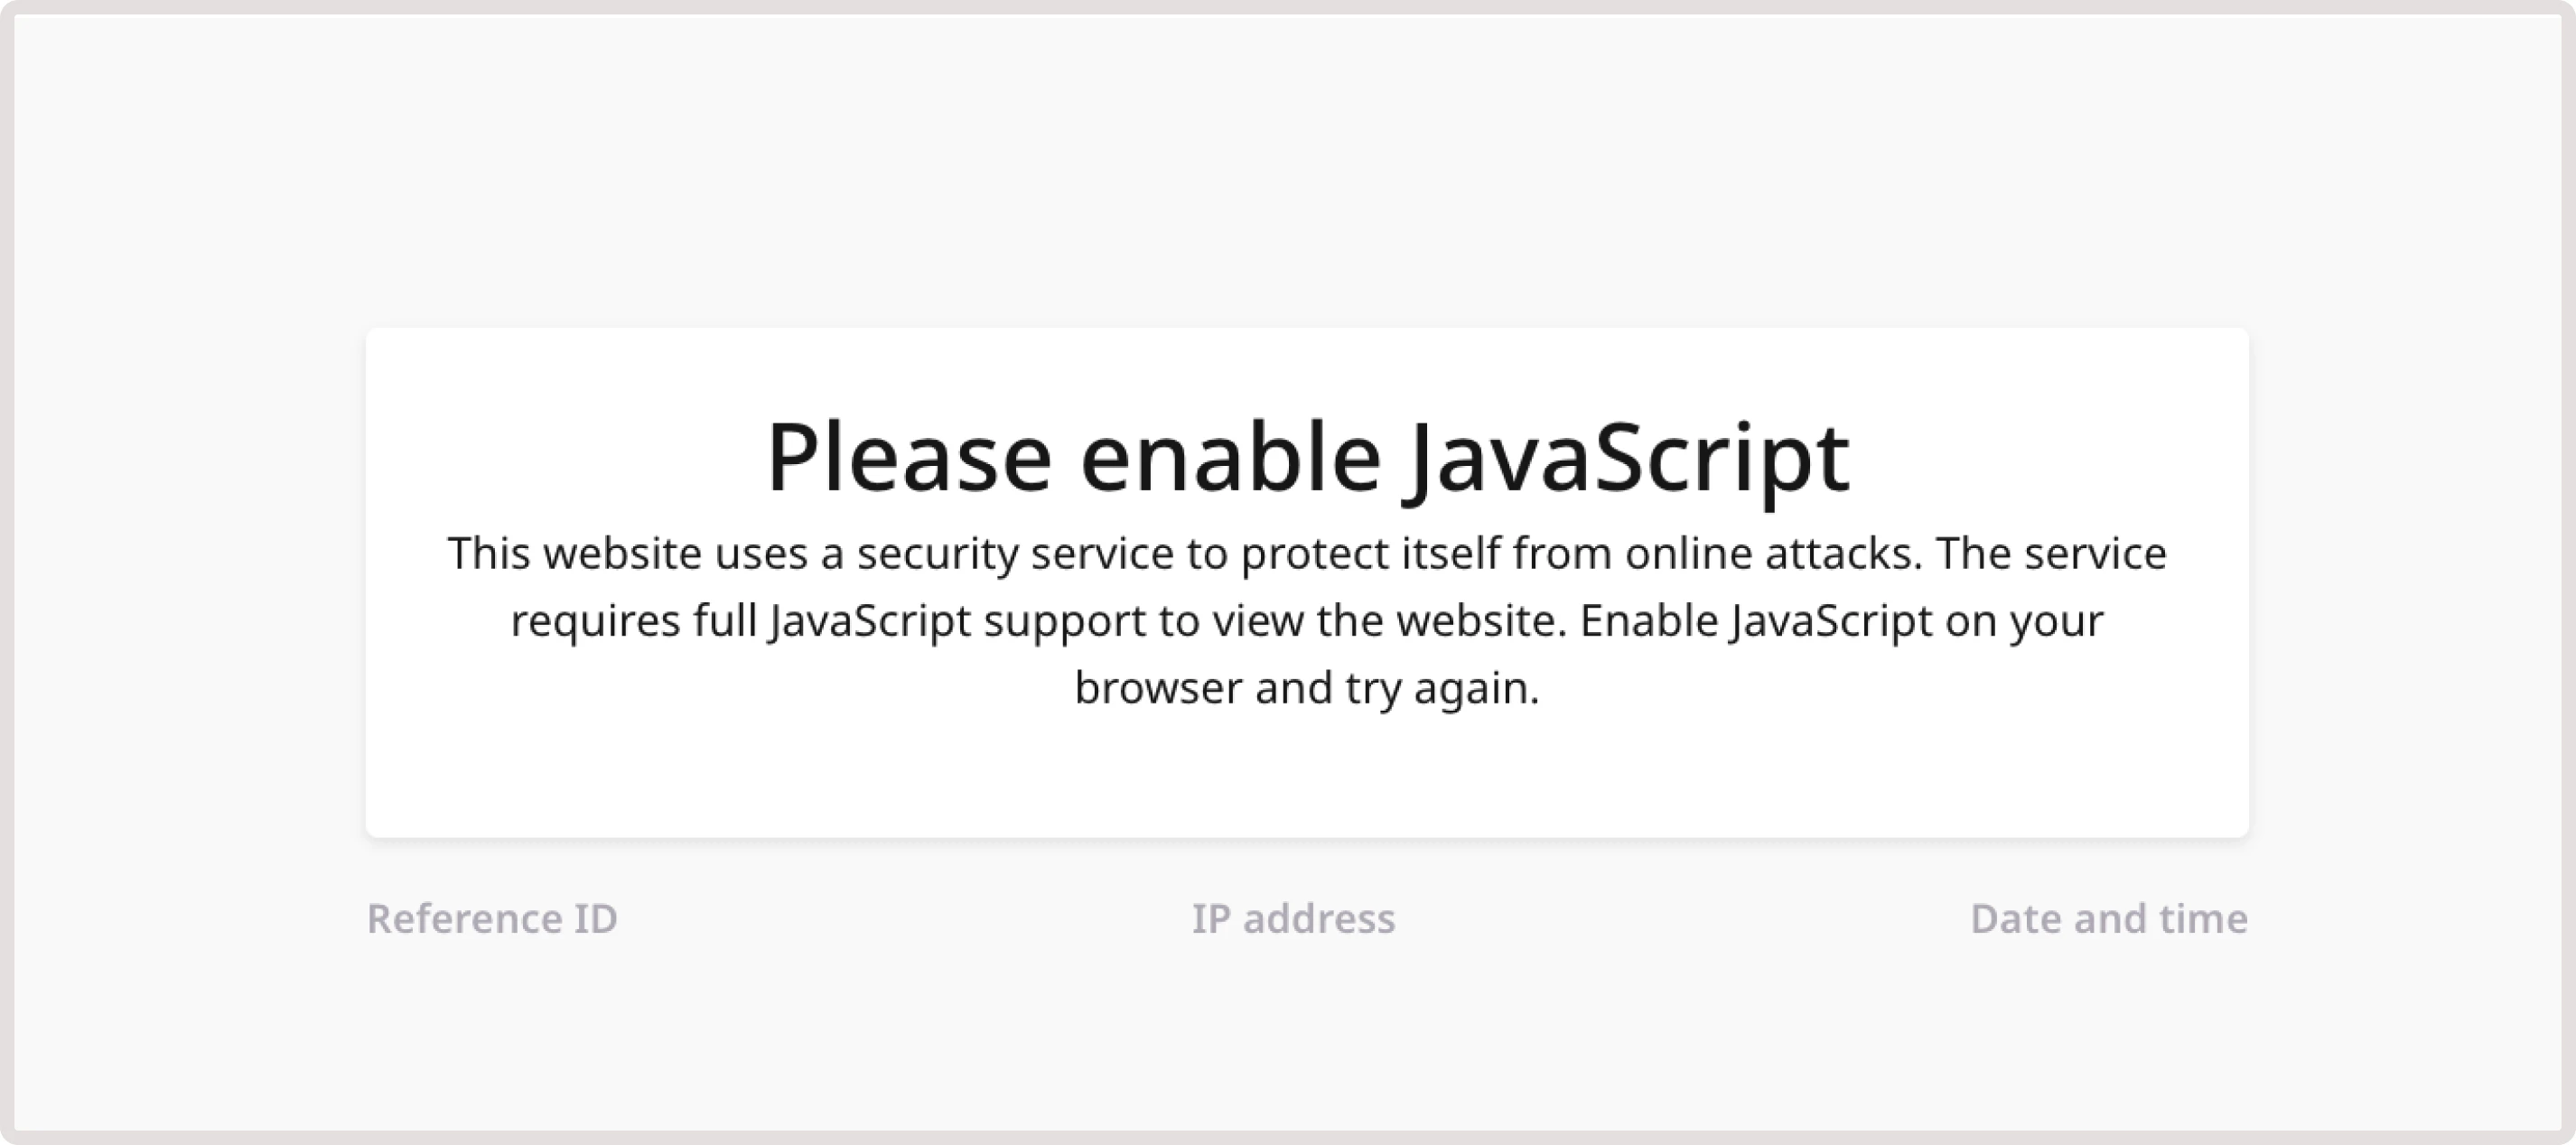
Error message
Provide a message that will be displayed when a client fails to pass the validation. This is only available for a Captcha page.Upload image (optional)
Add an image that’ll appear on the page. The image should be in jpeg, png, or jpg format and have the following dimensions: 450px *130 px, 24KB maximum size. If you don’t upload an image, then the default image will be applied. You can add images to the following response pages: Browser validation, Captcha, Block, Block CSRF. Here’s an example of a Block CSRF page with the default Gcore image: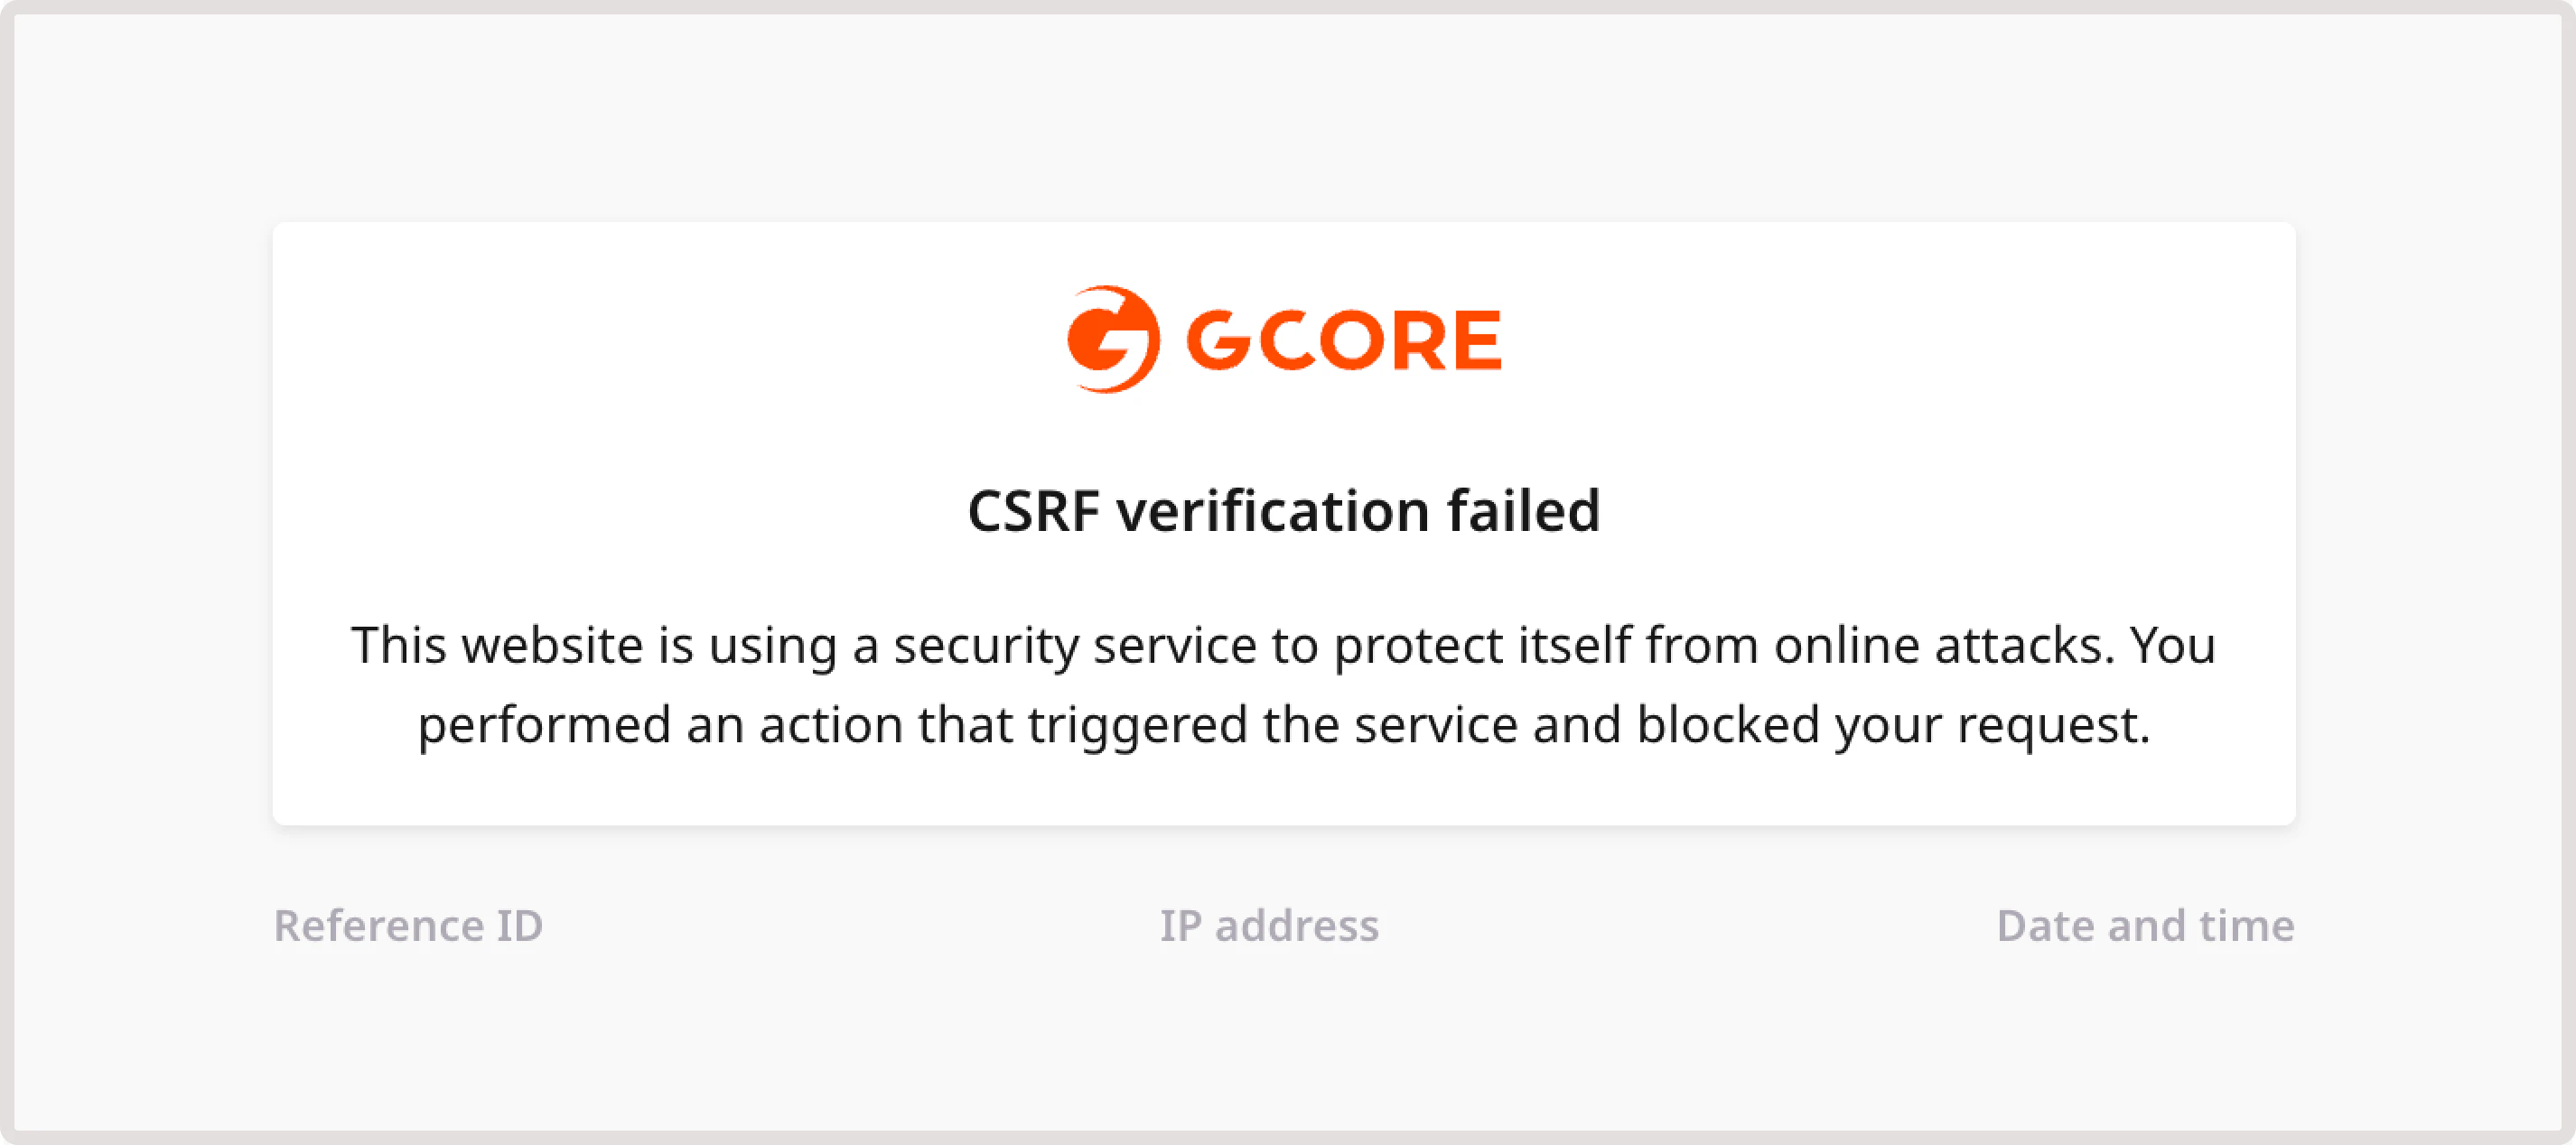
Step 5. Configure page status
Optionally, you can enable the Page active status checkbox to make the custom response page publicly available after creation. If you don’t enable the toggle, the page won’t be available for use on any domains, and the default response pages will be used instead. In such a case, you’ll need to manually change its status to Active.
Step 6. Finalize page setup
1. Click Preview page to check what it’ll look like. 2. If you’re satisfied with the changes, click Save to create the page. 3. Click Continue to domains to proceed with the next steps.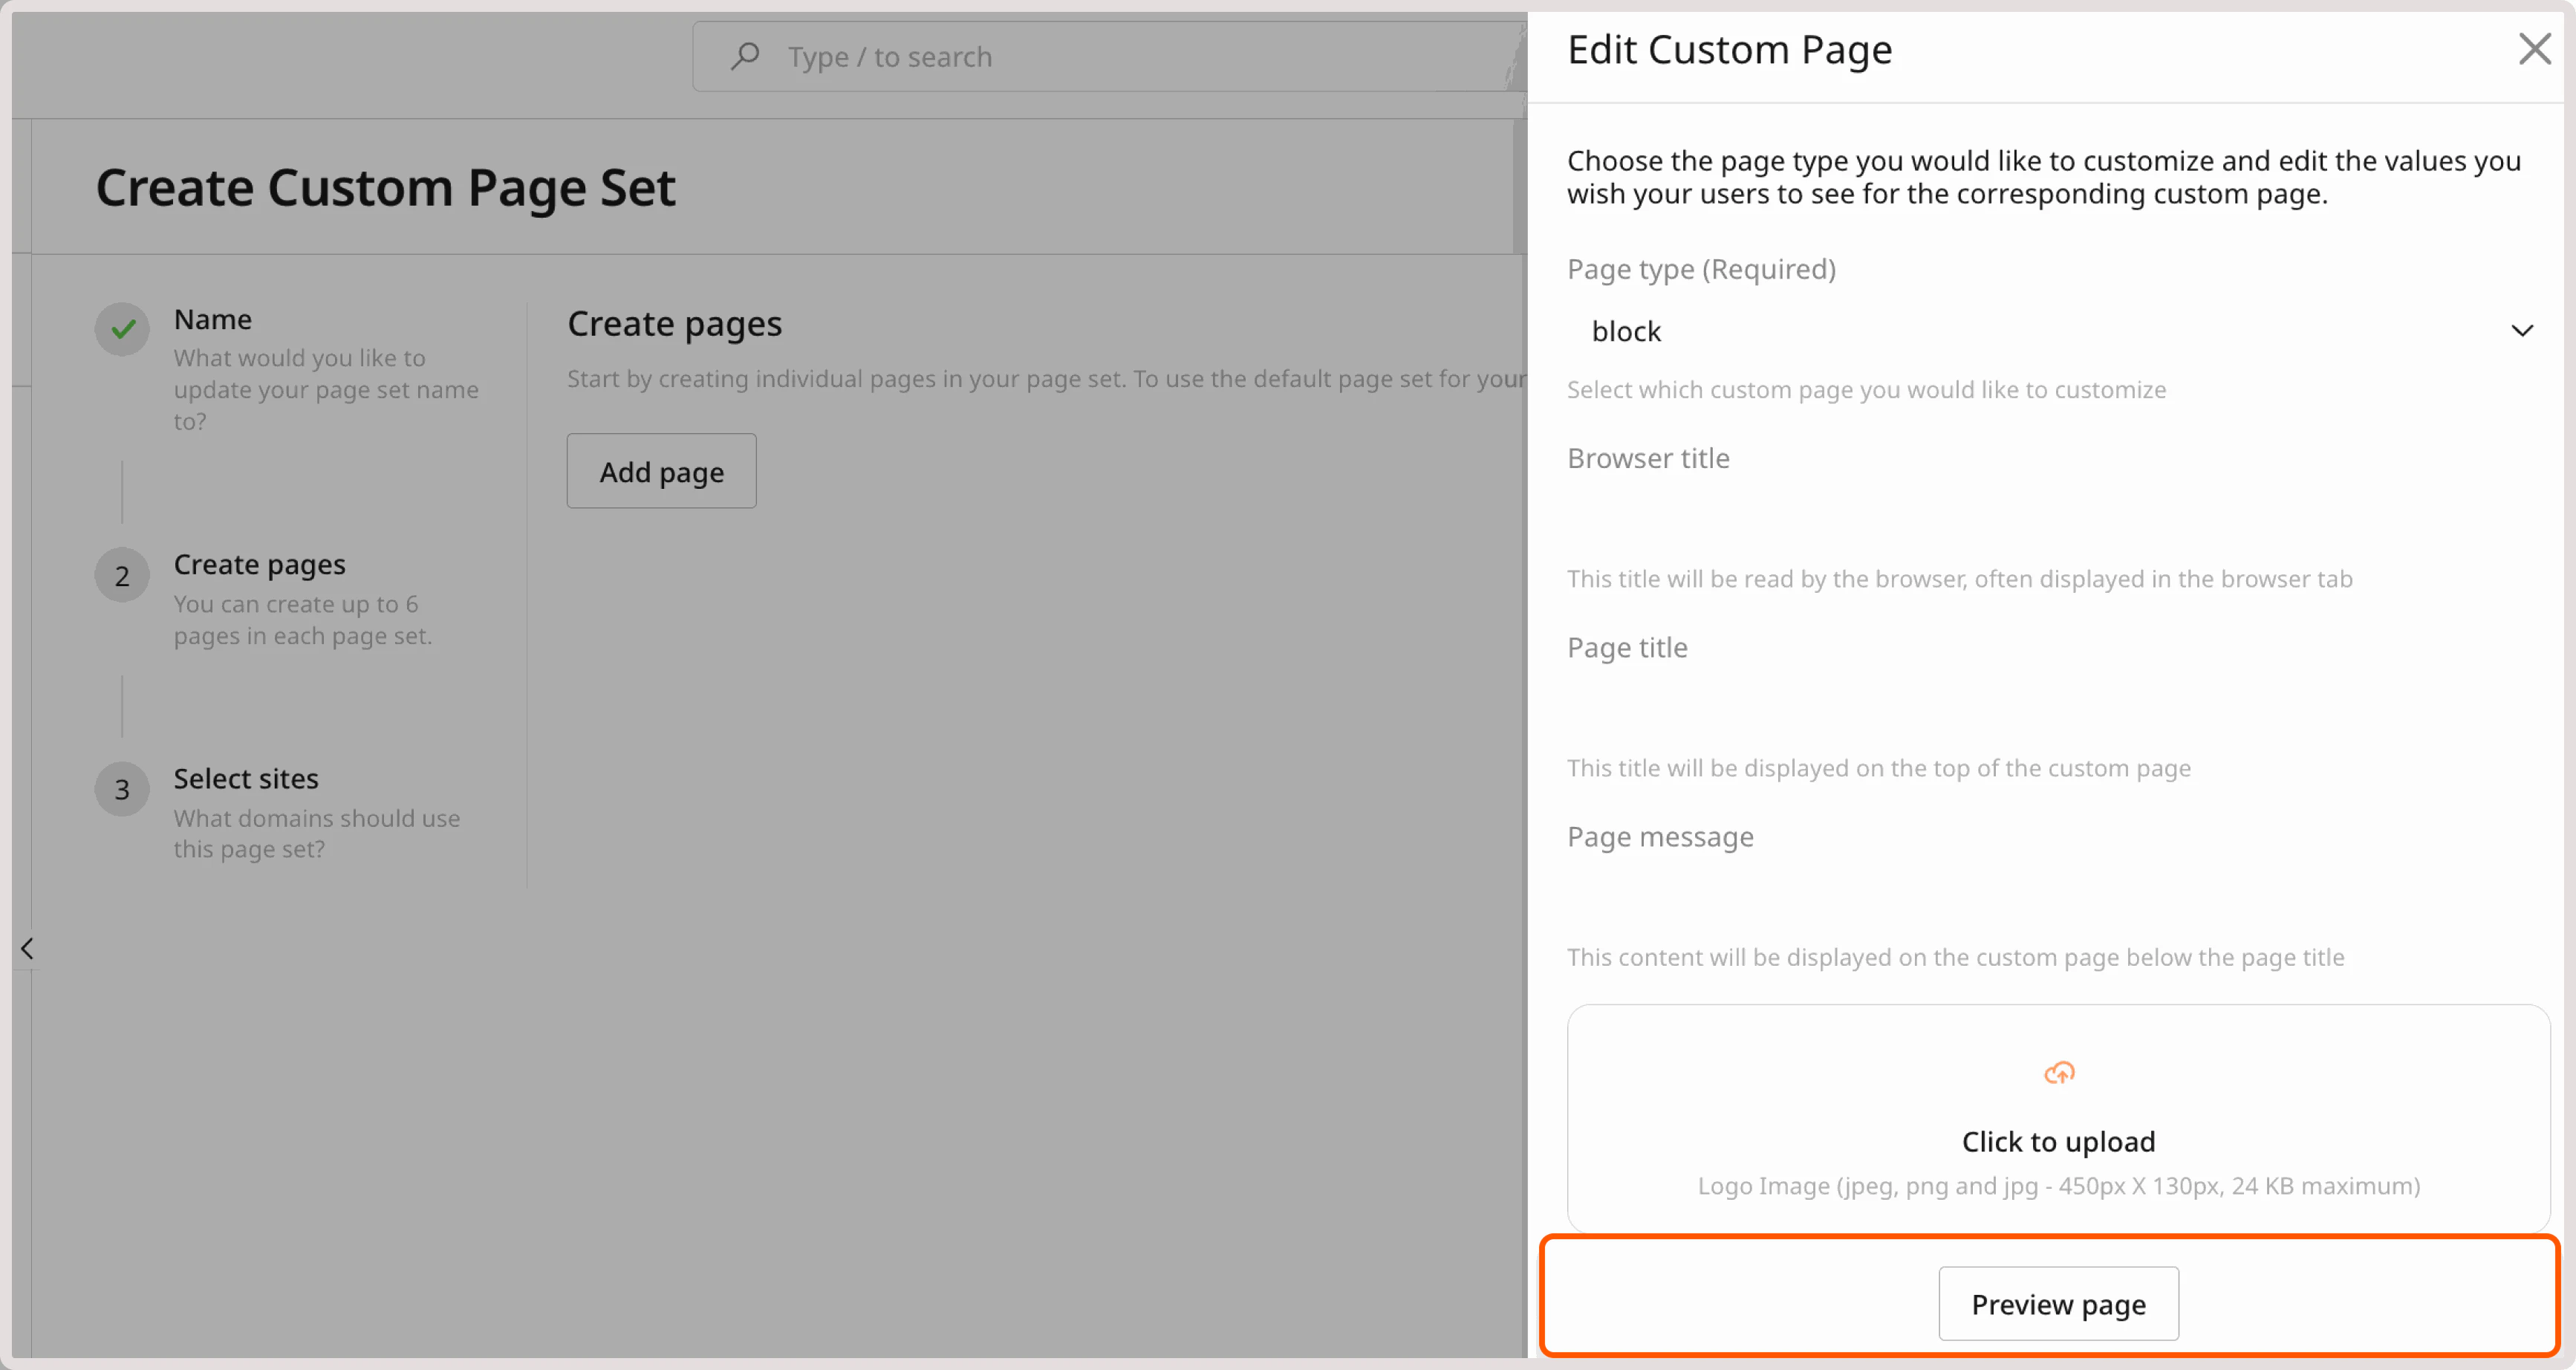
Step 7. Associate the page with domains
1. Select the domains where the new custom response page will appear.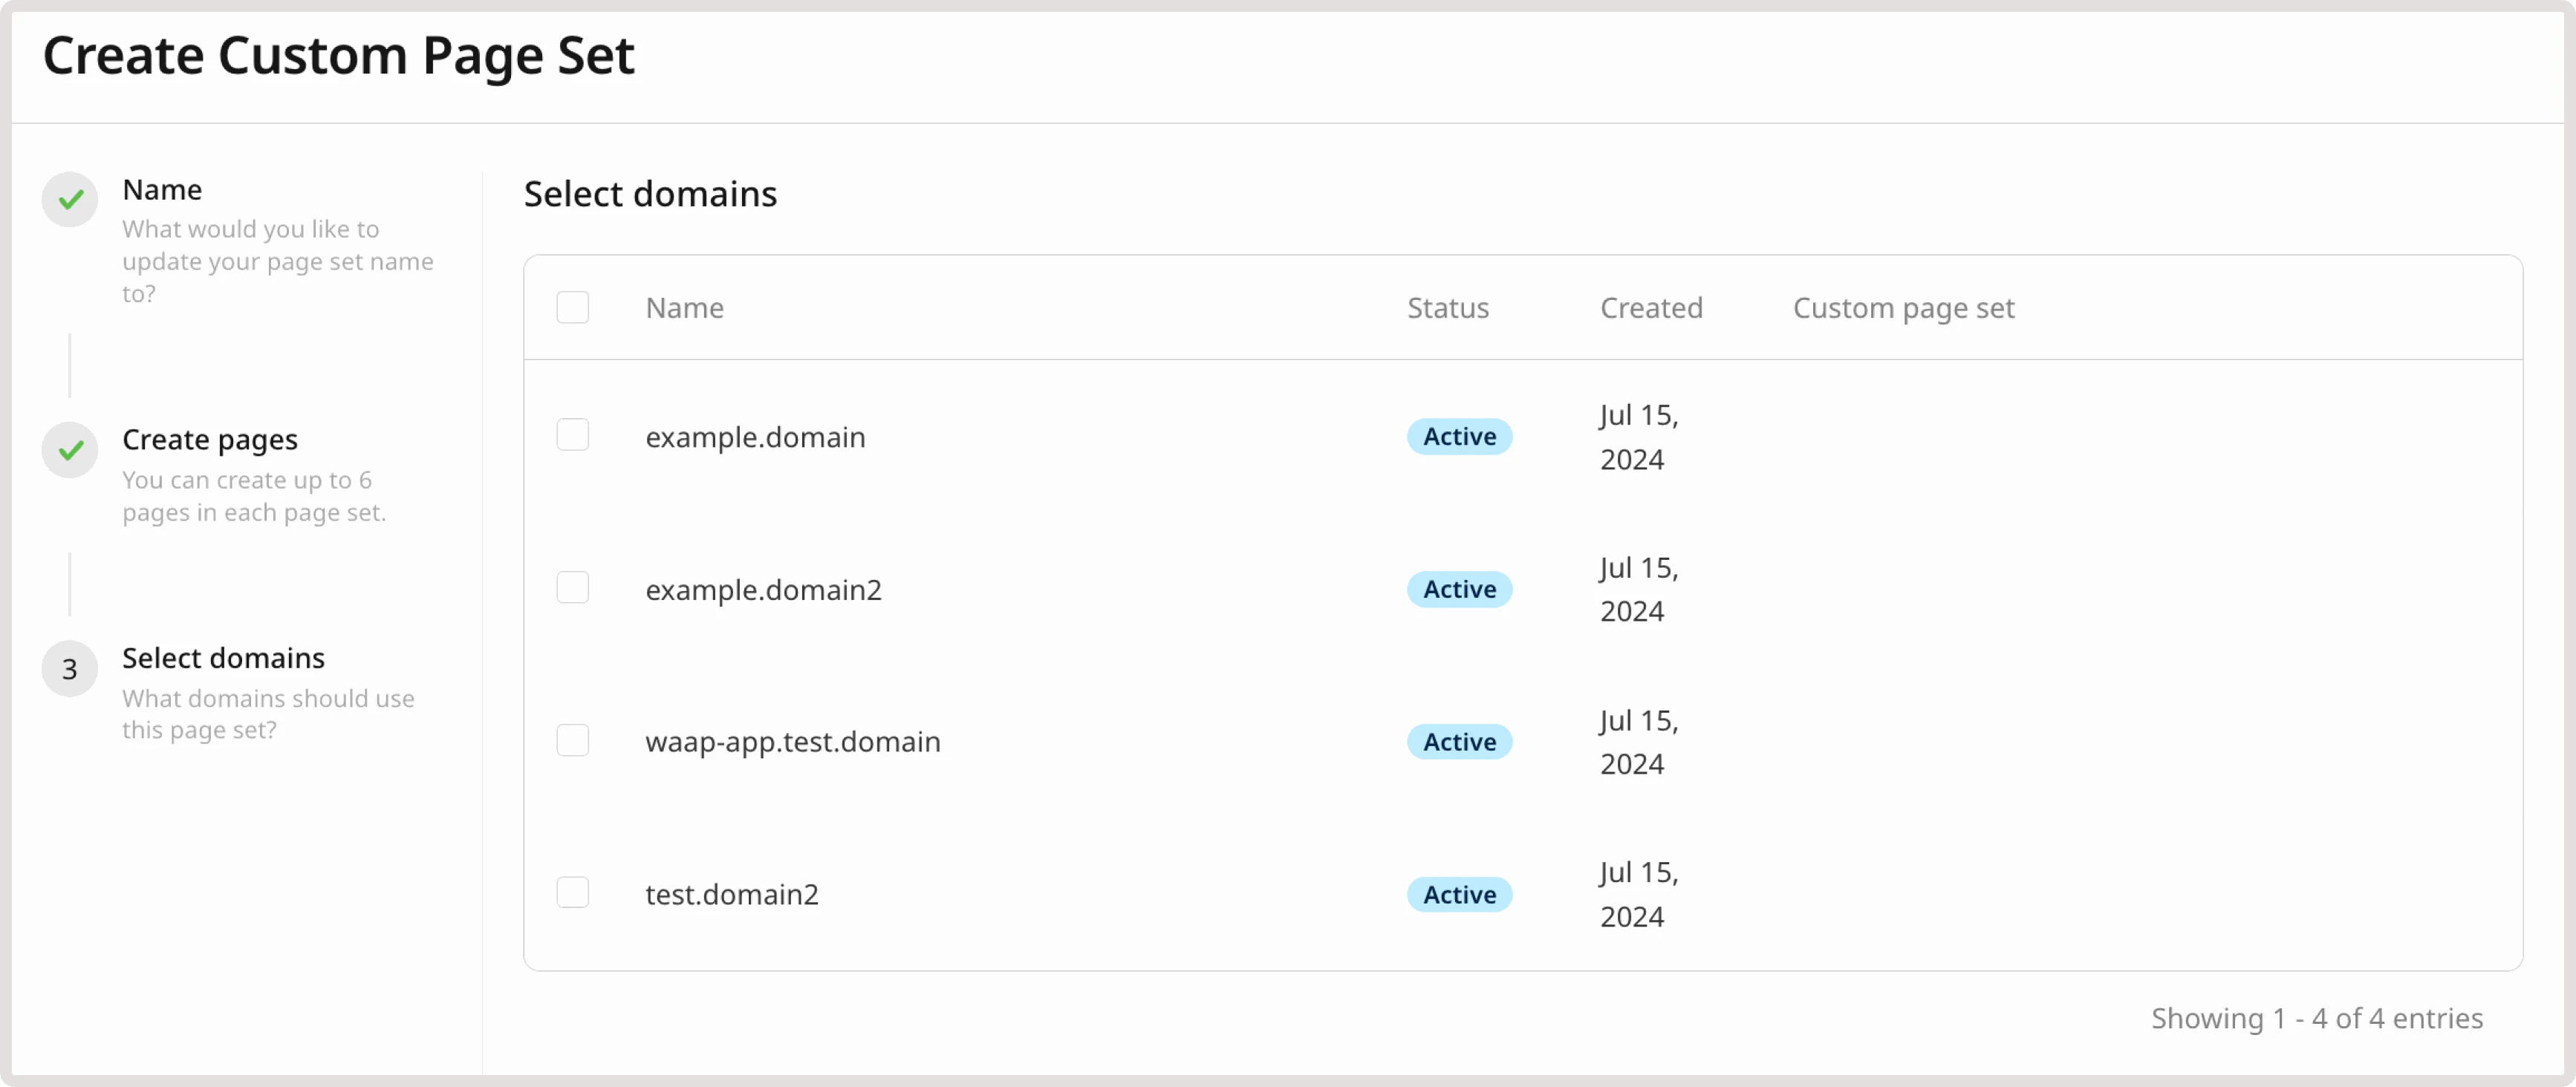
InfoFor instructions on how to edit and delete custom response pages, as well as change associated domains, check out the Manage custom response pages guide.