What are PV and PVC?
A PV (PersistentVolume) in Managed Kubernetes is a resource used to store data. It is attached to pods but has a separate lifecycle, specified by its reclaim policy. This policy determines if a PV will continue to exist or will be deleted when a pod attached to it gets destroyed. A PV represents a piece of available storage. To use a PV, a user needs to create a PersistentVolumeClaim (PVC,) which is a request for storage. Kubernetes passes this request to a storage class, which creates PVs automatically in response to the PVC.Create a PVC
Before you create a PVC, you need to create a storage class with the required disk type. Gcore provides the following disk types:| Volume type | Features |
|---|---|
| standard | Standard Network SSD disk, which provides stable and high random I/O performance, as well as high data reliability (6 IOPS per 1 GiB; 0.4 MB/s per 1 GiB.) The IOPS performance limit is 4,500. The bandwidth limit is 300 MB/s. |
| ssd_hiiops | High IOPS SSD High-performance SSD block storage designed for latency-sensitive transactional workloads (60 IOPS per 1 GiB; 2.5 MB/s per 1 GiB.) The IOPS performance limit is 9,000. The bandwidth limit is 500 MB/s. |
| ssd_lowlatency | SSD Low Latency SSD block storage, designed for applications that require low-latency storage and real-time data processing. It can achieve IOPS performance of up to 5000, with an average latency of 300 µs. |
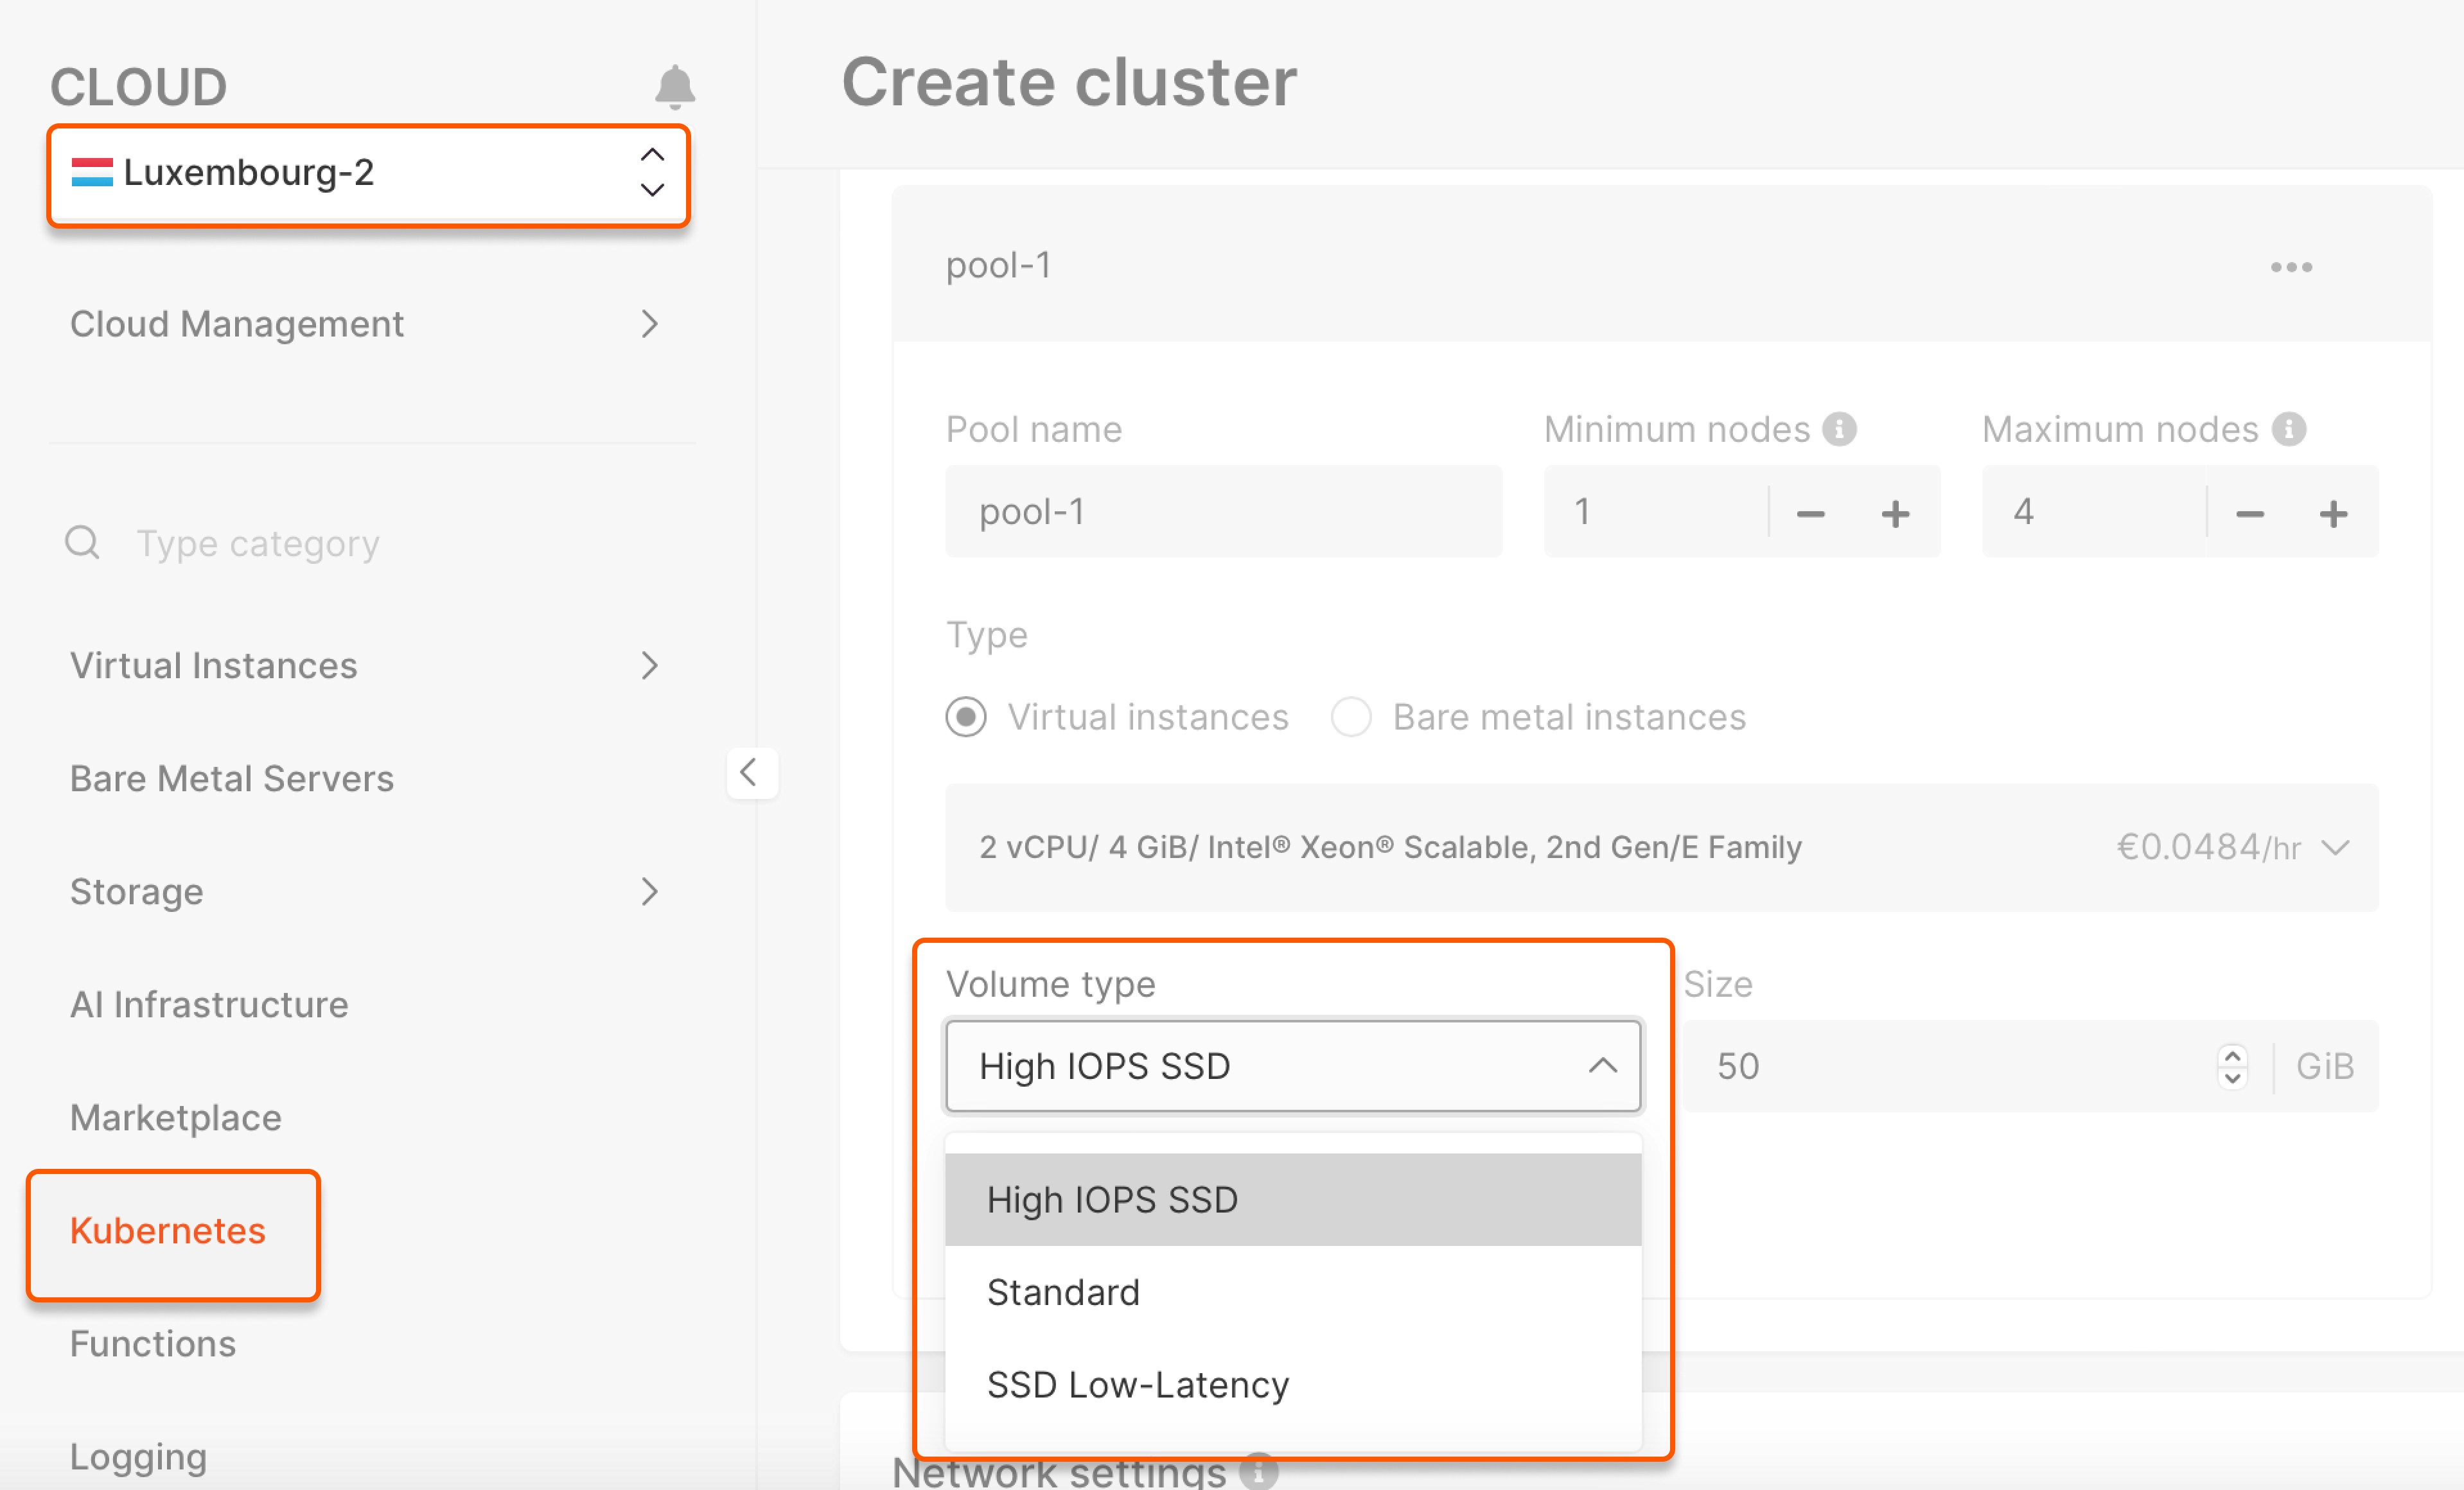
- Make sure the required disk type is available in your region. To do so, go to the Kubernetes tab, select the required region and click Create new cluster. Click the Volume type field and check which options are available on the drop-down list.

- Create a YAML file to create a storage class with the required disk type:
csi-sc-cinderplugin-hiiops: Storage class namessd_hiiops: Disk type (standard,ssd_hiiops, orssd_lowlatency)
- Run the kubectl command from the file directory:
- Create a YAML file to configure a PVC:
block-pvc: PVC namecsi-sc-cinderplugin-hiiops: Name of the created storage class1Gi: Storage size
- Run the kubectl command from the file directory:
Bind your PVC to a pod
- Create a YAML file to bind the created storage class to your pod.
mypod: Pod namemyfrontend: Container name"/var/www/html": Destination inside the pod where to mount the storage classmypd: Storage class nameblock-pvc: Created PVC name
- Run the kubectl command from the file directory:
- You will get this output:
Resize a PVC
Gcore Managed Kubernetes offers you predefined storage classes for PVs. If you issue a PVC, Managed Kubernetes will provision a dynamic PV that matches the PVC’s specs. This means that to increase the size of a PV, you have to update the PVC that was used to create it.Reducing the size of a PV is not supported