Deployments list
The deployments table contains the following columns:- Name — the deployment name; click it to open the detail page.
- Modules — the AI model or application deployed.
- Endpoint — the public URL for sending inference requests.
- Created — the date and time the deployment was created.
- Deployment status — the current provisioning state (Deploying / Partially deployed / Deployed / Deleting).
- Running status — the number of running pods out of the total requested (0/1, 1/1).
Overview tab
The detail page has the following tabs: Overview, Monitoring, Logs, API Keys authentication, Settings, and Delete. The Overview tab shows the deployed modules with their endpoint URLs, running replica count, and deployment status. Click a module row to expand its configuration parameters.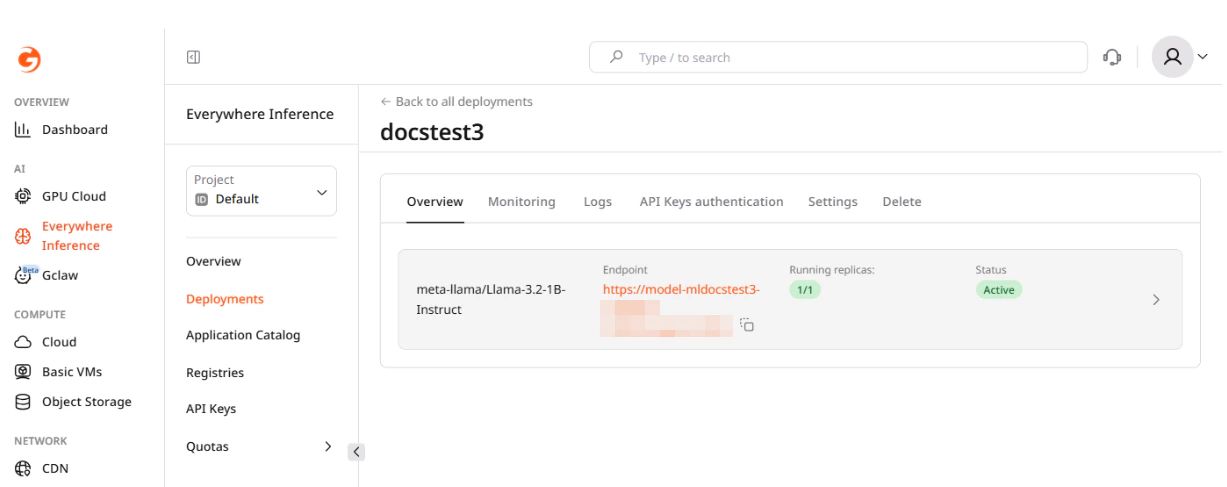
Monitoring
The Monitoring tab shows resource usage charts for the deployment. Use the Time range dropdown to adjust the displayed period.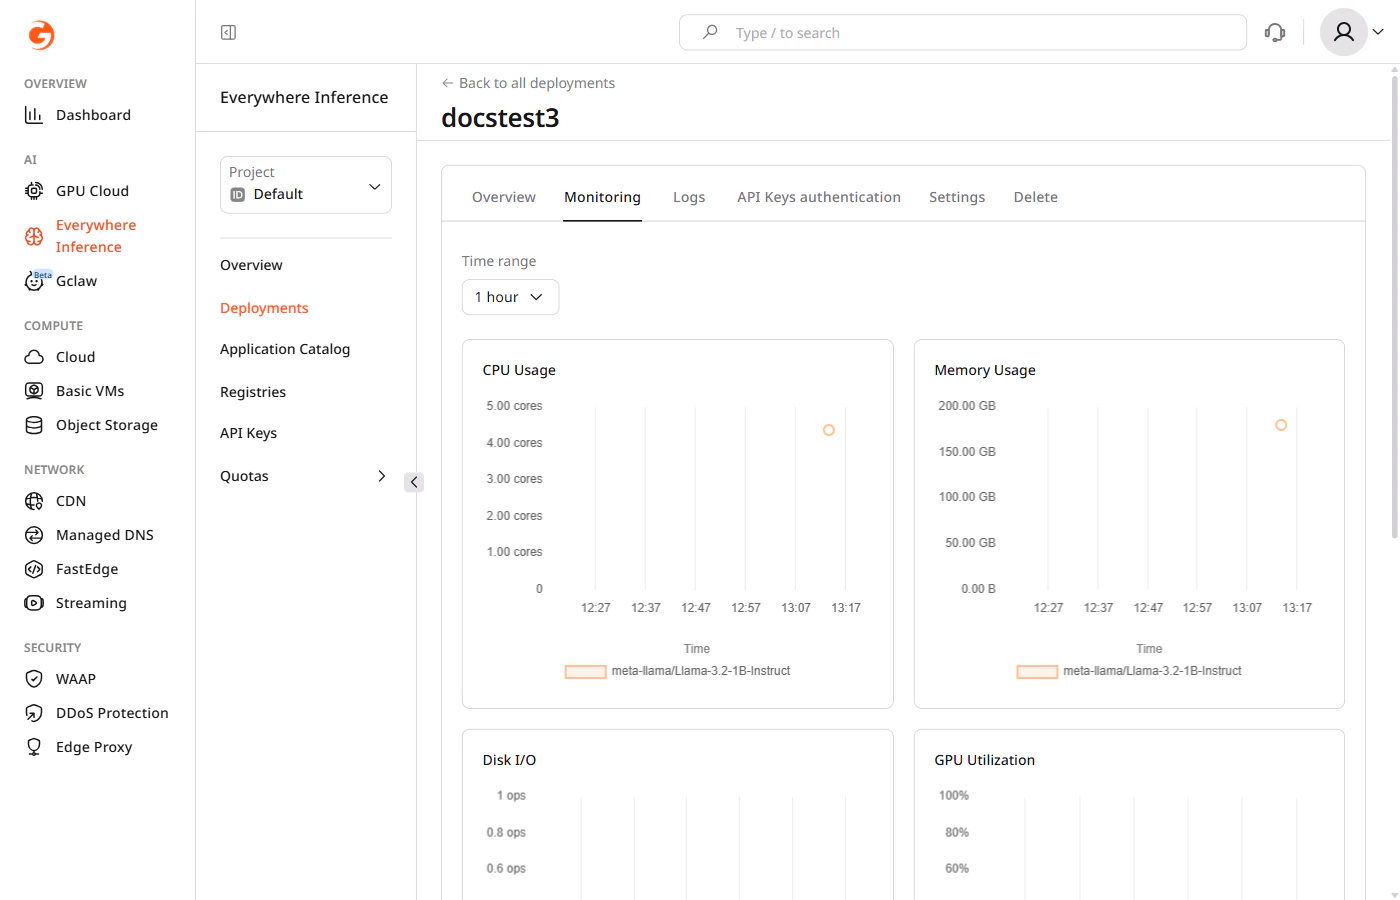
- CPU Usage — CPU cores consumed over time.
- Memory Usage — RAM consumed over time.
- Disk I/O — read and write operations per second.
- GPU Utilization — GPU usage percentage over time.
Deployment logs
Click the Logs tab to view real-time output from the deployment pods. Use the Component dropdown to select the module and the Region dropdown to filter logs by deployment region.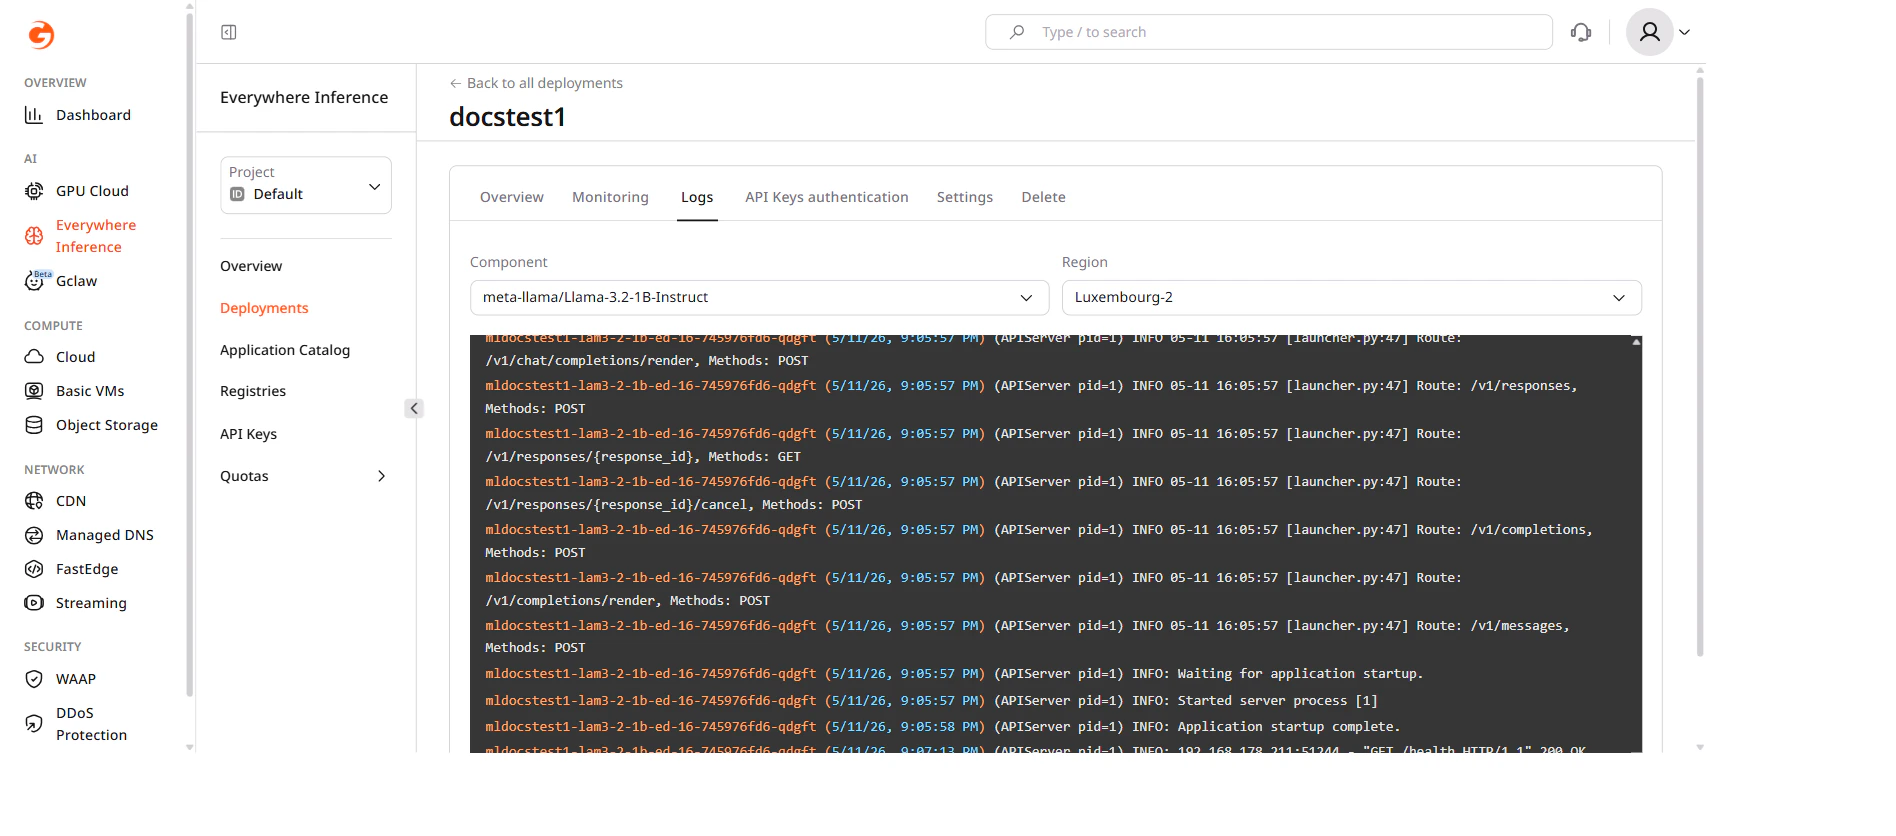
API Keys authentication
The API Keys authentication tab controls whether inference requests to the deployment endpoint require a valid API key. Toggle Enable API Key authentication on and click Save changes to restrict access. When enabled, requests without a valid key are rejected. API keys are managed separately in Everywhere Inference > API Keys.Settings
The Settings tab contains options for updating the deployment configuration. Changes are not applied automatically — click Save changes at the bottom of the tab to confirm.Routing placement
Select or deselect regions from the Routing placement dropdown to change where the deployment runs.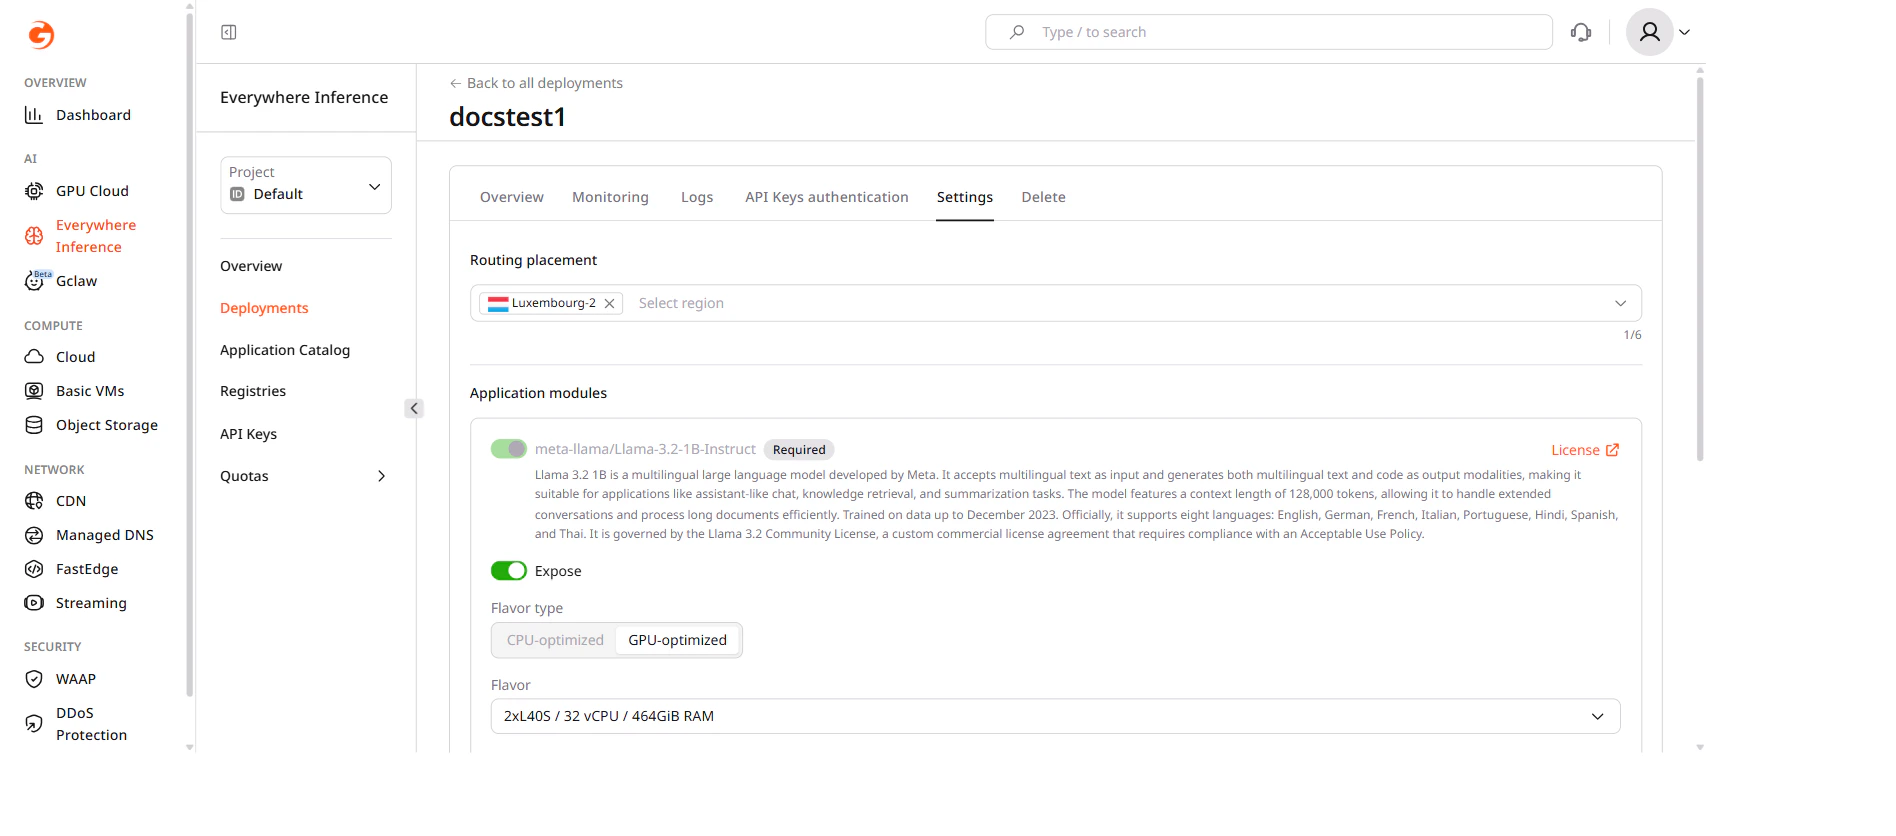
Flavor and pod configuration
Under Application modules, change the hardware flavor and the number of pods:- Flavor type — select CPU-optimized or GPU-optimized.
- Flavor — select the hardware configuration from the dropdown.
- Minimum pods — the minimum number of pods to keep running.
- Maximum pods — the maximum number of pods the autoscaler can create.
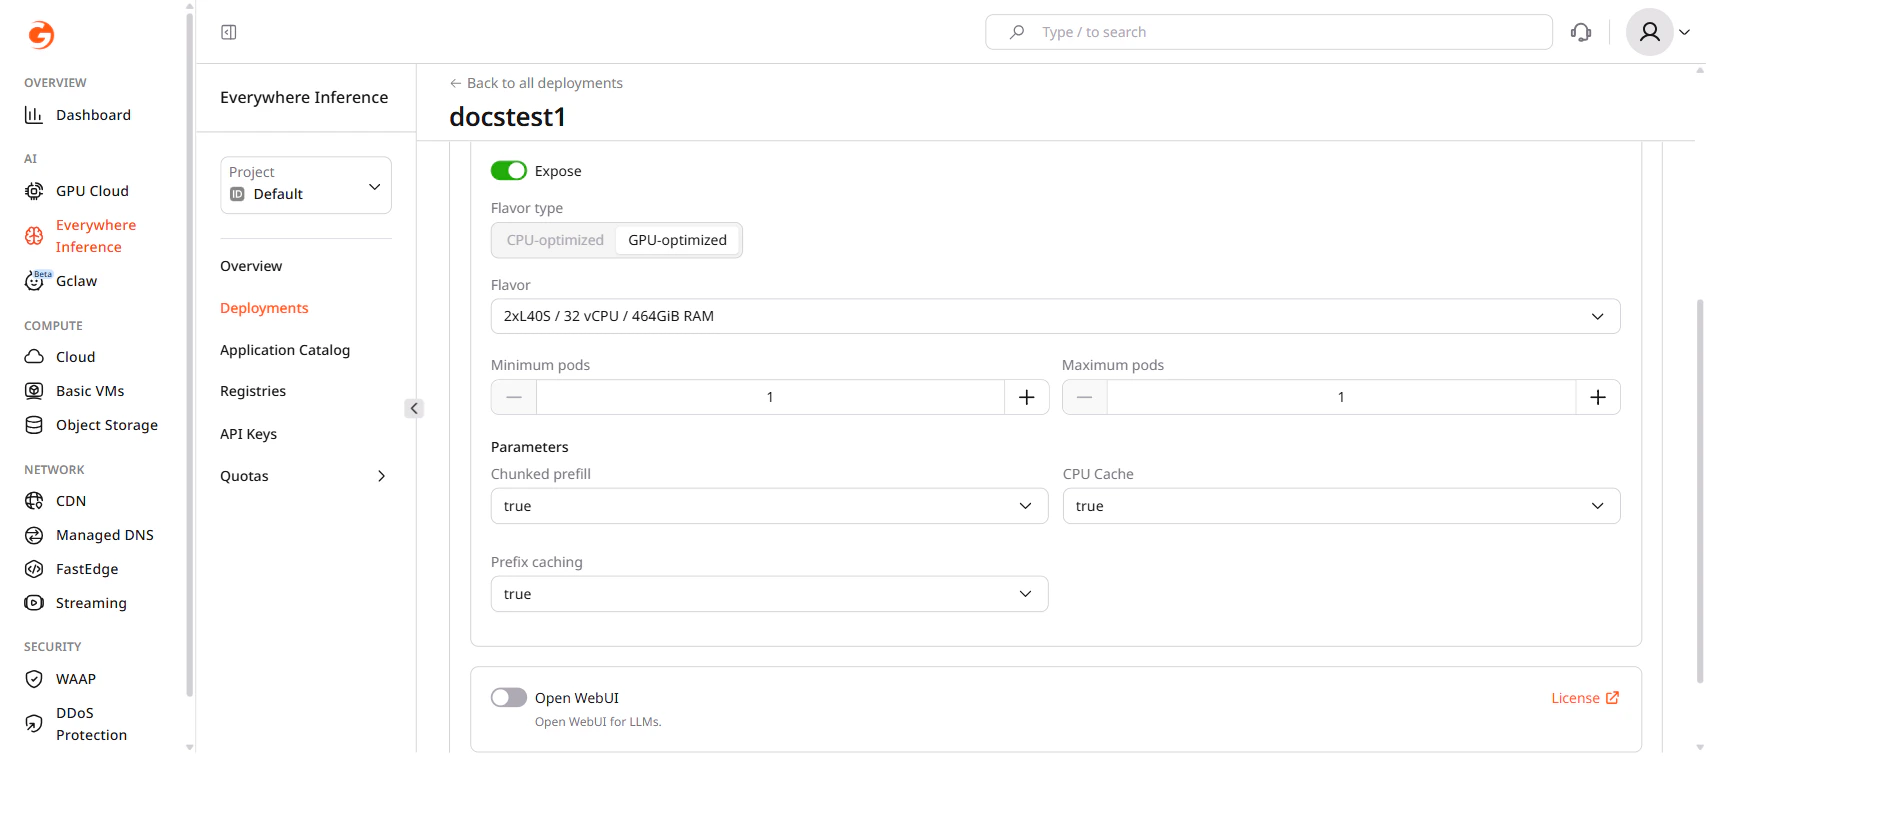
A flavor change requires each running pod to restart, which may cause a brief interruption.