With Gcore Everywhere Inference, you can use foundational open-source models from our AI model catalog or deploy a custom model by uploading a Docker container image.Documentation Index
Fetch the complete documentation index at: https://gcore.com/docs/llms.txt
Use this file to discover all available pages before exploring further.
InfoYou might have to request a quota increase before deploying a new model; the Request quota increase guide explains this process.
Step 1. Initialize a new deployment
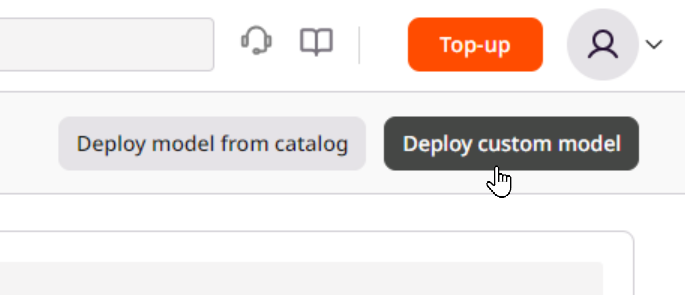
This step will differ slightly depending on whether you deploy a custom model or use a model from our catalog.- Initialize a catalog model deployment
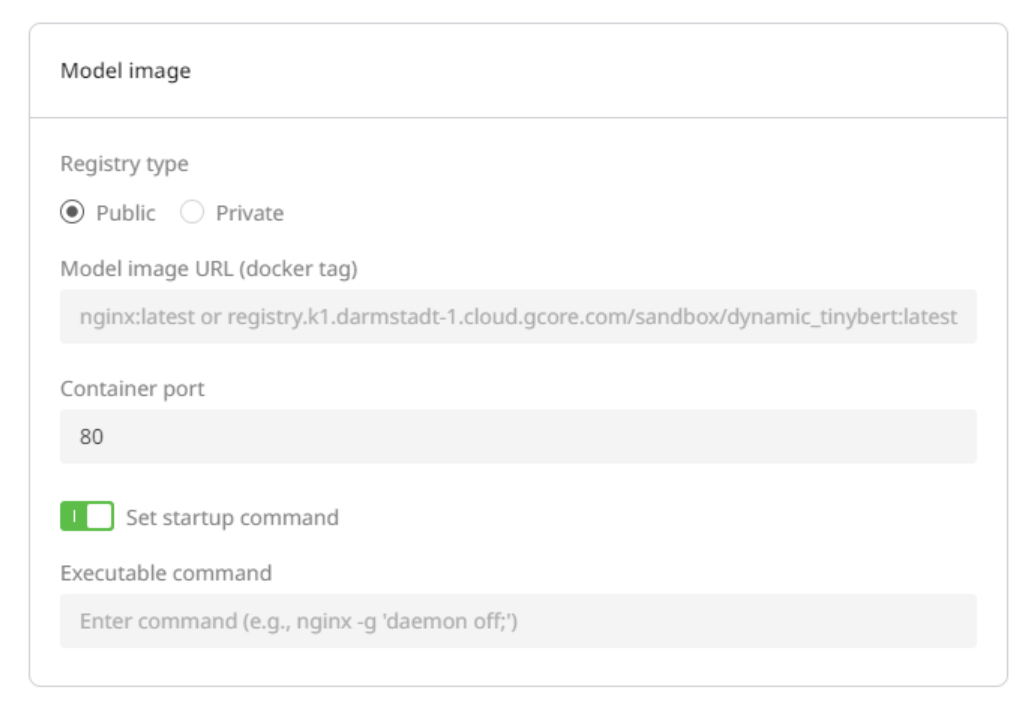
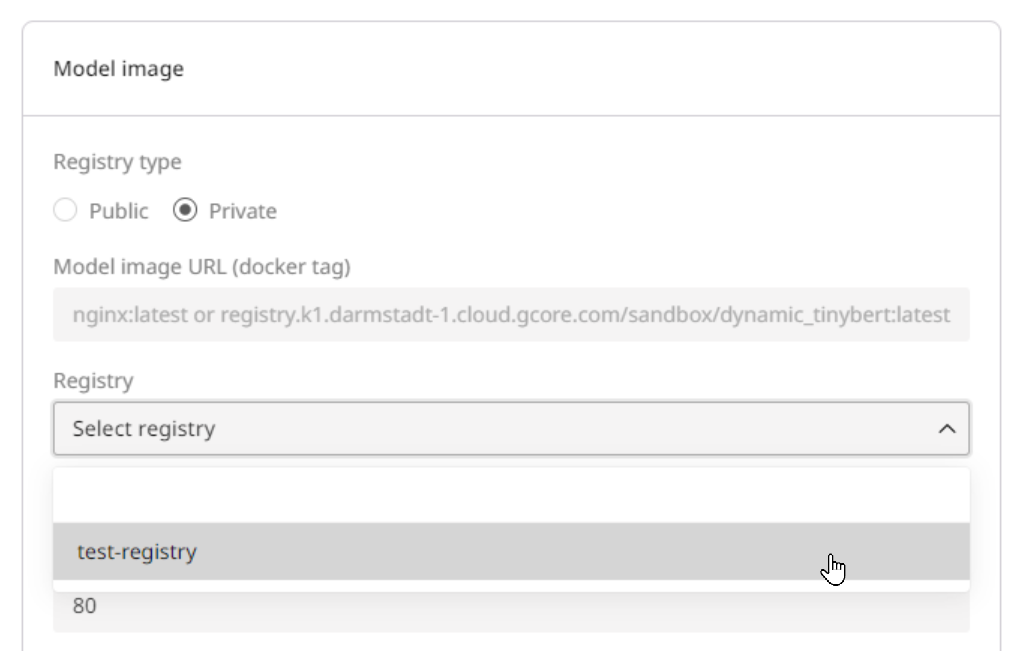
- Initialize a custom model deployment
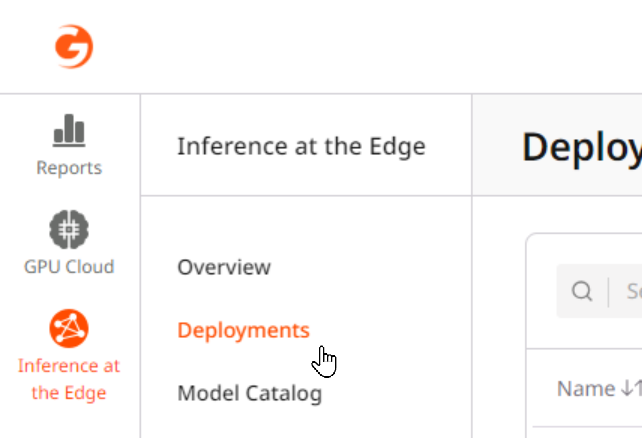
You can initialize a new deployment by opening this direct link to the deployment form or by following these three simple steps:1. In the Gcore Customer Portal, navigate to Everywhere Inference > Deployments.

Step 2. Select a pod configuration
This configuration determines the allocated resources (e.g., GPU, vCPU, and memory) for running the model. Be sure to select sufficient resources; otherwise, the model deployment might fail.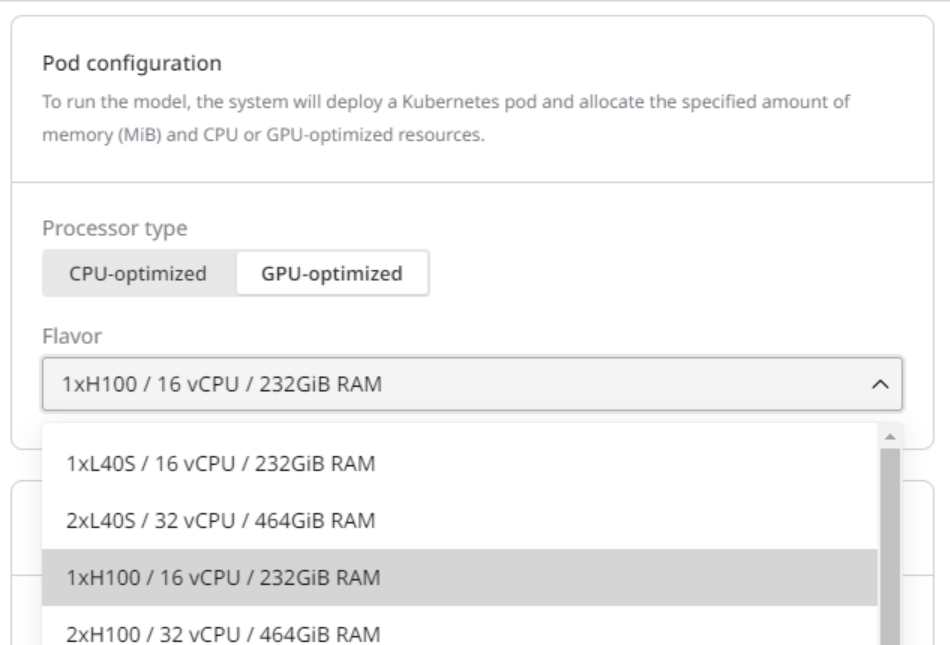
| Billion parameters | Recommended flavor |
|---|---|
| < 21 | 1 x L40s 48 GB |
| 21 - 41 | 2 x L40s 48 GB |
41 | 4 x L40s 48 GB
Step 3. Set up routing placement
Select the inference regions where the model will run from the worldwide points of presence (PoPs) list. The list of available PoPs depends on which pod configuration you selected in Step 3.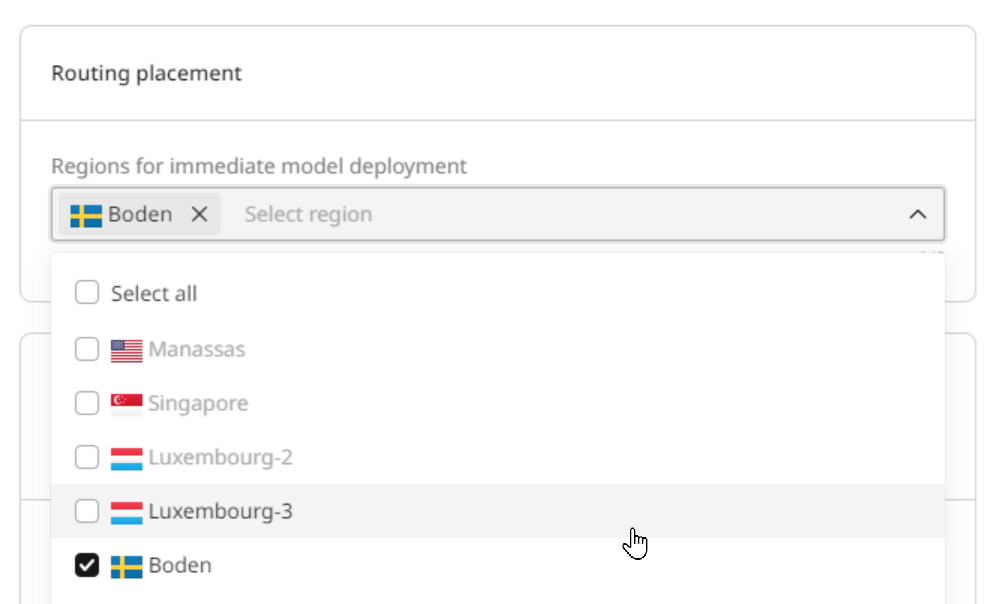
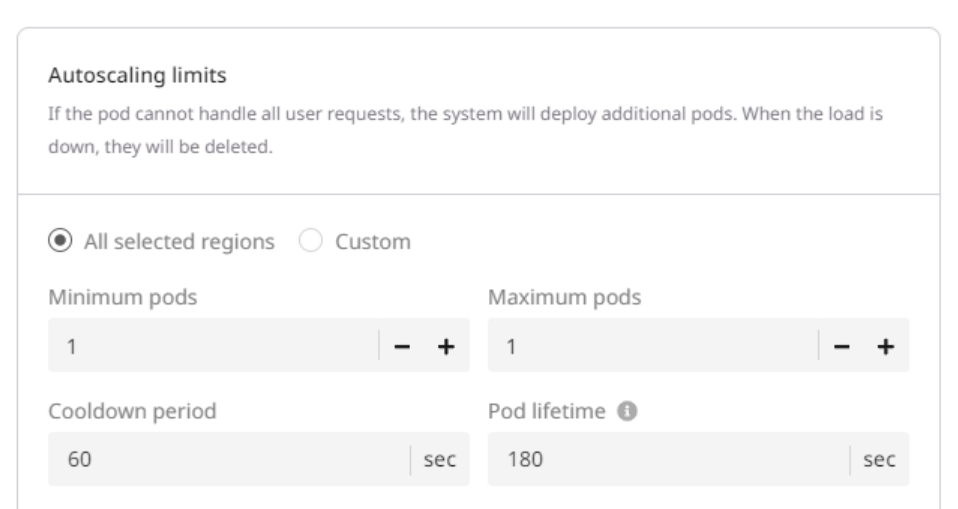
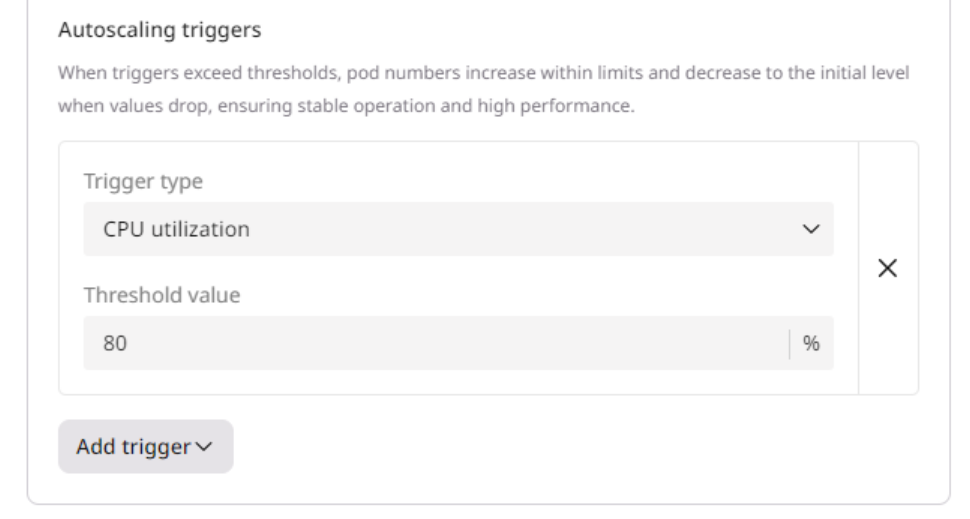
Step 4. Configure autoscaling
You can set up autoscaling for all pods (All selected regions) or only for pods located in specific areas (Custom). 1. Specify the range of nodes you want to maintain:- Minimum pods: The minimum number of pods must be deployed during low-load periods.
- Maximum pods: The maximum number of pods that can be added during peak-load periods.
- Cooldown period: A configured time interval that the autoscaler waits after scaling an application (up or down) before it considers making another scaling adjustment
- Pod lifetime: The time in seconds that autoscaling waits before deleting a pod that isn’t receiving any requests. The countdown starts from the most recent request.
InfoA pod with a lifetime of zero seconds will take approximately one minute to scale down.
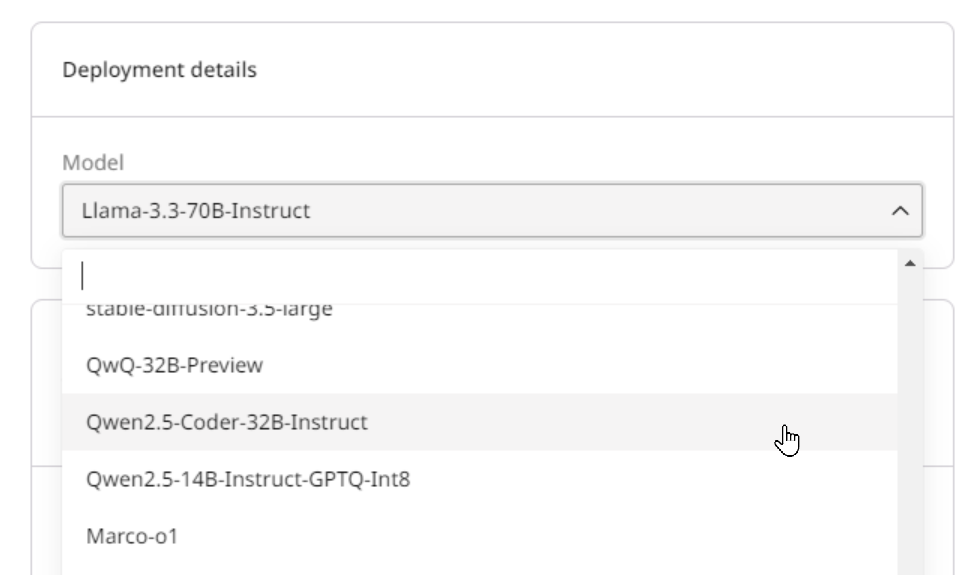
Step 5. Set deployment details
Your deployment needs a name to make it easy to identify later. You can optionally add a description.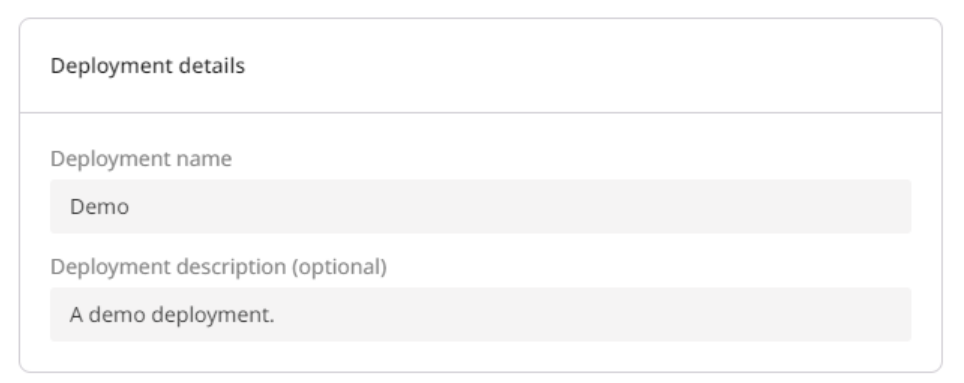
Step 6 (optional). Set environment variables and API Keys
If you want to add additional information to the deployment, create variables for your container in key-value pairs. These variables will only be used in the environment of the created container. To access the environment variables settings, turn on the Set environment variables toggle. You can also configure API authentication for your deployment. To access the authentication settings, turn on the Enable API Key authentication toggle.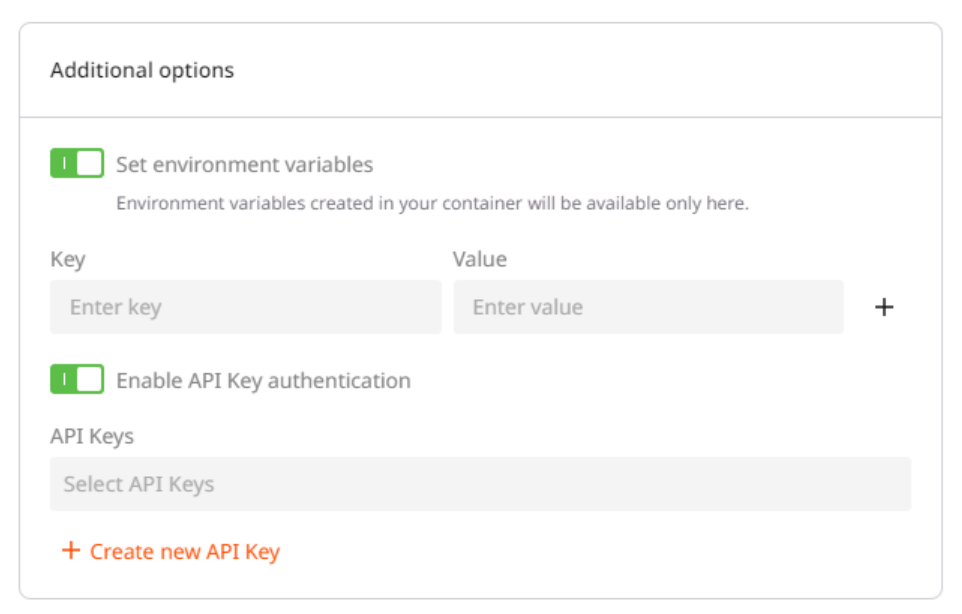

Step 7. Finalize the deployment
Scroll to the top of the page and click Deploy model in the top-right corner of the screen.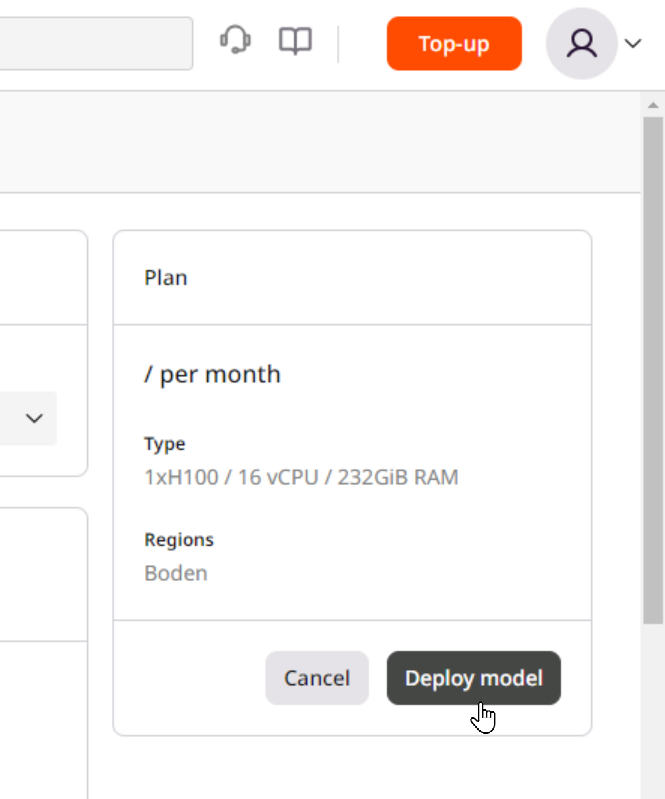
InfoIf you don’t see the Deploy model button, add billing information to your account or create a quota change request.