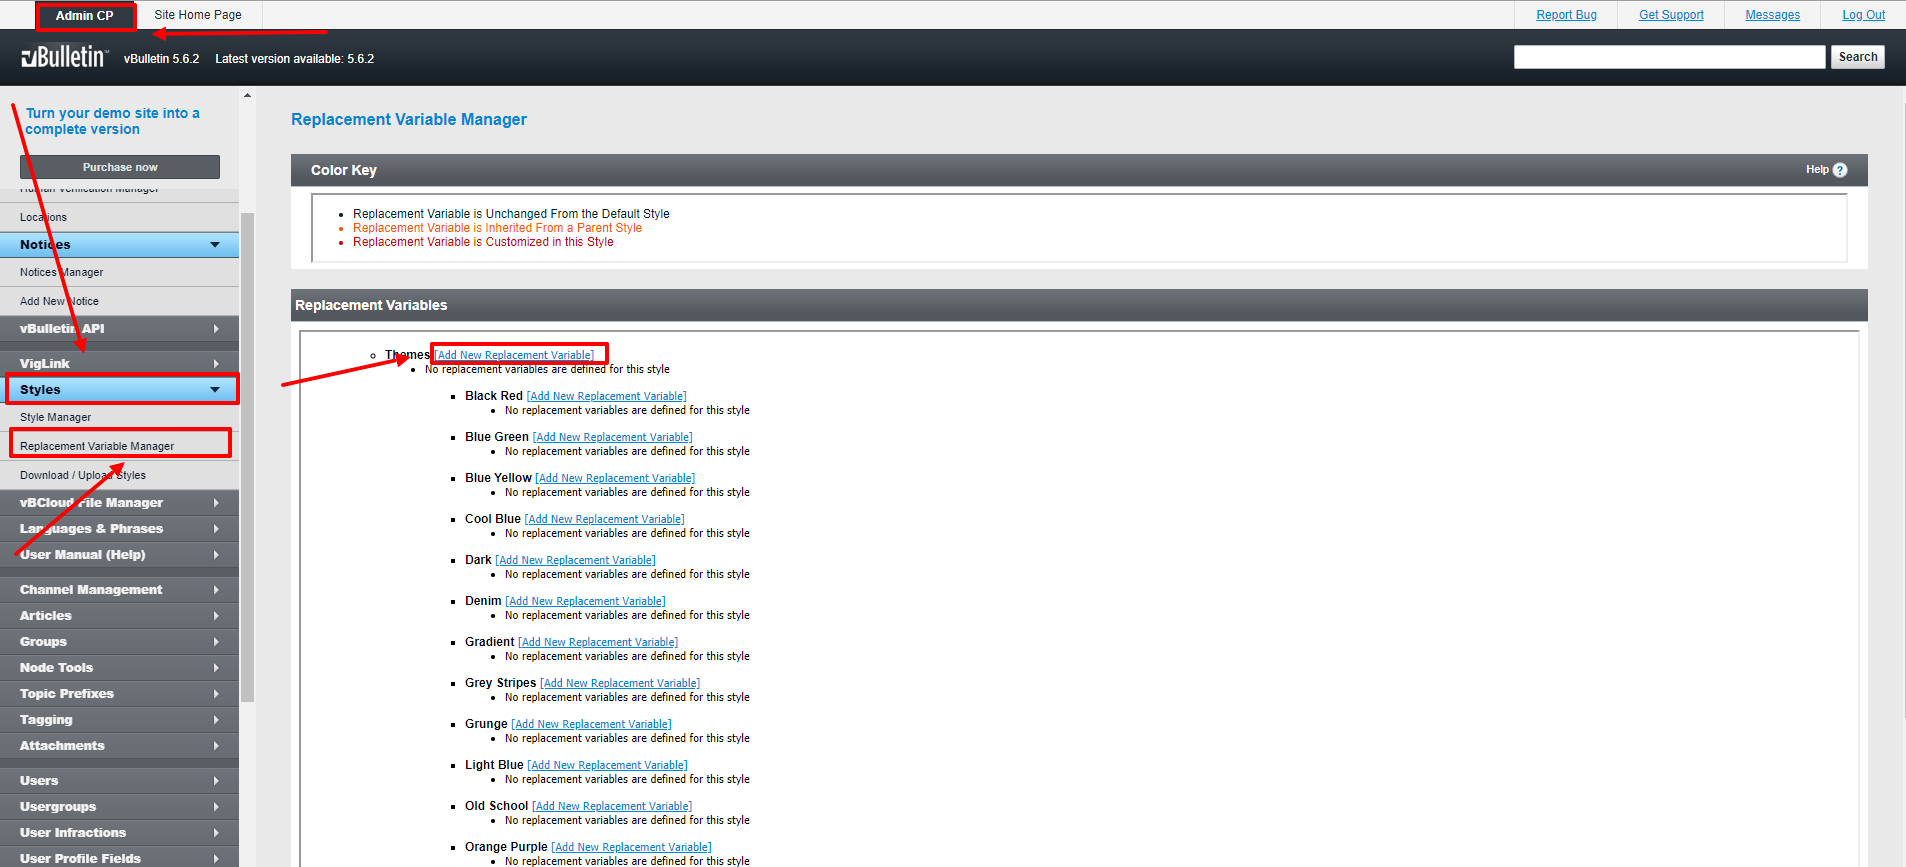
cdn.site.com). Create a new replacement variable for each item in the following table. Ensure that your CNAME record has been configured in a proper way before using it for integration.

| Find in the text | Replace with |
|---|---|
src="customavatars/ | src="<http://cdn.site.com/customavatars/> |
src="customprofilepics/ | src="<http://cdn.site.com/customprofilepics/> |
src="images/ | src="<http://cdn.site.com/images/> |
url("clientscript | url("cdn.site.com |
src="clientscript/ | src="<http://cdn.site.com/> |
src="{vb:raw vboptions.bburl}/clientscript/ | src="<http://cdn.site.com/> |
href="clientscript/ | href="<http://cdn.site.com/> |
url(./images/ | url(<http://cdn.site.com/images/> |
url(images/ | url(<http://cdn.site.com/images/> |
var IMGDIR_MISC="images/misc";var IMGDIR_BUTTON="images/buttons"; | var IMGDIR_MISC="[http://cdn.site.com/images/misc";var](http://cdn.site.com/images/misc%22;var)IMGDIR_BUTTON="<http://cdn.site.com/images/buttons>"; |