Install the plugin
Go to your WordPress admin panel, select Plugins - > Add new. In the plugin search box, type “Gcore CDN”. Install the found plugin. To activate the plugin, click on the Activate button or go to Plugins -> Installed.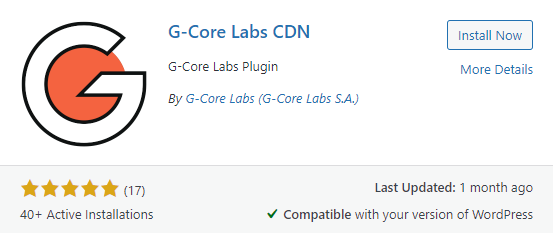
Working with the plugin
Integration with CDN
To integrate your site with the Gcore CDN, go to the plugin settings: find it in the menu and click on CDN Settings > General. Note : All changes in plugin settings are automatically saved. Activate the Enable CDN checkbox, fill in the Personal domain field, and click Save.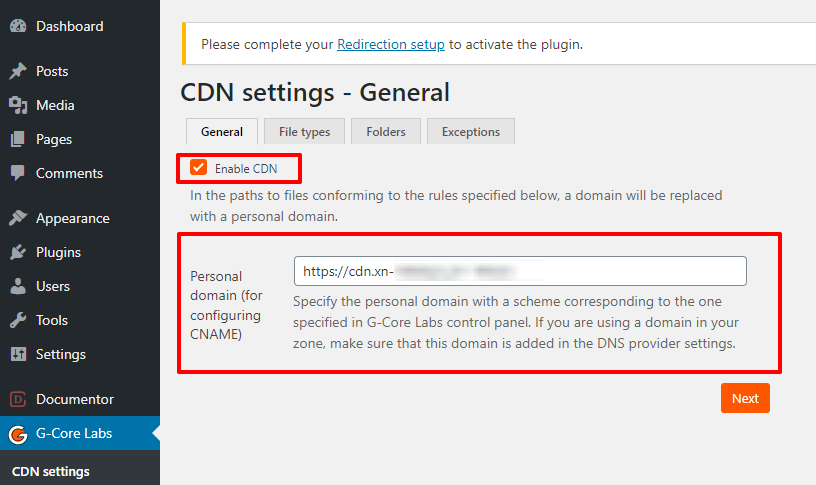
File types
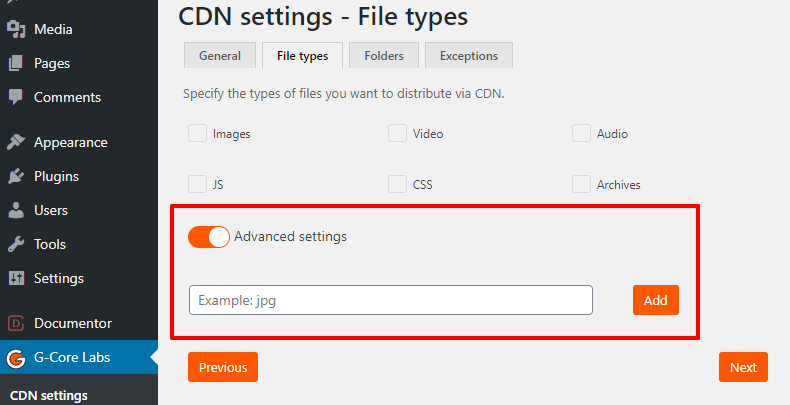
Specify the file extensions that you want to distribute via CDN. There are available two configuration modes: basic and advanced. 1. In basic mode, you can select file extensions offered on the page.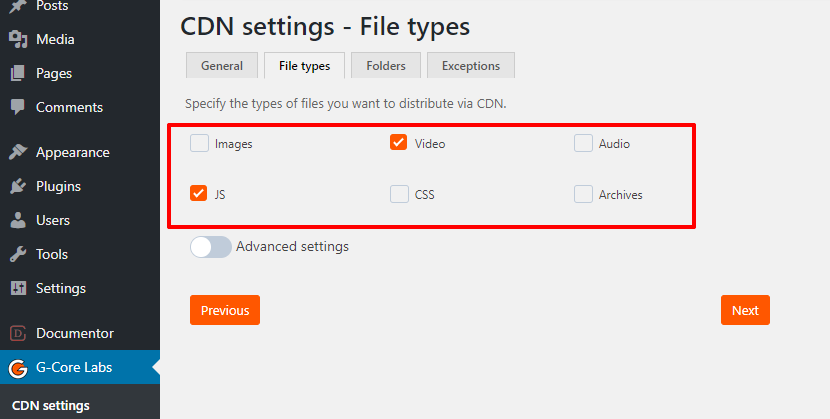
Folders
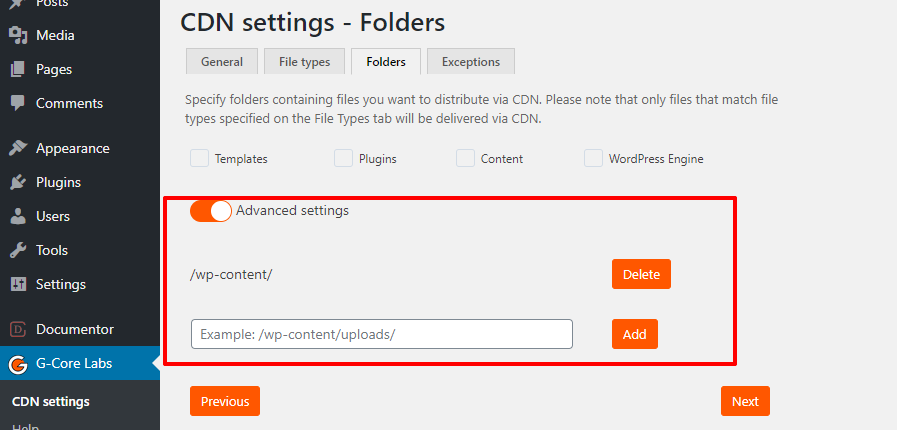
Specify the paths to the folders you want to deliver over the CDN in the “Folders” section. Two configuration modes are available: basic and advanced. 1. In basic mode, you can select folders offered on the page.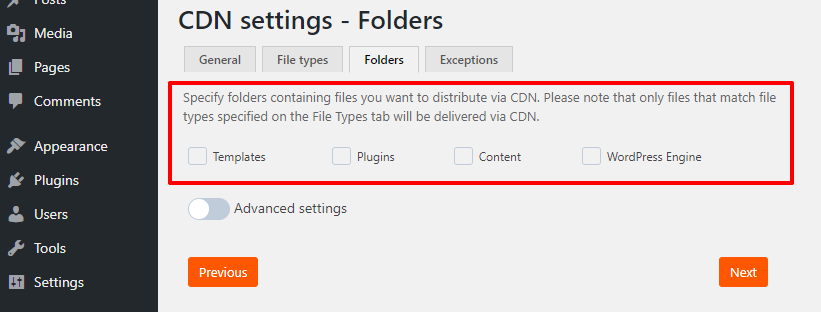
Exceptions
Specify URLs of the files that should not be delivered over the CDN in the “Exceptions” section. Add the URLs one by one.
Plugin workflow
If you want to deliver a file over the CDN, your domain name in the file URL will be replaced with the personal domain that you specified in the General section. Request processing logic:- Is the URL from which the content is requested in the Exceptions section?
- If yes, the domain name substitution does not occur, the file is distributed as usual.
- If not, or exceptions are not specified, then check the next point.
- Is the content in the folder listed under Folders?
- If yes, the domain name substitution does not occur, the file is distributed as usual.
- If not, or folders are not specified, then check the next point.
- Are extensions included in the list of extensions for which the URL changes?
- If yes, the domain name substitution does not occur, the file is distributed as usual.
- If yes, then a personal CDN domain is substituted.