Request a quota increase if the account quota is insufficient for the selected flavor.
Create a deployment
Complete the following steps to select an application, configure compute resources, and deploy the model.Step 1. Open the Create Deployment form
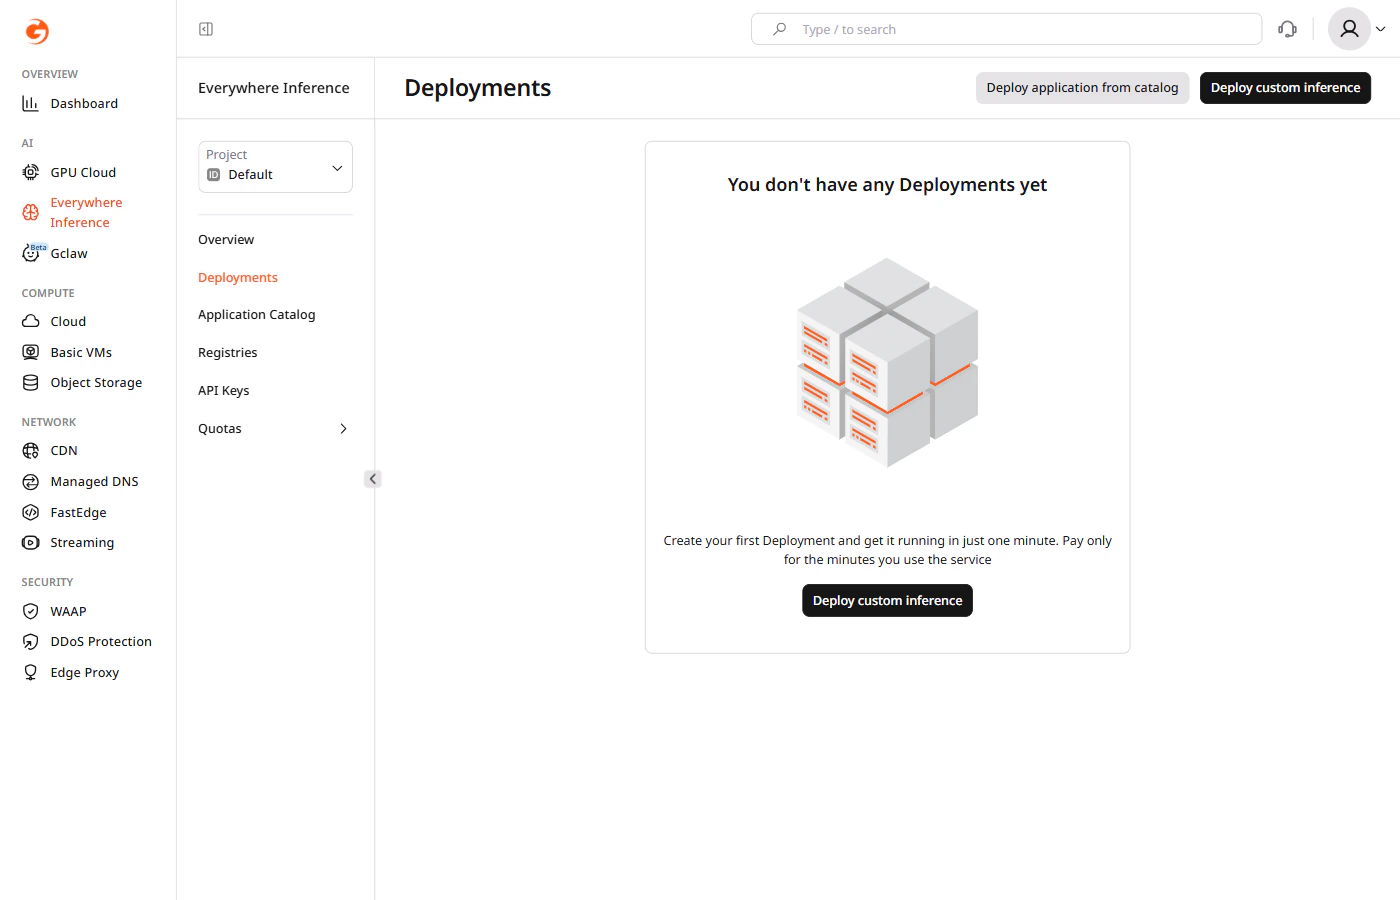
There are two ways to open the Create Deployment form:- Navigate to Everywhere Inference > Deployments and click Deploy application from catalog.
- Open a model detail page in the Application Catalog and click Deploy Application. The form opens with the selected model pre-filled.
Step 2. Select an application
Under Deployment Configuration, click the Application dropdown and select the model to deploy.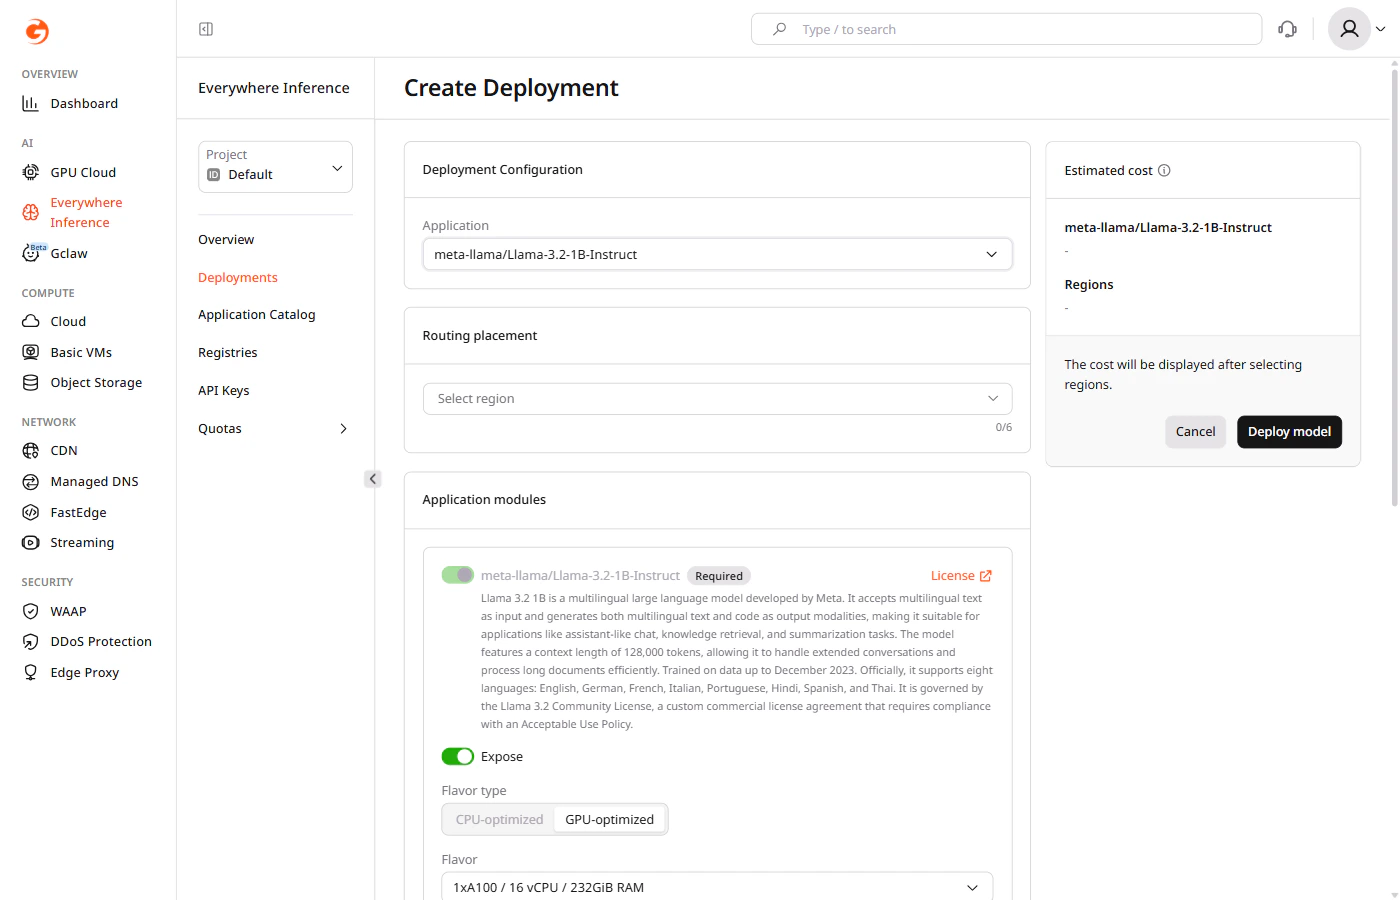
Step 3. Select regions
Under Routing placement, click Select region and select up to six regions where the model will run.Step 4. Configure application modules
Under Application modules, configure the main module:- Expose — controls whether the module endpoint is publicly accessible. Enabled by default.
- Flavor type — select CPU-optimized or GPU-optimized depending on the model requirements.
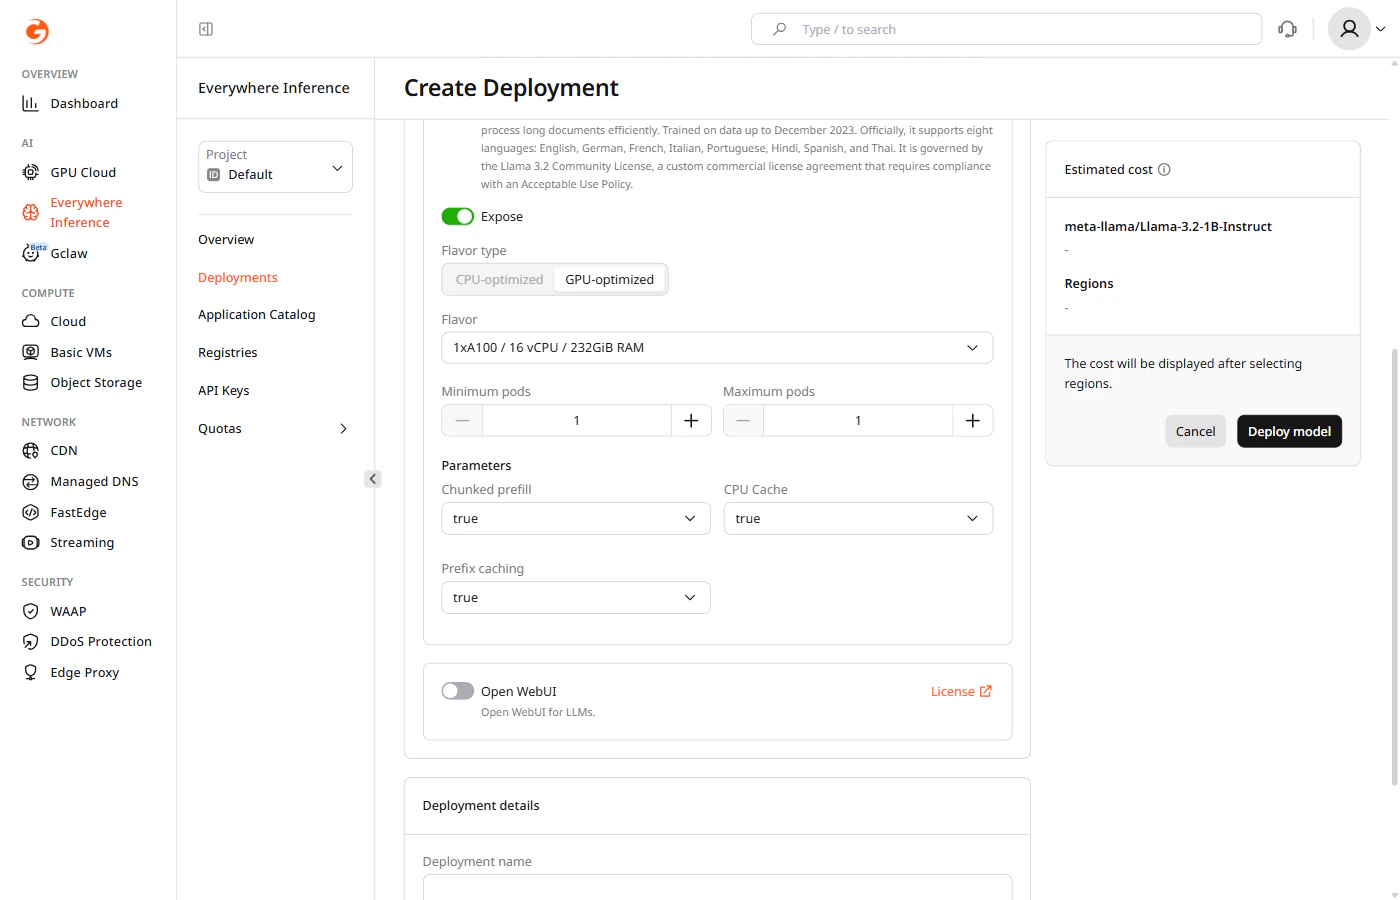
- Flavor — select the hardware configuration from the dropdown.
- Minimum pods — the minimum number of pods to keep running during low-traffic periods.
- Maximum pods — the maximum number of pods Gcore provisions during peak traffic.
- Chunked prefill — splits long prompts into smaller chunks for processing. Default:
true. - CPU Cache — caches KV tensors in CPU memory when GPU memory is full. Default:
true. - Prefix caching — reuses cached KV state for repeated prompt prefixes. Default:
true.
The main application module cannot be removed.
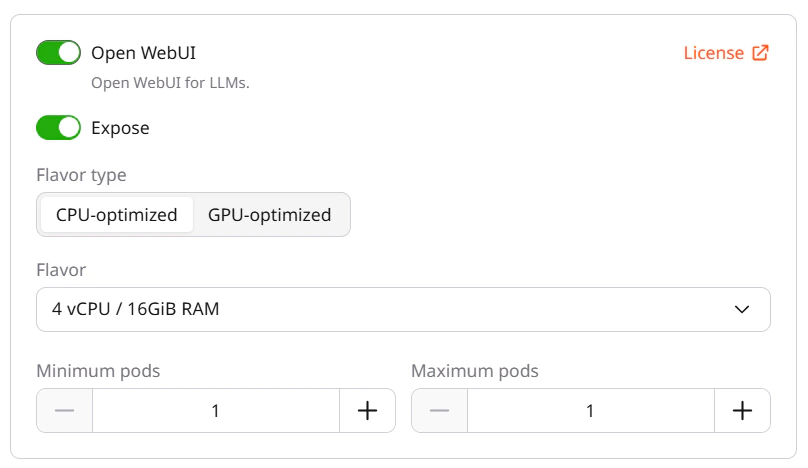
- Expose — controls whether the Open WebUI endpoint is publicly accessible.
- Flavor type — select CPU-optimized or GPU-optimized.
- Flavor — select the hardware configuration for the Open WebUI module.
- Minimum pods and Maximum pods — set the pod scaling range for the module.
Each enabled module consumes one inference instance from the quota.
Step 5. Name the deployment
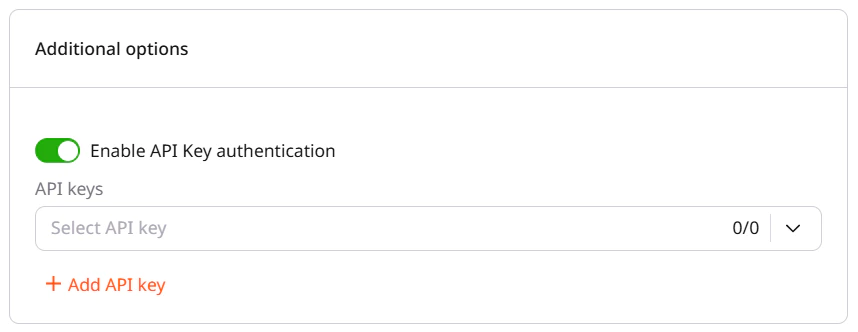
Under Deployment details, enter a name for the deployment. Use only letters and numbers — hyphens are not allowed in deployment names.Step 6. Set additional options
(Optional) Enable the Enable API Key authentication toggle to restrict access using API keys.