Request a quota increase if the account quota is insufficient for the selected flavor.
Deploy the model
In the Gcore Customer Portal, navigate to Everywhere Inference > Deployments and click Deploy custom inference in the top-right corner. The Deploy custom model form opens.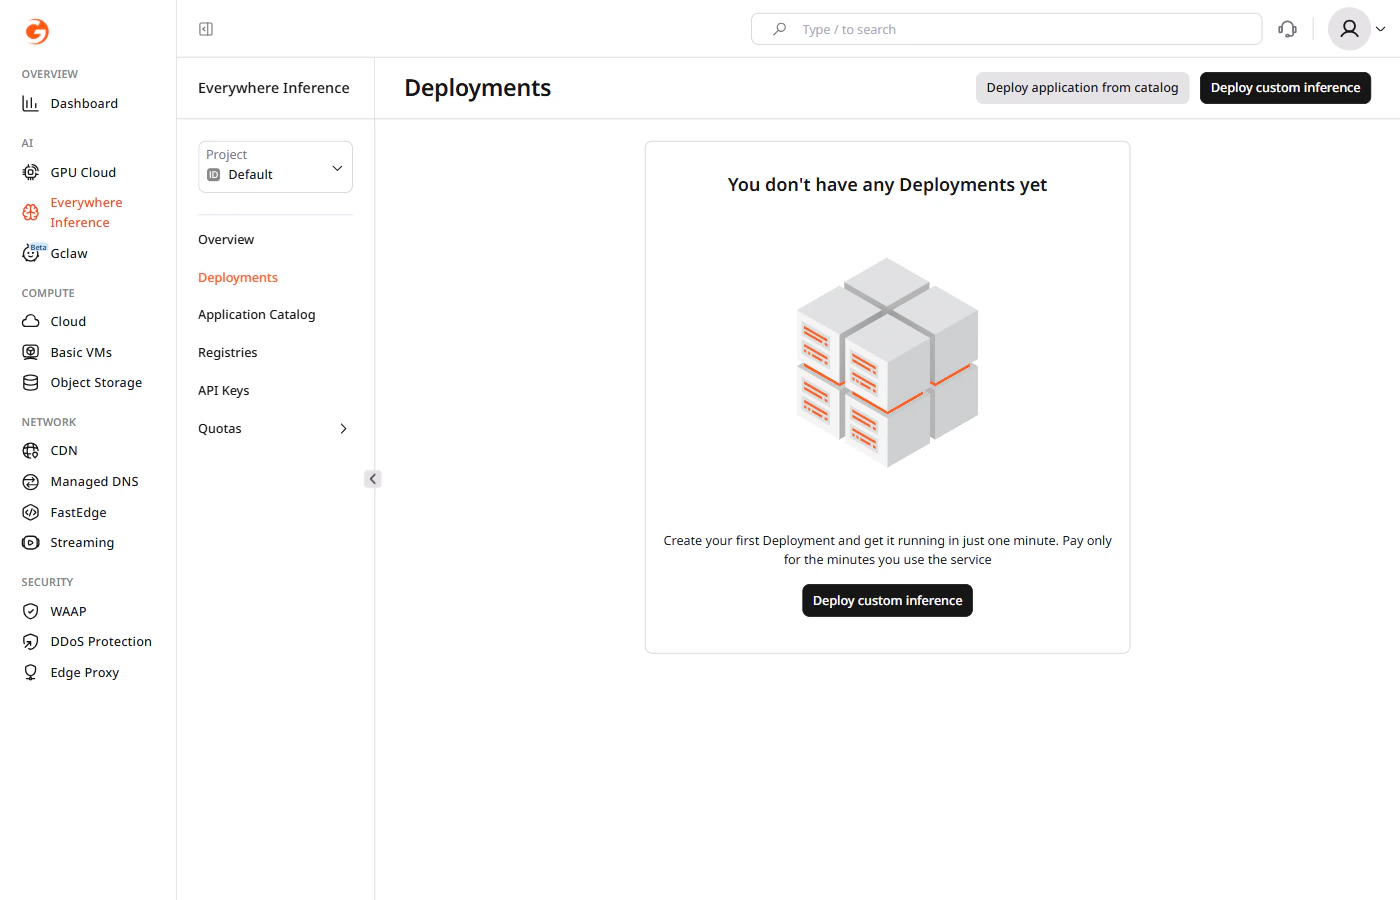
Step 1. Configure the model image
Under Model image, configure the container image source. Public registry: Select Public, then enter the Model image URL (docker tag) and the Container port where the model listens for requests.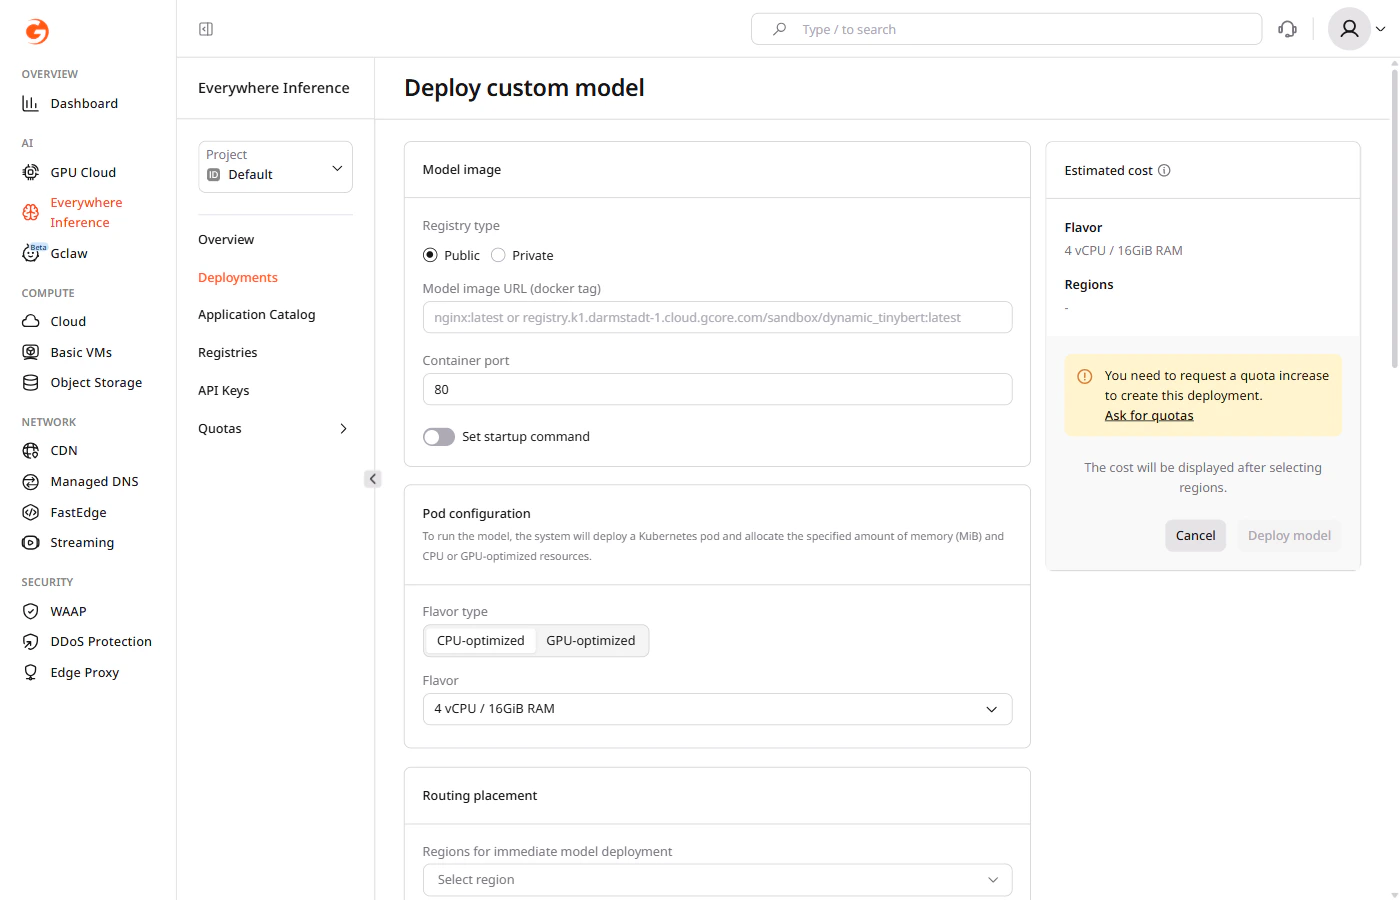
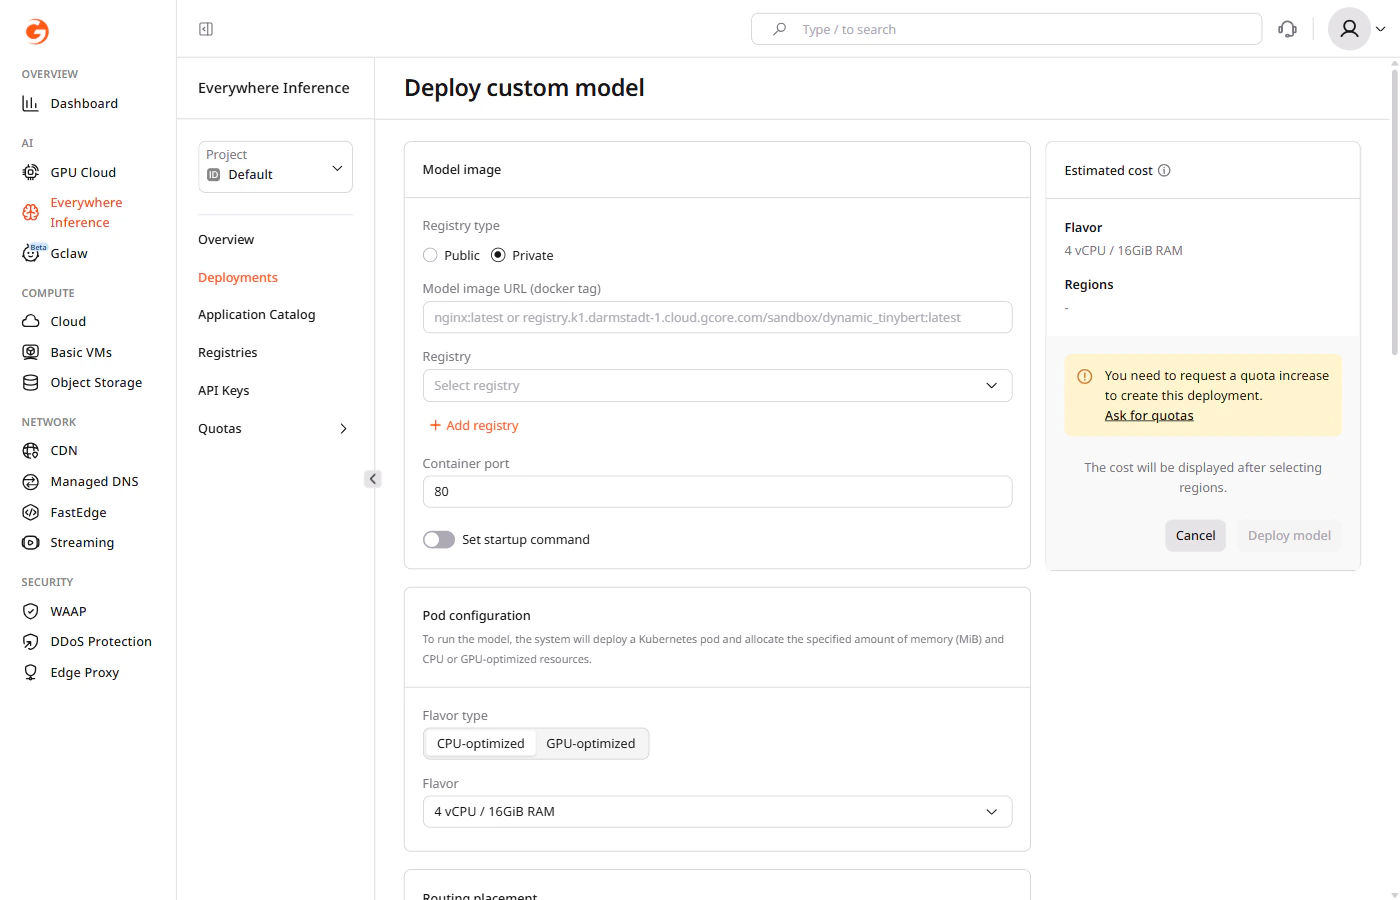
Step 2. Select pod configuration
Under Pod configuration, select the compute resources for the deployment:- Flavor type — select CPU-optimized or GPU-optimized.
- Flavor — select the hardware configuration from the dropdown.
| Billion parameters | Recommended flavor |
|---|---|
| < 21 | 1 x L40S 48 GB |
| 21–41 | 2 x L40S 48 GB |
| > 41 | 4 x L40S 48 GB |
Step 3. Set up routing placement
Under Routing placement, select up to six regions where the model will run.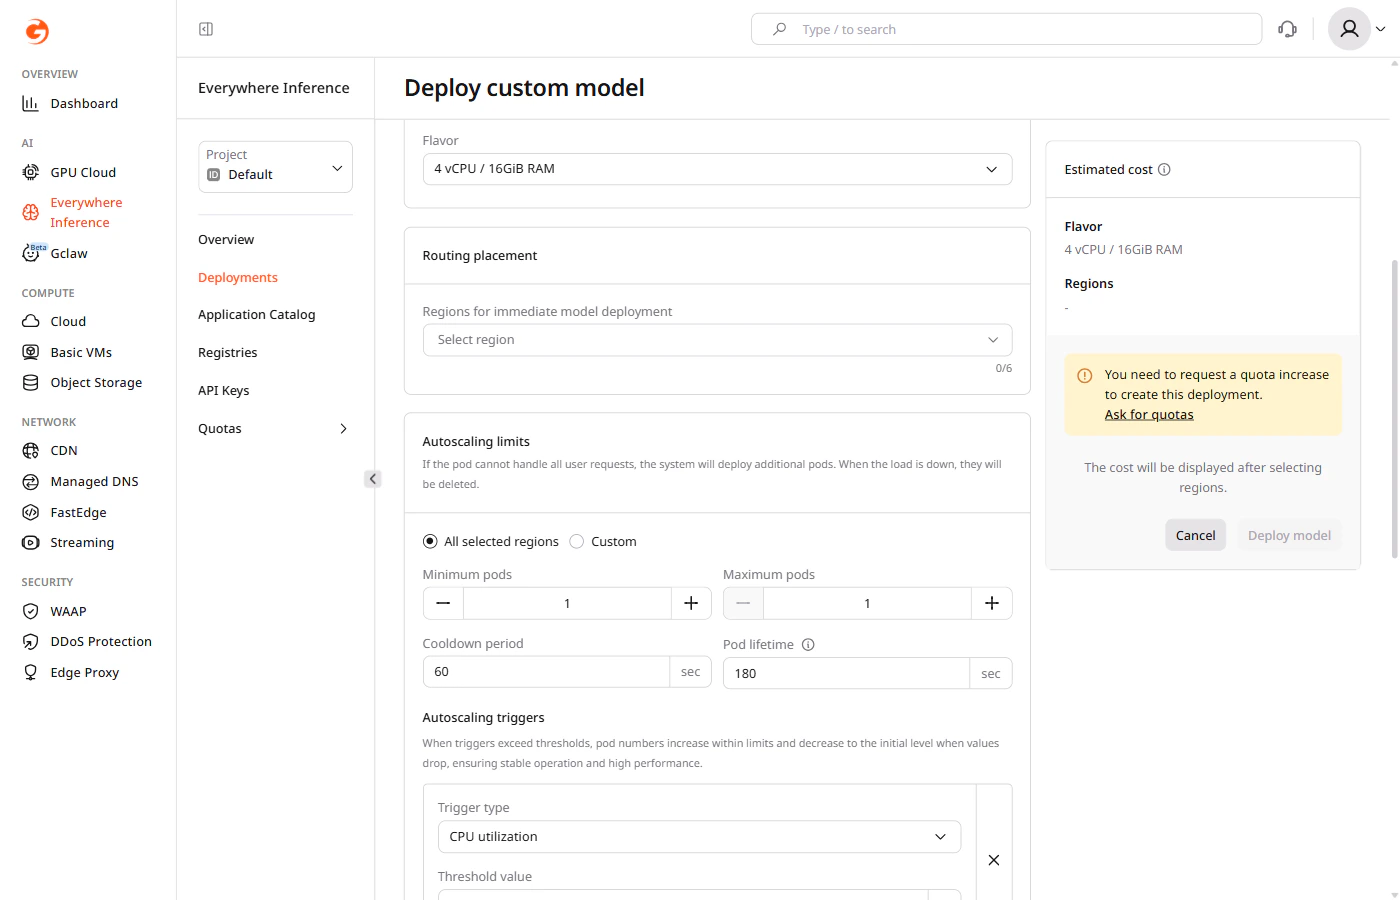
Step 4. Configure autoscaling
Under Autoscaling limits, configure pod scaling:- All selected regions — applies the same autoscaling settings to all selected regions.
- Custom — applies different settings per region.
- Minimum pods — the minimum number of pods to maintain during low-traffic periods.
- Maximum pods — the maximum number of pods that can be provisioned during peak traffic.
- Cooldown period — the time (in seconds) the autoscaler waits after a scaling event before making another adjustment.
- Pod lifetime — the time (in seconds) before an idle pod is deleted after its last request.
A pod with a lifetime of zero seconds will take approximately one minute to scale down.
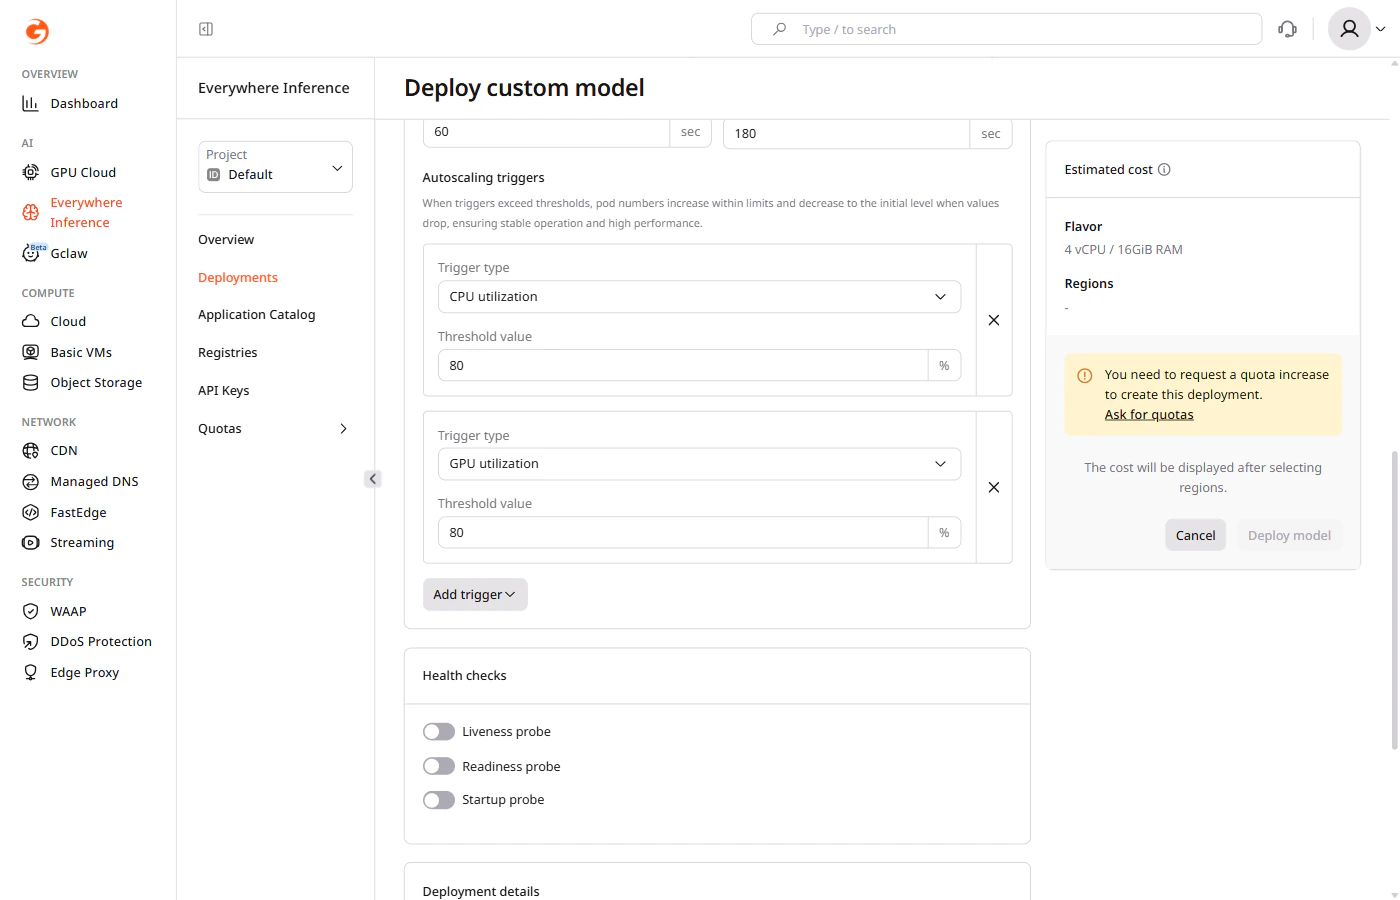
Step 5 (optional). Configure health checks
Under Health checks, enable probes to monitor container availability:- Liveness probe — restarts the container if it becomes unresponsive.
- Readiness probe — removes the container from load balancing until it is ready to serve traffic.
- Startup probe — delays other probes until the container finishes starting up.
Step 6. Set deployment details
Under Deployment details, enter a deployment name. Use only letters and numbers — hyphens are not allowed in deployment names. An optional description can also be added.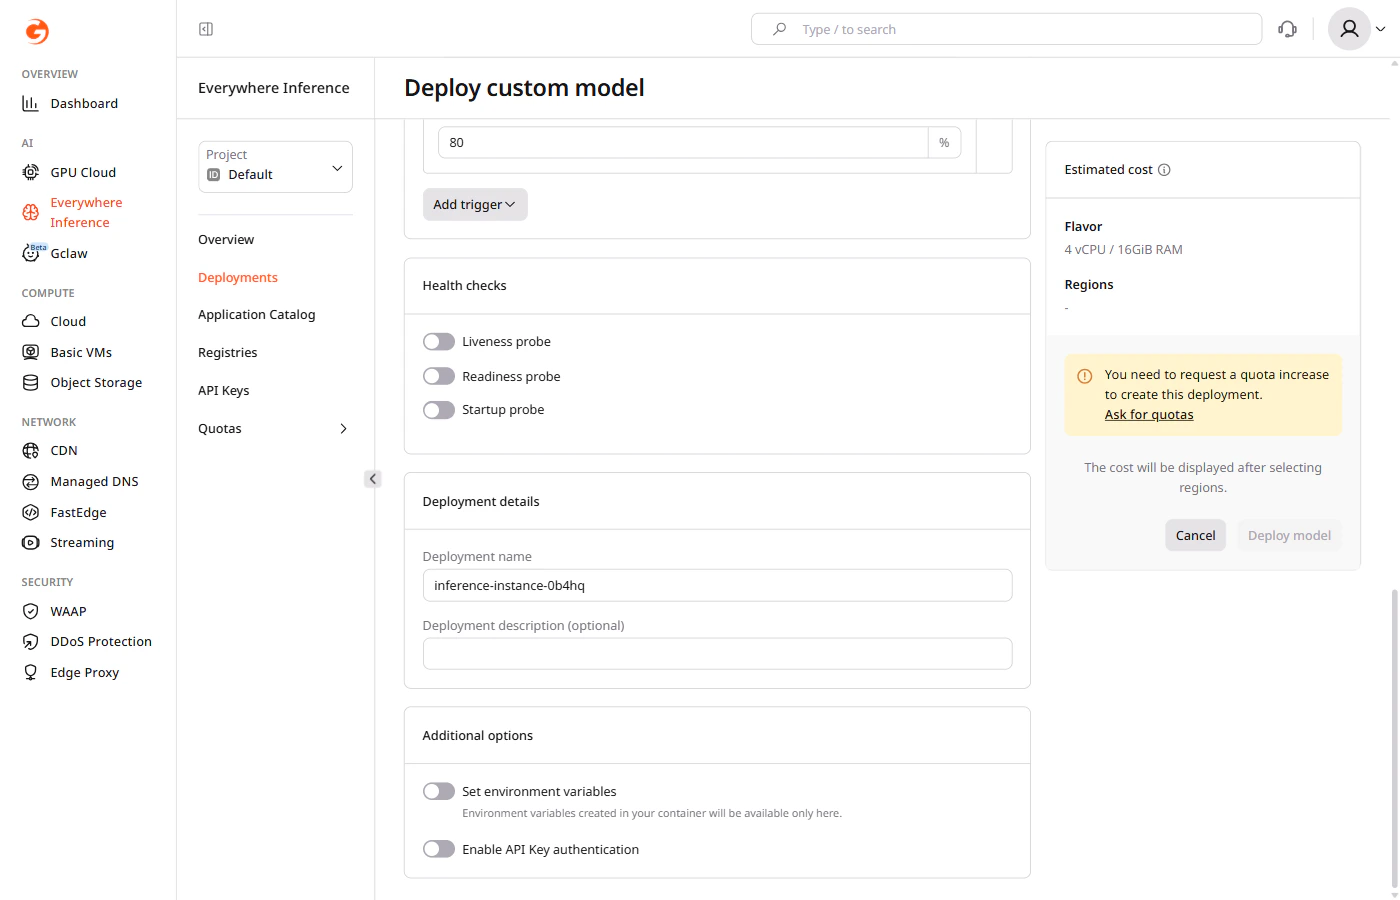
Step 7 (optional). Set additional options
Under Additional options:- Enable Set environment variables to pass key-value pairs to the container at runtime.
- Enable Enable API Key authentication to restrict access using API keys.