Step 1. Initiate the process
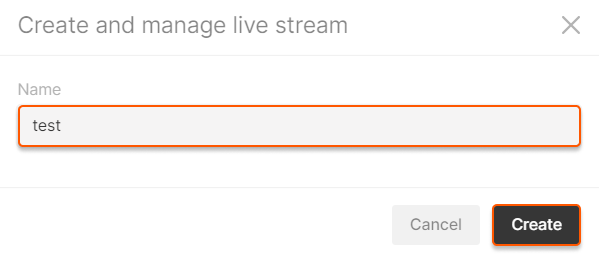
1. In the Gcore Customer Portal, navigate to Streaming > Live Streaming. 2. Click the Create Live stream button on the top right.
The Create… button is unavailable
The Create… button is unavailable

Step 2. Set the ingest type and additional features

Low latency explanation
Low latency explanation
By default, we offer live streams with low latency (a 4–5 second delay.) Low latency is available in two protocols: LL-DASH (compatible with all devices except iOS) and LL-HLS (compatible with iOS). You can also obtain legacy HLS with MPEGTS format segments, in which case, please read our article.
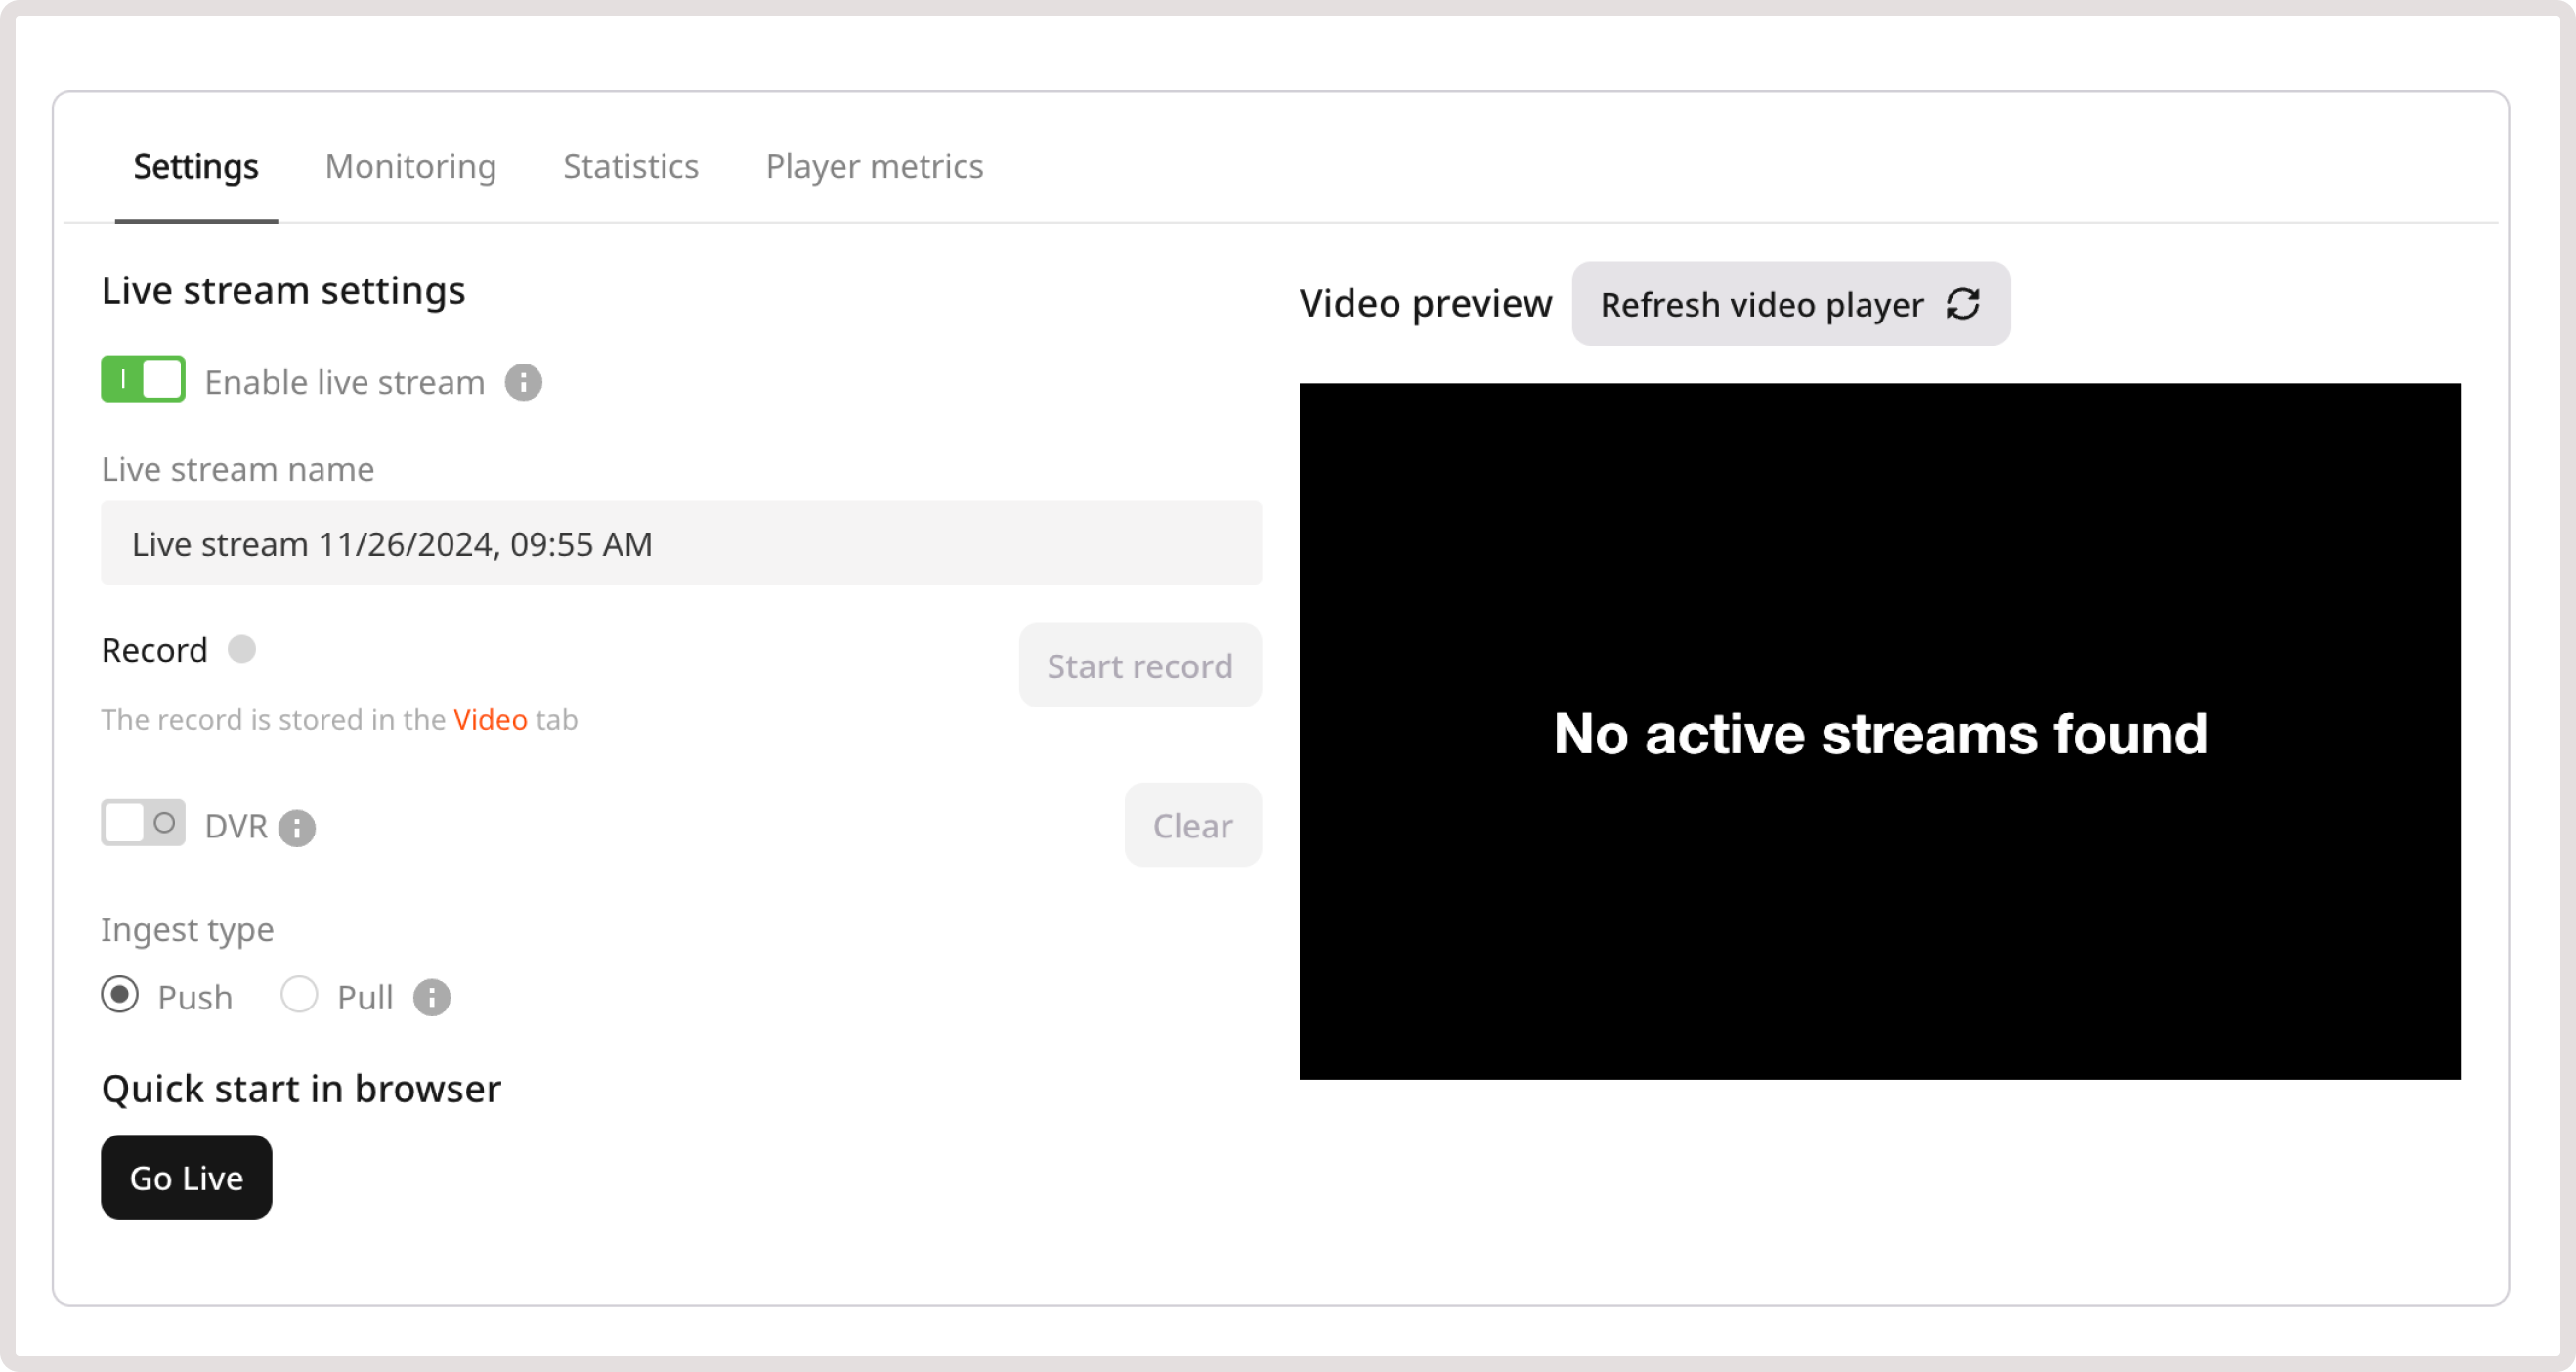
- Record for live stream recording. It will be active when you start streaming. Remember to enable the toggle if you require a record of your stream.
- DVR for an improved user experience. When the DVR feature is enabled, your viewers can pause and rewind the broadcast.
- Choose Push if you don’t use your own media server. Establish the URL of our server and the unique stream key in your encoder (e.g. OBS, Streamlabs, vMix, or LiveU Solo). You can use protocols RTMP, RTMPS, and SRT too. The live stream will operate on our server, will be converted to MPEG-DASH and HLS protocols, and will be distributed to end users via our CDN.
- Choose Pull if you have a streaming media server. The live stream will operate on your server. Our server will convert it from the RTMP, RTMPS, SRT, or other protocols to MPEG-DASH and HLS protocols. Then, our CDN will distribute the original live stream in the new format to end users.
Step 3. Configure your stream
Depending on the selected ingest type and protocol, your settings will differ. Refer to specific protocol pages for more details:Step 4. Start the stream
Start a live stream on your media server or encoder. You will see a streaming preview on the Live Stream Settings page if everything is configured correctly.Step 5. Embed the stream to your app
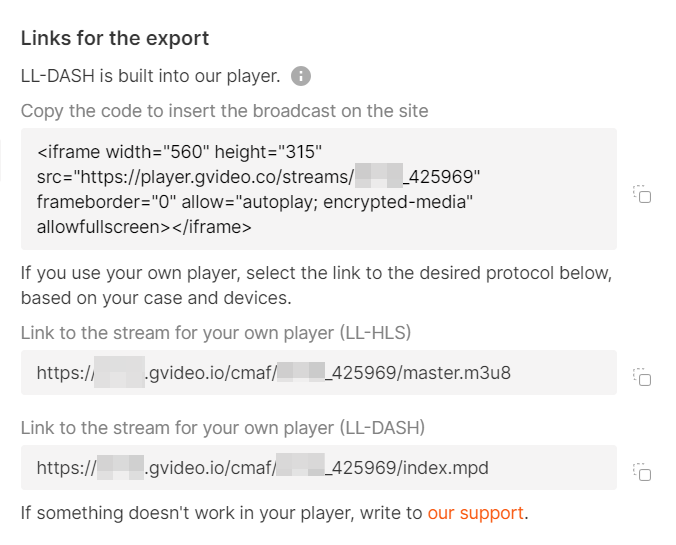
Embed the created live stream into your web app by one of the following methods:- Copy the iframe code to embed the live stream within the Gcore built-in player.
- Copy the export link in a suitable protocol and paste it into your player. Use the LL-DASH link if your live stream will be viewed from any device except iOS. Use LL HLS for iOS viewing.
