Add response headers
Our “Response headers (add)” option allows you to set custom HTTP headers that CDN servers will include in a response to an end-user. If the same header is already configured on your server, the CDN servers will override its value. 1. Go to the CDN resource settings. Do the remaining steps below on the tab that opens.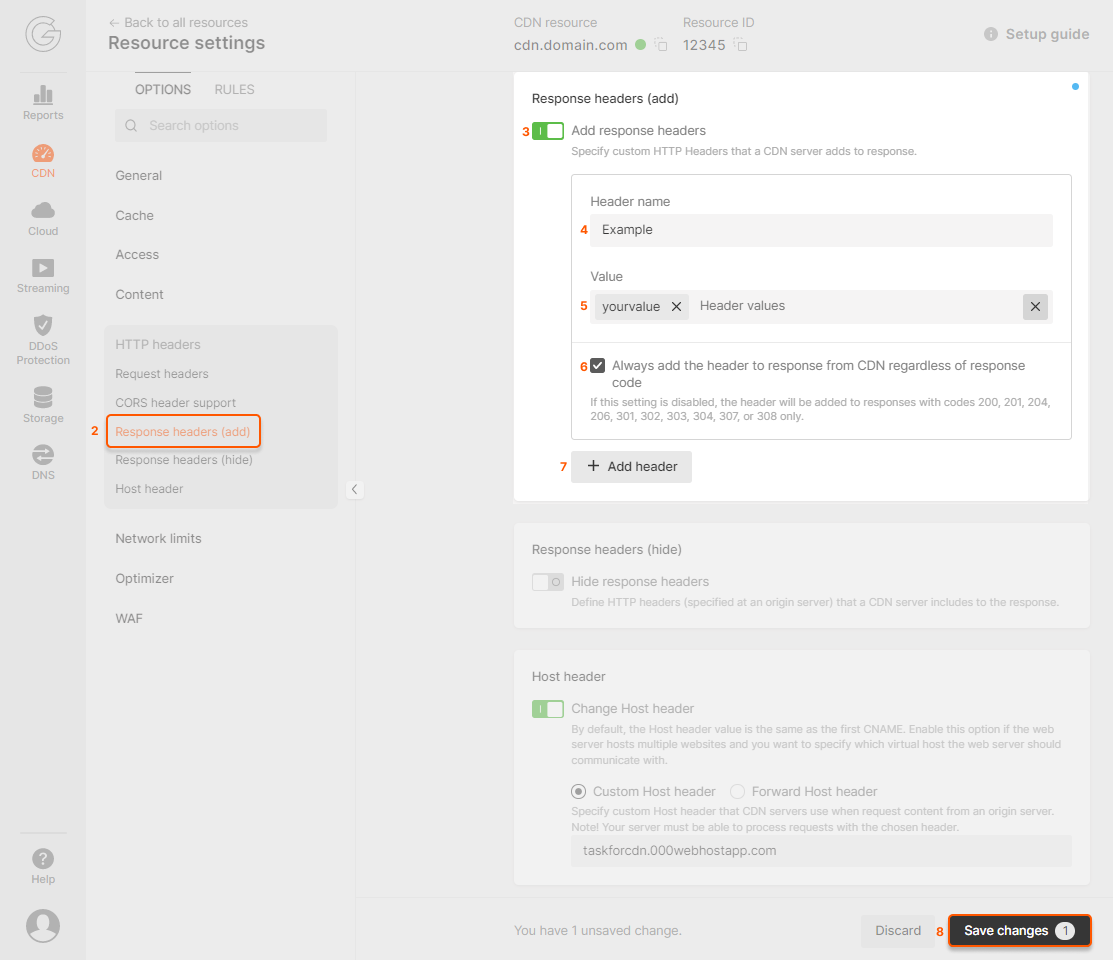
Add multiple header values
If you need to add more than one header value, you can do it in two ways. It determines how response headers will look like:- If you need to send header values in different strings, enter value of the first header in the “Value” field and press “Enter”, then enter a value of the second header and press “Enter”, and so on.
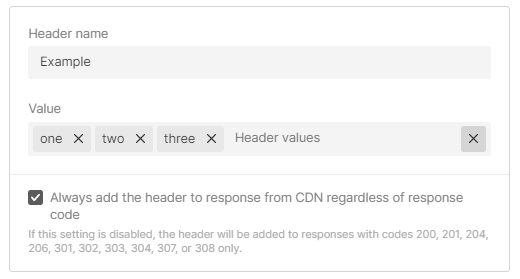
- If you need to send header values in one string, fill in the “Value” field with header values separated by commas.
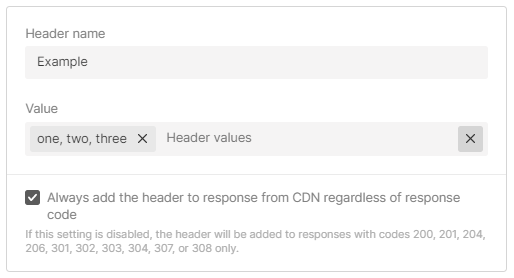
Example: one, two, three
You can also combine both ways: enter the values separated by commas and add other values to them separately.
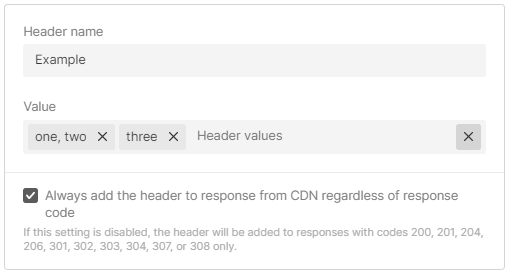
- “Header name”: Latin letters (A-Z, a-z), numbers (0-9), underscore (_) and hyphen (-),
- “Value”: Latin letters (A-Z, a-z), numbers (0-9), a space and the following special characters:
~!@#%^&*()-_=+ /|";:?.><{}[]
- Invalid characters: $’
- It can’t start with a special character
- It cannot contain only special characters
Check headers
1. Clear the cache of the CDN resource or files for which the header was added. 2. Run the cURL command using the terminal on your PC or online services:Hide response headers
By default, a CDN server passes all HTTP headers it receives from the client’s origin to end users. To adjust the headers that are being passed: 1. Go to the resource settings. 2. Switch on the Hide response headers option in the “HTTP headers” section.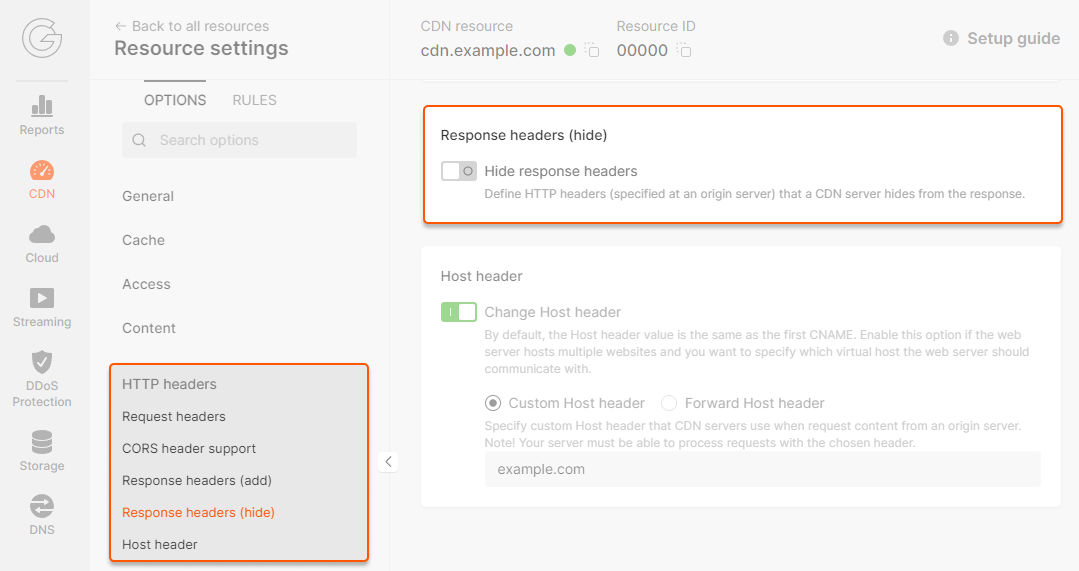
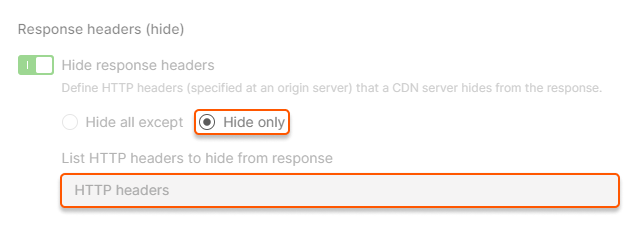
- Hide all except. Set the headers that will be kept in the response, and all other headers will be hidden. After enabling, the most popular headers will appear in the field. You can remove some of them from the response or add custom headers to the response. To remove, press the × icon. To add, click on the HTTP headers row and choose from the list or enter your own. The new header can contain letters (a-z), numbers (0-9), dashes (-), and underscores (_).
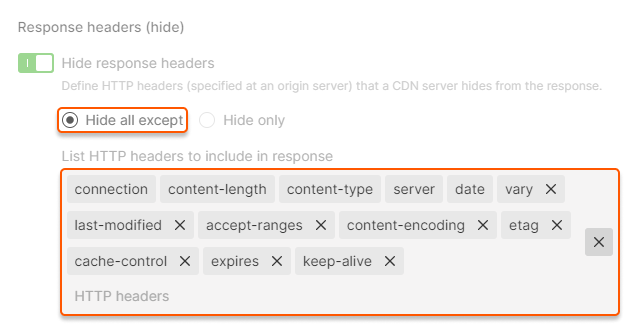
- Hide only. Set the headers that will be hidden from the response, and all other headers will be kept. Click on the HTTP headers row and choose from the list or enter custom headers.
