What is the difference between a Virtual Server and a Bare Metal?
A Virtual Server in the cloud does not interact directly with a physical computer; it uses a software layer called a hypervisor. The hypervisor allocates physical computing resources such as CPU, RAM, and Storage for each Virtual Machine (VM). The computing resources for these VMs are allocated from the shared physical hardware on which the created Virtual Server data is deployed. The hypervisor acts as a traffic cop of sorts, directing and allocating the Bare Metal’s resources to each of the various new virtual machines, ensuring they don’t disrupt each other. The disadvantage of a Virtual Server is limited performance, which can be critical for some applications. Bare Metal is considered to be a more high-performance solution. In this case, all physical server resources are allocated to a single user and can provide better performance than a comparable Virtual Server. Resources are not shared, as in the case of Virtual Machine, and the hypervisor level is not required, which allows the application to allocate more computing resources. Please note that due to the features of the Bare Metal infrastructure, creating a compatible custom image requires a special program to build the image for a physical server and code from a dedicated repository. We have prepared very detailed instructions with all the necessary files available via the link.Create a Bare Metal server
Physical machines are created inside the project. You can use the default project or create a new one (for more information, see the article “How to create and delete a project”).InfoNote! By default, physical servers are not available for ordering. To create a physical server, you need to request a quota increase.
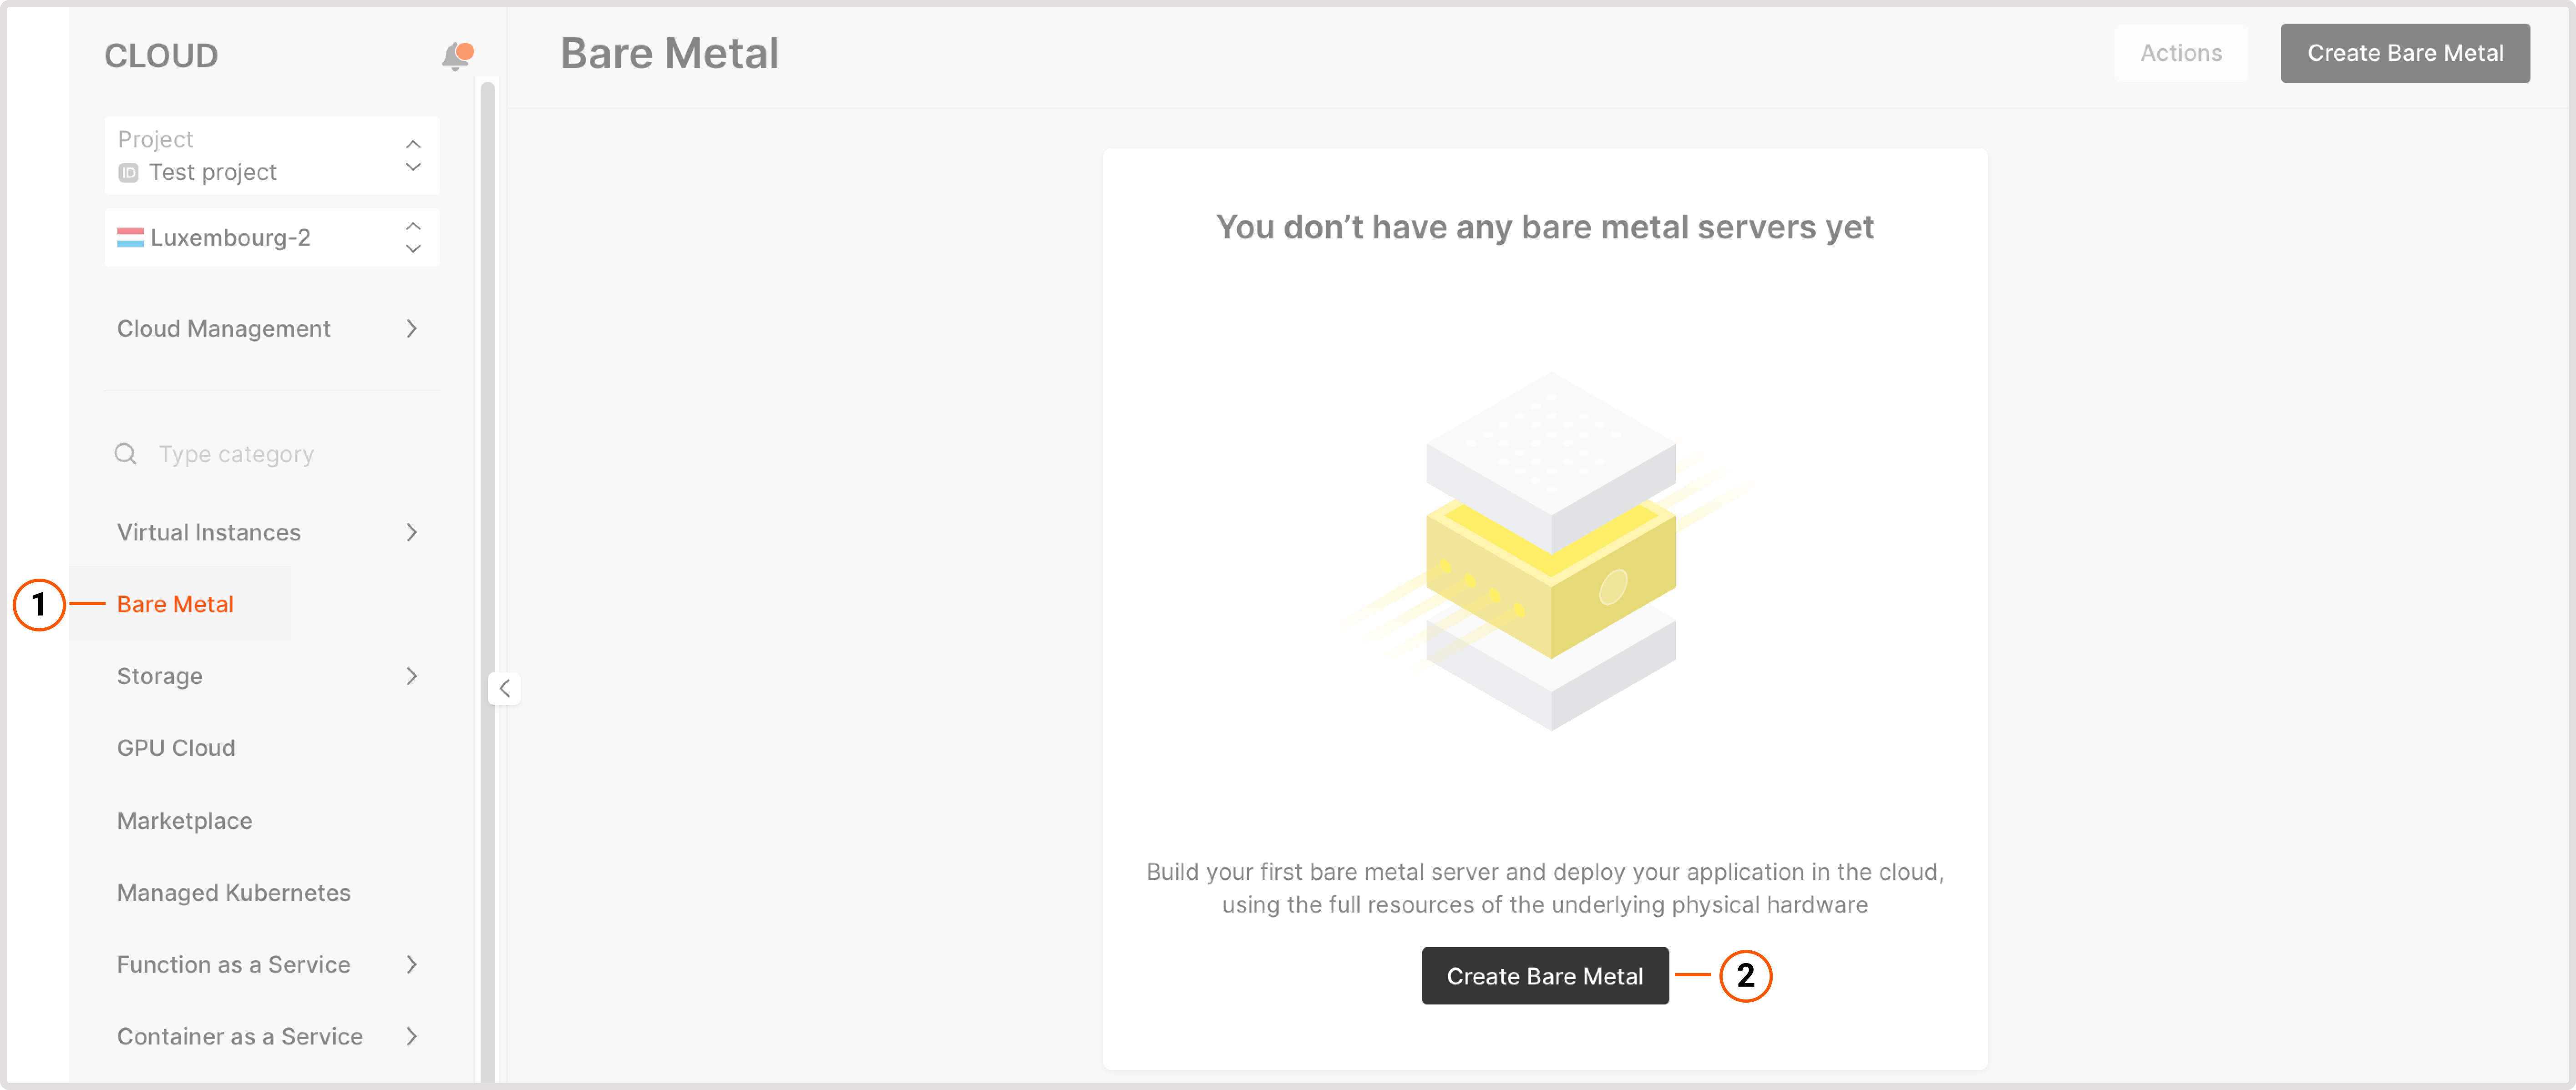
- In the Gcore Customer Portal, navigate to Cloud > Bare Metal.
- Click Create Bare Metal.
- Select the region.
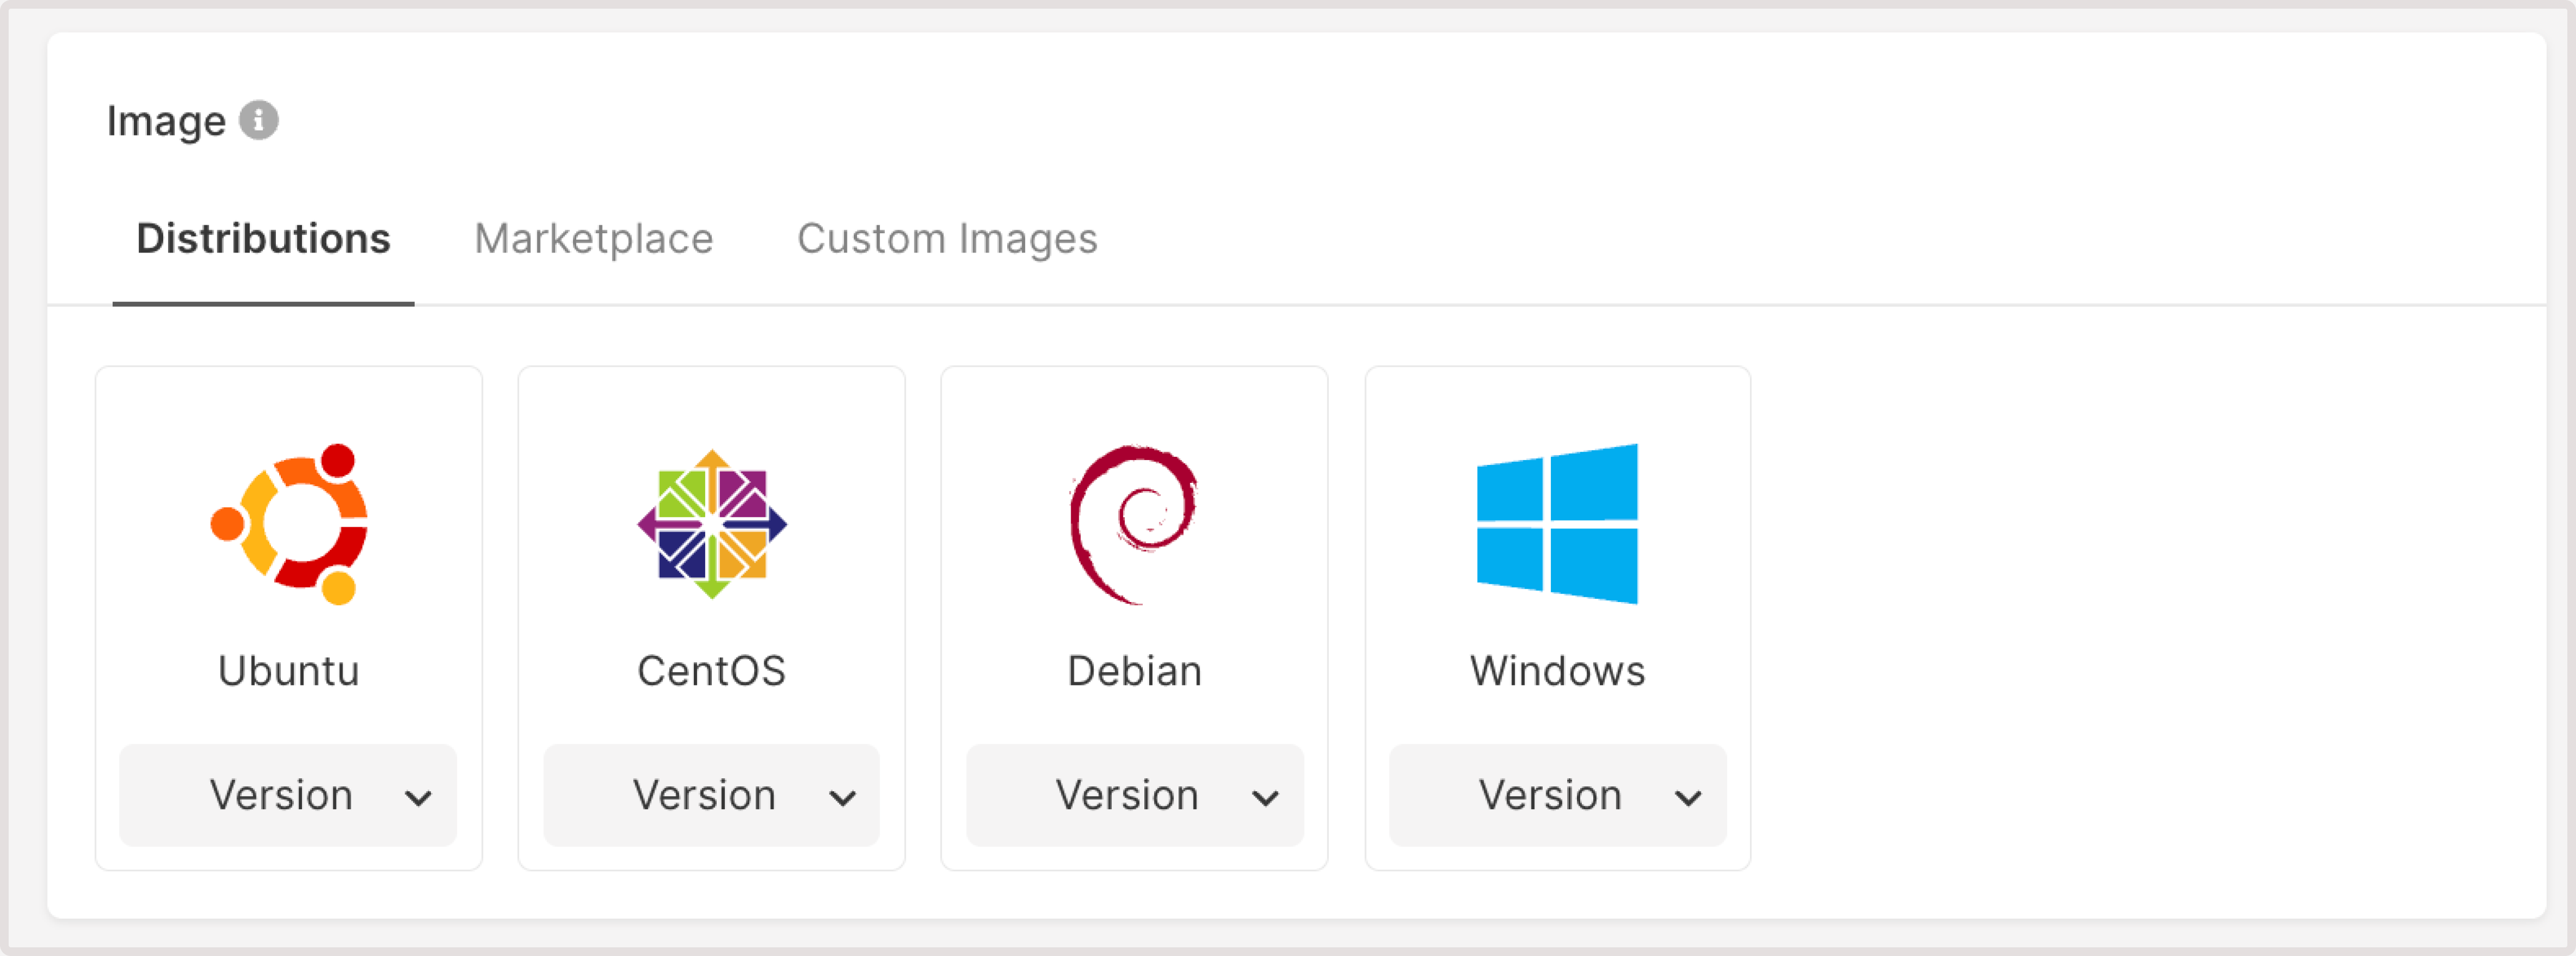
- Select the image to install. You can choose a system from the prepared templates or from custom images that you’ve previously uploaded. You can find more information about uploading the images in the article “Upload an image to the storage”. Consider that only prepared images can be used for Bare Metal servers.
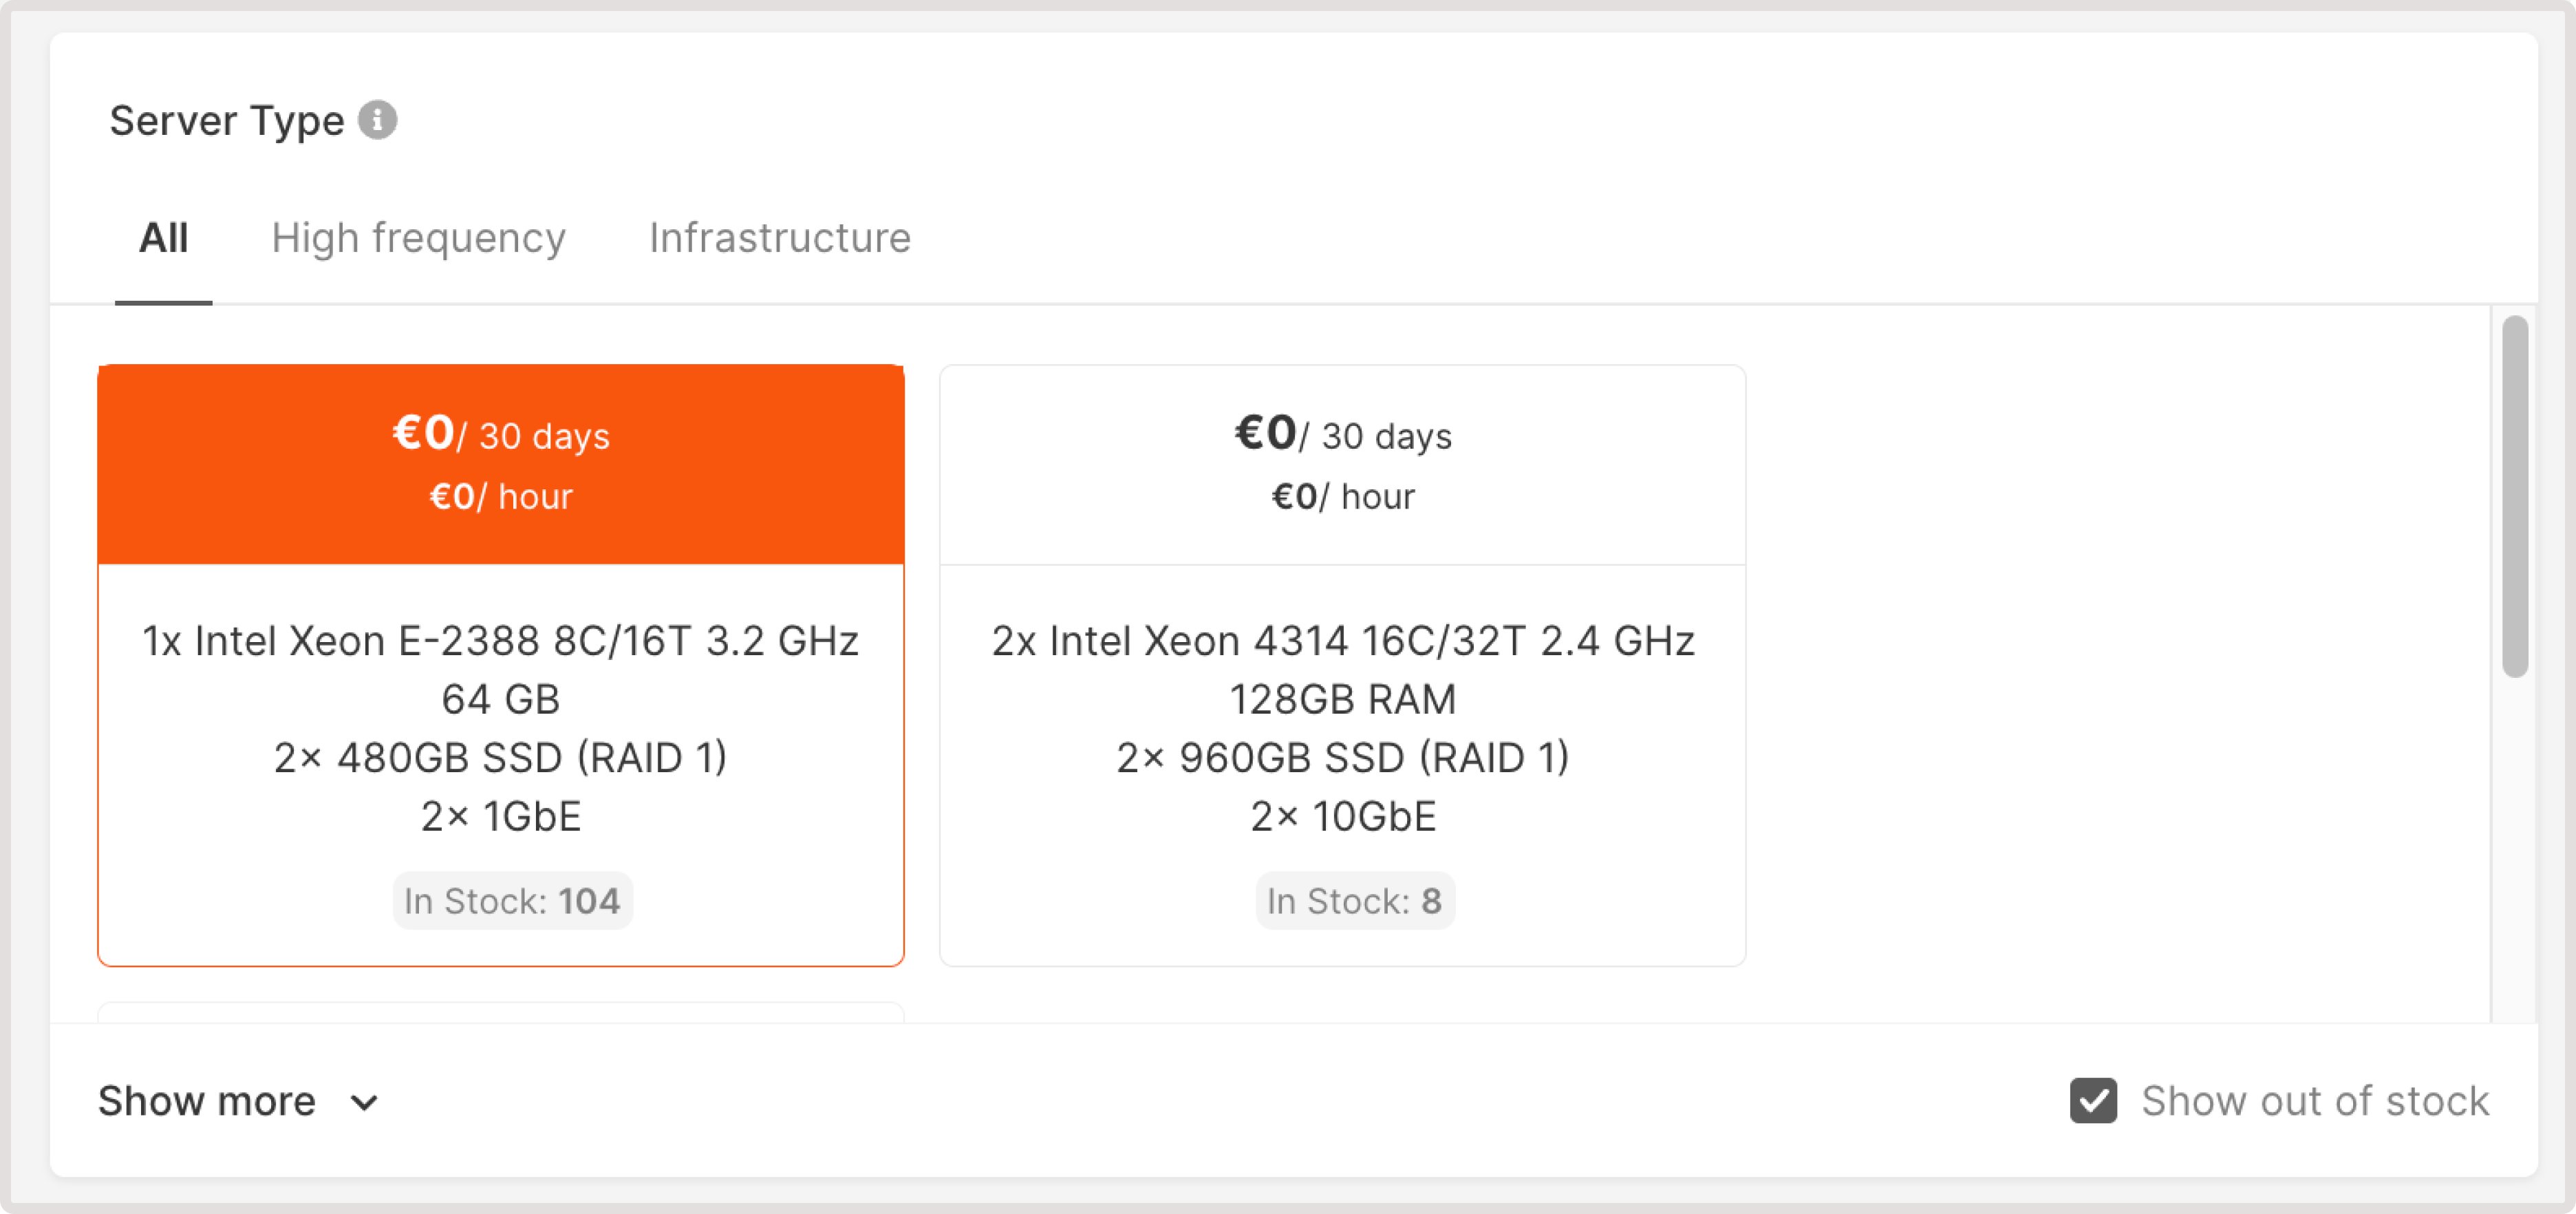
- Select the server type. Currently, “High-Frequency” and “Infrastructure” servers are available.
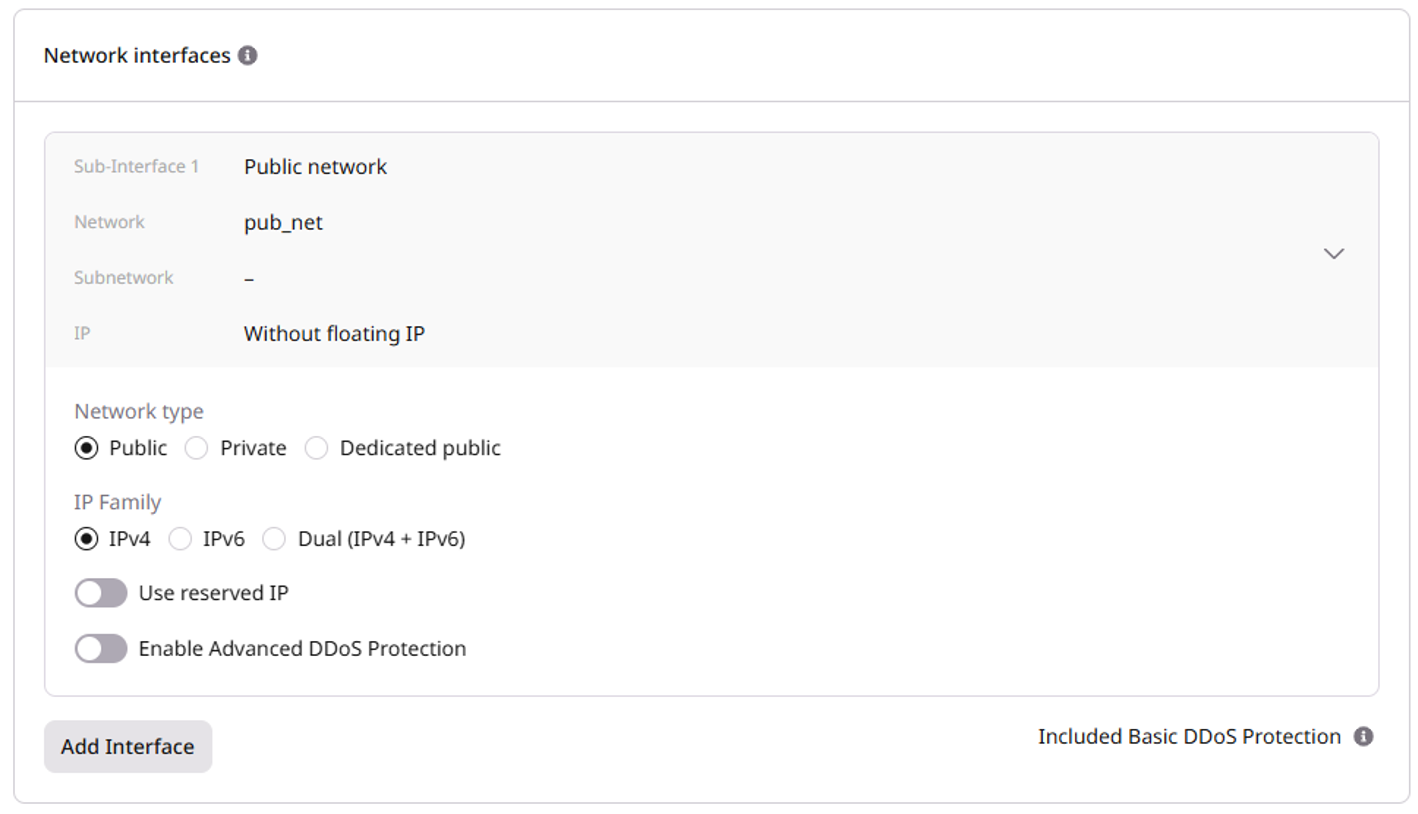
- Add network interfaces. You can create a public and private interface.
- Select the Network type: Public, Private, or Dedicated public.
- In the IP Family section, select the IP version: IPv4, IPv6, or Dual (IPv4 + IPv6).
- (Optional) Enable Use reserved IP to assign a reserved IP address to your Bare Metal.
- (Optional) Enable Advanced DDoS Protection for enhanced security.
InfoIf you need both a public and private interface, disable the default gateway on the private network’s subnetwork and assign a floating IP to the private interface.
- Configure a network
- Configure a subnetwork
If you previously created networks, select the needed network from the dropdown. To add a new network, click Private network radio button and configure the network as follows.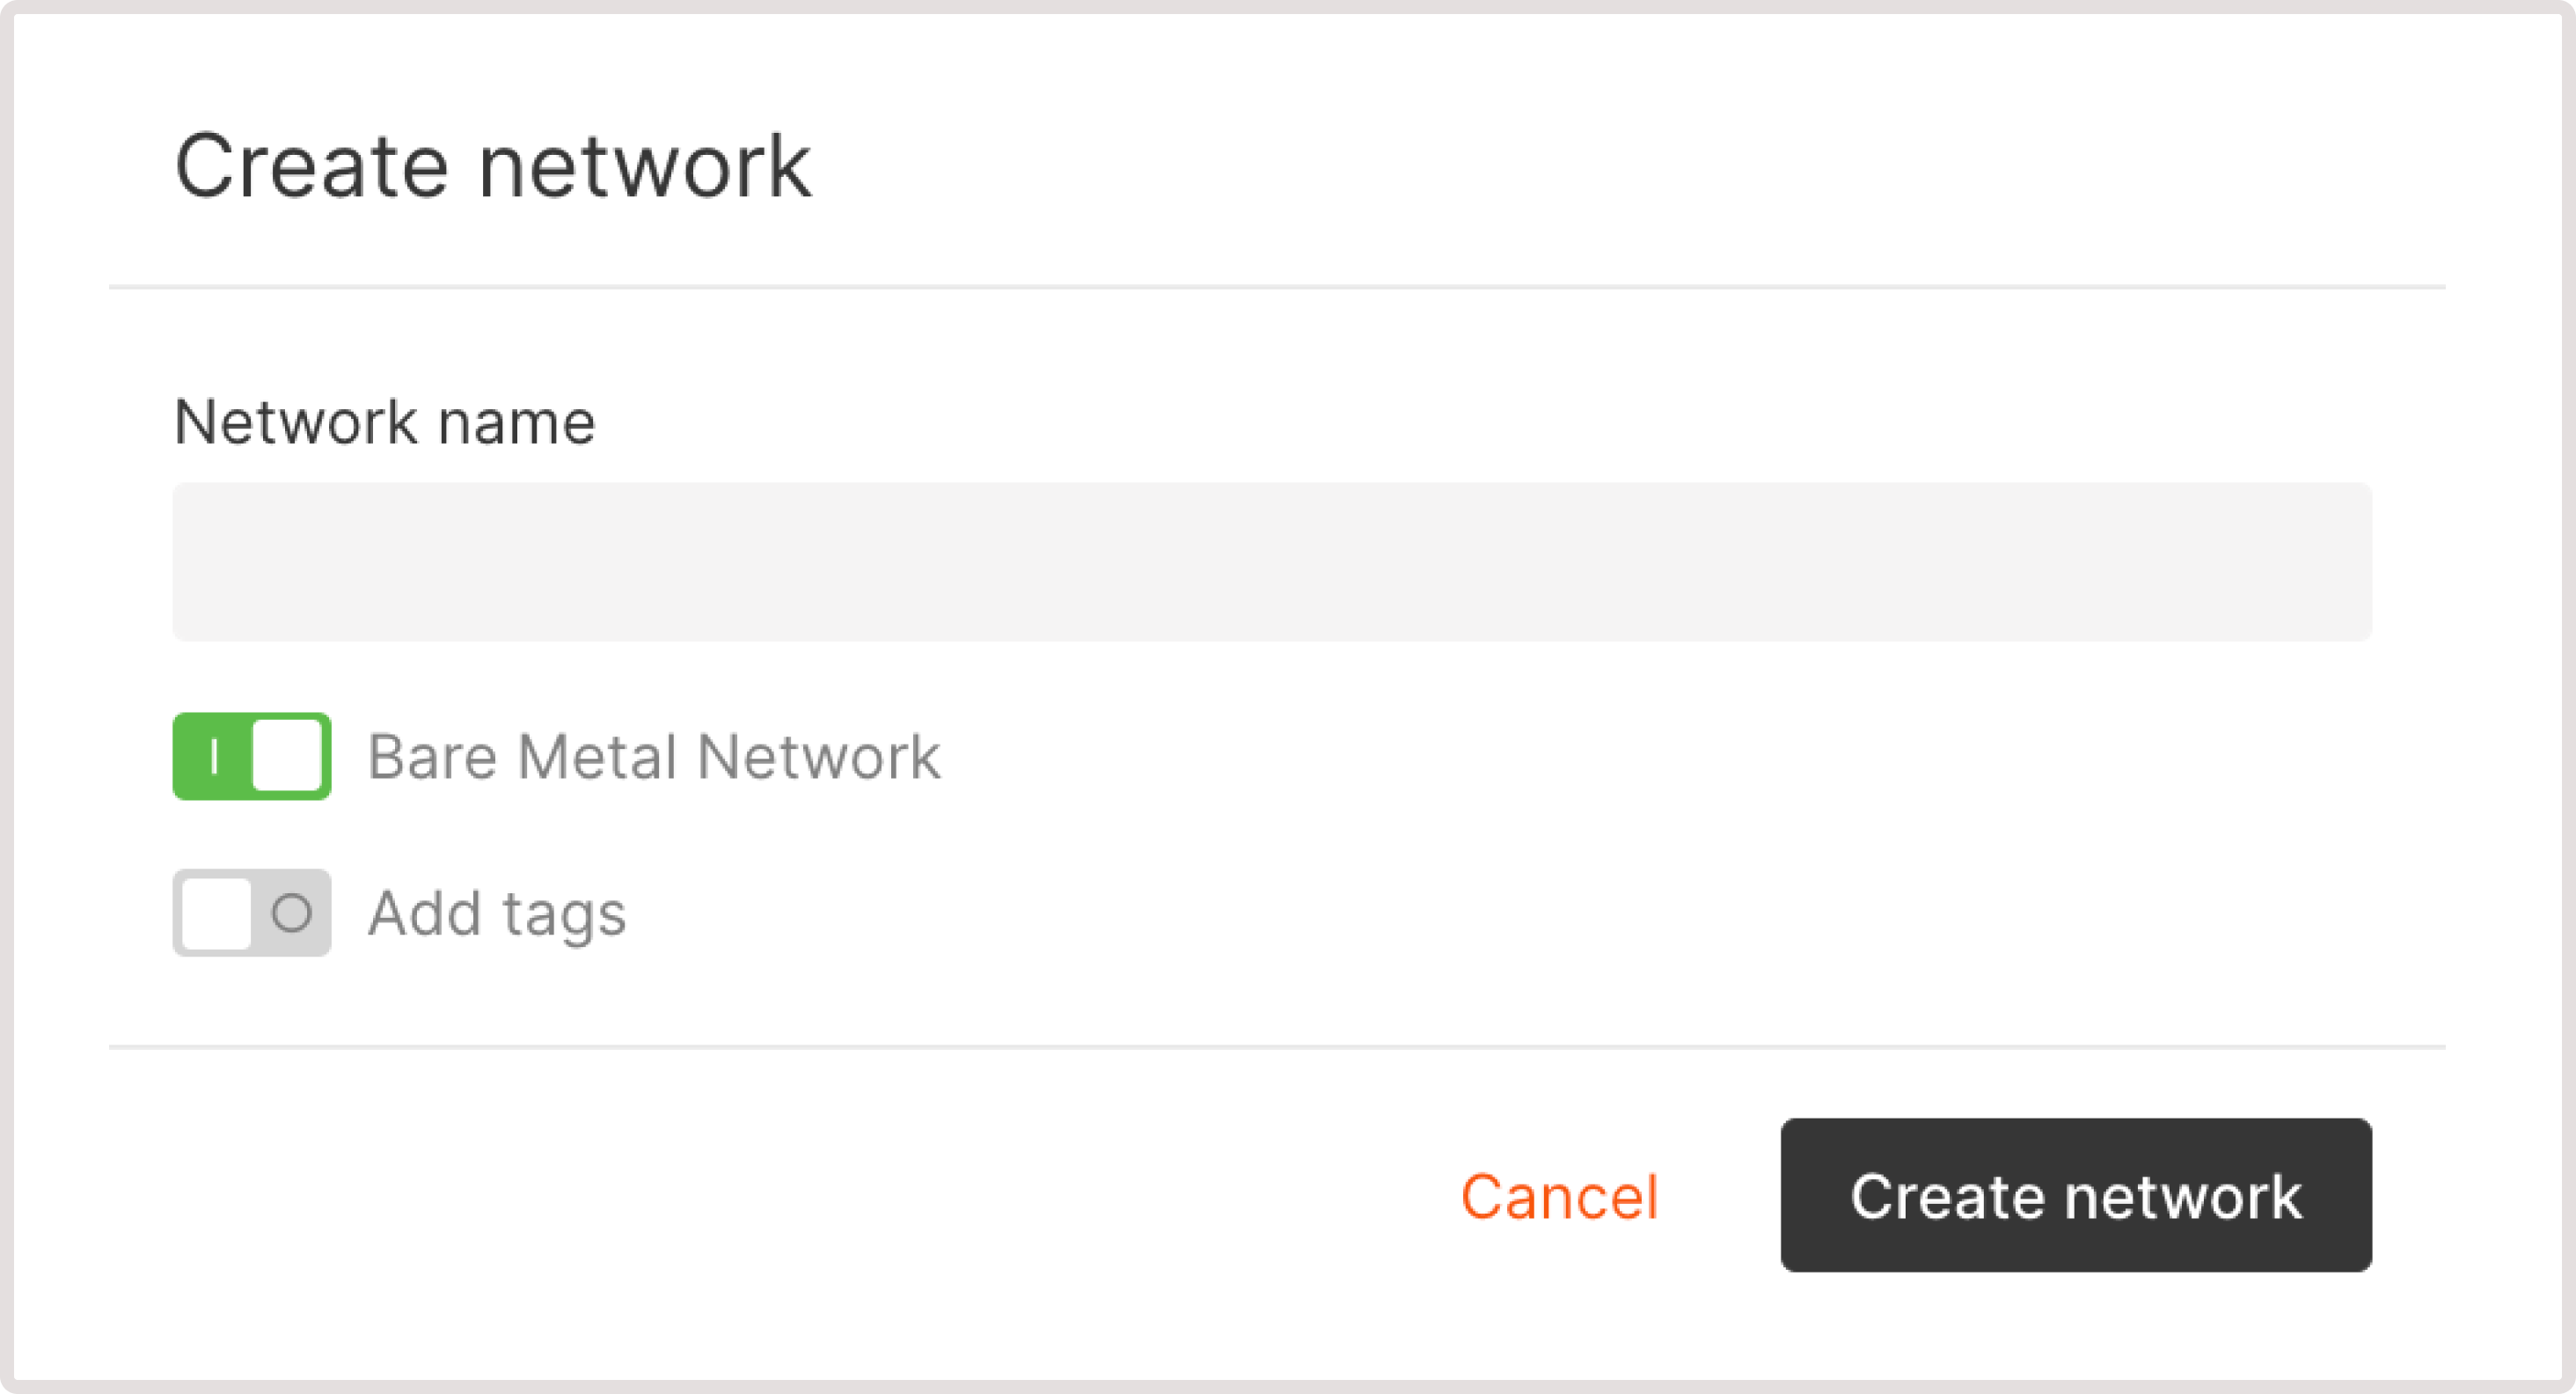
- Enter the network name.
- Ensure that the Bare Metal network toggle is enabled. This is required to connect Bare Metal servers to the network.
- (Optional) Turn on the Add tags toggle to add metadata to the network.
- Click Create network.

- Add an SSH key or generate a new one for a remote connection to a server. For more information about adding a key, read the article Connect to your Bare Metal via SSH. You can connect via SSH to all machines except Windows servers.
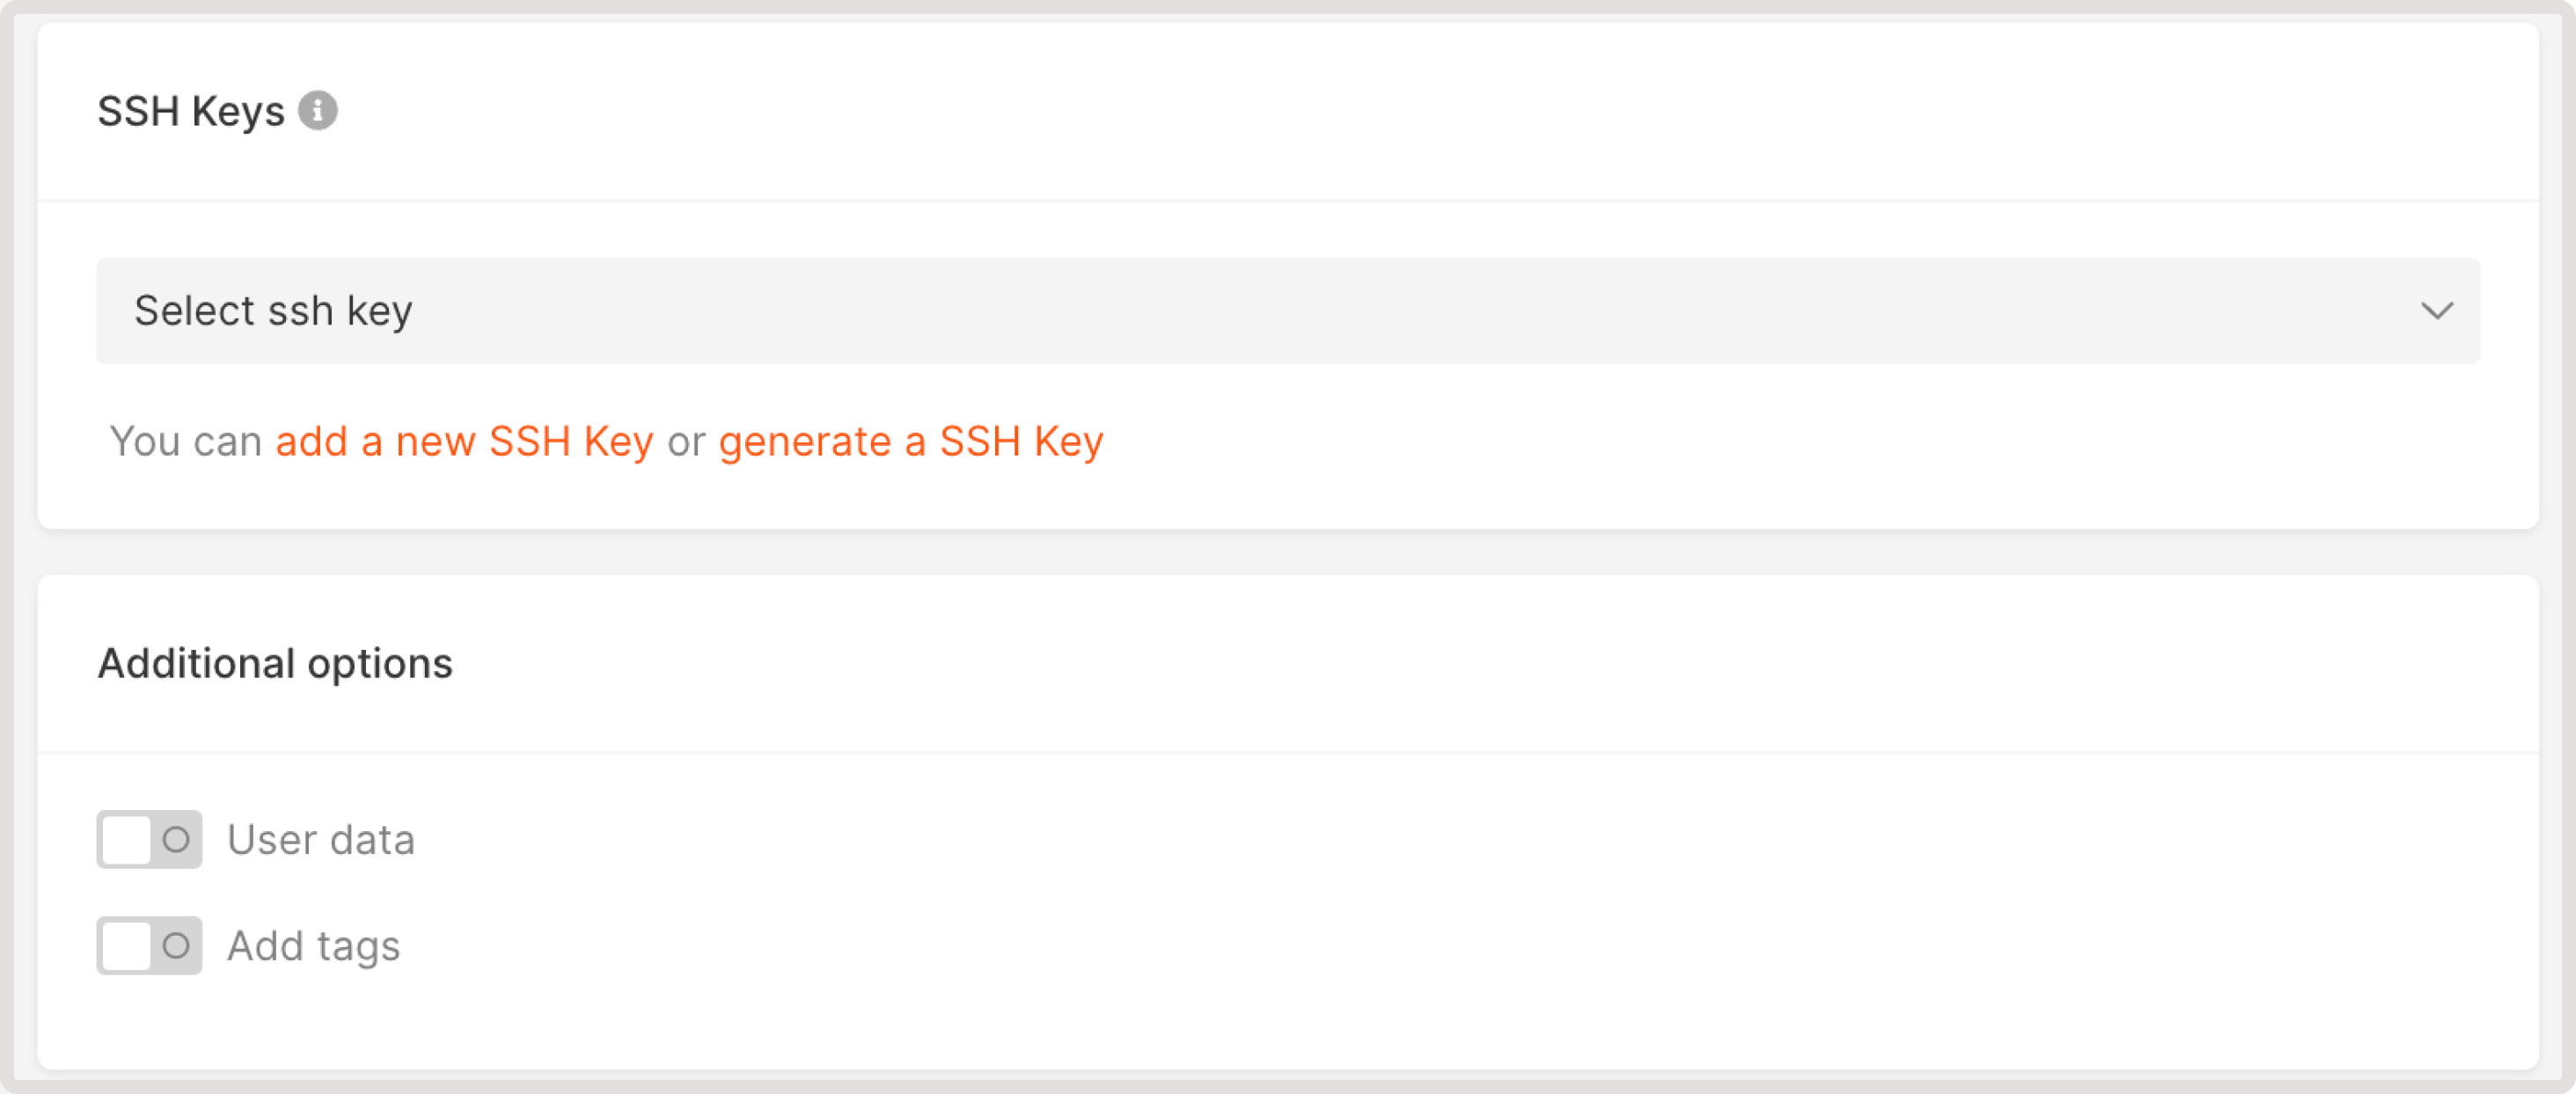
a-zA-Z), numbers (0-9) and special characters (!#$%&'()*+,-./:;<=>?@[]^_{|}~). Valid length is from 8 to 16 characters. You can connect to the Windows server from the Gcore Customer Portal or from your computer using the RDP protocol.

- In Additional options, you can add metadata for processing by a
cloud-initagent running on a Virtual Machine. To do it insert your script in the User data field.

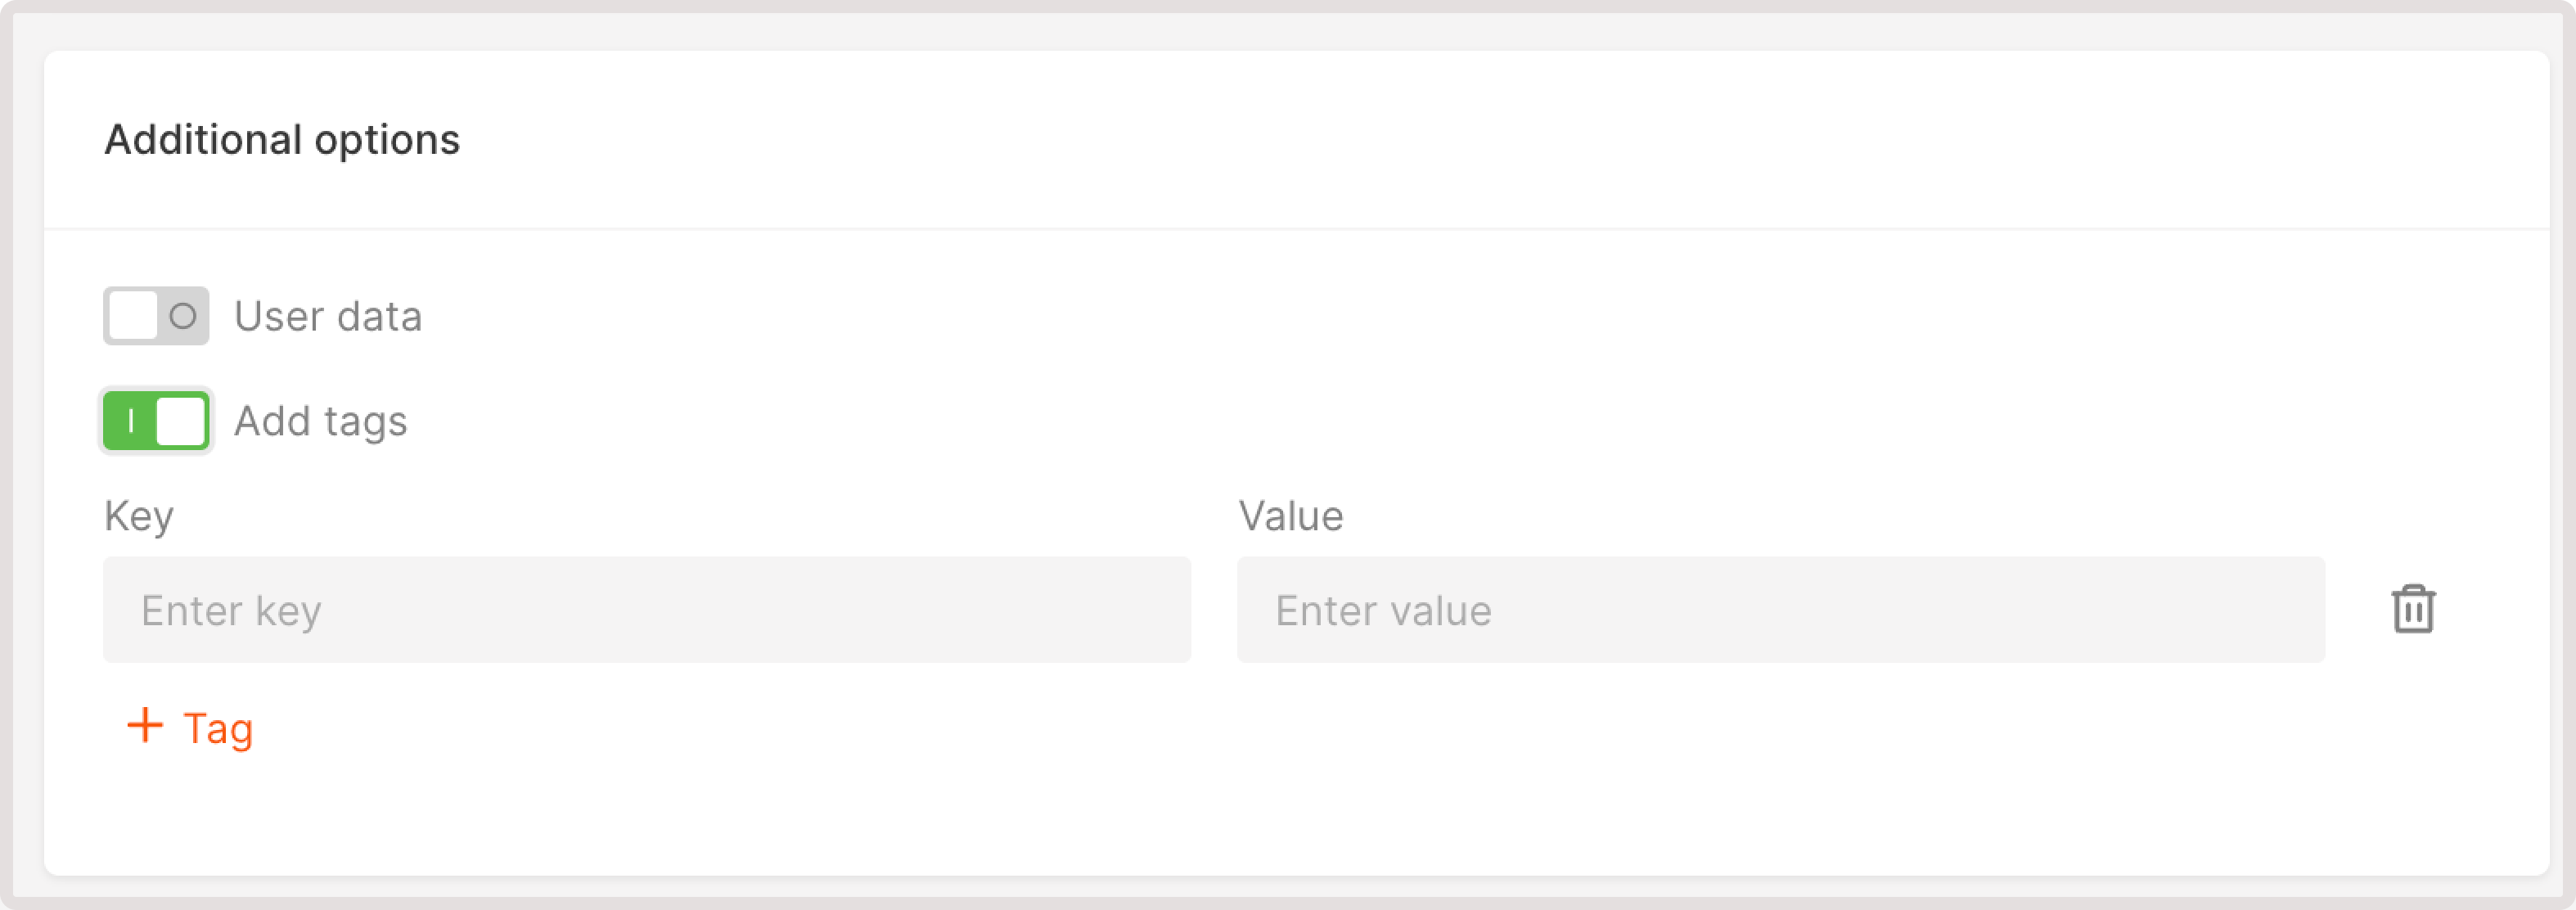
- Tags are key-value pairs that form the metadata of the machine description. Also, you can tag your server. To do it, activate the Tags option, and set the necessary ones.
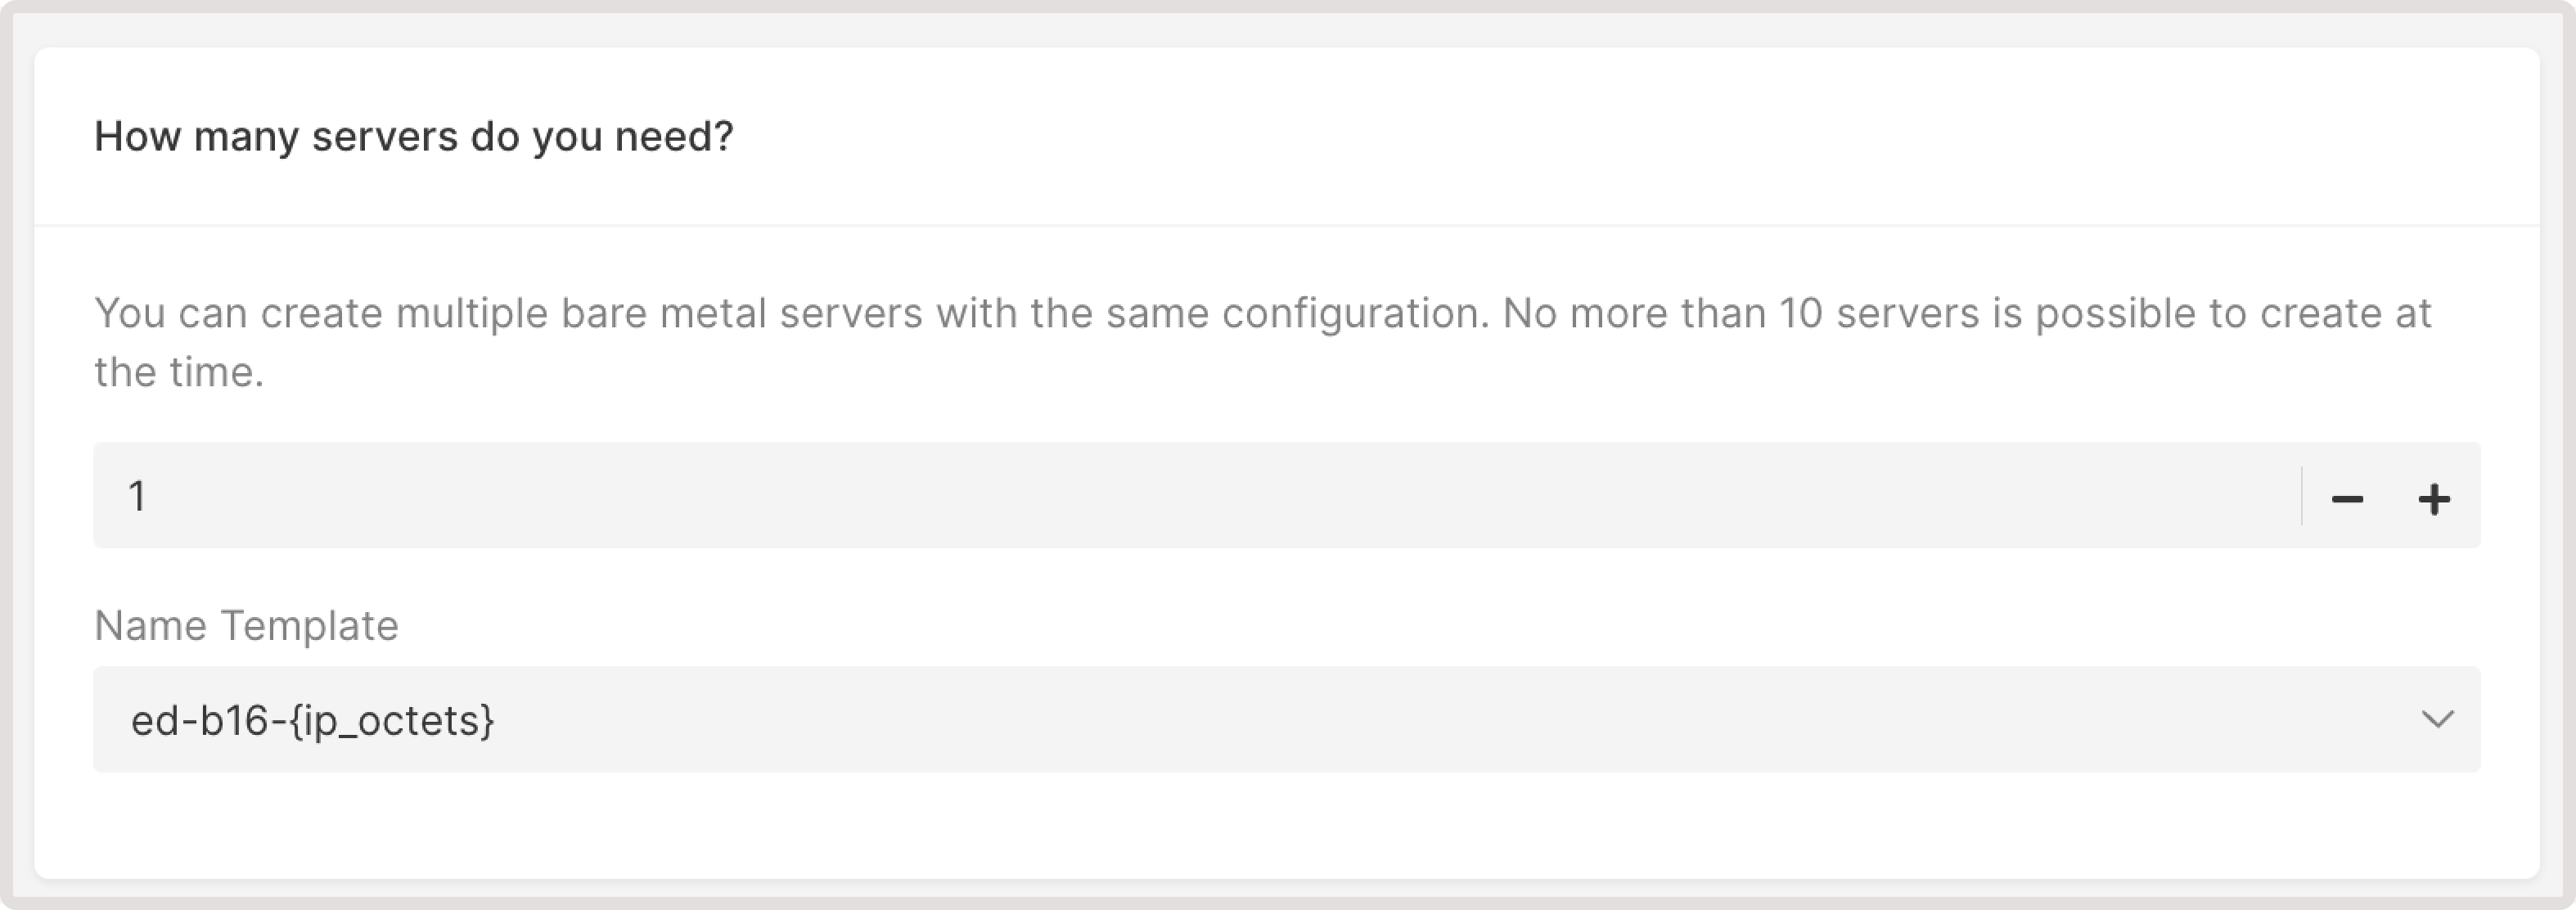
- If you want to create multiple Bare Metal machines with the same configuration, specify the number you want (the maximum is limited by your quotas) and add names (only Latin characters, underscores, spaces, and dots are allowed).
Limitations of Bare Metal servers
There are several important limitations for Bare Metal servers:- You can’t add an external volume to the server
- You can’t change the volume configuration
- It’s not possible to add more than 6 networks to the server
- Once a Bare Metal server is deployed, the private network interface can be attached or detached only manually via the OS.