Overview
After a reserved IP is created, this address is exclusively allocated within the Gcore system. No other account can use it. The IP can be assigned to a resource or kept unassigned for future use.Billing
The monthly price for the IP is displayed in the order window. Billing applies only for the time from creating an IP to deleting it. If an IP is reserved and deleted after an hour, charges apply only for that hour. The price remains the same whether the IP is assigned or not.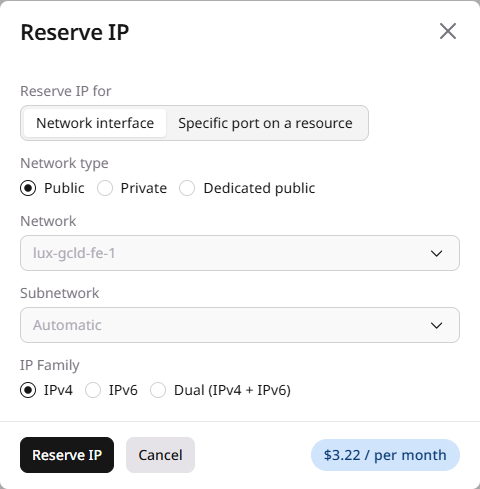
Reserve an IP address
To create a new reserved IP:- In the Gcore Customer Portal, navigate to Cloud > Networking.
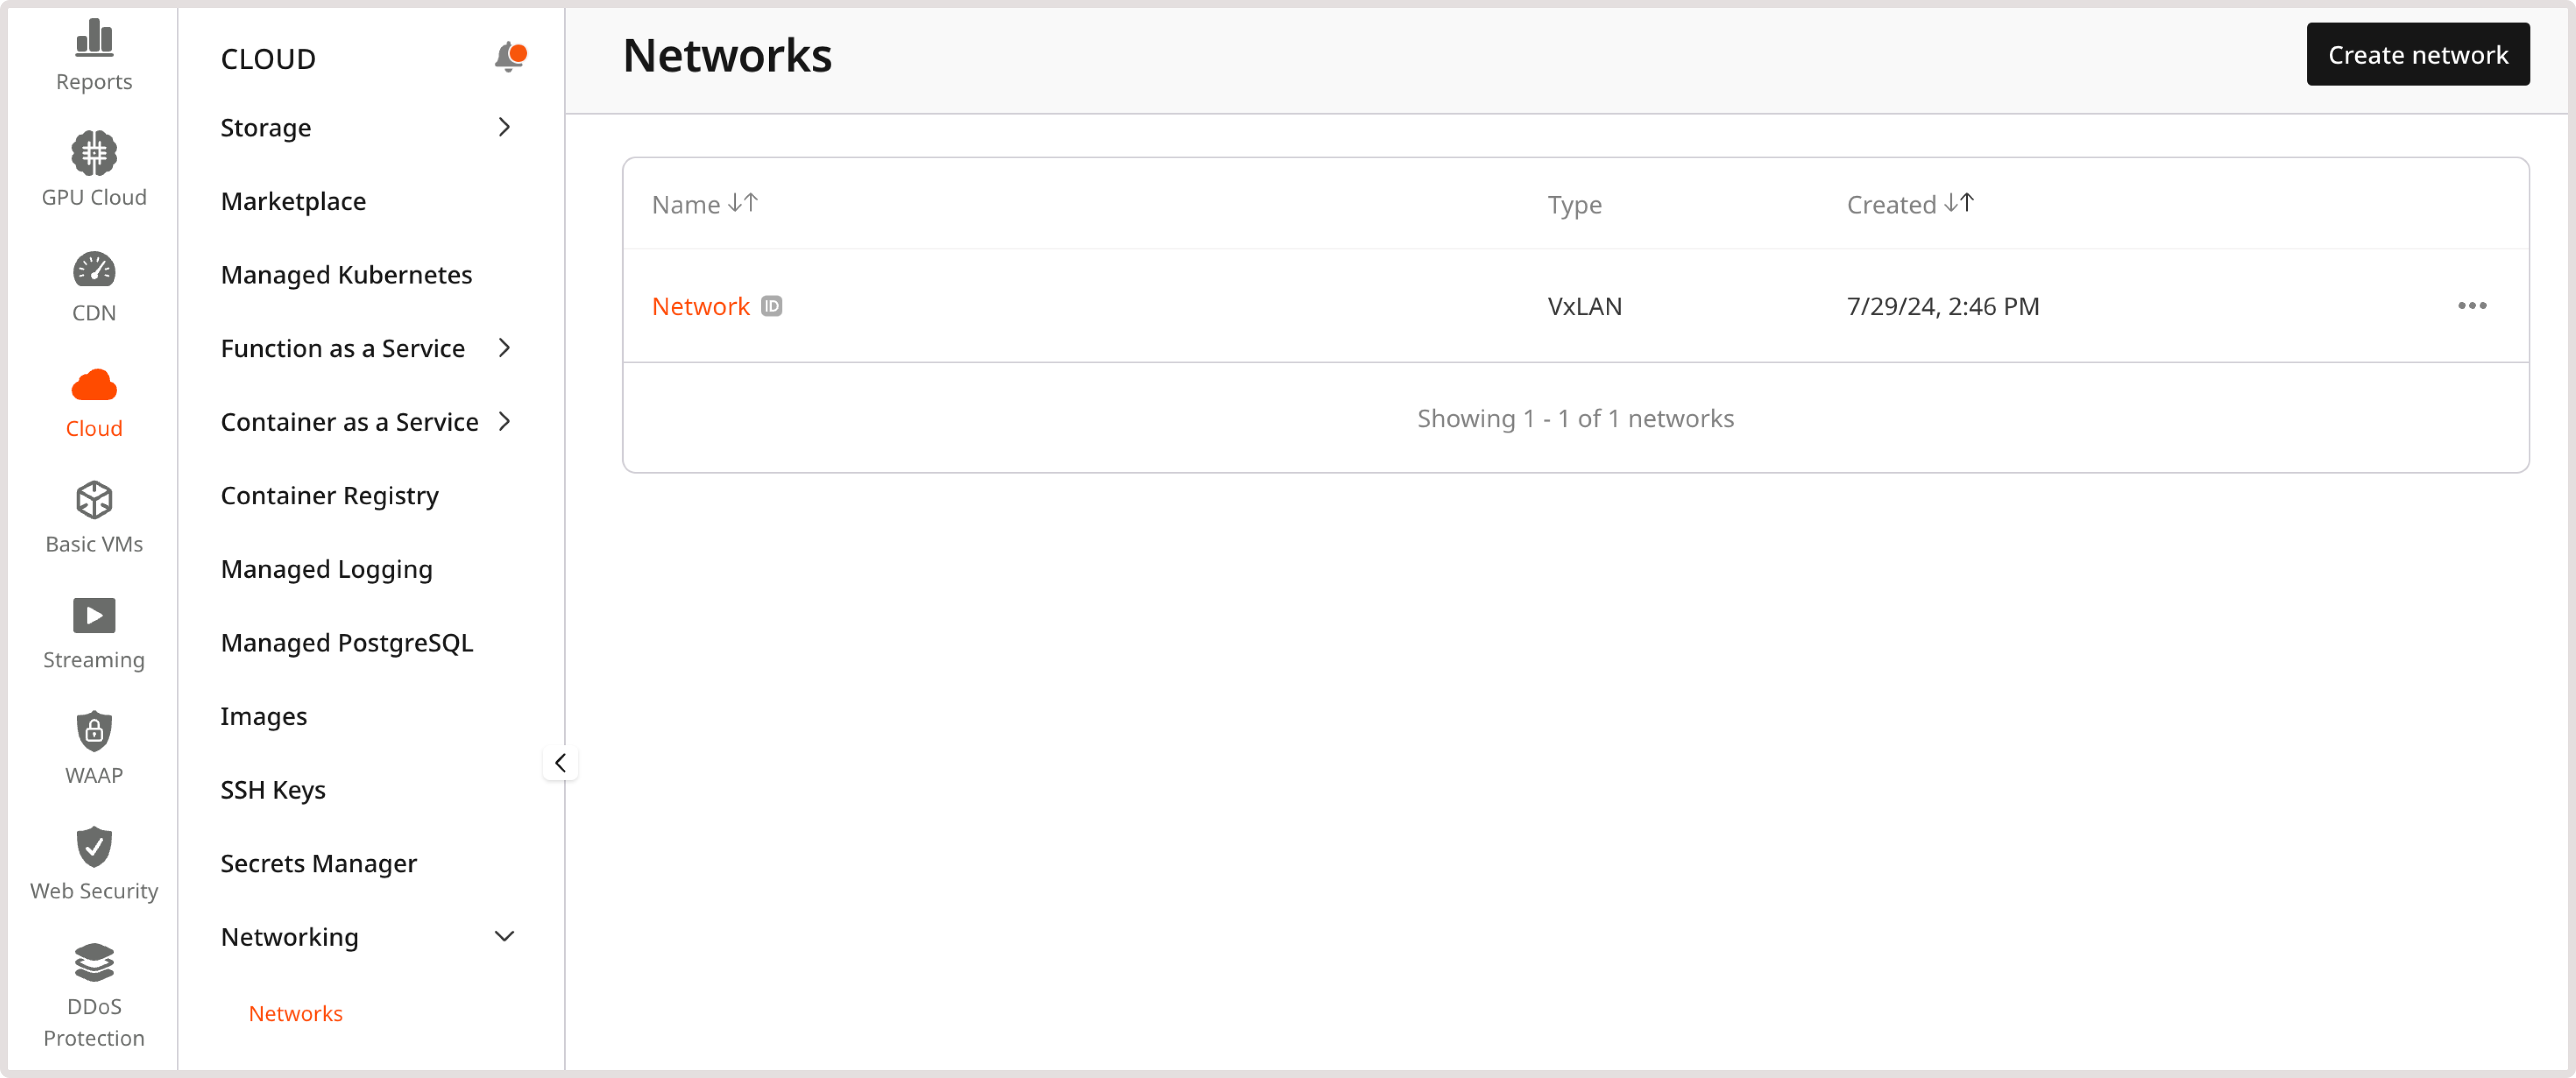
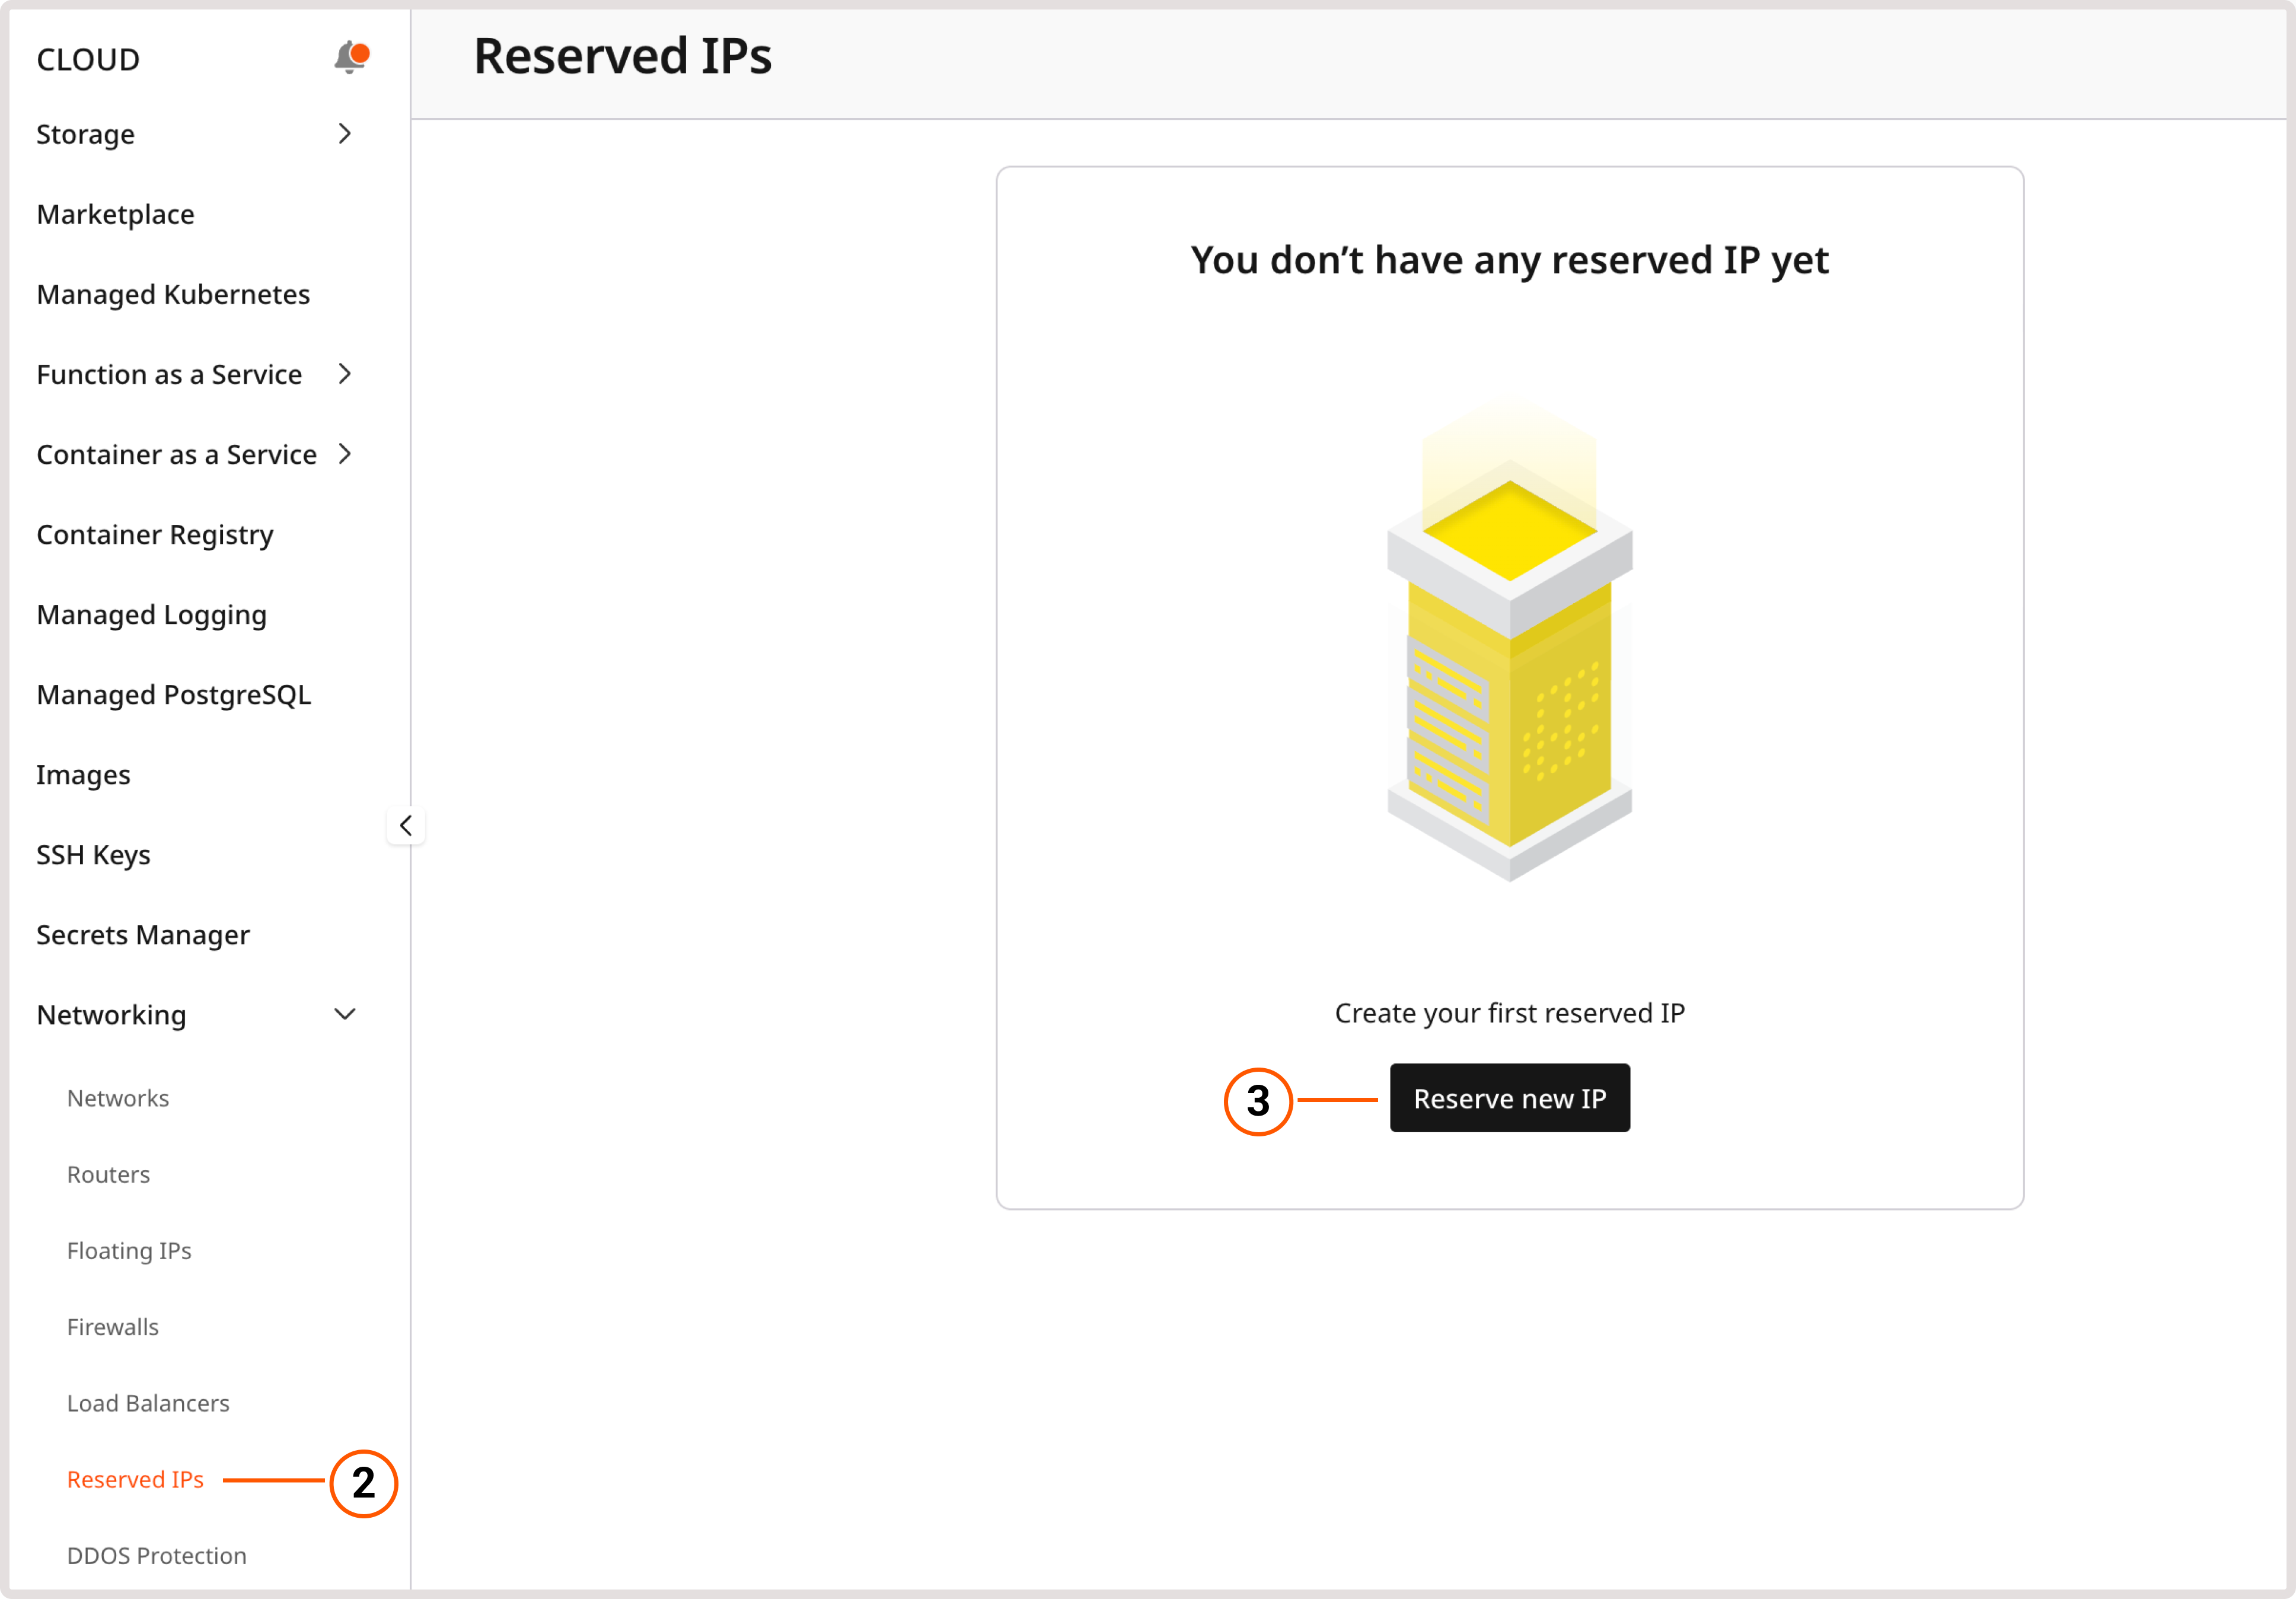
- Open the Reserved IPs page.
A project can have up to 1000 reserved fixed IP addresses that are not attached to any resource.
- Click Reserve new IP.
- Select the network type:
- Public (for external network). A public IP address can be created immediately.
- Private (for internal network). For this option, select the network and subnetwork in which the address will be created.
- Dedicated public (for a dedicated public network). Select this option if a dedicated public network is configured for the project.
A reserved private IP can only be used in the specified subnetwork. To request a specific address, select Custom in the IP address to reserve section and enter the IP that belongs to that subnetwork.
- (Optional) In the IP Family section, select the IP version: IPv4, IPv6, or Dual (IPv4 + IPv6).

- Click Reserve IP.
Assign a reserved IP to a VM
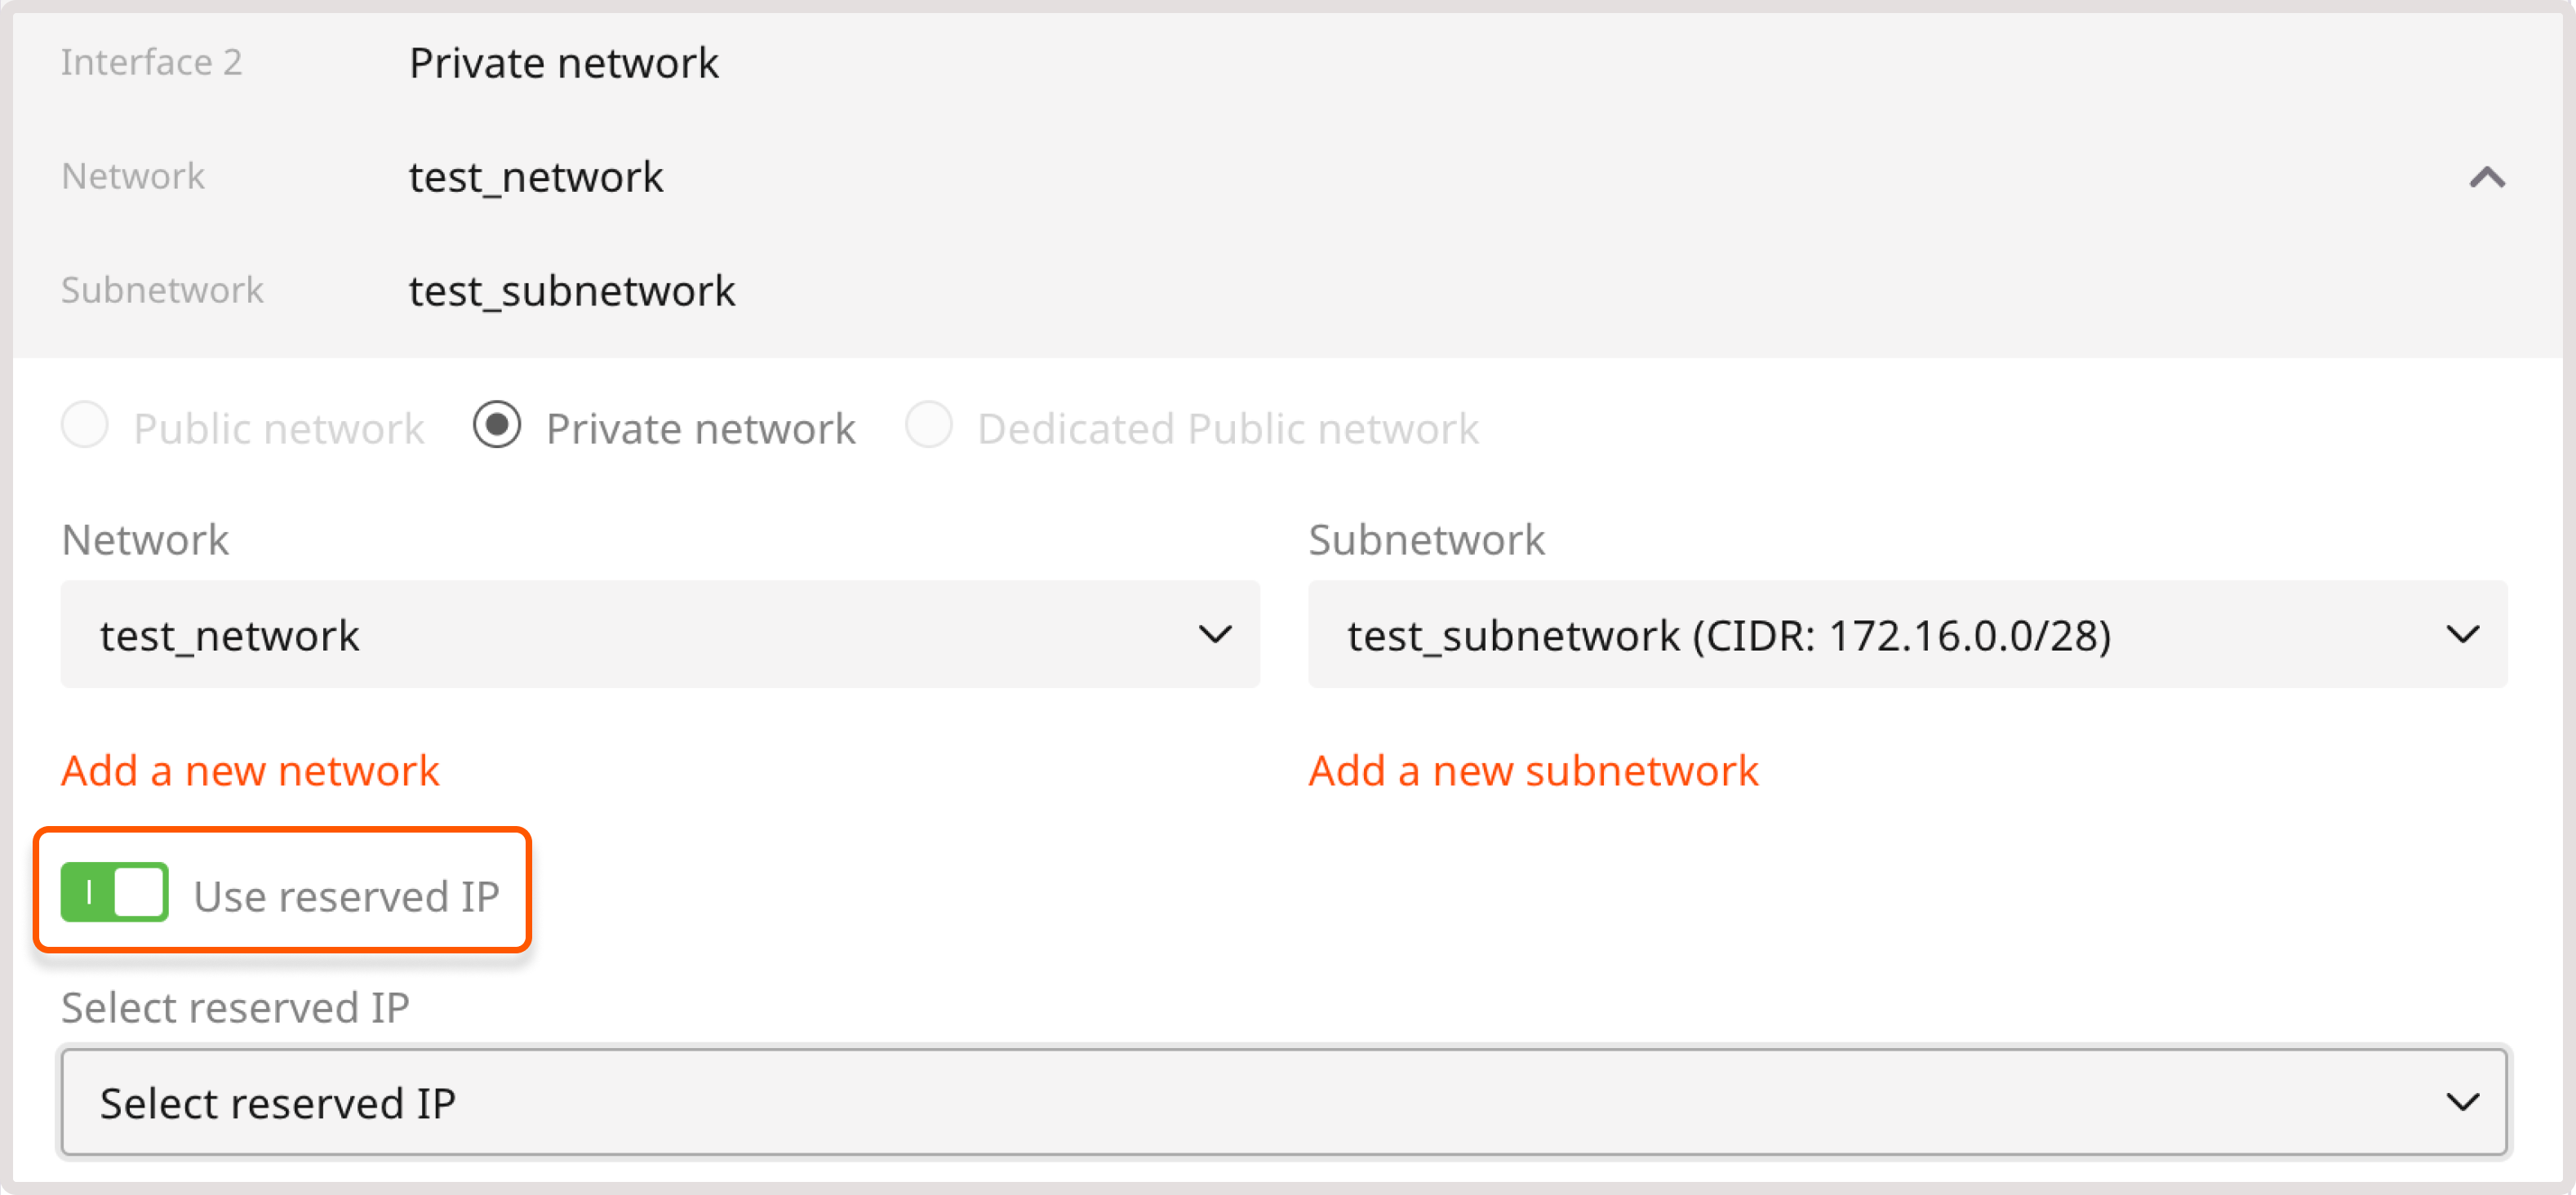
- During VM creation
- After VM creation
Refer to the VM creation guide.
Configure the network interface in the operating system
Manual configuration is required only when adding a private interface to an existing VM or Bare Metal server. Find the interface name, IP address, and CIDR in the Networking tab. The gateway is the first usable IP in the subnet (10.10.0.1 for 10.10.0.0/24).
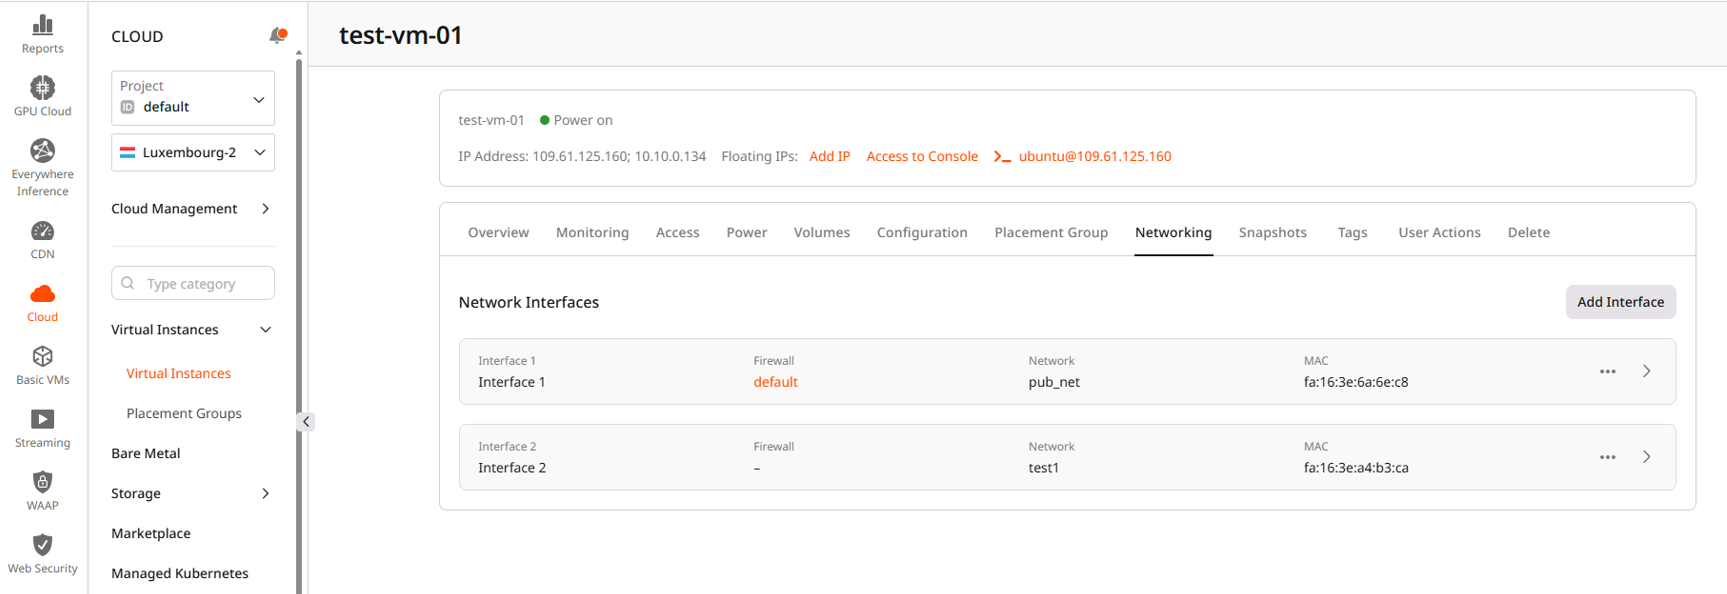
ip link show and match the MAC address shown in the portal.
- Linux
- Windows
- Temporary DHCP
- Temporary static
- Persistent DHCP
- Persistent static
If the network has DHCP enabled, request an IP address automatically:Example:
This configuration is lost after a reboot.
Detach a reserved IP from a VM
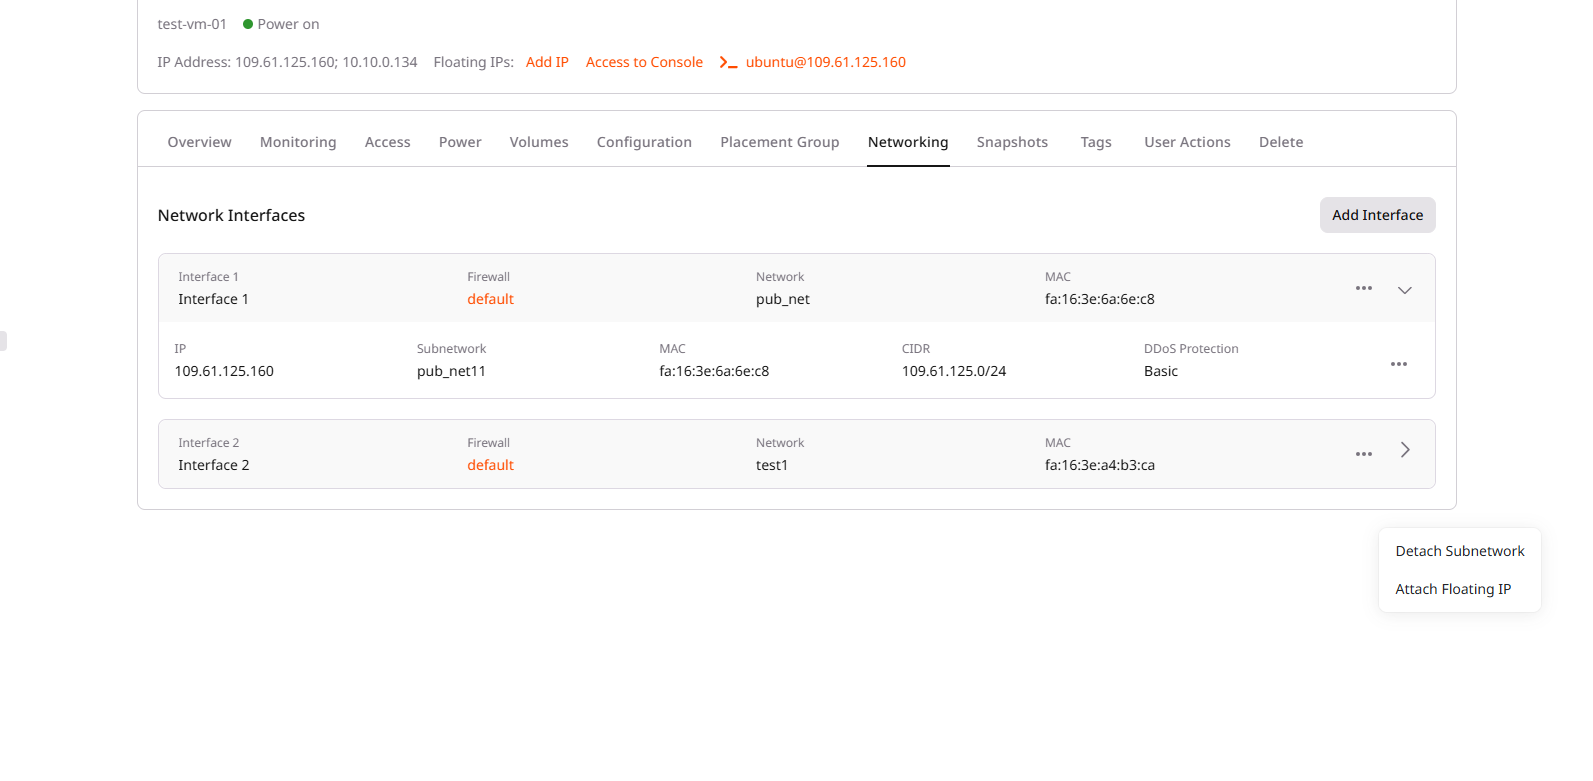
Detaching is required before reassigning the IP to another resource or deleting it.- Open the Virtual Machine settings.
- Go to the Networking tab.
- Expand the interface that contains the reserved IP.
- Click the three-dot menu next to the subnetwork row.
- Select Detach Subnetwork.
Assign a reserved IP to a load balancer
A reserved IP can only be assigned during Load Balancer creation. For instructions, refer to the Load Balancer creation guide.Find a resource with reserved IP
The Status column on the Reserved IPs page shows if an IP is attached to a resource: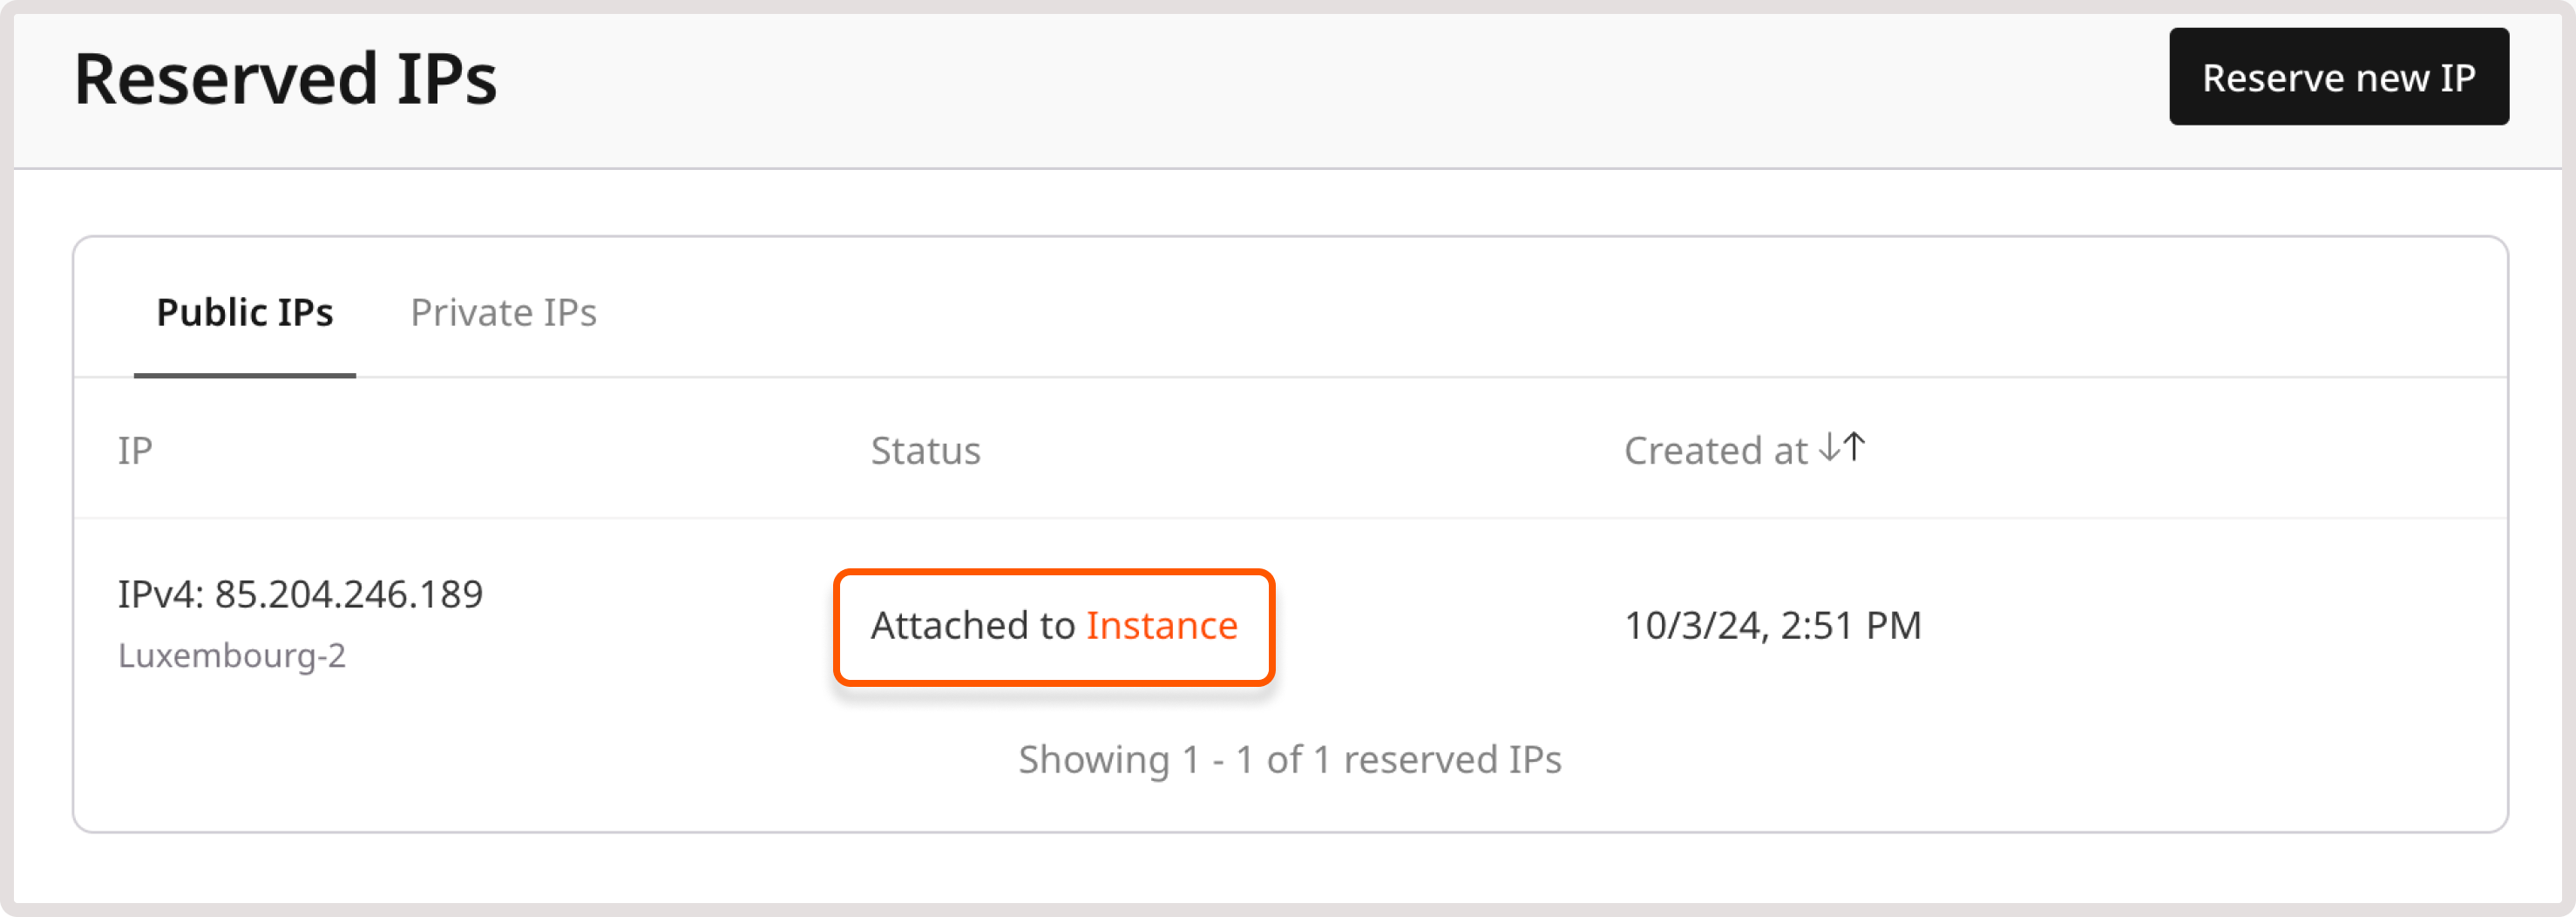
Delete a reserved IP
After verifying that the IP is no longer attached to any resource, it can be deleted:- In the Gcore Customer Portal, navigate to Cloud > Networking.

- Open the Reserved IPs page.
- Click the three-dot icon next to the target IP.
- Select Delete.

