
Managing processes in a server environment can be a daunting task, but tools like Supervisor make it easier. Supervisor is a well-known system that allows for easy monitoring and control of individual processes on UNIX-like operating systems. This guide aims to simplify the setup process of Supervisor, making server management more efficient. We’ll take you through the steps to get your Supervisor running on your system, ensuring that your applications run smoothly even when unexpected interruptions occur.
What is Supervisor?
Supervisor is a process control system that enables users to monitor and control UNIX-like operating system processes. It assists in managing processes that should be kept running continuously in a system by providing mechanisms to start, stop, and restart processes based on configurations or events. Supervisor is particularly useful for developers and system administrators who need to control and monitor the status of multiple processes on Linux or other UNIX-like operating systems. Here are some key points about Supervisor:
- Configuration. Supervisor uses a simple configuration file to manage processes and can start processes in the correct order, handle process dependencies, and manage process states.
- Monitoring. It continuously monitors the running processes to ensure they are functioning as expected. If a process controlled by Supervisor crashes or stops for some reason, Supervisor can be configured to restart it automatically.
- Log Management. Supervisor can also handle logging for managed processes, ensuring that log files are rotated and maintained appropriately.
- Web Interface and Command Line. Supervisor provides a web-based user interface and a command-line interface for managing and monitoring processes.
- Grouping. It allows grouping of processes that can be controlled together, which is useful when managing microservices or applications with multiple parts.
- Event Notifications. Supervisor can emit events when the state of a managed process changes, which can be used to integrate with other monitoring or alerting systems.
Utilizing Supervisor can significantly simplify the task of process management on UNIX-like operating systems, making it easier to ensure that critical applications and services remain up and running.
How to Install Supervisor on Ubuntu
It is easy to set up Supervisor on Ubuntu 20.04. Follow these step-by-step instructions:
1. Update Your System. Firstly, it’s good practice to update the package database and upgrade the system to the latest available versions.
sudo apt update && sudo apt upgrade -y
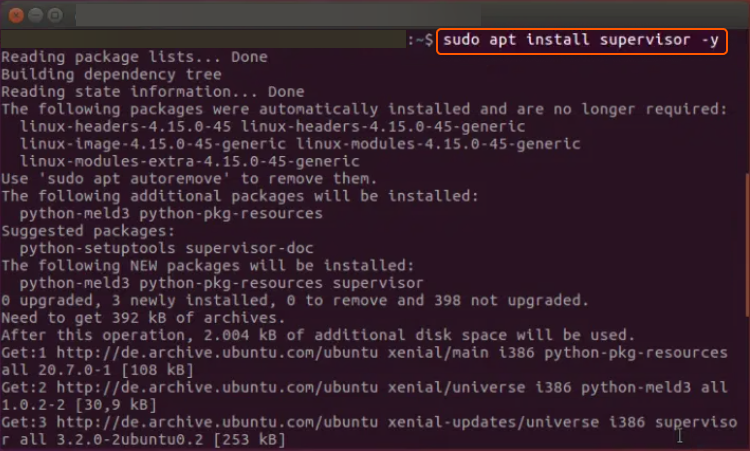
2. Install Supervisor. Install Supervisor from the Ubuntu package manager.
sudo apt install supervisor -y
Sample output:
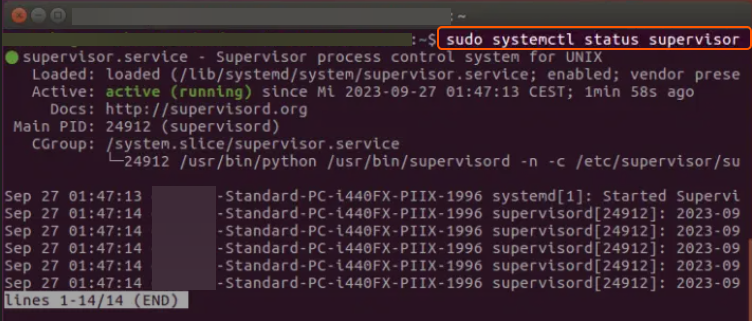
3. Check Supervisor Status. After installation, Supervisor should start automatically. You can check its status with this command.
sudo systemctl status supervisor
Sample output:
4. Configure Supervisor. Create a new Supervisor configuration file for your process. For example, to manage a simple script, create a file at /etc/supervisor/conf.d/myscript.conf with the following content:
[program:myscript]
command=/path/to/your/script.sh
autostart=true
autorestart=true
stderr_logfile=/var/log/myscript.err.log
stdout_logfile=/var/log/myscript.out.log
Replace /path/to/your/script.sh with the actual path to your script.
5. Update Supervisor Configuration. Inform Supervisor about the new configuration and update it.
sudo supervisorctl reread
sudo supervisorctl update
6. Start Your Process. Start your process with Supervisor by running this command:
sudo supervisorctl start myscript
7. Monitor Your Process. You can now monitor the status of your process using Supervisor.
sudo supervisorctl status myscript
8. Supervisor Web Interface (Optional). If you want to enable the web interface for Supervisor, you’ll need to edit the main Supervisor configuration file.
sudo nano /etc/supervisor/supervisord.conf
Add or update the following lines in the [inet_http_server] section:
[inet_http_server]
port=*:9001
username=user
password=pass
Replace user and pass with your desired username and password, save the file, and then restart Supervisor.
sudo systemctl restart supervisor
Now you can access the Supervisor web interface at http://your-server-ip:9001.
Congratulations on installing Supervisor on your Ubuntu system! This tool simplifies process management and monitoring, aiding in continuous operation of essential processes. By following this guide, you’ve added a robust tool to your setup, crucial for uninterrupted application functioning in a production environment. Explore Supervisor’s features and configurations further to customize its operations to your needs, fostering a more efficient server ecosystem.
Conclusion
Want to run Ubuntu in a virtual environment? With Gcore Cloud, you can choose from Basic VM, Virtual Instances, or VPS/VDS suitable for Ubuntu:
- Gcore Basic VM offers shared virtual machines from €3.2 per month
- Virtual Instances are virtual machines with a variety of configurations and an application marketplace
- Virtual Dedicated Servers provide outstanding speed of 200+ Mbps in 20+ global locations


