Docker has revolutionized the way developers and sysadmins deploy applications, ensuring consistency across different environments. If you’re using Ubuntu, one of the world’s most popular Linux distributions, installing Docker is a straightforward process. In this guide, we’ll walk you through the step-by-step procedures to get Docker up and running on your Ubuntu system, unlocking a world of containerized applications at your fingertips.
What is Docker?
Docker is a platform used to develop, ship, and run applications inside containers. Here’s a more in-depth overview:
- Containers. Docker containers are lightweight, standalone executable packages that contain everything needed to run a piece of software. This includes the code, runtime, system tools, libraries, and settings. Containers are isolated from each other and the host system, ensuring consistent execution across environments.
- Consistency and Portability. Since containers encapsulate all dependencies and configurations, Docker allows developers to ensure that the application runs consistently across multiple environments, be it a local development machine, a test environment, or a production server.
- Images and Docker Hub. Docker uses images to specify the “blueprint” of a container. These images are often based on other images, with some added customization. Docker Hub is a public registry where users can push and pull container images, making it easier to share and distribute applications.
- Docker Engine. This is the heart of Docker, a daemon process that manages Docker containers on a system. Users interact with the engine through the Docker command-line interface (CLI) or API.
- DevOps and CI/CD Integration. Docker has gained immense popularity in the DevOps community due to its ability to streamline continuous integration and continuous deployment (CI/CD) processes.
Docker Installation Process on Ubuntu
Here’s a step-by-step guide to installing Docker on Ubuntu:
#1 Update Packages
Before installing Docker, it’s a good idea to update your local packages to ensure you have the latest available versions.
sudo apt update
sudo apt upgrade -y
#2 Install Dependencies
Next, install some prerequisite packages.
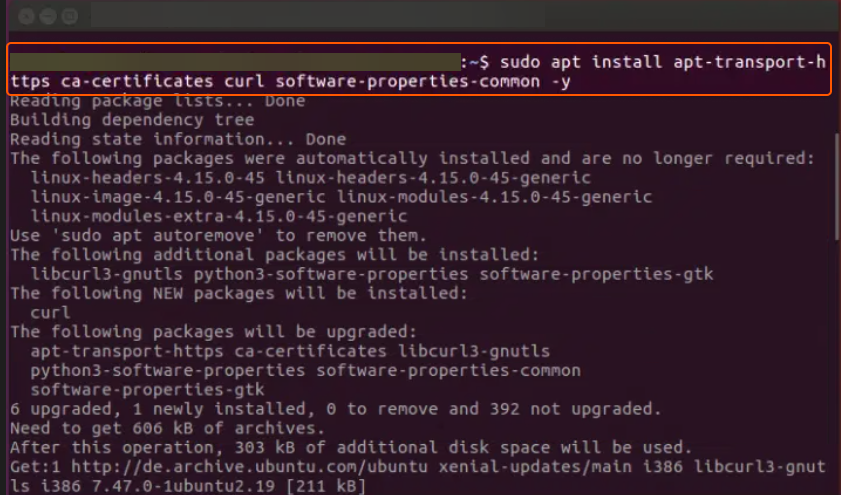
sudo apt install apt-transport-https ca-certificates curl software-properties-common -y
Sample Output:

#3 Add Docker Repository
Now, add Docker’s GPG key and the Docker repository to your system.
curl -fsSL https://download.docker.com/linux/ubuntu/gpg | sudo apt-key add -
sudo add-apt-repository "deb [arch=amd64] https://download.docker.com/linux/ubuntu $(lsb_release -cs) stable"
#4 Install Docker
With the Docker repo added, you can install Docker:
sudo apt update
sudo apt install docker-ce -y
#5 Verify Installation
Once installed, you can verify Docker is running with:
sudo systemctl status docker
You should see output indicating Docker is active and running.
#6 Enable Docker to Start on Boot
By default, Docker should start on boot. But if it doesn’t, you can set it up with:
sudo systemctl enable docker
#7 Run Docker without Sudo
By default, running Docker commands requires sudo. If you’d like to run Docker commands as a non-root user without prepending sudo, you can add your user to the docker group:
sudo usermod -aG docker ${USER}
For this change to take effect, log out and log back in or restart your session.
#8 Test Docker
Run a test Docker container to ensure everything is working correctly:
docker run hello-world
This command downloads a test image and runs it in a container. If it runs without errors and you see a greeting message from Docker, the installation was successful.
That’s it! You’ve successfully completed the steps and are now equipped to install Docker on Ubuntu. With this learning, you can harness the power of containerization and enhance your development and deployment processes.
Conclusion
Looking to deploy Docker with managed Kubernetes? Gcore’s Managed Kubernetes is the perfect solution.
- Free production-grade cluster management with a 99.9% SLA
- Free egress traffic
- Bare Metal support for worker nodes for outstanding latency and performance


