This guide will walk you through setting up the V2Ray proxy tool with the WebSocket protocol and Gcore services. A Gcore Basic VM instance will act as your V2Ray server, while Gcore DNS, CDN, and DDoS Protection will provide a fast and reliable connection via WebSocket. A significant advantage of this approach is the ability to run your own V2Ray server on a virtual machine for only €3.2 per month, while benefiting from additional Gcore services for free.
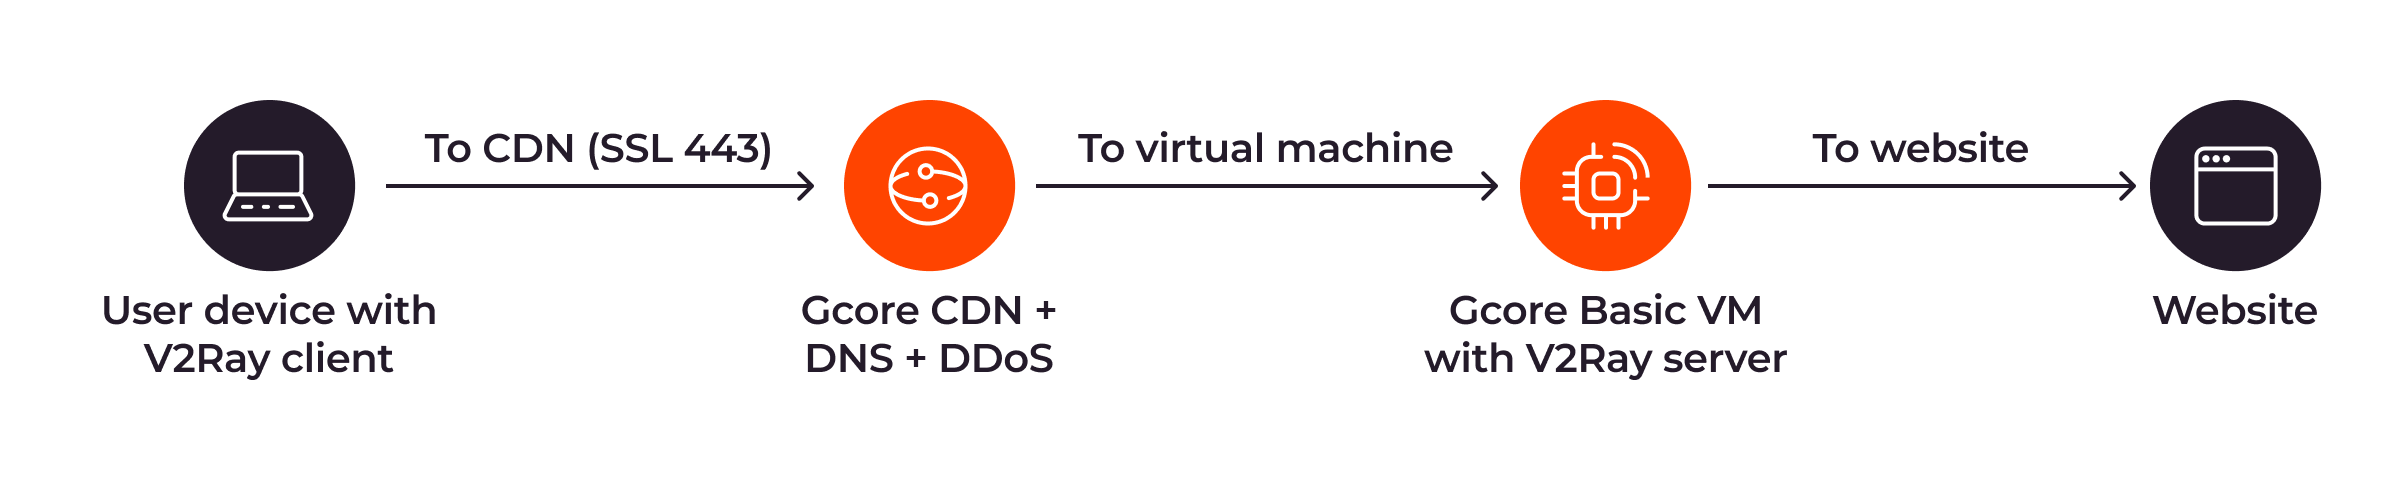
In short, the connection between a user and the internet will be organized as follows:
- A V2Ray client is deployed on a user device.
- The V2Ray client connects to a V2Ray server deployed on Gcore Basic VM using DDoS-protected CDN and DNS.
- This connection gives the user secure access to a required website.
Once you’ve completed the installation process, here’s how your device will interact with websites you visit:
There is one prerequisite you need to complete before beginning this guide. To use DNS and CDN, you need to have a domain already registered. The domain will be delegated to Gcore authoritative NS servers.
What Is V2Ray?
V2Ray is a free proxy tool that secures your internet connection and is widely used as a VPN service. It supports multiple protocols, customizable routing, obfuscation, and reverse proxy features. V2Ray is compatible with various platforms, including Windows, macOS, Linux, and mobile devices. The tool is maintained by the V2Fly open-source community, ensuring it stays up to date.
What Is WebSocket?
WebSocket is a computer communication protocol that enables full-duplex, two-way communication channels over a single Transmission Control Protocol (TCP) connection. This advanced technology supports real-time, event-driven communication between a server and a client (such as a web browser.)
Key benefits of WebSocket include:
- Full-duplex communication: Allows both client and server to send and receive data simultaneously, a significant advantage over the traditional request-and-response model of HTTP.
- Low latency: Designed for rapid communication, making it ideal for real-time applications.
By combining V2Ray with the WebSocket protocol, you achieve a faster and more stable internet connection.
How to Set Up V2Ray via WebSocket
Setting up V2Ray requires the following steps:
- Create a virtual machine (VM) in the Gcore Customer Portal under Edge Cloud.
- Connect to your VM and update the OS.
- Install the V2Ray server on your VM.
- Access the V2Ray server GUI (graphical user interface.)
- Configure DNS.
- Configure CDN.
- Set up a node in the V2Ray server.
- Connect to your server from your local machine.
Basic Gcore DDoS Protection is a built-in feature of Basic VM, so you don’t need to configure it.
Let’s go through all the steps in order.
Step 1: Create a Virtual Machine for a V2Ray Server
- Log into your Gcore Customer Portal and navigate to the Basic VM section. If you don’t yet have an account, sign up first.
- Choose a region for your VM. For this article, we’ll use Frankfurt.
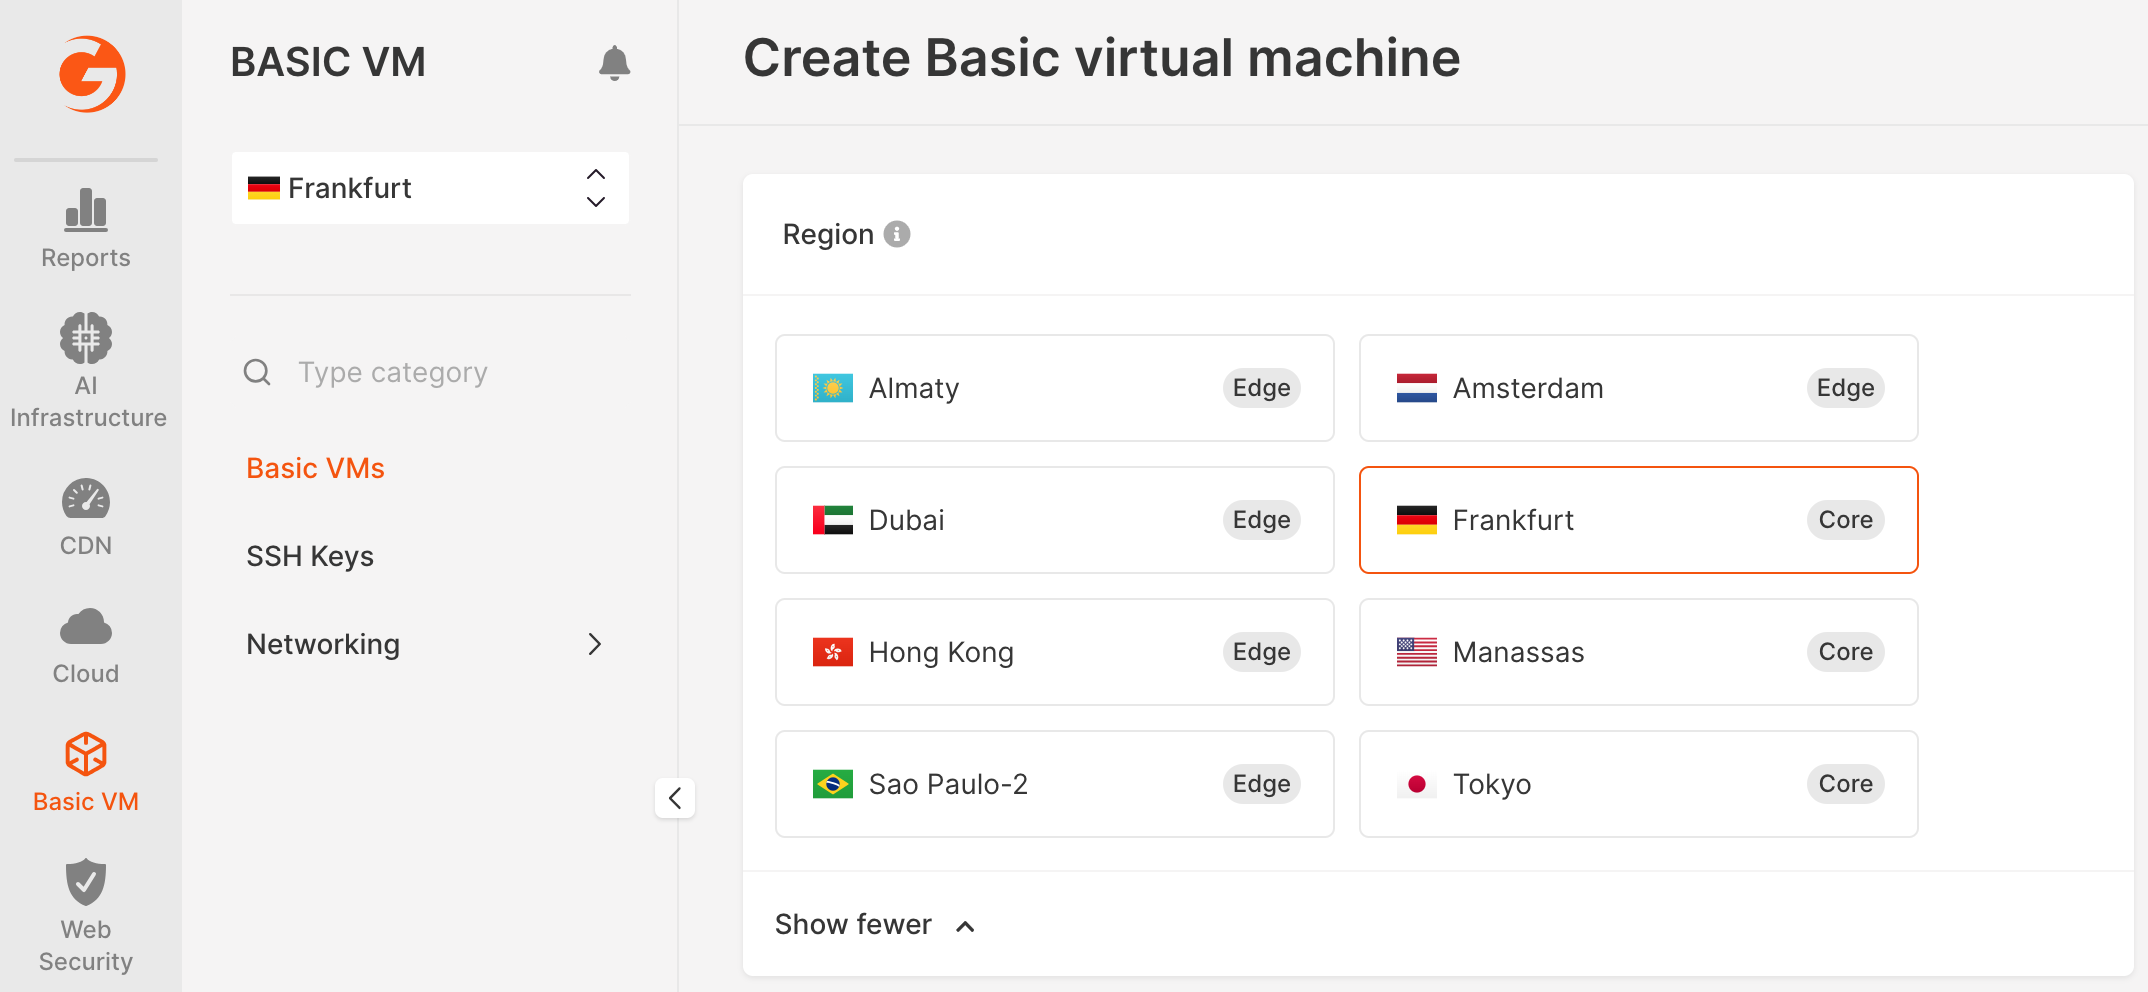
- Configure the VM as follows:
Region: Frankfurt
OS: Ubuntu 23.04
Flavor: Basic VM, 1 vCPU / 1GB RAM / 25GB SSD
SSH Key: Select your public SSH key or generate a new one.
Name: v2rayserver (or whatever you want.)
- After configuration, click Create Basic VM. The VM will appear in the “Virtual Instances” list. Wait for the VM’s status to change from “Creating” to “Power on.”
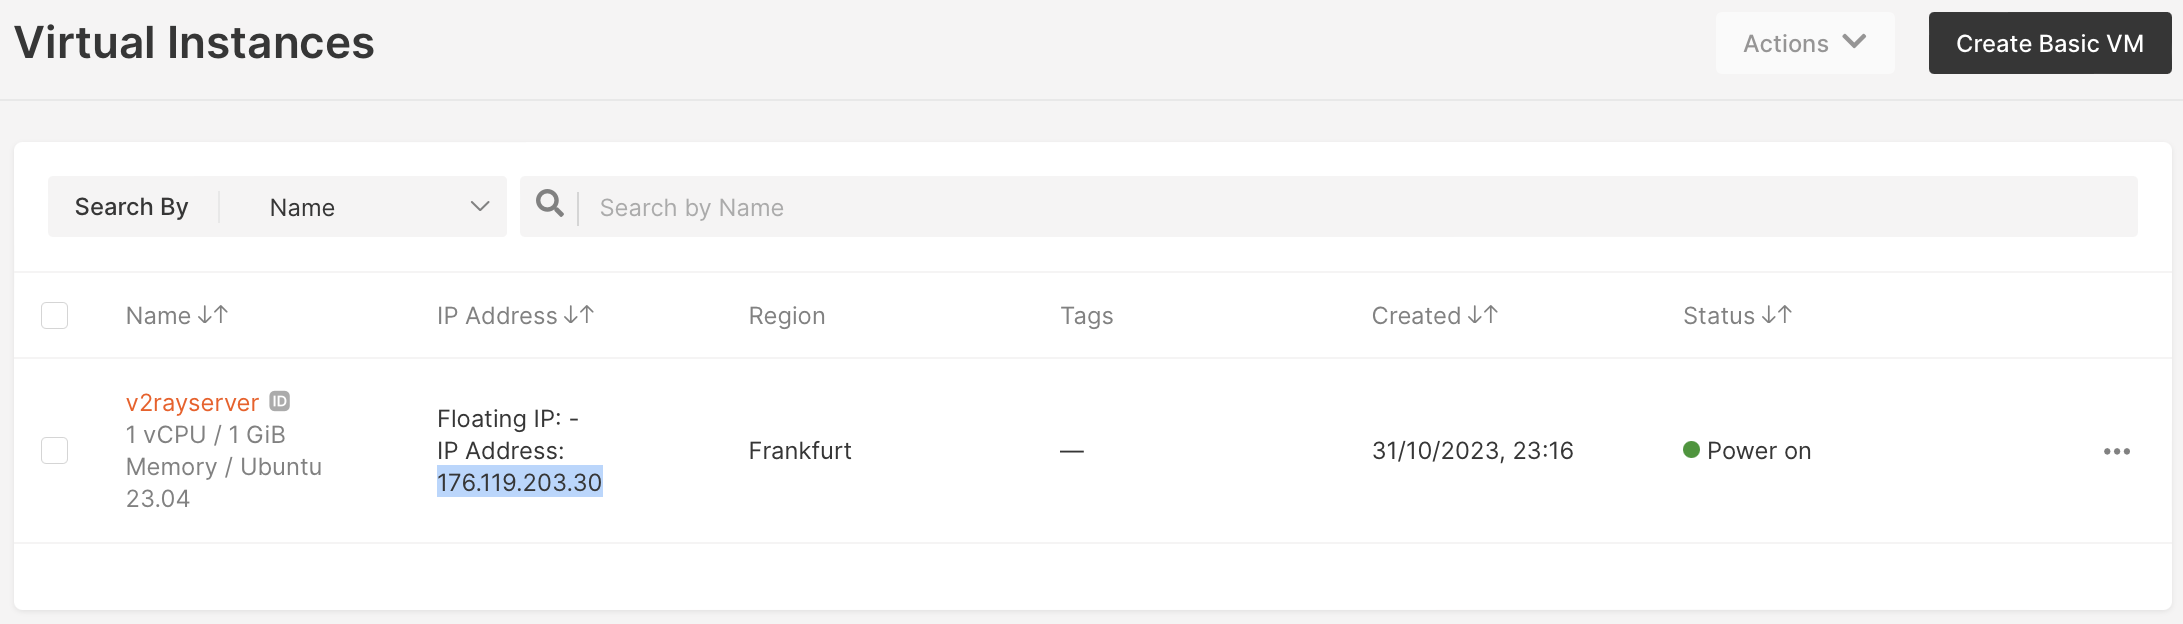
Note the highlighted IP address in Figure 3: this is the public IP address we’ll use in Step 2 to connect to the VM.
- In the same Basic VM section, go to Networking > Firewall and click the default firewall. You can choose one of two options when adding inbound rules: a) set “All TCP” and “All UDP” for TCP and UDP ports, or b) add specific inbound rules:
- TCP rule with port 3321
- TCP rule with port 80
- UDP rule with port 3321
This is what the inbound rules should look like:

Step 2: Connect to Your Basic VM and Update OS
Before installing a V2Ray server, you need to update the Basic VM operating system.
- To connect to your VM, open your CLI and use the following command, inserting the public IP address of your VM:
ssh ubuntu@<V2Ray server public IP address>
Example:
ssh ubuntu@176.119.203.30
- After you’re connected, update your OS using the following command:
sudo su
root@v2rayserver:/home/ubuntu# apt update
Note: From this step on, instead of “v2rayserver”, you should see/use your server’s name.
Step 3: Install the V2Ray Server on Your VM
The easiest way to install the V2Ray server is by using the official V2Ray installation script. To do that, run the following command:
root@v2rayserver:/home/ubuntu# bash <(curl -Ls https://raw.githubusercontent.com/vaxilu/x-ui/master/install.sh)
The V2Ray GUI and CLI tools only have a Chinese version. If you don’t know Chinese, don’t worry. Just follow our instructions.
During the installation, you’ll need to configure the server’s account name, password, and panel access port. This is how it looks in our example:
出于安全考虑,安装/更新 完成后需要强制修改端口与账户密码
确 认是否继 续? (Confirm to continue?) [y/n]:y
请设置您的账户名 (Please set your account name):v2ray
您的账户名将设定为:v2ray
请设置您的账户密码 (Please set your account password):v2raypassword
您的账户密码将设定为:v2raypassword
请设置面板访问端口 (Please set the panel access port):5000
您的面板访问端口将设定为:5000
Step 4: Connect to the V2Ray Server GUI
- To access the V2Ray server GUI, open a web browser and enter the URL of your V2Ray server:
http://<V2Ray server public IP address>:5000
Here’s an example:
http://176.119.203.30:5000
You’ll see the login window:
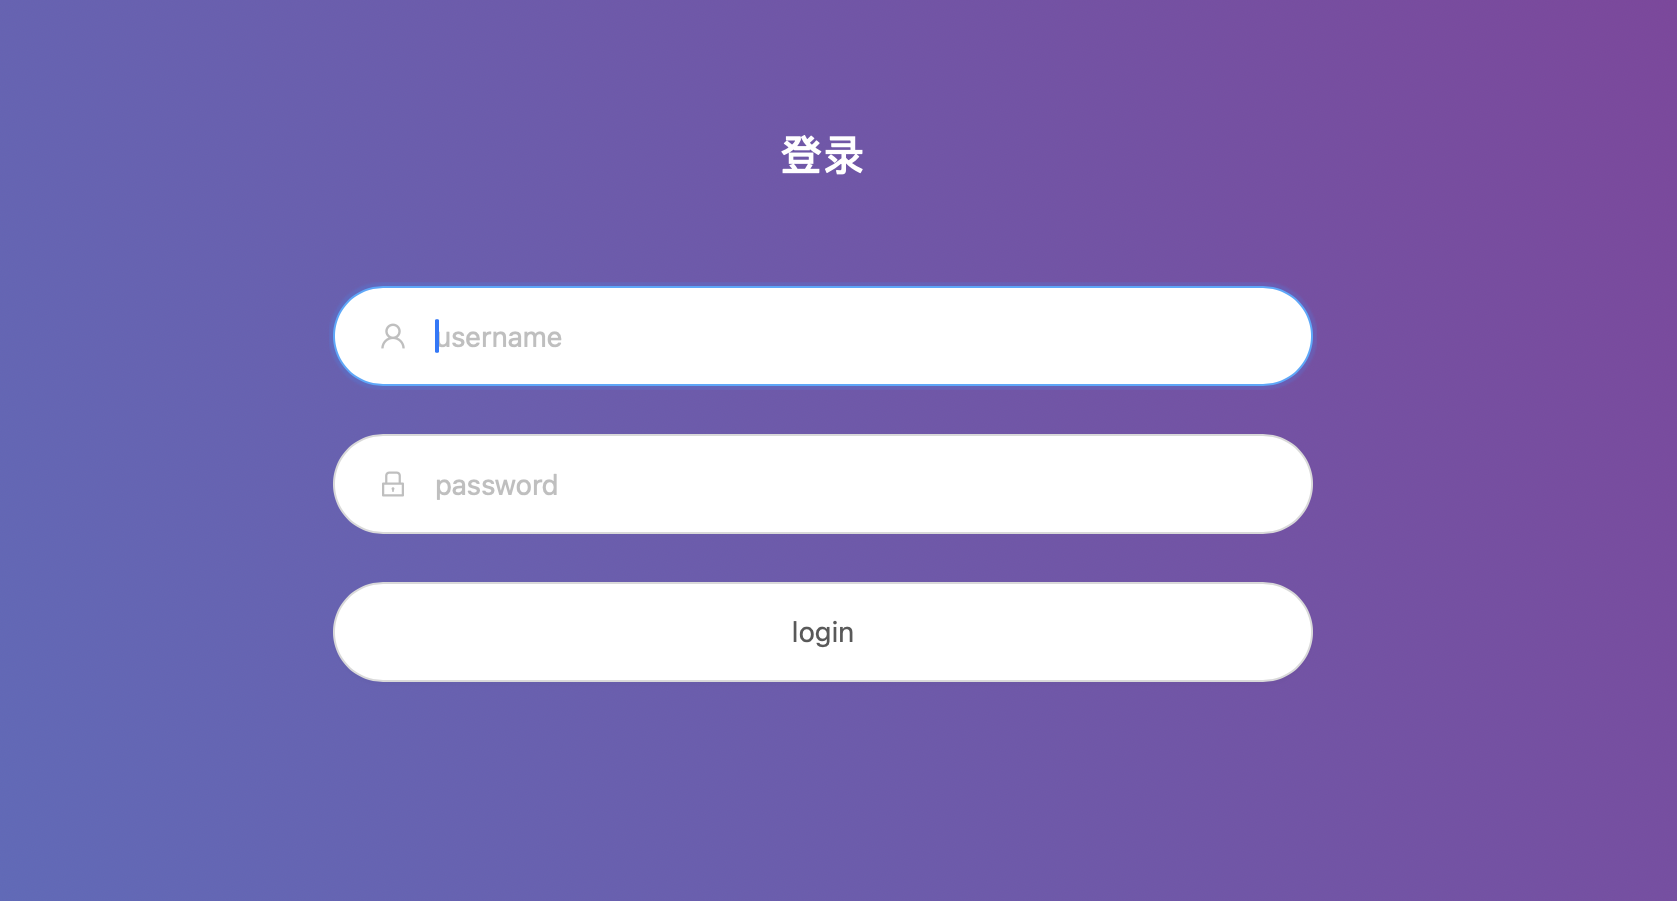
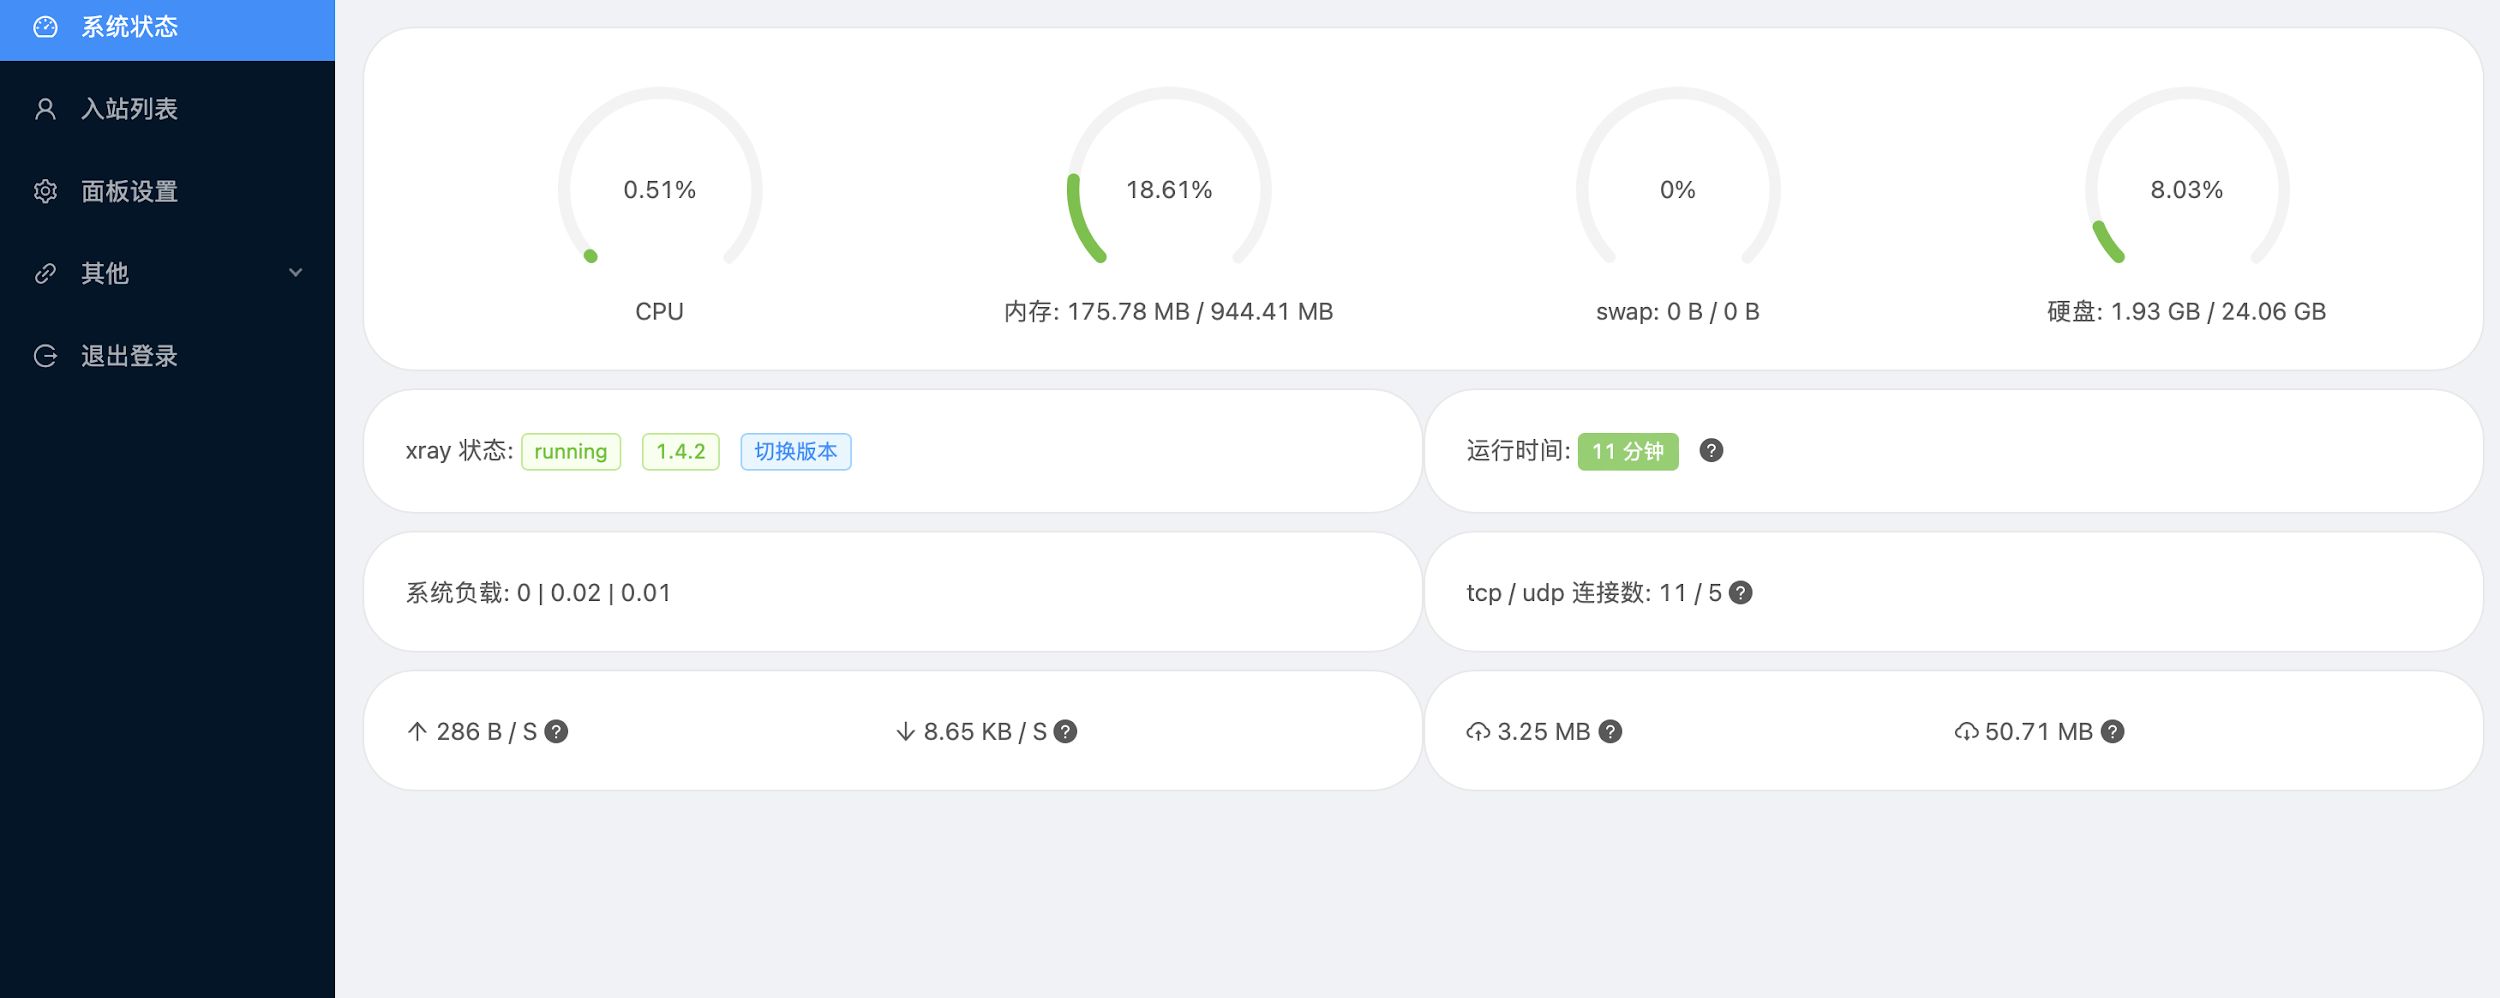
- Enter the username and password that you chose in Step 3. You will see this dashboard:
Step 5: Configure DNS
We will use Gcore free public DNS with a delegated domain to create a new record for the V2Ray server.
- Send us a request for DNS activation. You’ll receive an email notification when Gcore DNS is activated.
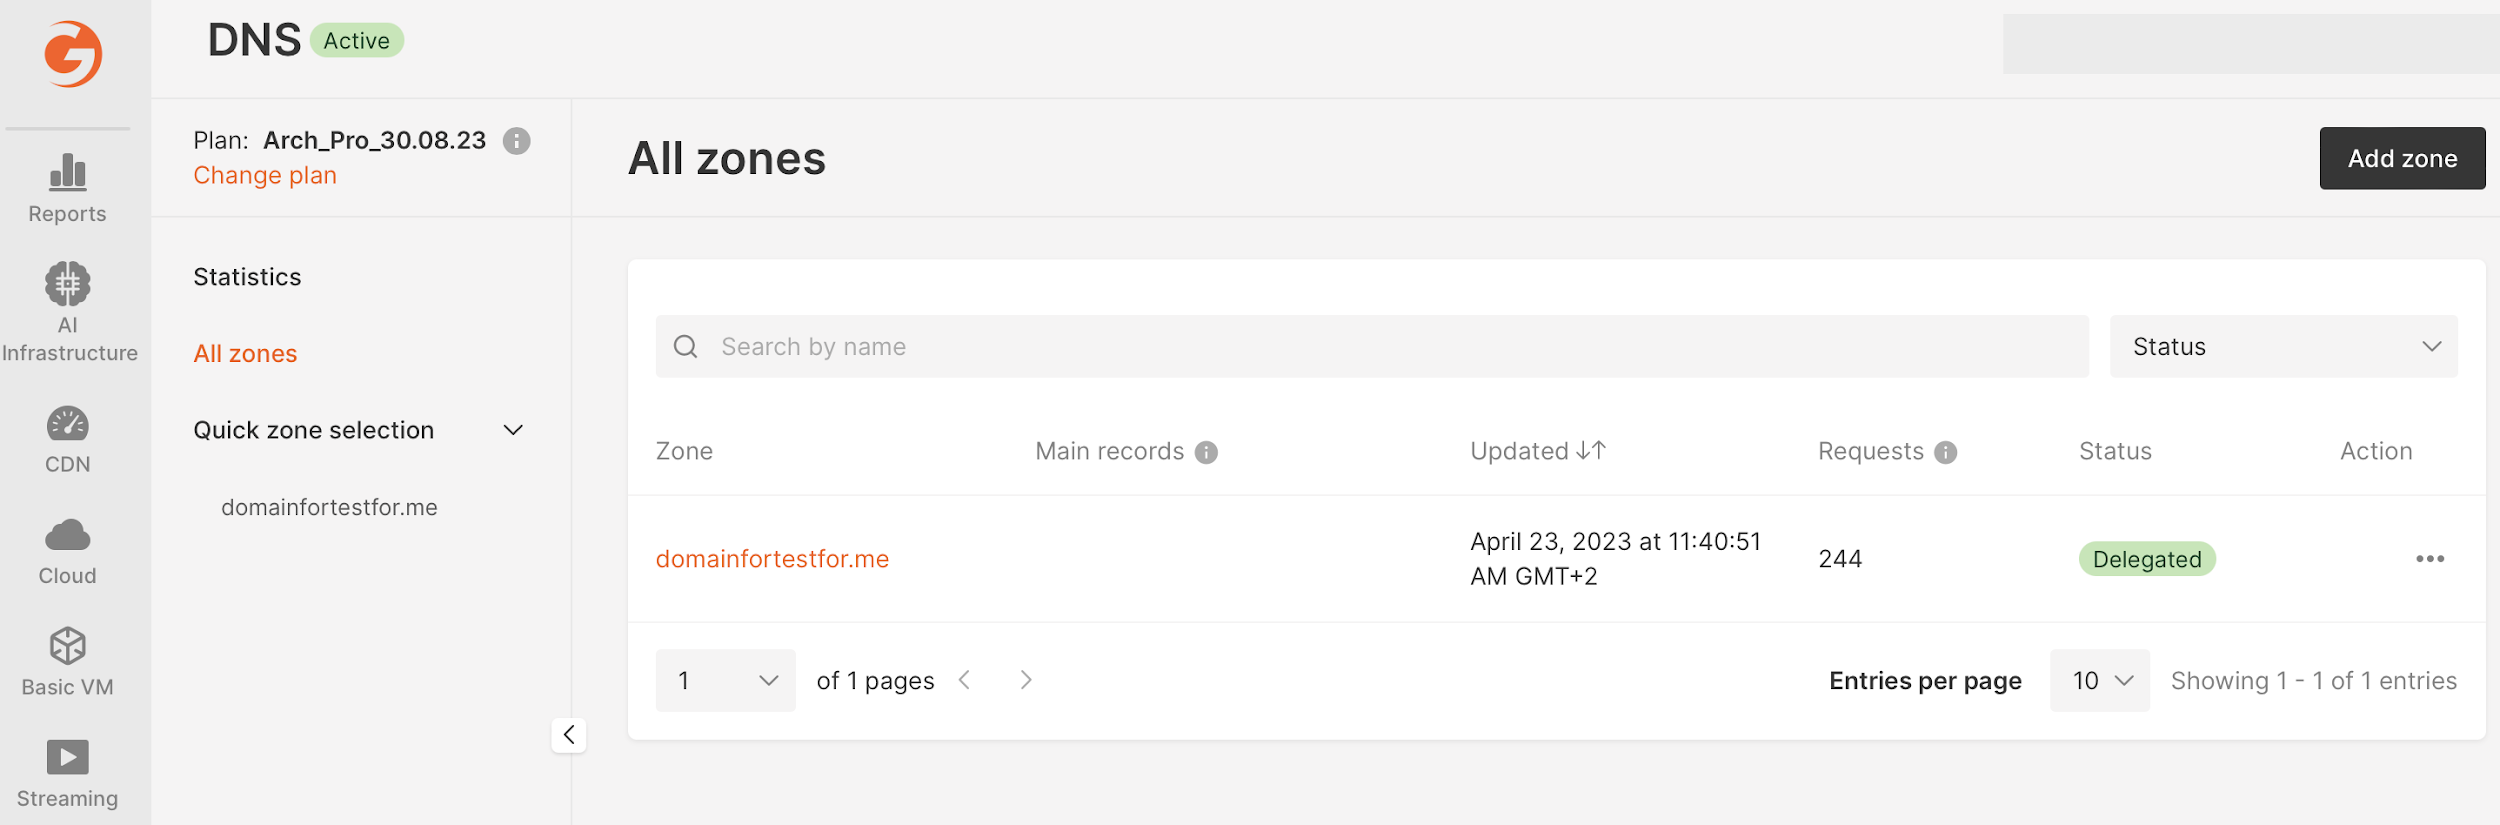
- Create a new zone for your domain. The newly-created DNS zone will be displayed in the All zones section, and its status should be “Delegated”.
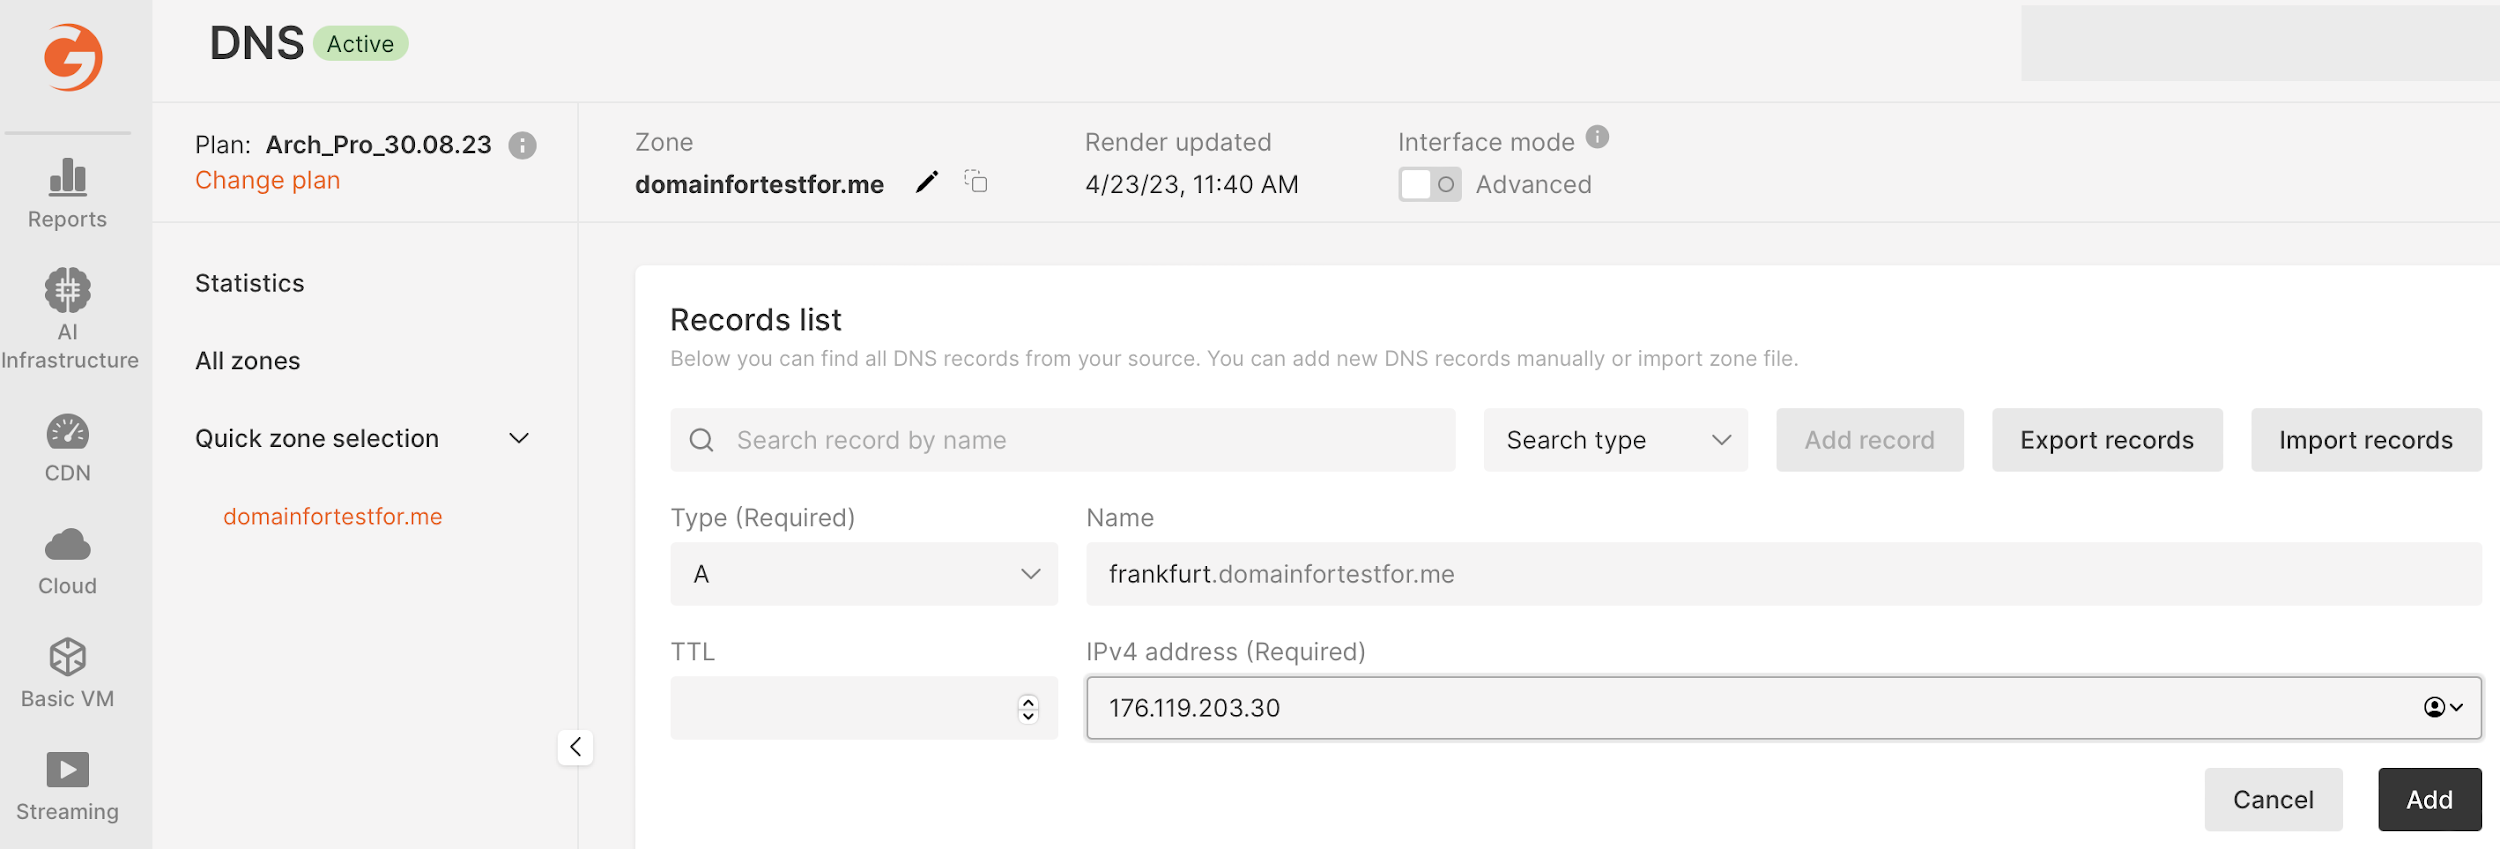
- Add a new A record with the following configuration:
Type (Required): A
Name: <whatever name you want>.<your domain>
IPv4 address (Required): <V2Ray server public IP address>
Note: For the name, you may want to use the particular purpose for which this VM will be used or the region chosen.
Click Add.
Configuration example:
Step 6: Configure CDN
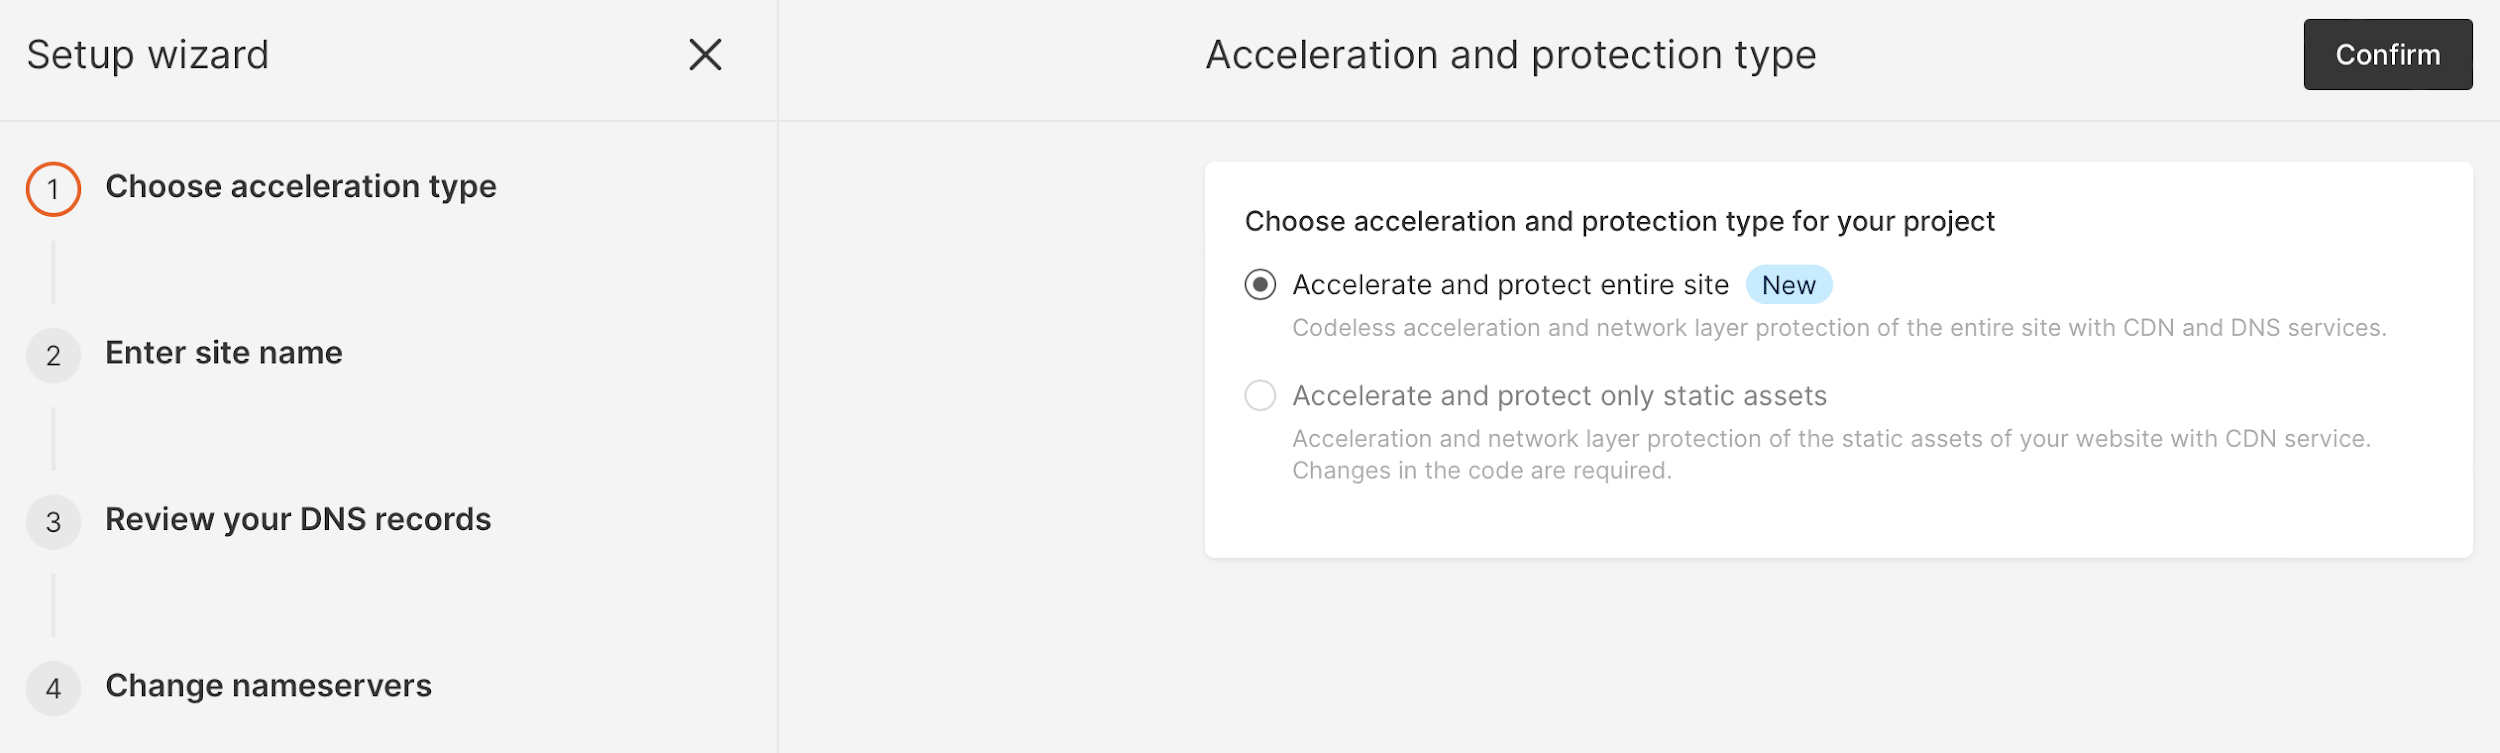
- Navigate to the CDN section of the Gcore Customer Portal and click Create CDN resource.
- Choose the option “Accelerate and protect entire site” and click Confirm.
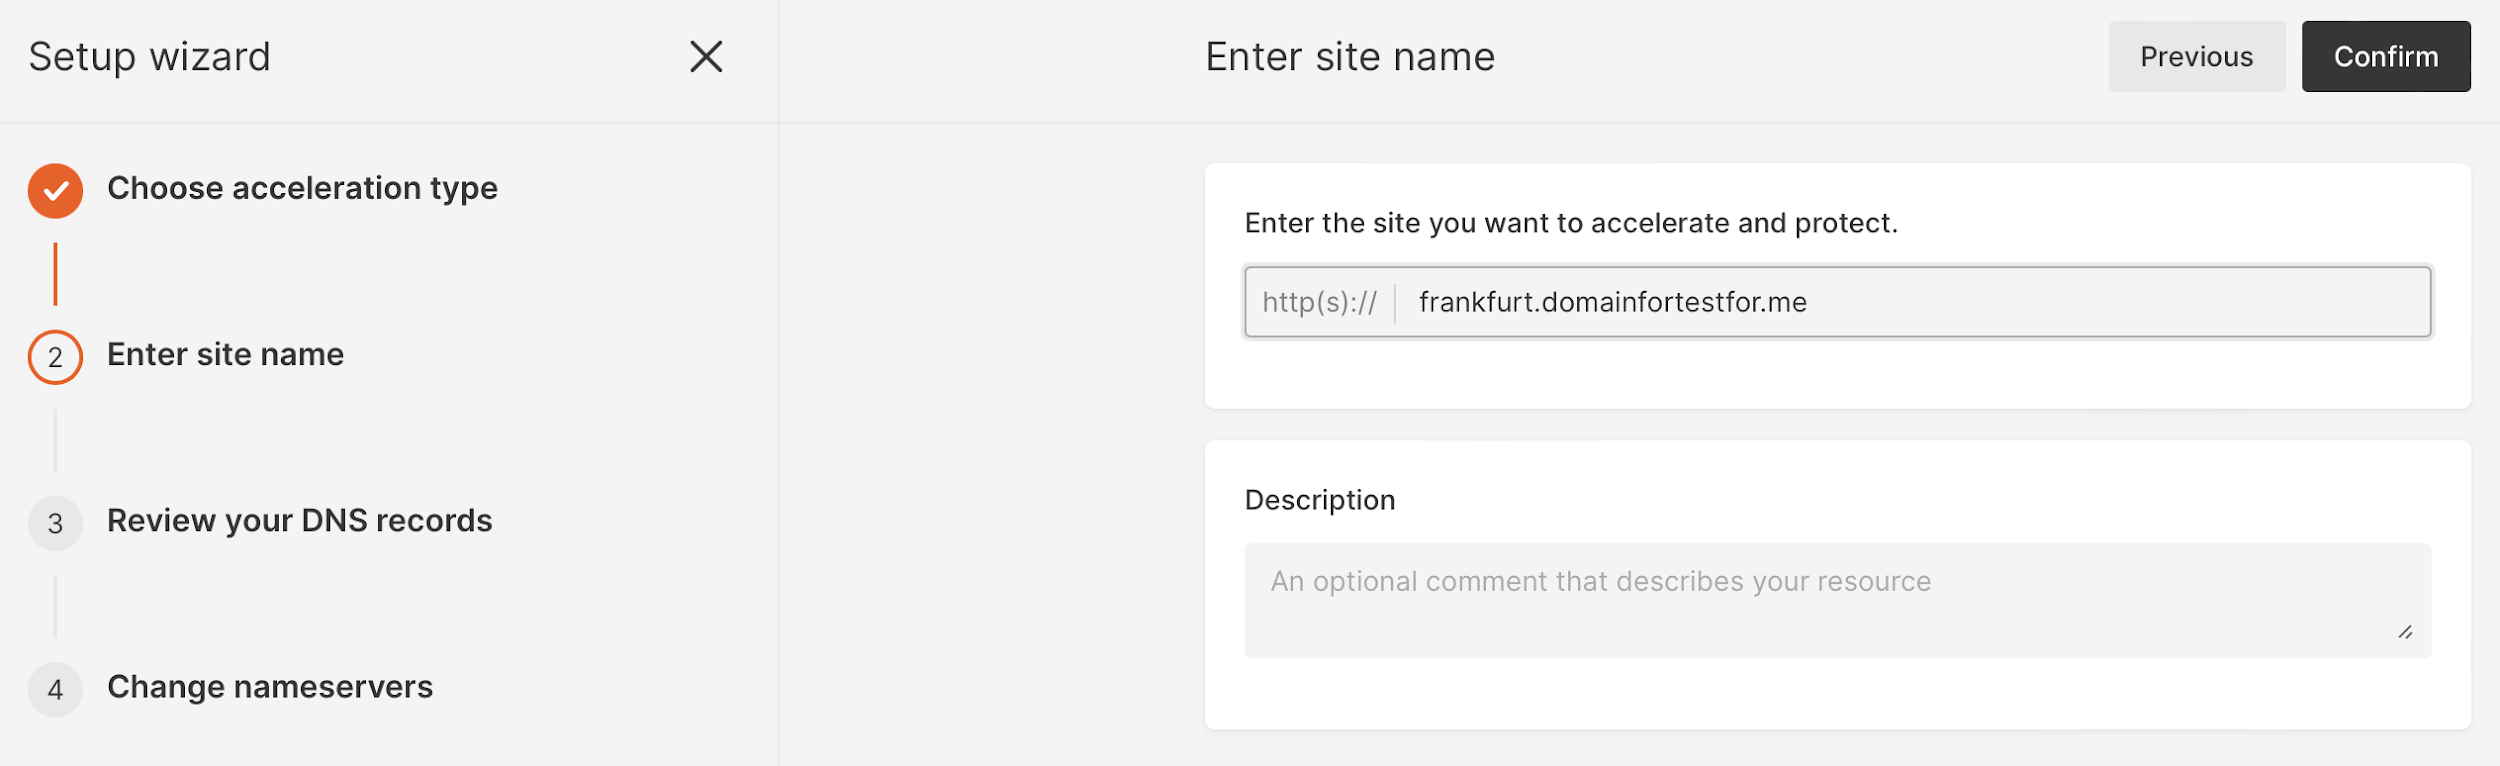
- Enter the name you chose in step 5.3 above, and click Confirm.
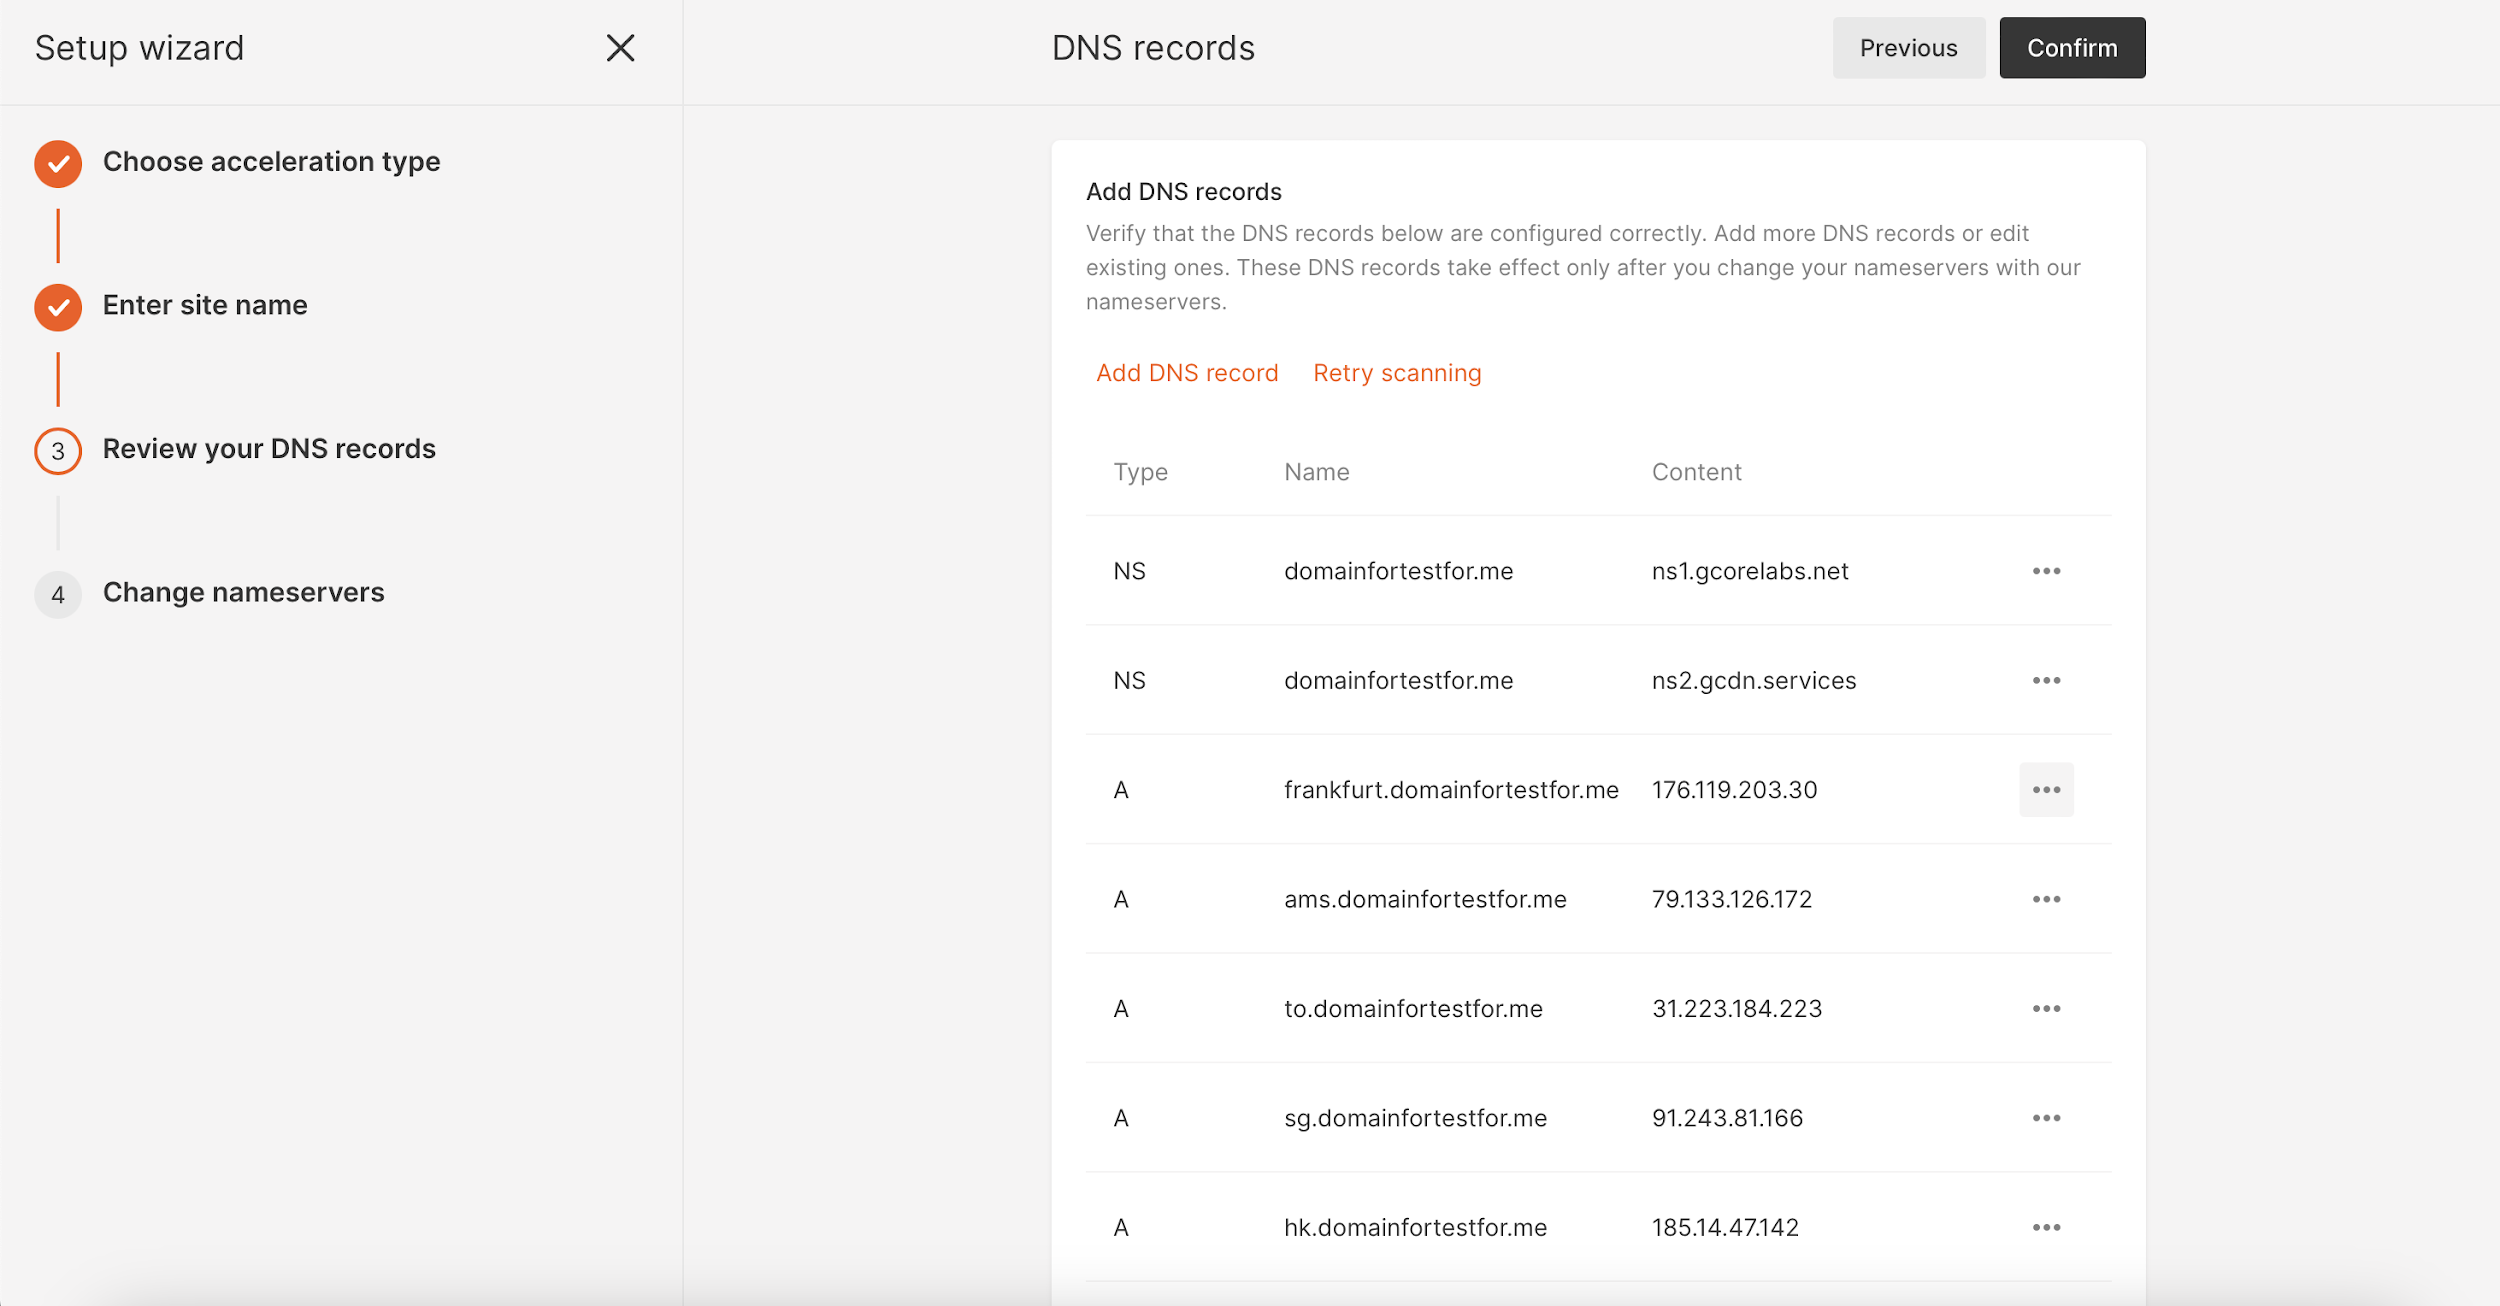
- Review your DNS records and click Confirm.
- If all the steps have been completed successfully, the CDN resource and DNS zone will be automatically created for the site you specified in the step “Enter site name” above.
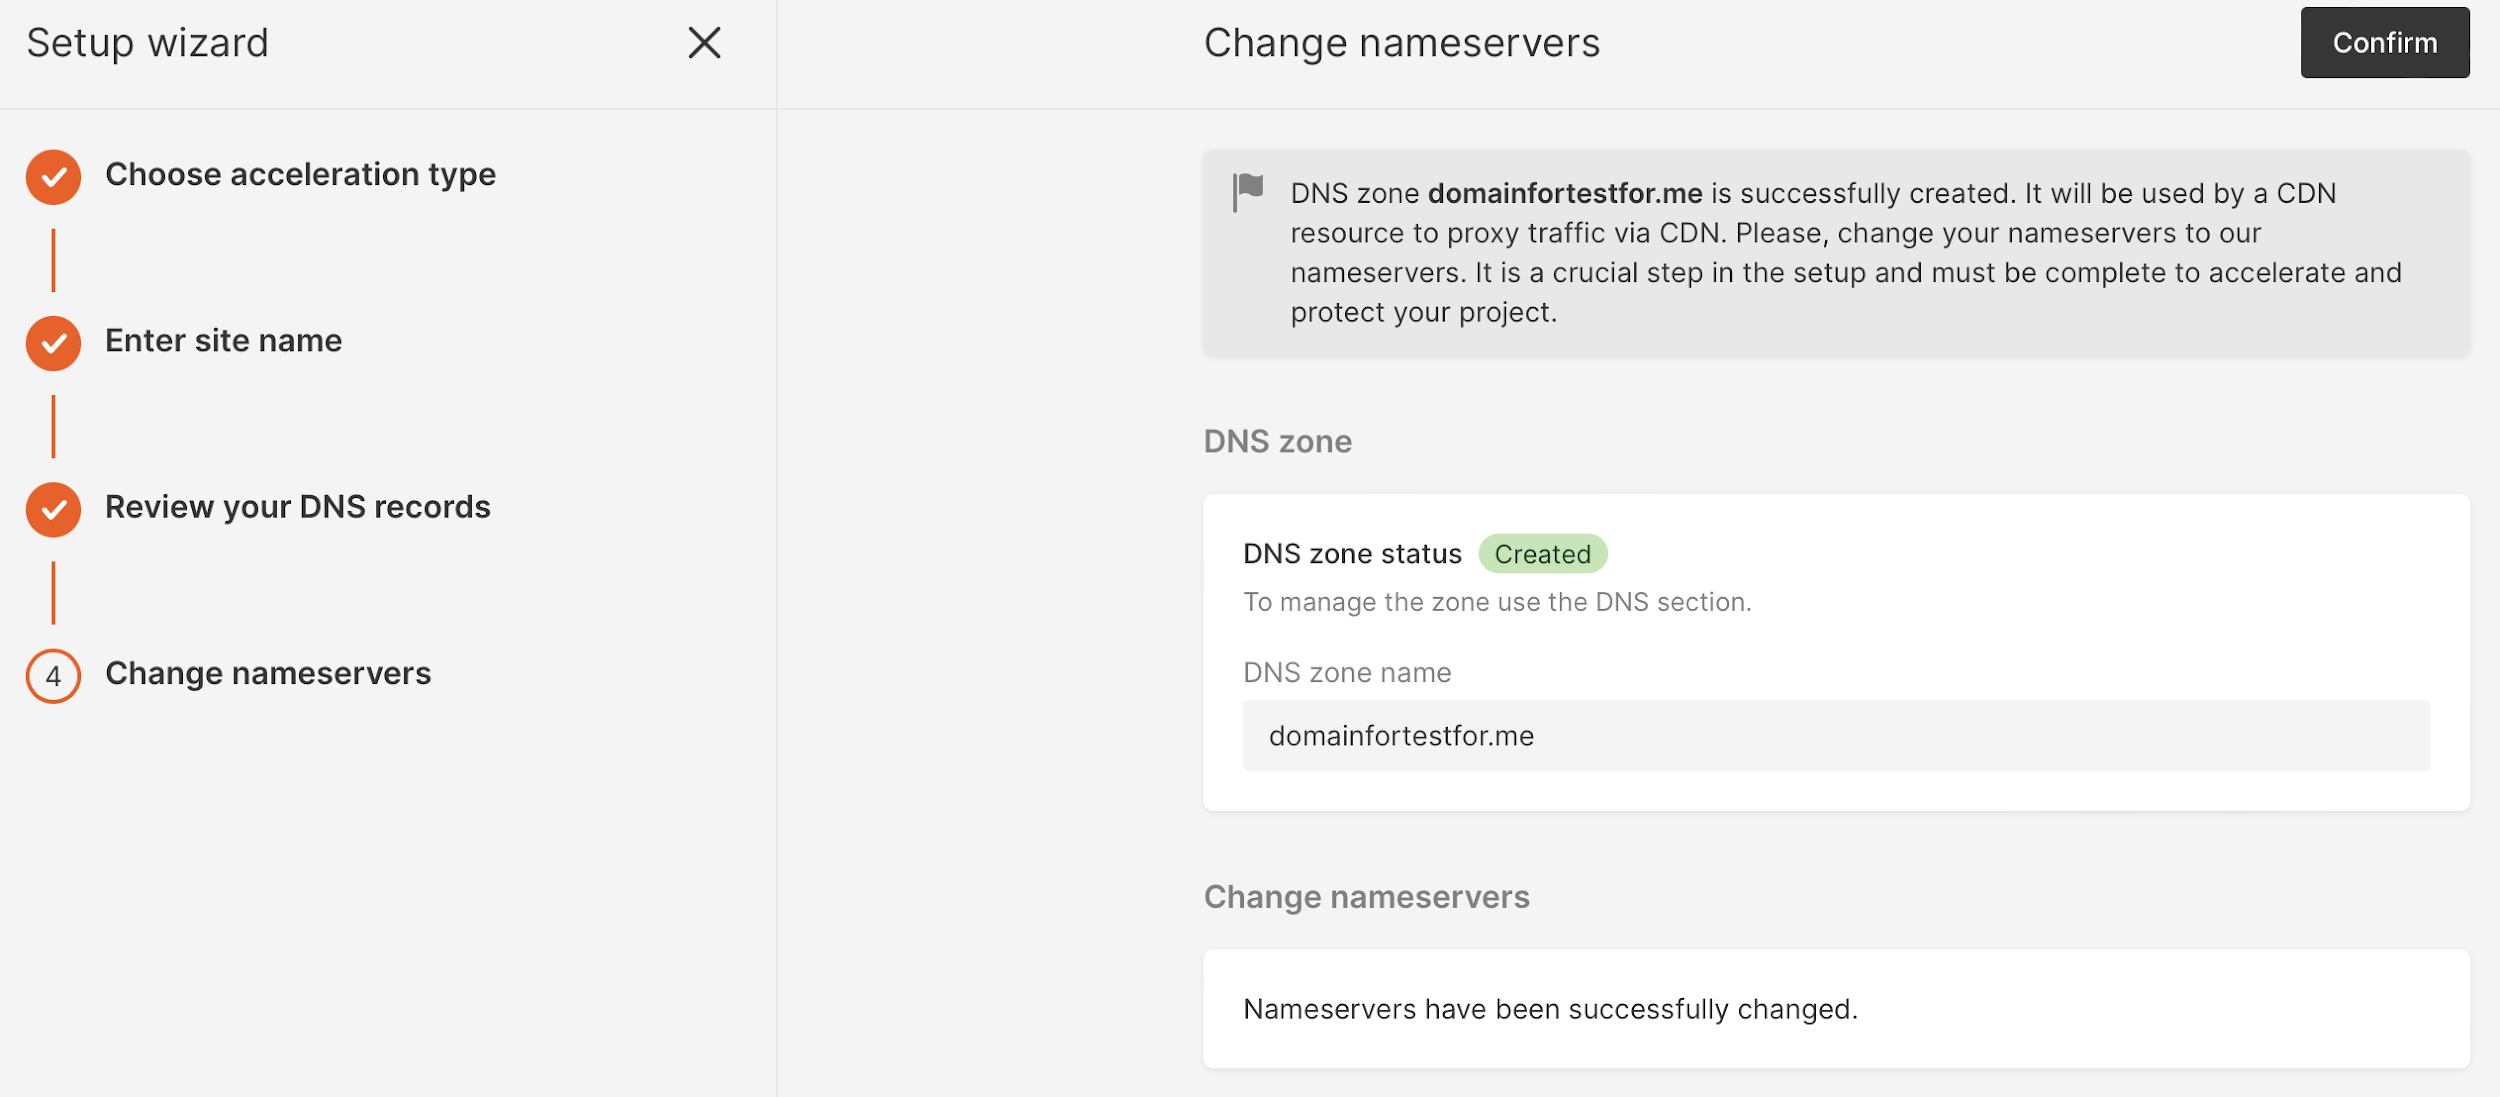
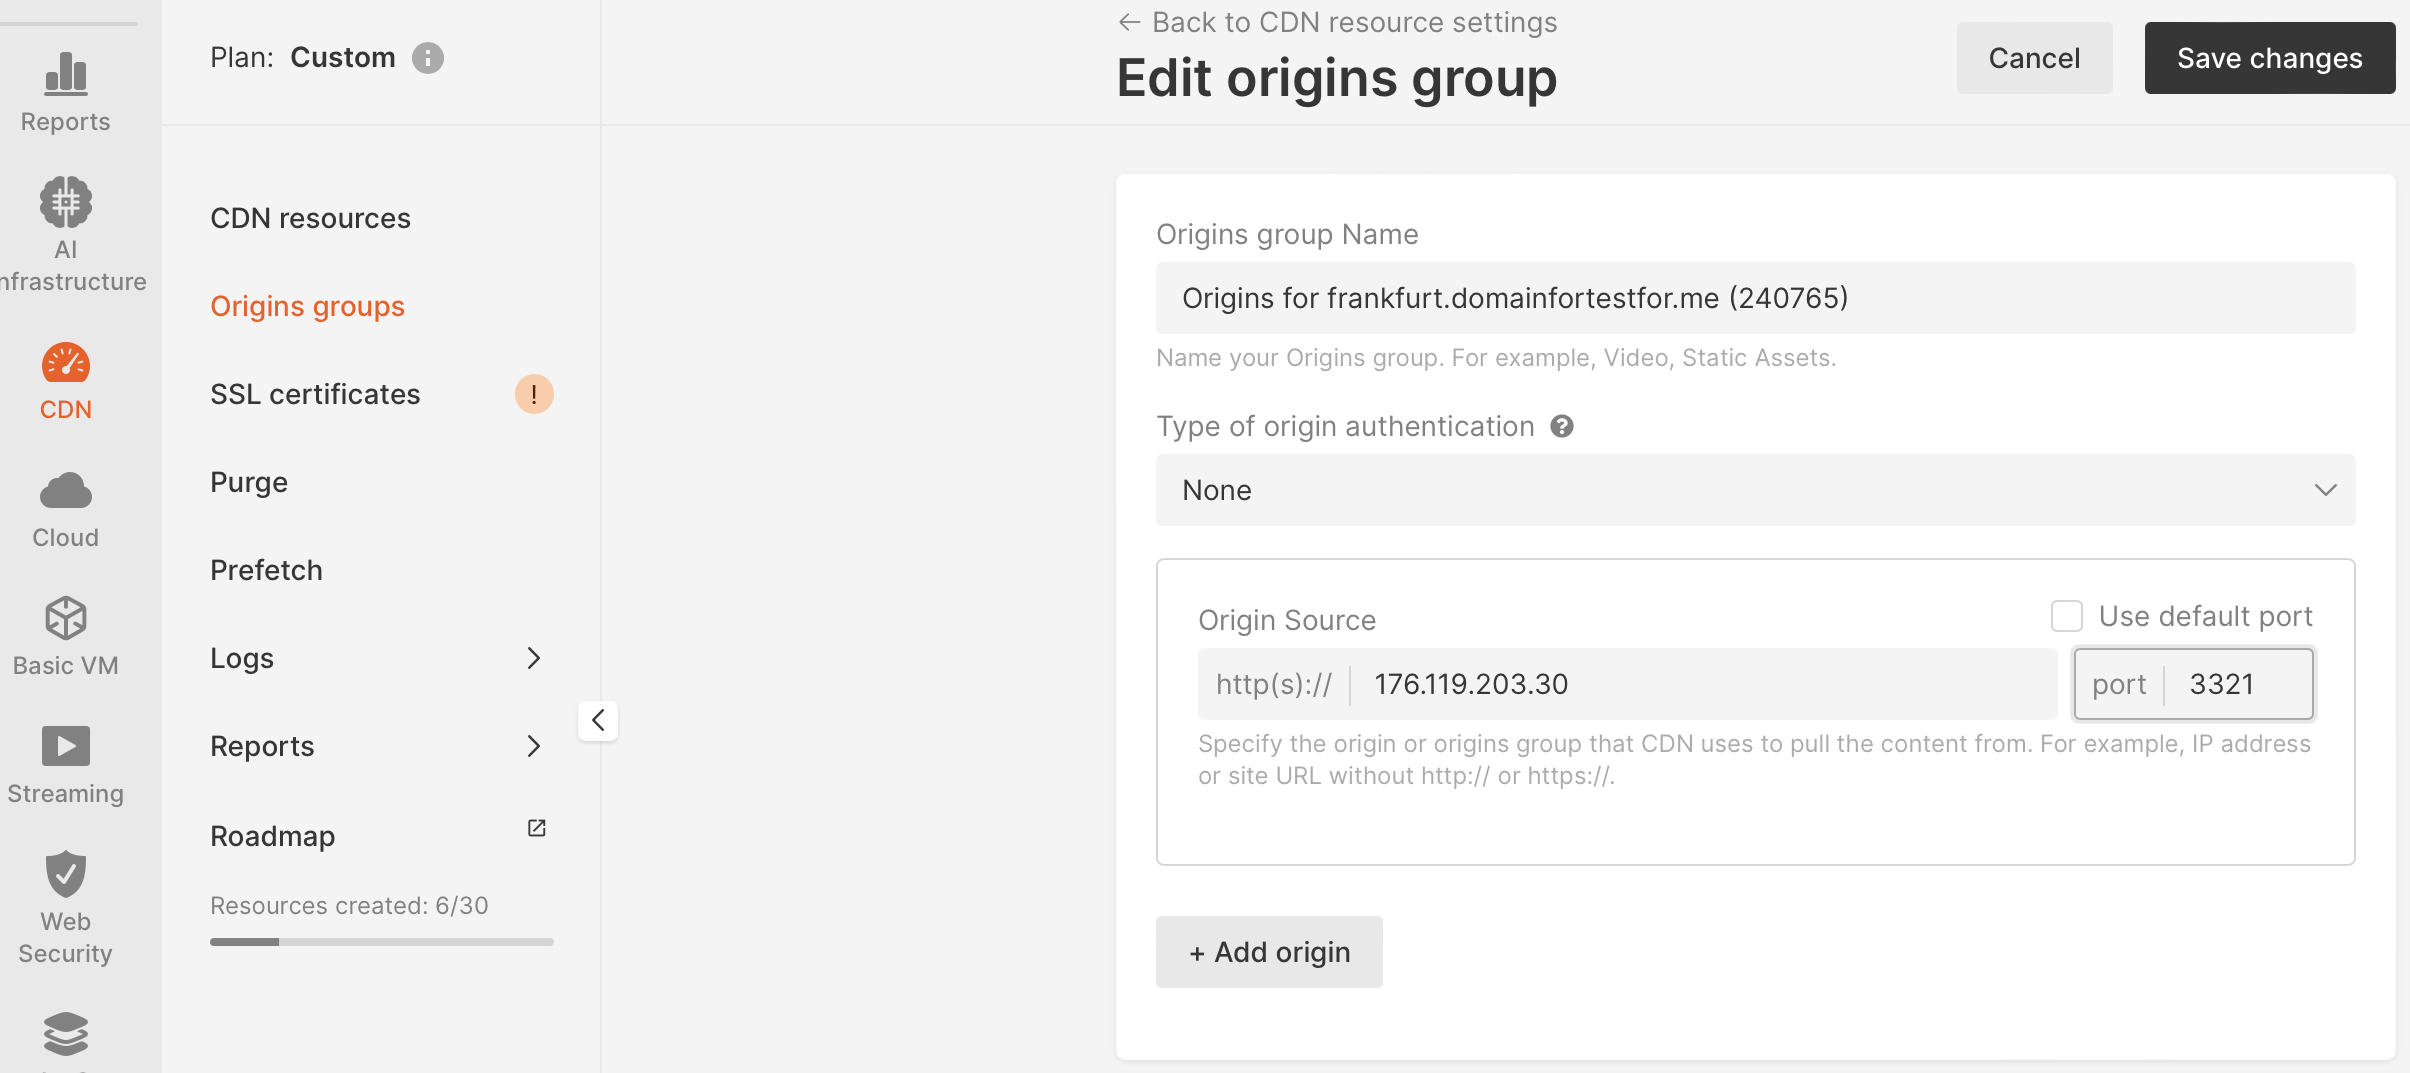
- Click Confirm and then Open resource settings. You’ll see this window:
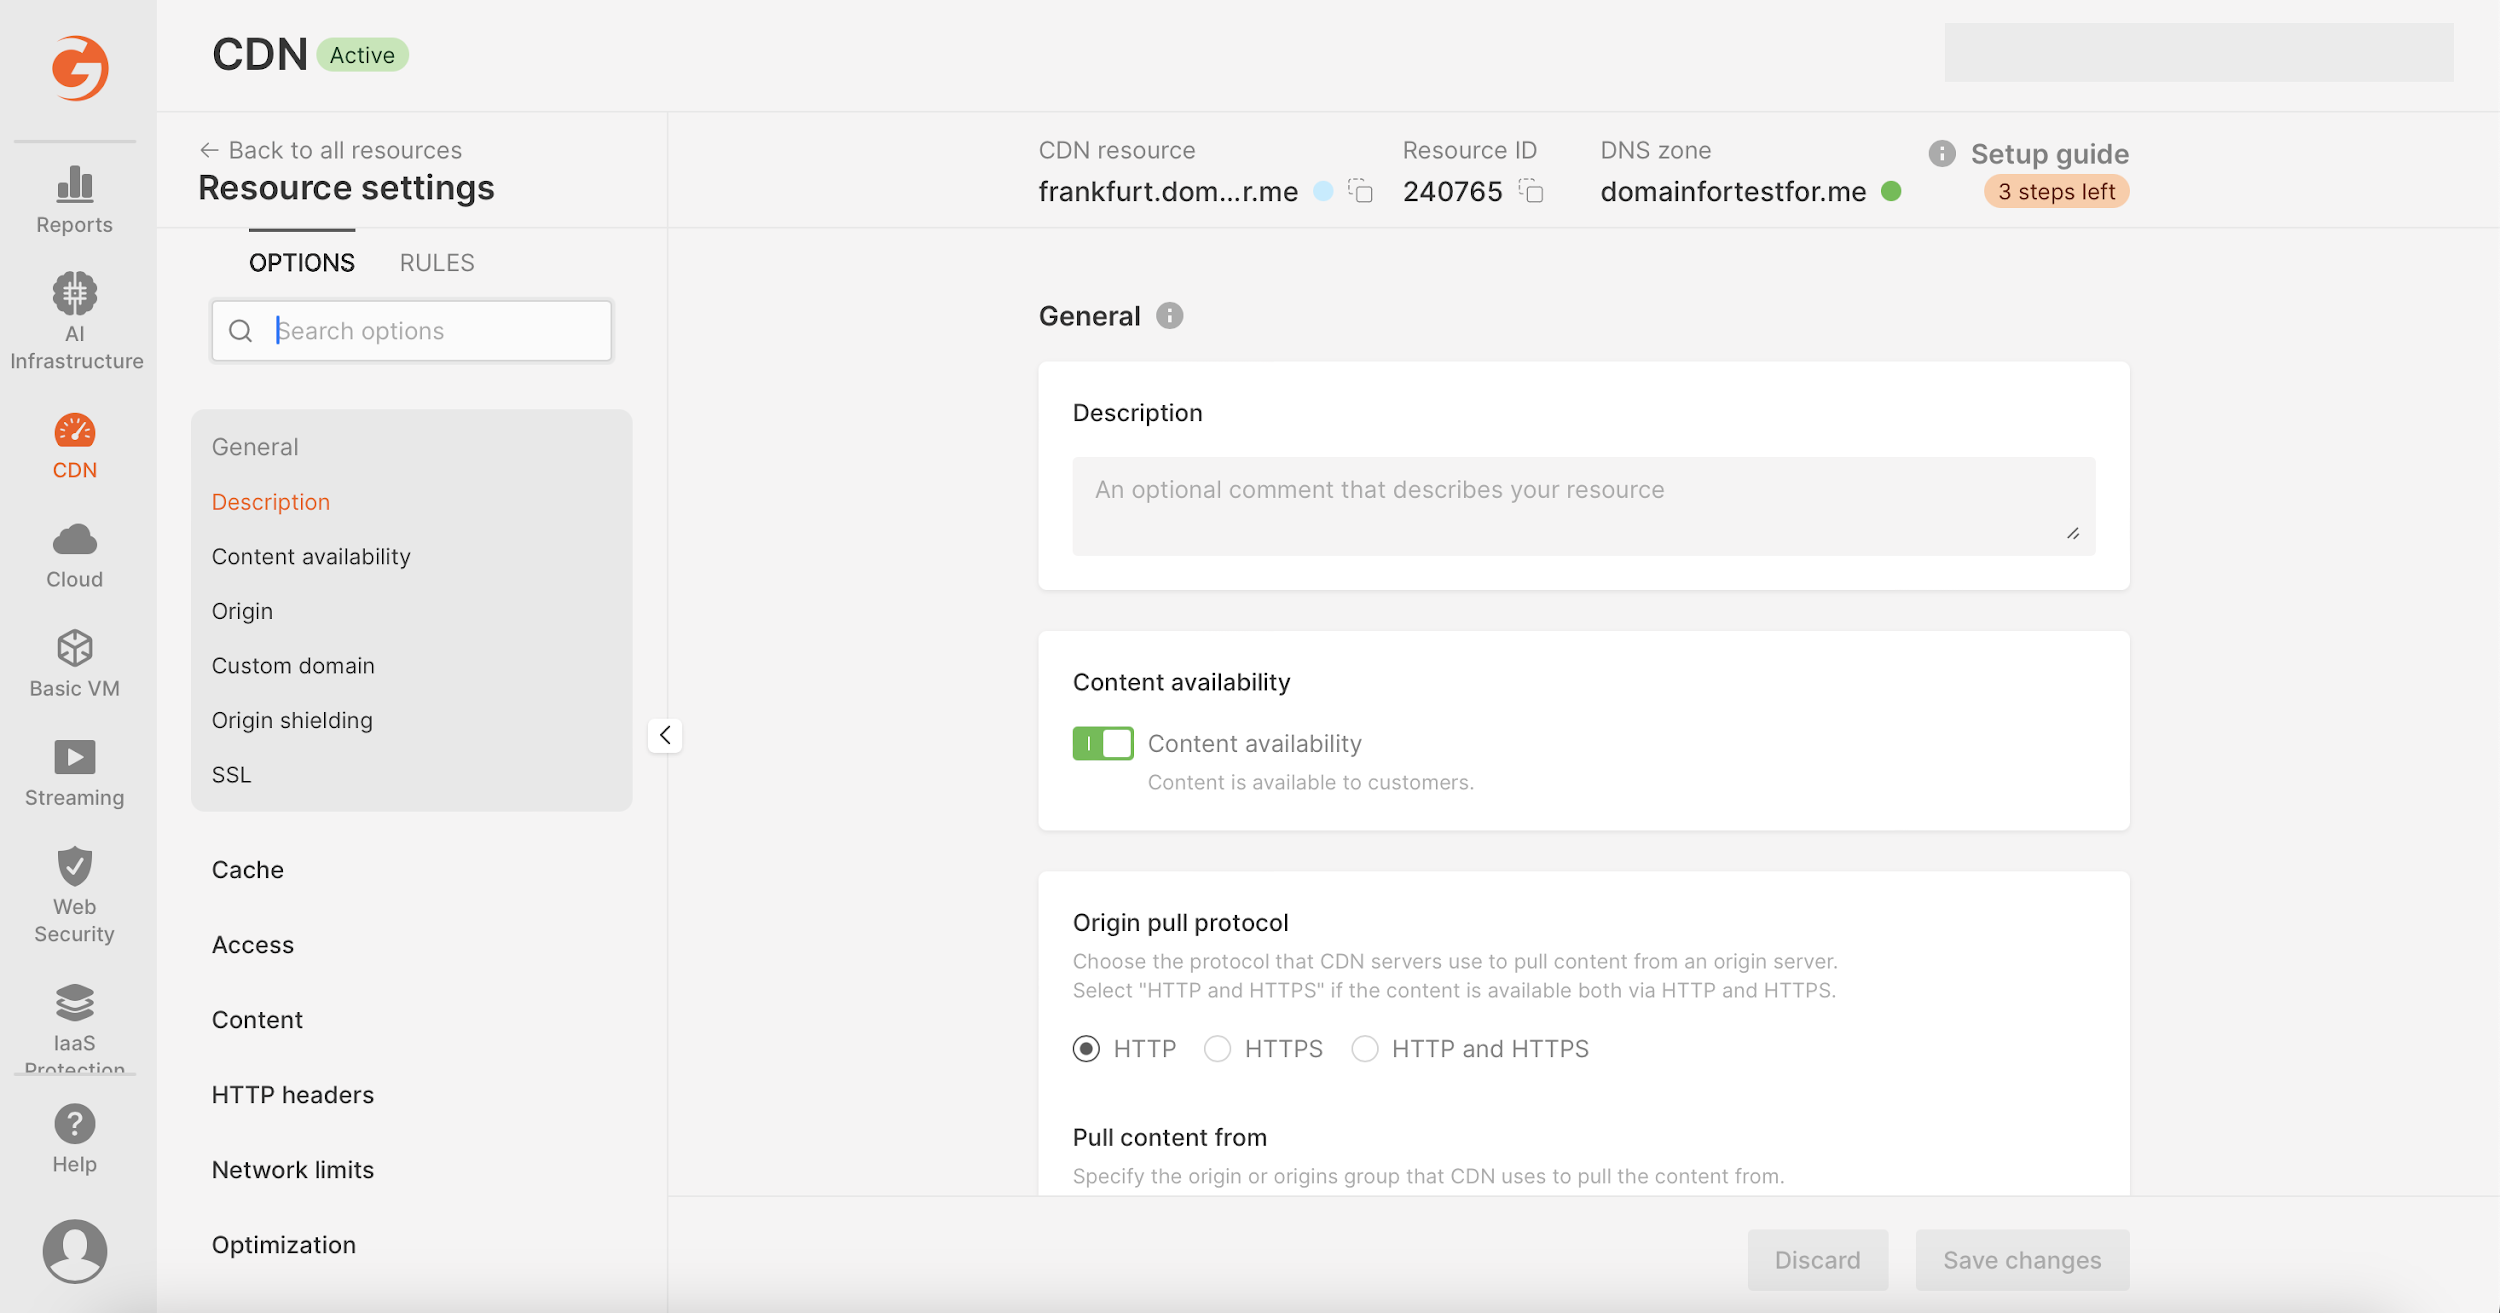
- Go to the settings for “Origin” and set the “Origin Source” port as 3321.
- In the “Origin shielding” section, enable SSL and select the Let’s Encrypt option.
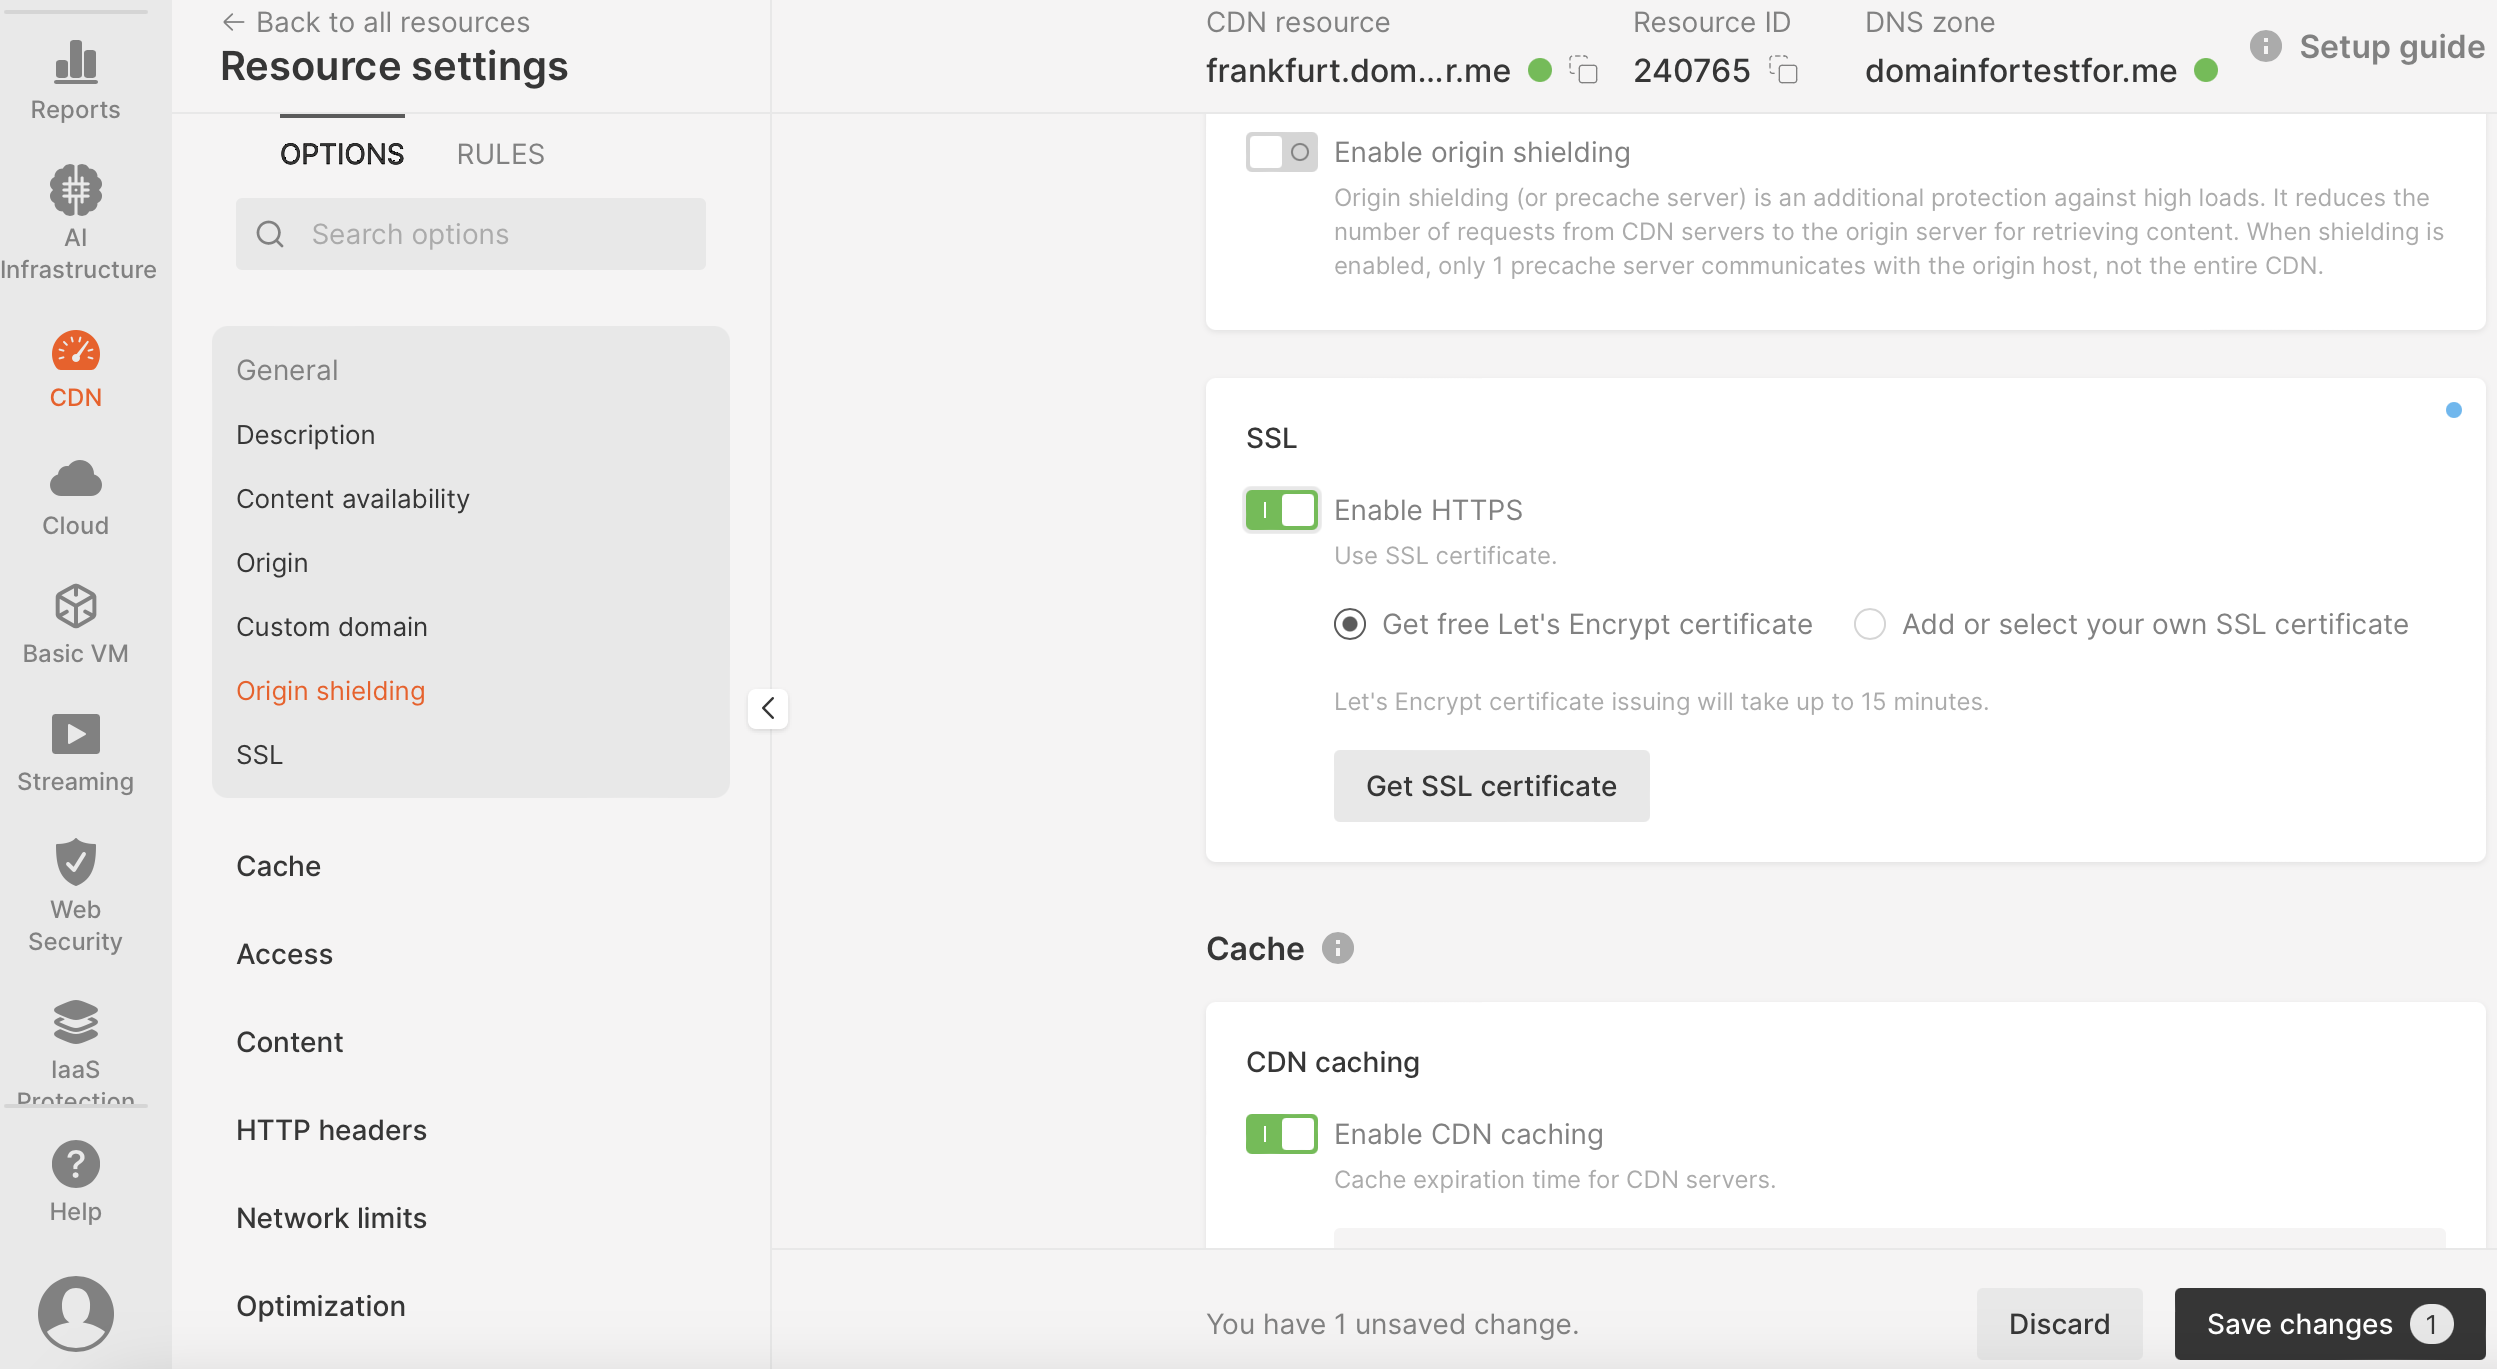
WebSocket is now configured. It will take up to twenty minutes for SSL to apply to all CDN nodes.
Step 7: Configure Your Node in the V2Ray Server
The next step is to configure your node.
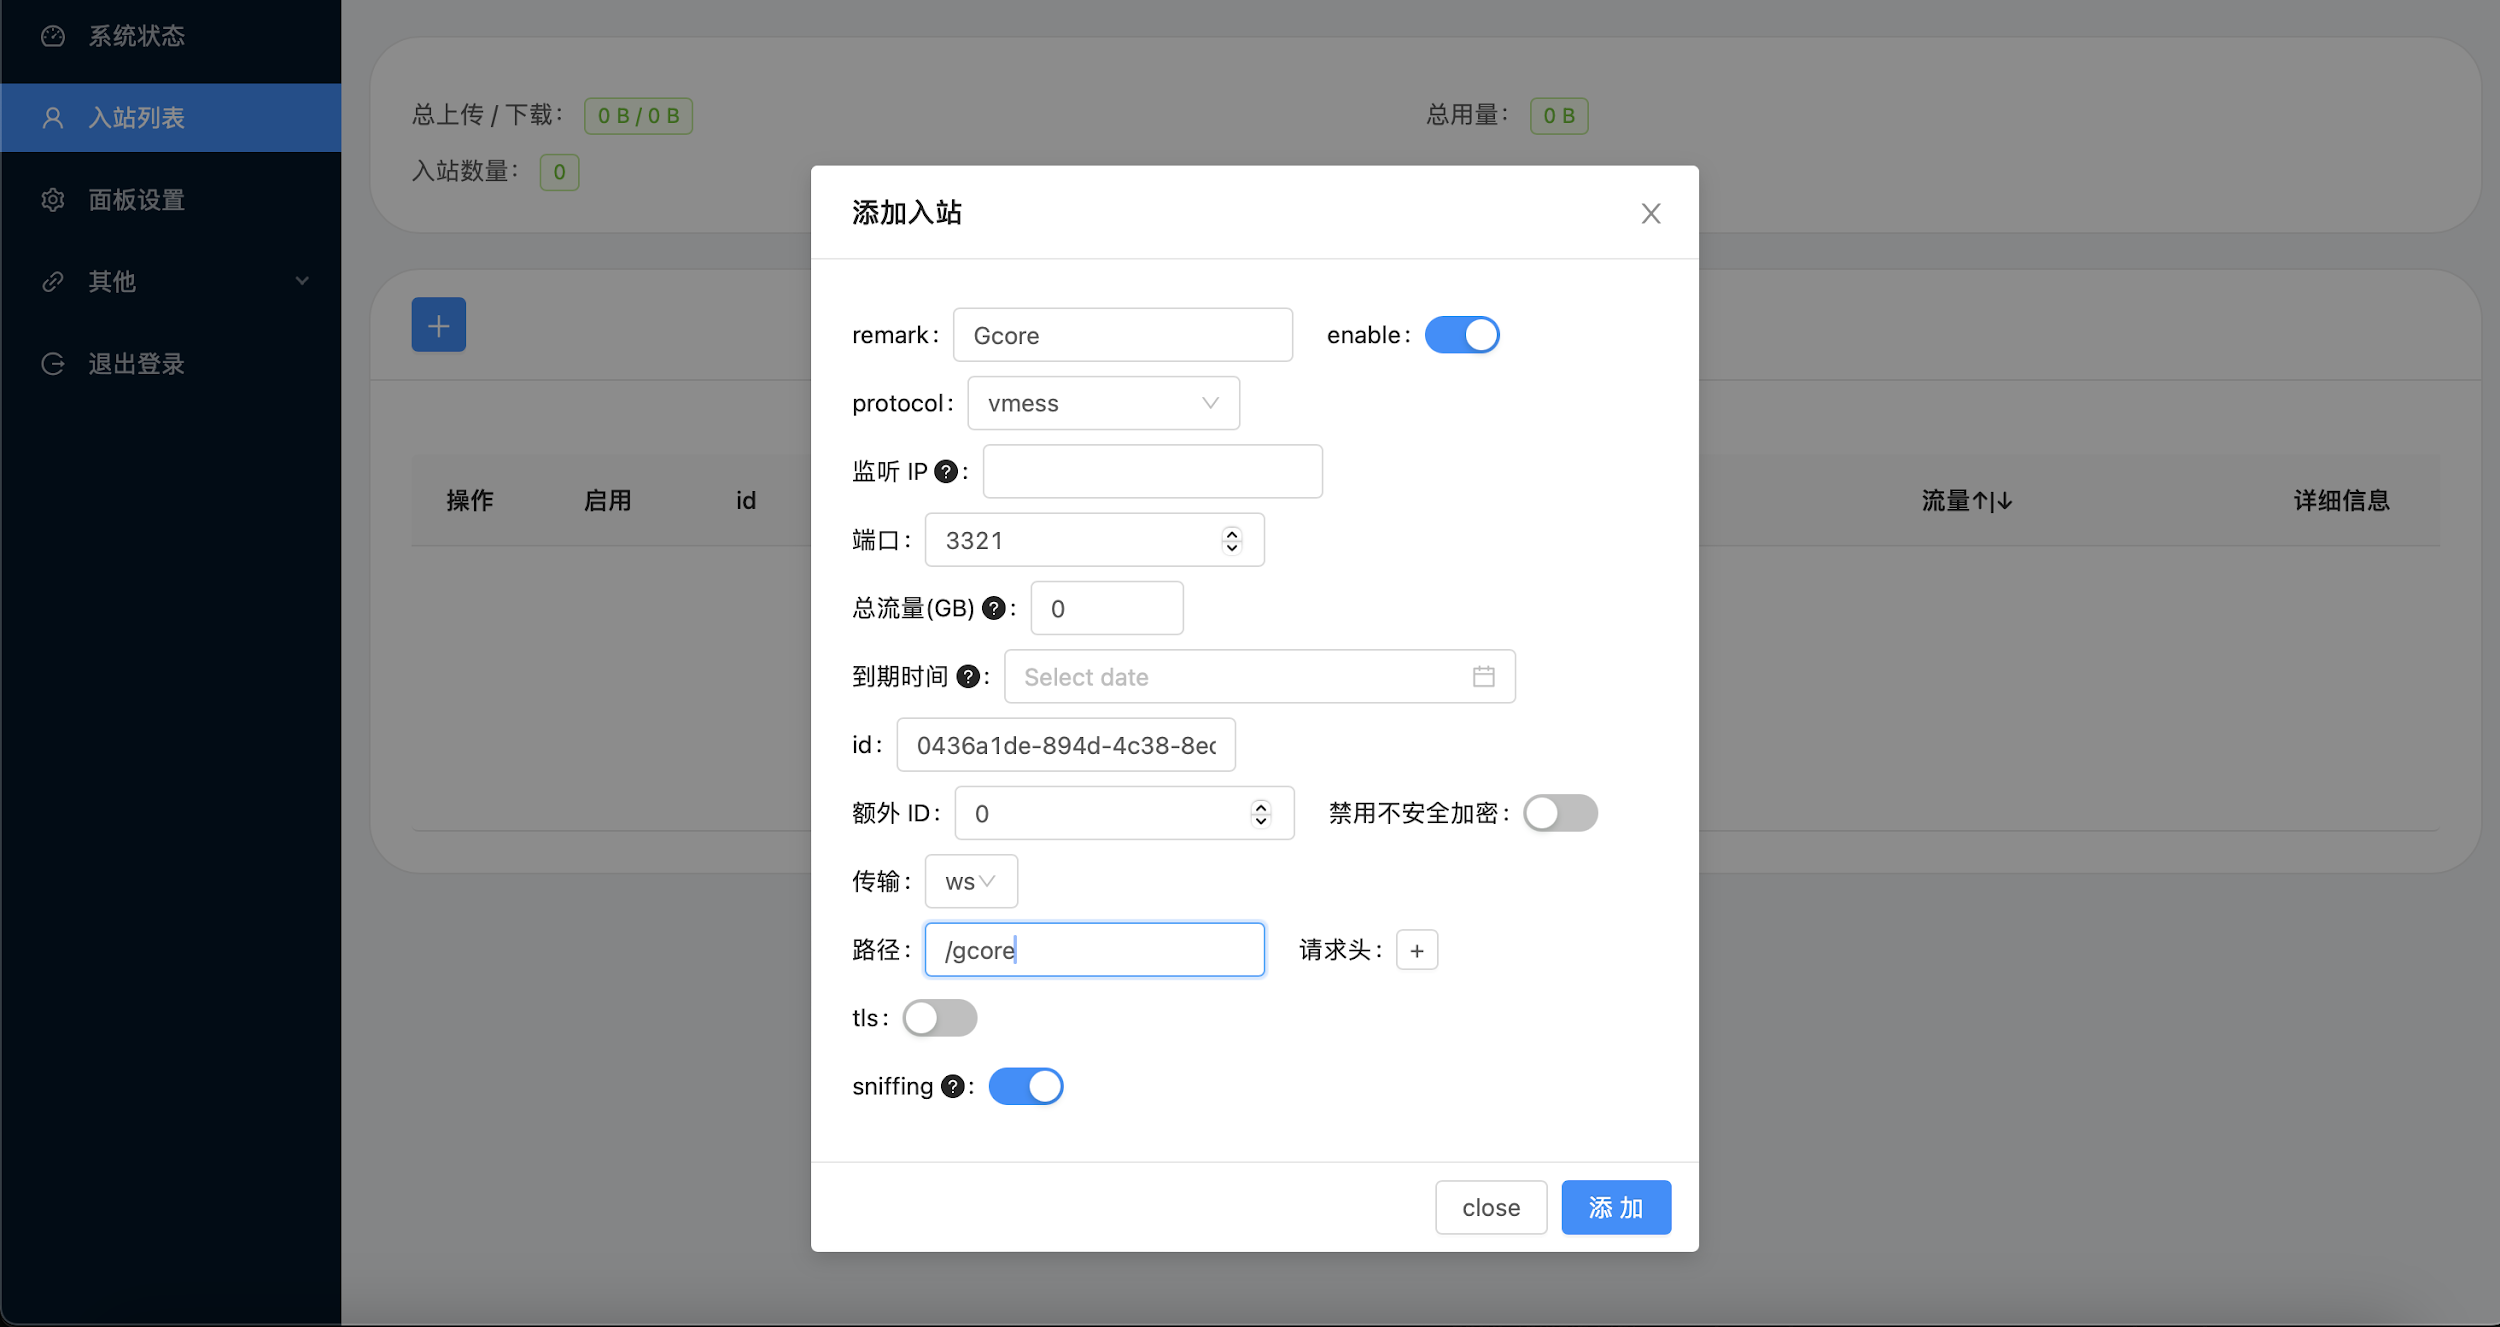
- Go to the V2Ray Server GUI, open the second tab in the menu on the left, and click the blue “+” to open the node settings.
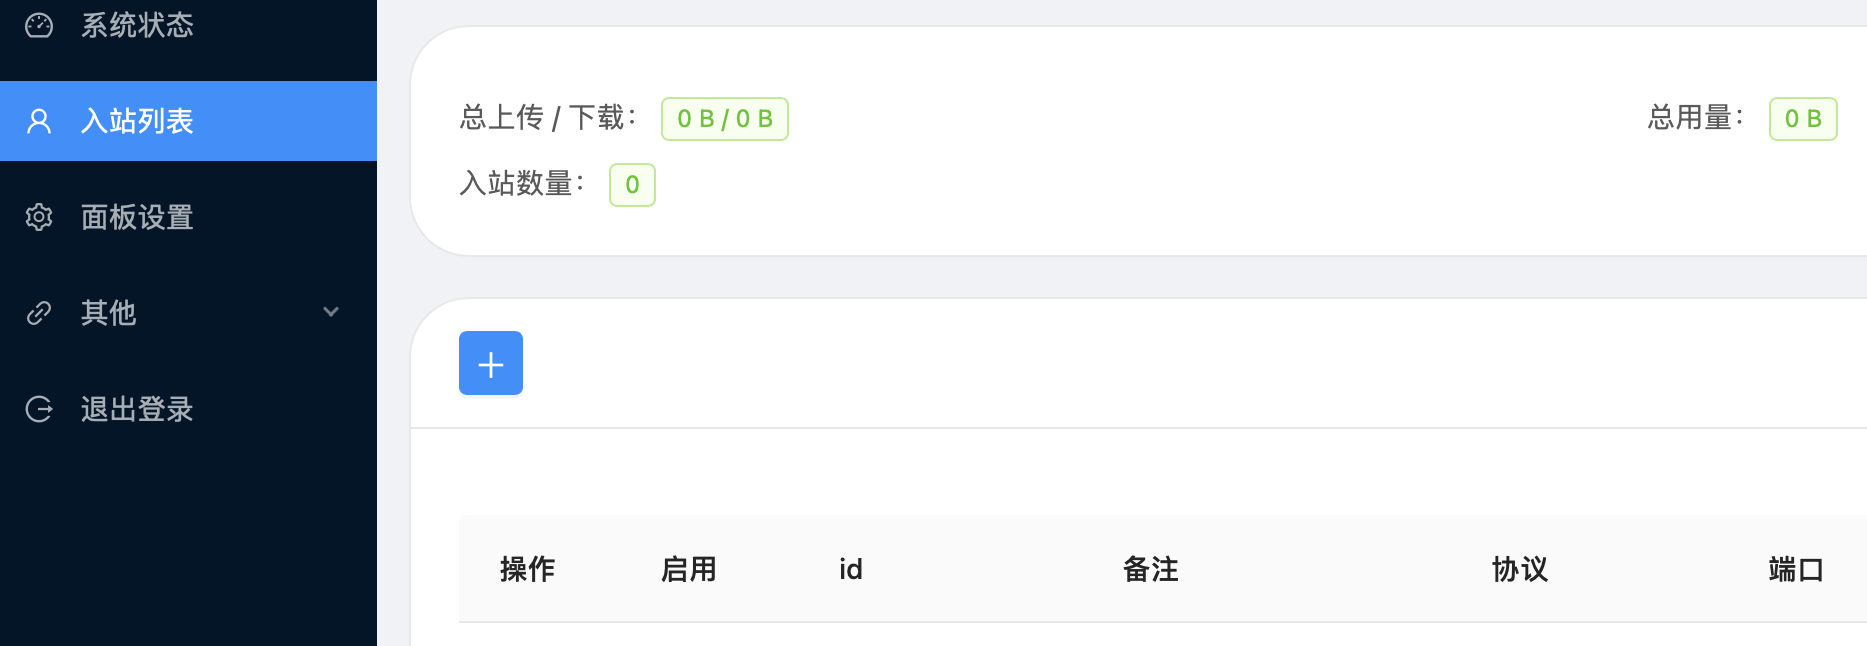
- Set the following parameters as they’re filled in the image below, except “id” which is filled in automatically. Then, press the blue button at the bottom-right corner.
Step 8: Connect to Your Server From Your Local Machine
- Install the V2Ray client on your device using the appropriate guide.
We’ll use the macOS client V2Box as an example; the details are also applicable to other clients.
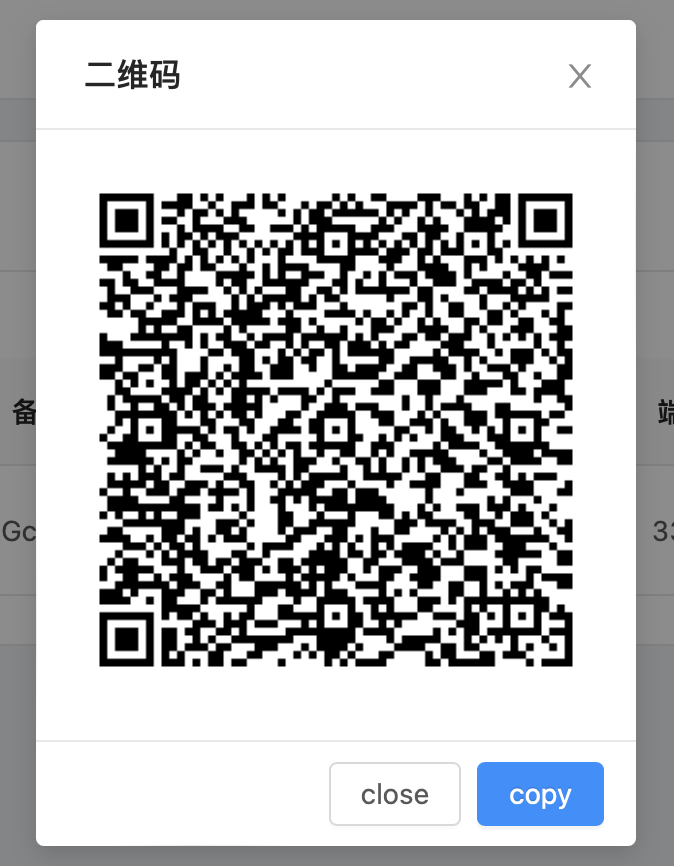
- Next, copy the server configuration as a QR code. Open the V2Ray node section (step 7.1,) click the first option on the left, and choose the first item in the drop-down list.

Click Copy.
- Open the V2Ray client, click “+”, and choose the first option in the list to import the configuration.
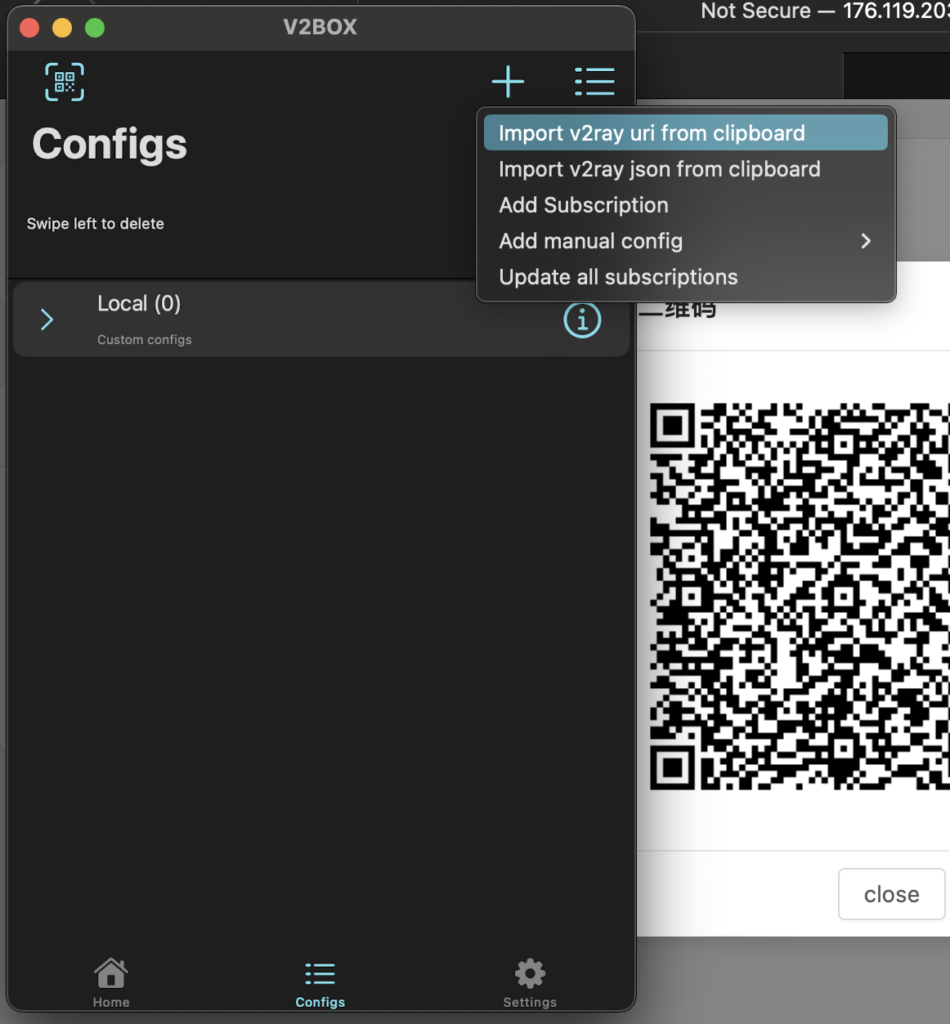
The configuration profile will then appear in the Configs list.
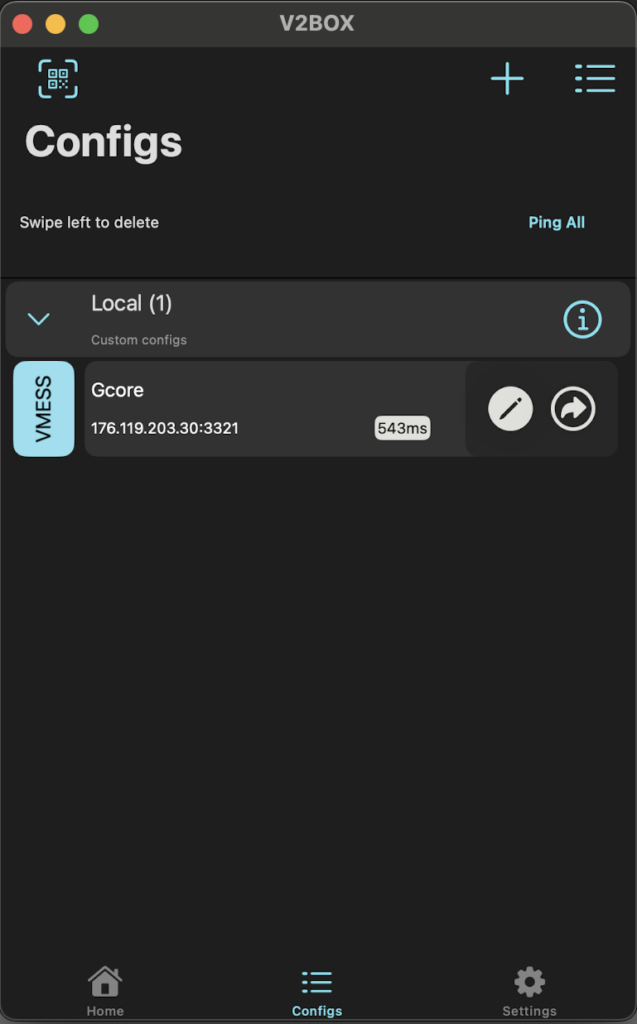
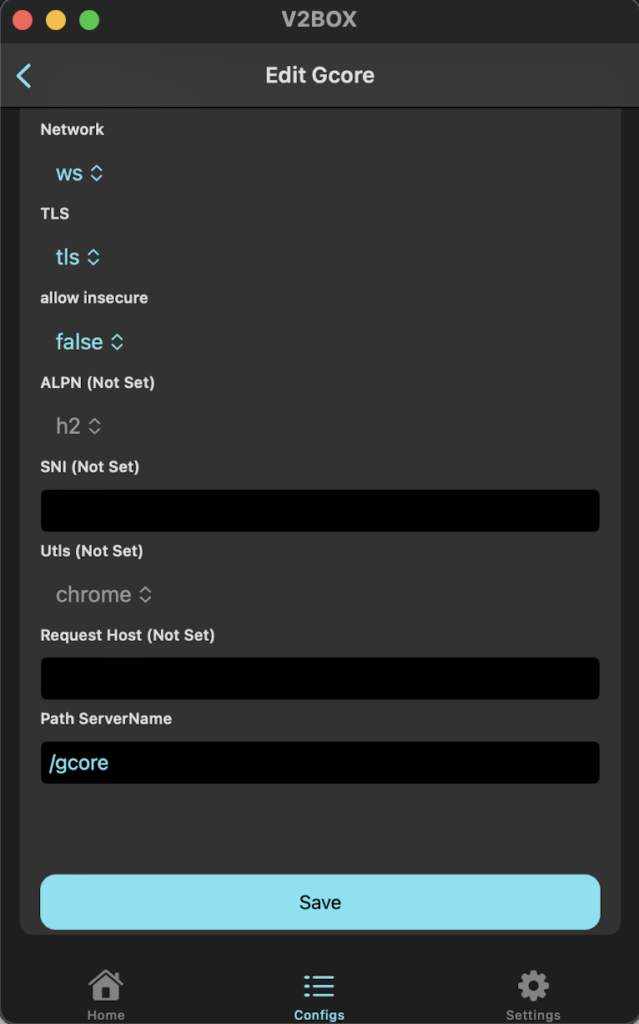
- Click the pencil icon to edit the profile. Change the Address field to your CDN/DNS name, set port 443, enable TLS, and leave the other fields as they are.
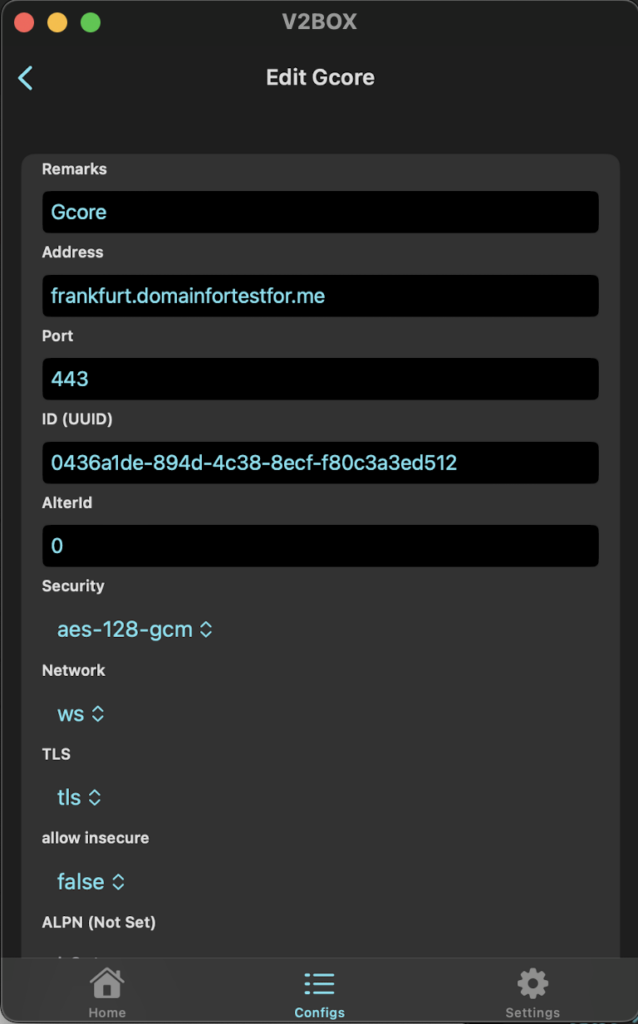
Scroll down and click the blue button to save changes.
Go to the home page and swipe the “Slide to connect” toggle. You’ll see this window:
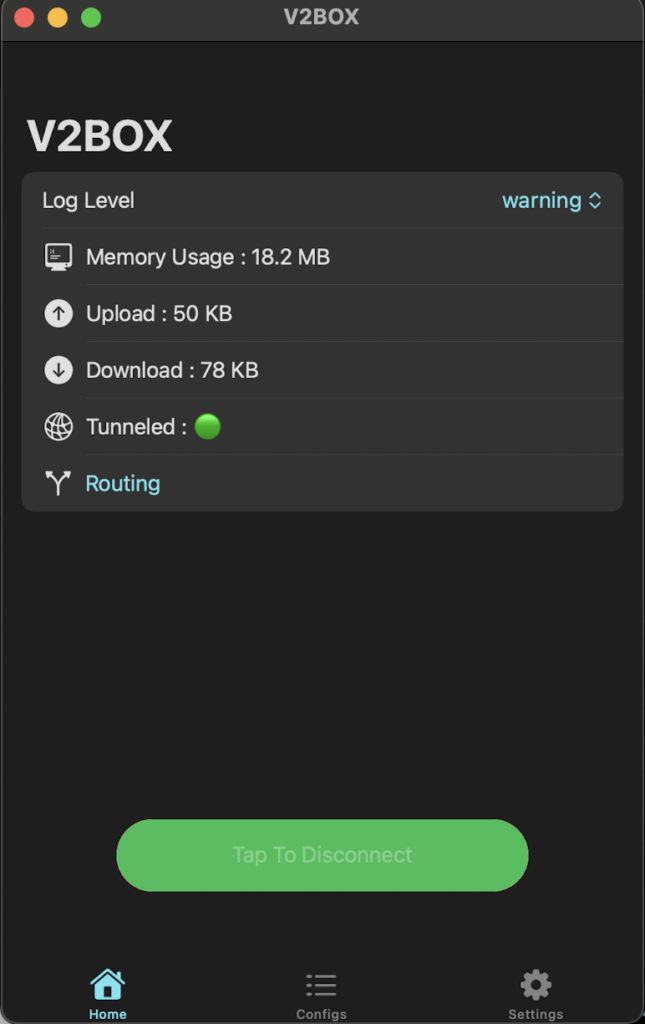
Congratulations! You have successfully configured V2Ray on your local machine.
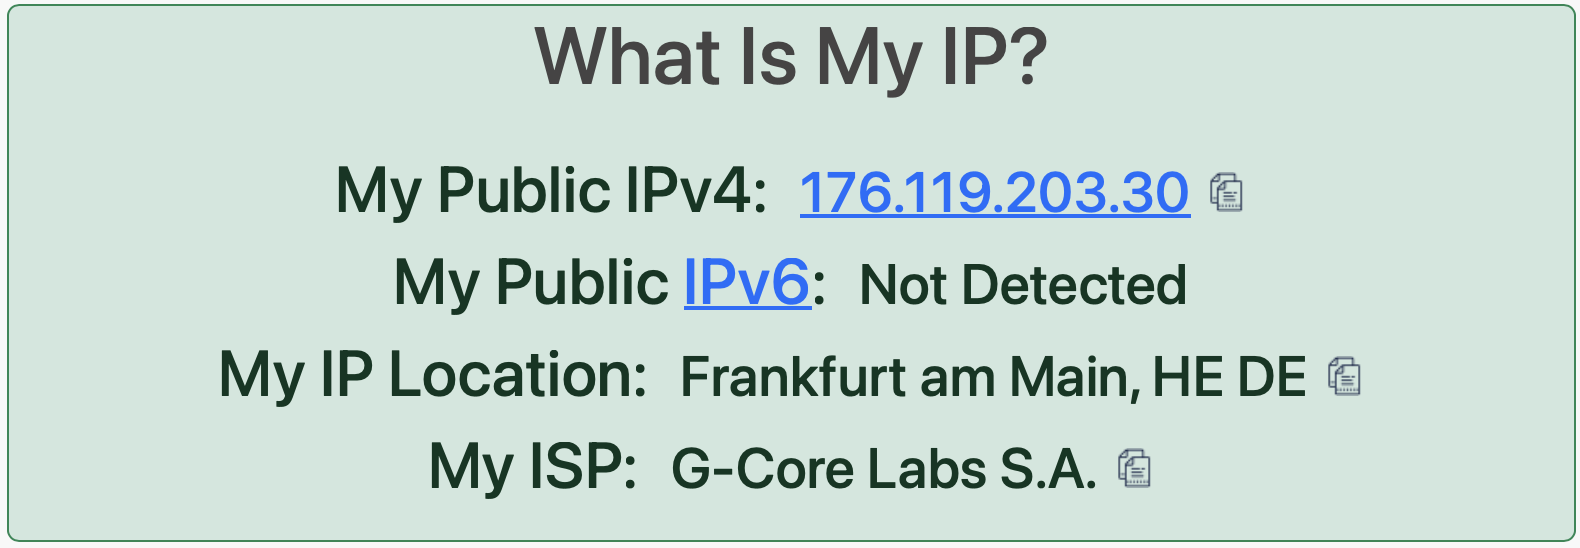
You can now check your new IP address and location using www.whatismyip.com:
Conclusion
Using V2Ray in combination with Gcore Basic VM, DNS, CDN, and DDoS protection enhances your internet connection’s security, speed, and resilience, offering a superior alternative to configurations that rely on a single virtual machine to run a V2Ray server.
To learn more about the products we’ve used and their features, please visit their respective Gcore pages: