
In a previous article, we discussed KUDO and the benefits of it when you want to create or manage Operators.
In this article we will focus on how to start to work with KUDO: Installation, using a predefined Operator and create your own one.
Installing KUDO
To install KUDO the first step is to install the CLI plugin in order to manage KUDO via CLI. Depending on your OS you can use a package manager like Brew or Krew, however installing the binary is a straightforward option to proceed.
You can download binary from the Kudo GitHub repo, going to the last release and checking the related assets to pick the right one for you.
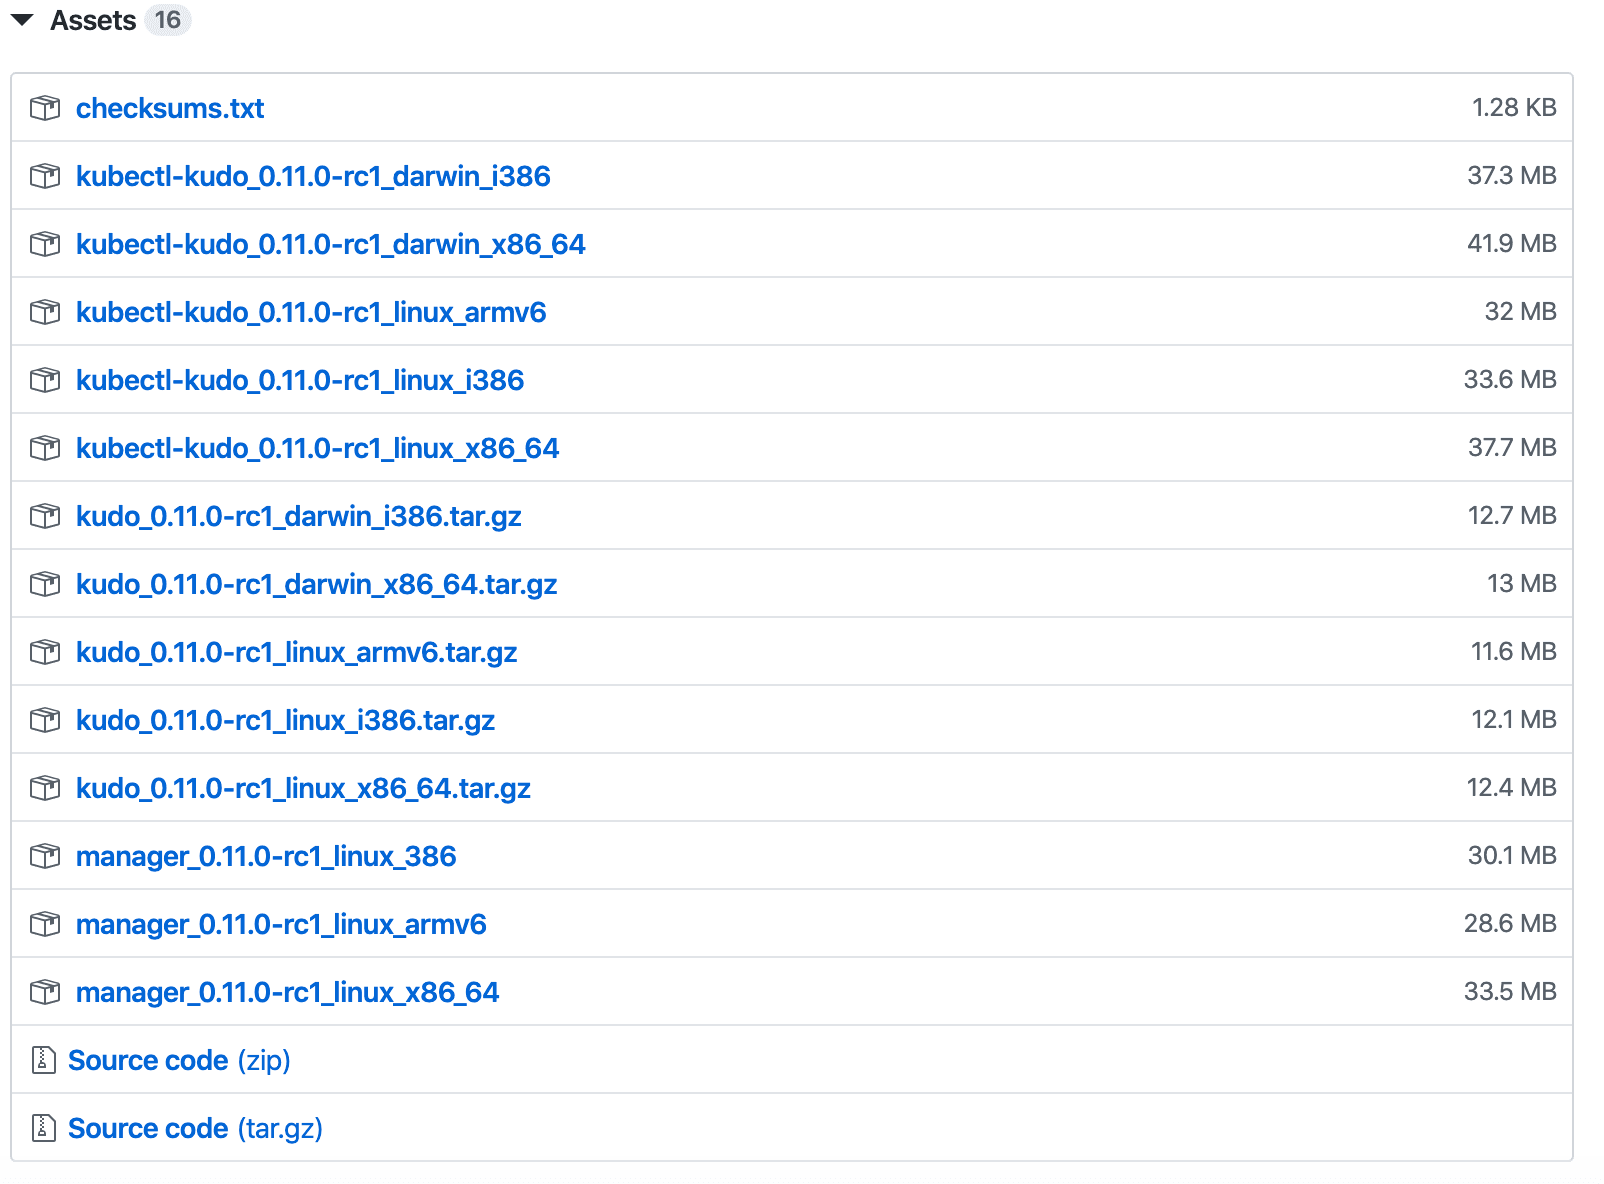
In this example we are using a x86-64 Linux distribution and the related package is kudo_0.11.0-rc1_darwin_x86_64.tar.gz. After uncompressing the file we should copy the binary to a directory included in our path like /usr/local/bin.
$ tar xvfz kudo_0.10.1_linux_x86_64.tar.gz$ sudo cp kubectl-kudo /usr/local/bin/Following that, we would be able to use kubectl kudo in our CLI to manage all our objects, including installing KUDO. The first step is to proceed with the installation doing a kubectl kudo init
To install KUDO automatically:
$ kubectl kudo initTo check the required actions prior to applying them you can also create a yaml file and apply it manually:
$ kubectl kudo init --dry-run -o=yaml > kudo.yamlThe installation process will create some CRD, ClusterRoleBinding, Namespace, ServiceAccount, StatefulSet and a Service in order to prepare the cluster to manage KUDO and the instance of KUDO controller. If everything runs fine, you will receive this output:
✅ installed crds✅ installed service accounts and other requirements for controller to run✅ installed kudo controllerDeploying a KUDO Operator
There is a list of predefined Operators ready to go. As an example, we will install Kafka in our cluster using the official KUDO Kafka Operator
Installation is simple. You only have to set the Operator’s name and the latest version will pulled (though you can include a specific version as per your requirement):
$ kubectl kudo install kafka --operator-version=1.2.0An Operator, OperatorVersion and an Instance will be created:
operator.kudo.dev/v1beta1/kafka createdoperatorversion.kudo.dev/v1beta1/kafka-1.2.0 createdinstance.kudo.dev/v1beta1/kafka-instance createdWith a kubectl get instances we can see a new instance has been created:
$ kubectl get instancesNAME AGEkafka-instance 93sA kubectl get pods command shows a single pod was created but it terminated with an error:
$ kubectl get pods NAME READY STATUS RESTARTS AGEkafka-instance-kafka-0 1/2 CrashLoopBackOff 4 2m50sThe reason is Kafka has dependencies with Zookeeper, so the deployment needs a Zookeper instance in order to start Kafka. Dependencies have to be solved manually but an automatic management of them is part of the KUDO’s roadmap.
To uninstall an existing KUDO Operator you can use a kubectl kudo uninstall --instance name_of_the_instance:
$ kubectl kudo uninstall --instance kafka-instanceinstance.kudo.dev/v1beta1/kafka-instance deletedYou can proceed now to install sequentially both Operators. We will install Zookeeper using kubectl kudo install zookeeper with the default version and later, the Kafka Operator:
$ kubectl kudo install zookeeperoperator.kudo.dev/v1beta1/zookeeper createdoperatorversion.kudo.dev/v1beta1/zookeeper-0.3.0 createdinstance.kudo.dev/v1beta1/zookeeper-instance created$ kubectl kudo install kafka --operator-version=1.2.0operator.kudo.dev/v1beta1/kafka createdoperatorversion.kudo.dev/v1beta1/kafka-1.2.0 createdinstance.kudo.dev/v1beta1/kafka-instance createdNote that both applications (Zookeeper and Kafka) are generating a Persistent Volume Claim (PVC) for every pod they are creating. You will need 6 available Persistent Volumes (PV) with at least 5Gi and ReadWriteOnce for access mode:
$ kubectl get pvc NAME STATUS VOLUME CAPACITY ACCESS MODES STORAGECLASS AGE kafka-instance-datadir-kafka-instance-kafka-0 Bound volume1 5Gi RWO 20m kafka-instance-datadir-kafka-instance-kafka-1 Bound volume2 5Gi RWO 20m kafka-instance-datadir-kafka-instance-kafka-2 Bound volume3 5Gi RWO 20m zookeeper-instance-datadir-zookeeper-instance-zookeeper-0 Bound volume4 5Gi RWO 16m zookeeper-instance-datadir-zookeeper-instance-zookeeper-1 Bound volume5 5Gi RWO 16m zookeeper-instance-datadir-zookeeper-instance-zookeeper-2 Bound volume6 5Gi RWO 16mIf a PV has already been created on your cluster, you can deploy it using this YAML file (you will need to create the directory referenced in the path on all of your worker nodes and assign them the right permissions):
apiVersion: v1kind: PersistentVolumemetadata: name: volume1 labels: type: localspec: capacity: storage: 5Gi accessModes: - ReadWriteOnce hostPath: path: "/volumes/volume1"After successfully deploying both applications you will get a bunch of pods:
$ kubectl get podsNAME READY STATUS RESTARTS AGEkafka-instance-kafka-0 2/2 Running 0 25skafka-instance-kafka-1 2/2 Running 0 25skafka-instance-kafka-2 2/2 Running 0 25szookeeper-instance-zookeeper-0 1/1 Running 0 4m54szookeeper-instance-zookeeper-1 1/1 Running 0 4m54szookeeper-instance-zookeeper-2 1/1 Running 0 4m54sAll of them being part of a StatefulSet as you can see running kubectl get statefulsets:
$ kubectl get statefulsetsNAME READY AGEkafka-instance-kafka 3/3 3m21szookeeper-instance-zookeeper 3/3 7m49sCreating your own Operator
Using predefined Operators is easy and very useful but sometimes we have the limitation of a specific list of available Operators. If we need to create our own Operator we can still use all KUDO functionalities.
A specific structure is required when we are creating our own Operator. First of all we will create a directory named as our Operator and we will set a couple of files: operator.yaml and params.yaml. The first one will be definition of the Operator; while the second one will contain parameters to be used by our tasks.
Additionally, we need to create a subdirectory called templates where we will create a YAML file for every defined task. Assuming an Operator with just one task named deploy, the file structure looks like:
├── operator.yaml├── params.yaml└── templates └── deploy.yamlTo define an Operator we only need to declare a YAML file when we can include different plans and tasks. Every plan could include a bunch of phases and tasks to be executed sequentially or in parallel. This example includes just one plan with a single task named init. All tasks have to be defined in a separate YAML file into the directory templates. If we need a complex operational logic we can just add more plans, phases, steps and tasks according our needs.
Our operator.yaml:
apiVersion: kudo.dev/v1beta1name: "our-own-operator"operatorVersion: "1.0.0"appVersion: "3.0.1"kubernetesVersion: 1.17.0maintainers: - name: Your name email: <name@domain.com>url: https://domain.comtasks: - name: init kind: Apply spec: resources: - deploy.yamlplans: deploy: strategy: serial phases: - name: main strategy: serial steps: - name: onlyone tasks: - initThe task has an associated YAML file where we defined all required actions. Here we are just creating a deployment using a certain number of replicas and an image, both defined in our params.yaml file. As you can see the syntax to use a defined parameter is {{ .Params.name_of_your_param }}
Our deploy.yaml (task init)
apiVersion: apps/v1kind: Deploymentmetadata: name: our-own-operatorspec: replicas: {{ .Params.replicas }} selector: matchLabels: app: our-own-operator template: metadata: labels: app: our-own-operator spec: containers: - name: our-own-operator image: {{ .Params.image }} imagePullPolicy: AlwaysParameters are defined in our params.yaml file and the syntax is pretty straightforward. Here we are defining the number of replicas (4) and the specific image we are going to use (httpd version 2.4.41). If any change is required on both values we only need to update the params file which will save the effort and time of modifying every file.
apiVersion: kudo.dev/v1beta1parameters: - name: replicas description: Number of replicas that should be run as part of the deployment default: 4 - name: image description: Container image to be used default: "httpd:2.4.41"To install our Operator we just need to run the same command kubectl kudo install and specifying the directory instead of the Operator name:
$ kubectl kudo install ./our-own-operator/operator.kudo.dev/v1beta1/our-own-operator createdoperatorversion.kudo.dev/v1beta1/our-own-operator-1.0.0 createdinstance.kudo.dev/v1beta1/our-own-operator-instance createdFinally the Operator will be running with all related replicas up (4 pods as defined):
$ kubectl get pods NAME READY STATUS RESTARTS AGEour-own-operator-588b647986-9kgf8 1/1 Running 0 3m48sour-own-operator-588b647986-kq2jf 1/1 Running 0 3m48sour-own-operator-588b647986-lhrpz 1/1 Running 0 3m48sour-own-operator-588b647986-mj9jt 1/1 Running 0 3m48sAdding more steps and tasks will allow you to accomplish your application requirements like init, backup, testing or define the specific behavior until some changes.
Related articles


Imagine discovering that migrating your company's data to a new cloud provider will cost hundreds of thousands of dollars in egress fees alone, before you've even touched the re-engineering work. Or worse, picture being in Synapse Financial

Subscribe to our newsletter
Get the latest industry trends, exclusive insights, and Gcore updates delivered straight to your inbox.