Sharing files securely is a top priority for individuals and organizations in the digital age. The “ffsend” command-line utility is a powerful tool that can help you securely share files via the command line. This guide will introduce you to “ffsend”, from the installation process to mastering its key features, so you can streamline your file-sharing process and ensure that your file transfers are both efficient and secure. Whether you’re a seasoned developer or new to the command line, you’ll learn how to use “ffsend” effectively.
What Is ffsend? Exploring Its Use Cases
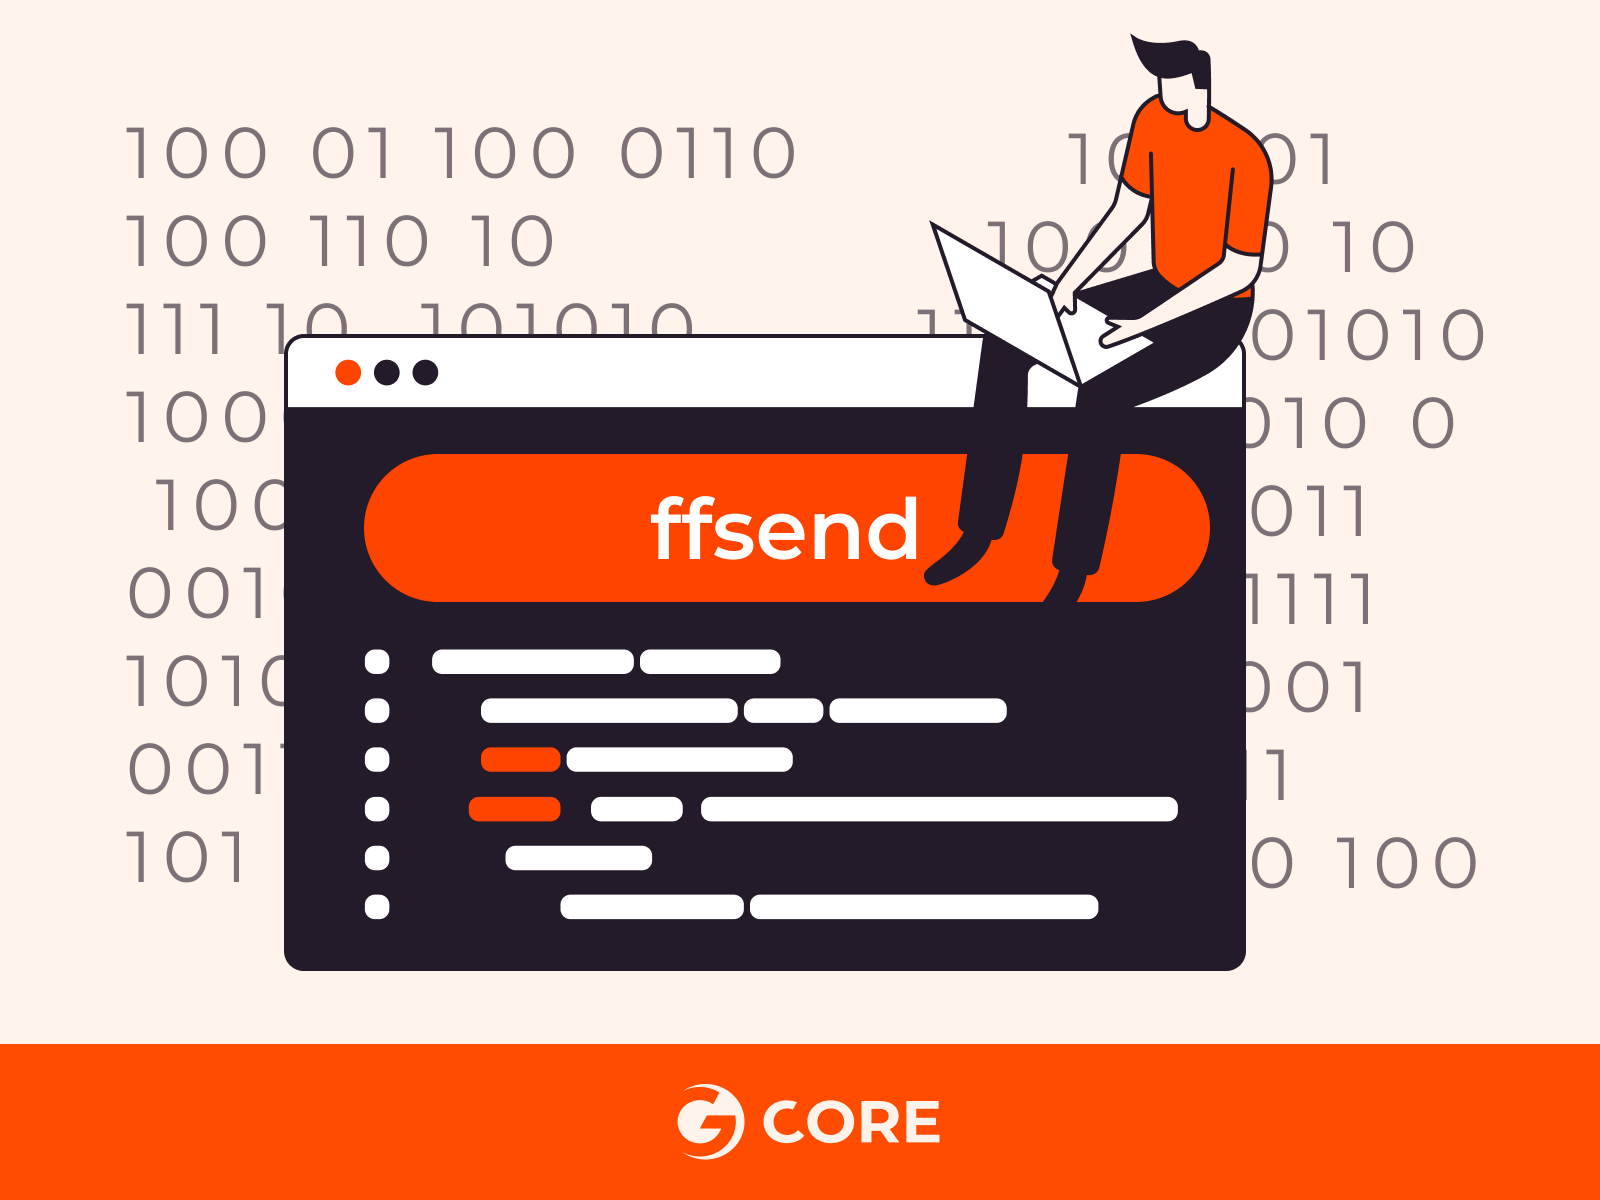
ffsend is a fully featured command-line utility that leverages the Firefox Send protocol, offering a secure and private way to share files from the command line. Although Mozilla officially discontinued Firefox Send, ffsend was developed to provide similar functionality, allowing users to easily upload, download, and manage files shared over the internet with end-to-end encryption. Here are at least five uses:
- Secure File Sharing. ffsend encrypts files before uploading them, providing a secure link to share with recipients. This ensures that your data remains private and can only be accessed by people who have the link.
- Large File Transfers. It is capable of handling large files that might not be supported by email or other file-sharing services, making it an excellent tool for sending large datasets, videos, or software packages.
- File Expiry and Download Limits. Users can set an expiration date for the shared link or limit the number of downloads, adding an extra layer of control and security over the shared files.
- Password Protection. ffsend allows users to protect their shared links with a password, ensuring that only recipients who have the password can download the files, enhancing the security of sensitive information.
- Command-Line Efficiency. For developers and users comfortable with the command line, ffsend offers a quick and efficient way to share files without the need for a graphical user interface. This can be particularly useful in scripts, remote server management, or automated workflows where files need to be shared as part of a process.
ffsend is a secure and private tool for sharing files online. In the next section, we’ll show you how to use the ffsend command-line utility.
Process to Use the ffsend Command-Line Utility
Using the ffsend command-line utility involves several steps, from installation to sharing and managing files. Here’s a detailed step-by-step guide to get you started with ffsend, complete with command examples and expected outputs.
#1 Installation
Before you can use ffsend, you need to install it on your system. The installation process varies depending on your operating system.
- For Debian/Ubuntu systems, use:
sudo apt install ffsend
- For macOS, use Homebrew:
brew install ffsend
You should see a series of messages indicating the progress of the installation, ending with a confirmation that ffsend has been successfully installed.
#2 Uploading a File
Once installed, you can use ffsend to securely upload files. The file will be encrypted before upload, and you’ll receive a URL for sharing. Run the command below:
ffsend upload /path/to/your/file
Sample Output:
Upload: [################################] 100.000% 1.00/1.00MB (1.23MB/s)
Share link: https://send.firefox.com/download/your_unique_link
#3 Setting File Expiry
You can specify how long the file should be available or how many downloads are allowed before it expires. To set the file to expire after 1 download:
ffsend upload --downloads 1 /path/to/your/file
To set the file to expire after 1 day:
ffsend upload --expiry 1d /path/to/your/file
For the output, it is similar to the upload command, but the share link now has the specified restrictions.
#4 Protecting with a Password
For added security, you can protect your file with a password. The command will prompt you to enter a password.
ffsend upload --password /path/to/your/file
After executing the command, you’ll be prompted to enter and confirm the password. The expected output will be the upload progress and a share link, similar to previous steps, but access to the file will now require the password you set.
#5 Downloading a File
To download a file shared via ffsend, you use the download command along with the shared link.
ffsend download https://send.firefox.com/download/your_unique_link
Expected Output: The file will be downloaded to your current directory, with progress indicated in the terminal.
Download: [################################] 100.000% 1.00/1.00MB (1.23MB/s)
#6 Managing Uploaded Files
If you have uploaded files and wish to manage them (e.g., delete them before they expire), ffsend allows you to do so if you kept the deletion link. To delete a file, you’ll need the delete link provided at the time of upload.
ffsend delete https://send.firefox.com/delete/your_unique_delete_link
Expected Output: A confirmation message indicating the file has been successfully deleted.
File deleted successfully.
Please note: As of my last update in April 2023, Mozilla has discontinued the Firefox Send service, and the ffsend utility may not function as described without a compatible service. Ensure you’re using a current version or an alternative that supports the Firefox Send protocol or seek updated tools for secure file sharing.
That’s it! You now know how to effectively utilize the ffsend command-line utility for secure file sharing.
Conclusion
Looking to deploy Linux in the cloud? With Gcore Cloud, you can choose from Basic VM, Virtual Instances, or VPS/VDS suitable for Linux:
- Gcore Basic VM offers shared virtual machines from €3.2 per month
- Virtual Instances are virtual machines with a variety of configurations and an application marketplace
- Virtual Dedicated Servers provide outstanding speed of 200+ Mbps in 20+ global locations


